Agent Management
Create Agent
Access Agents Section
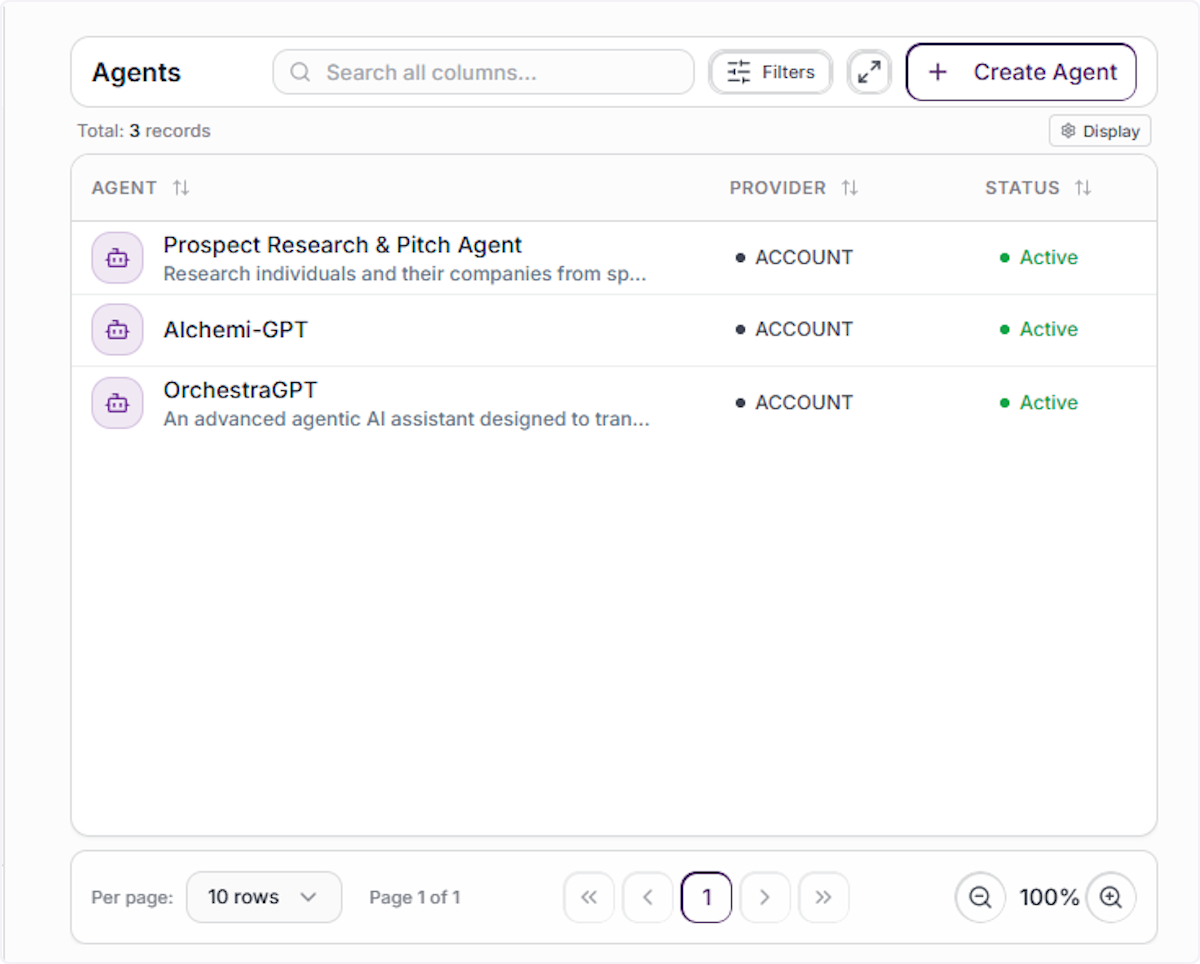
In the left-hand Copilot Control menu, click Agents under Builder Tools to open the Agents management panel where all existing agents are listed.
Initiate Agent Creation
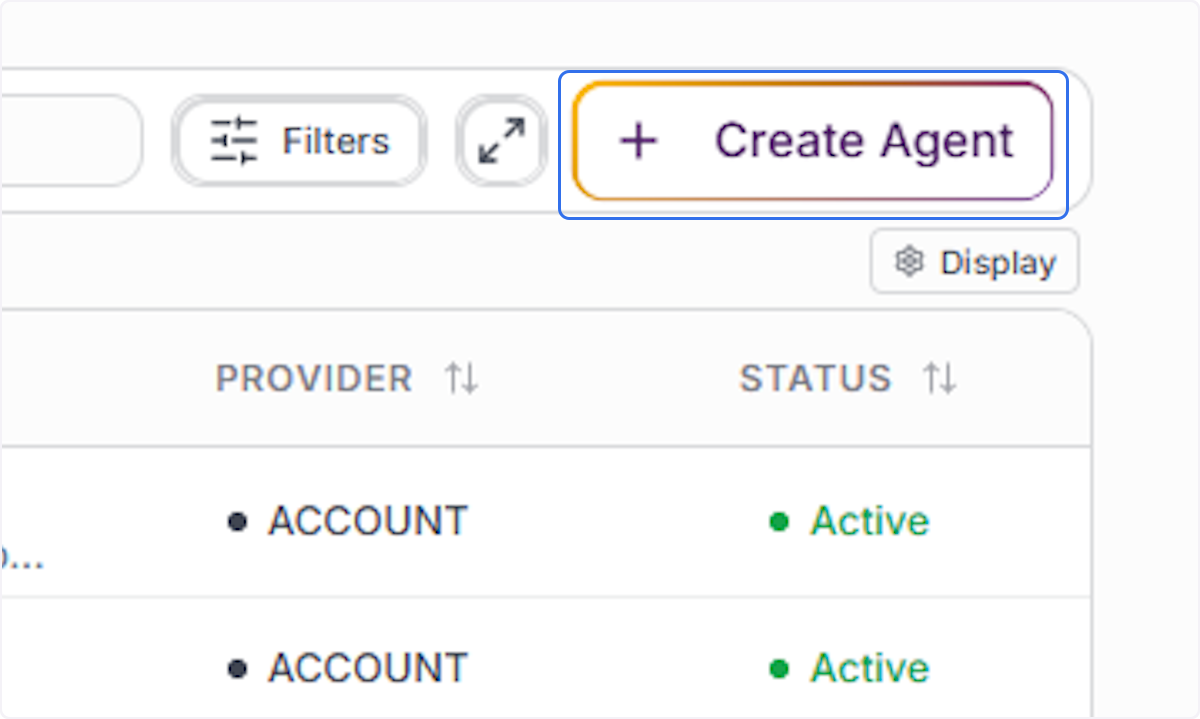
Click the + Create Agent button in the top-right corner of the Agents panel to begin the agent creation process.
Select How to Build the Agent
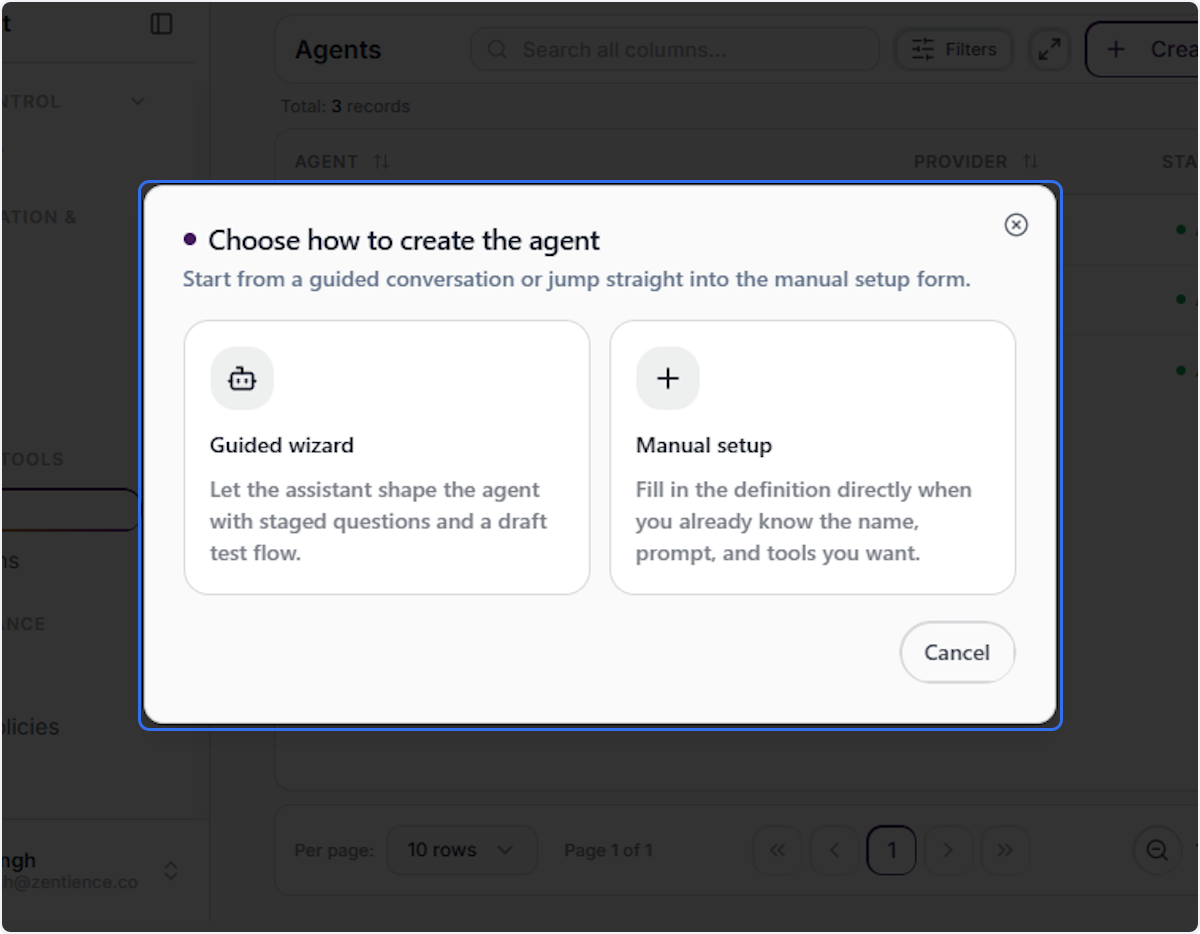
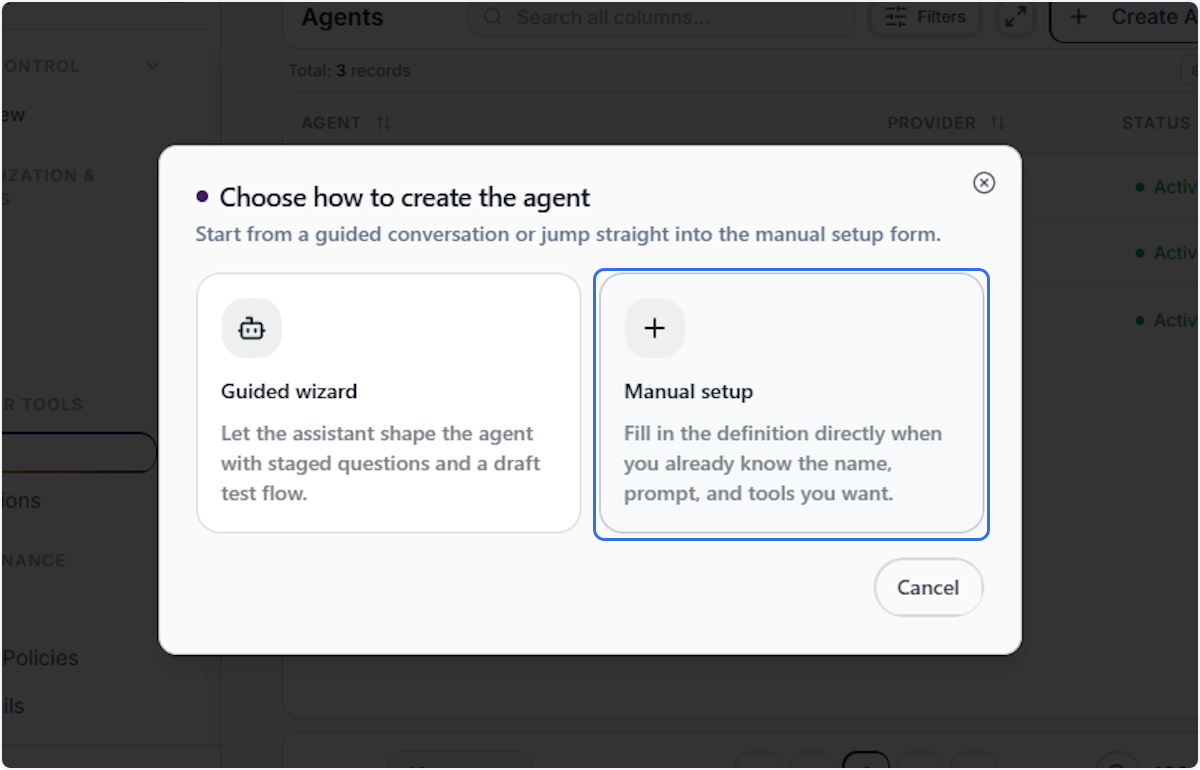
A dialog will appear offering two setup paths. Select either Guided Wizard for a step-by-step conversational setup, or Manual Setup to directly fill in all agent details yourself.
Manual Setup
Select Manual Setup
Click Manual Setup to open the agent creation form directly. This option is best when you already know the agent’s name, purpose, system prompt, and required tools.
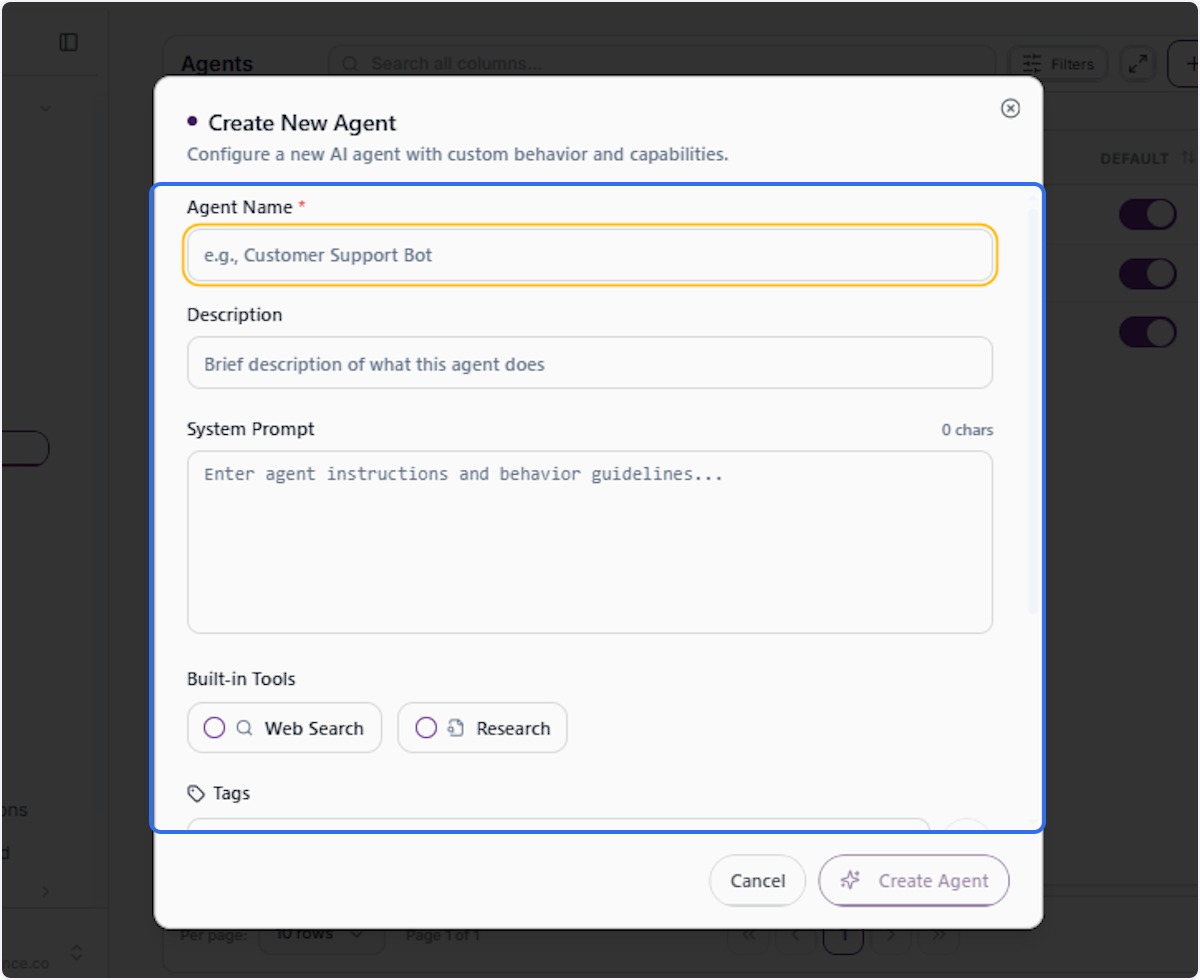
Enter Agent Name and Details
Fill in the Agent Name field with a clear, identifiable name. Add a short Description summarizing the agent’s purpose. Then enter the System Prompt that defines the agent’s behavior, role, and instructions.
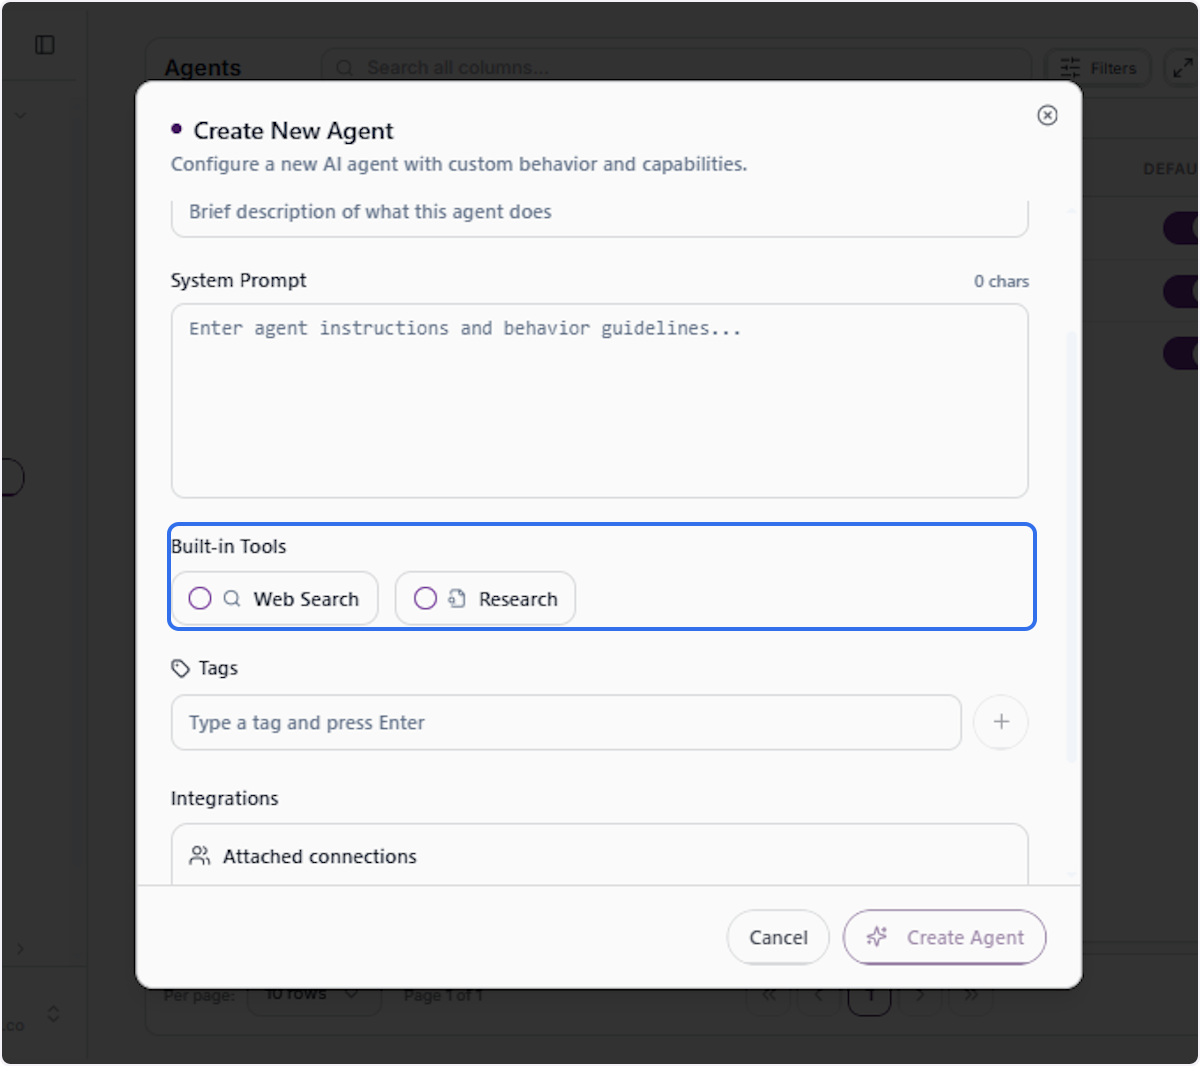
Configure Built-in Tools
Under Built-in Tools, enable the capabilities your agent needs. Select Web Search to allow real-time information retrieval, and Research to enable deep multi-source synthesis for complex queries.
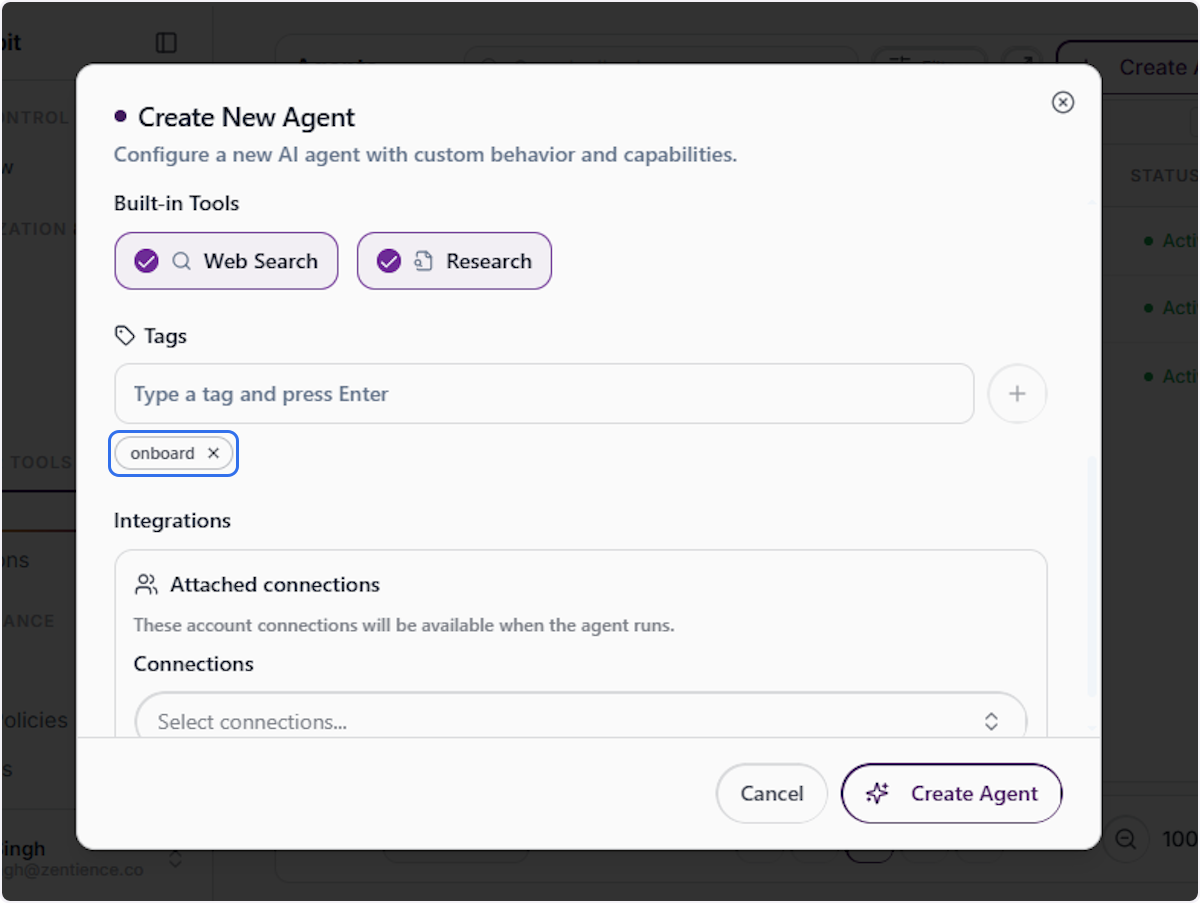
Add Tags to the Agent
Click the Tags field and type a relevant keyword (e.g., onboard), then press Enter to add it. Tags help categorize and filter agents across your organization for easier discovery.
Configure Attached Connections & Integrations
Under the Integrations section, click Attached Connections to expand available integration options. These connections will be accessible to the agent when it runs, enabling it to interact with external services.
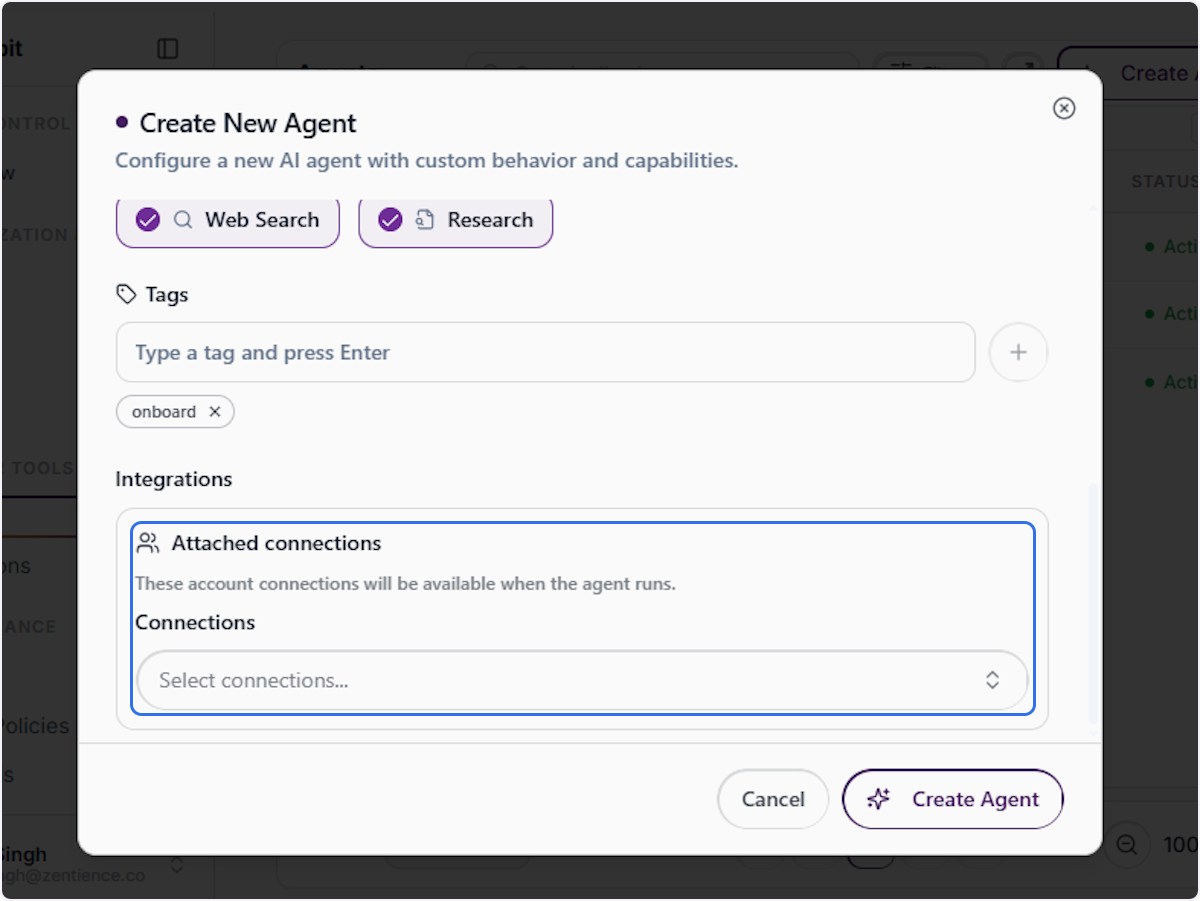
Open the Connections Selector
Click the Select Connections dropdown to open the integration search panel, where you can search and attach external service connections to this agent.
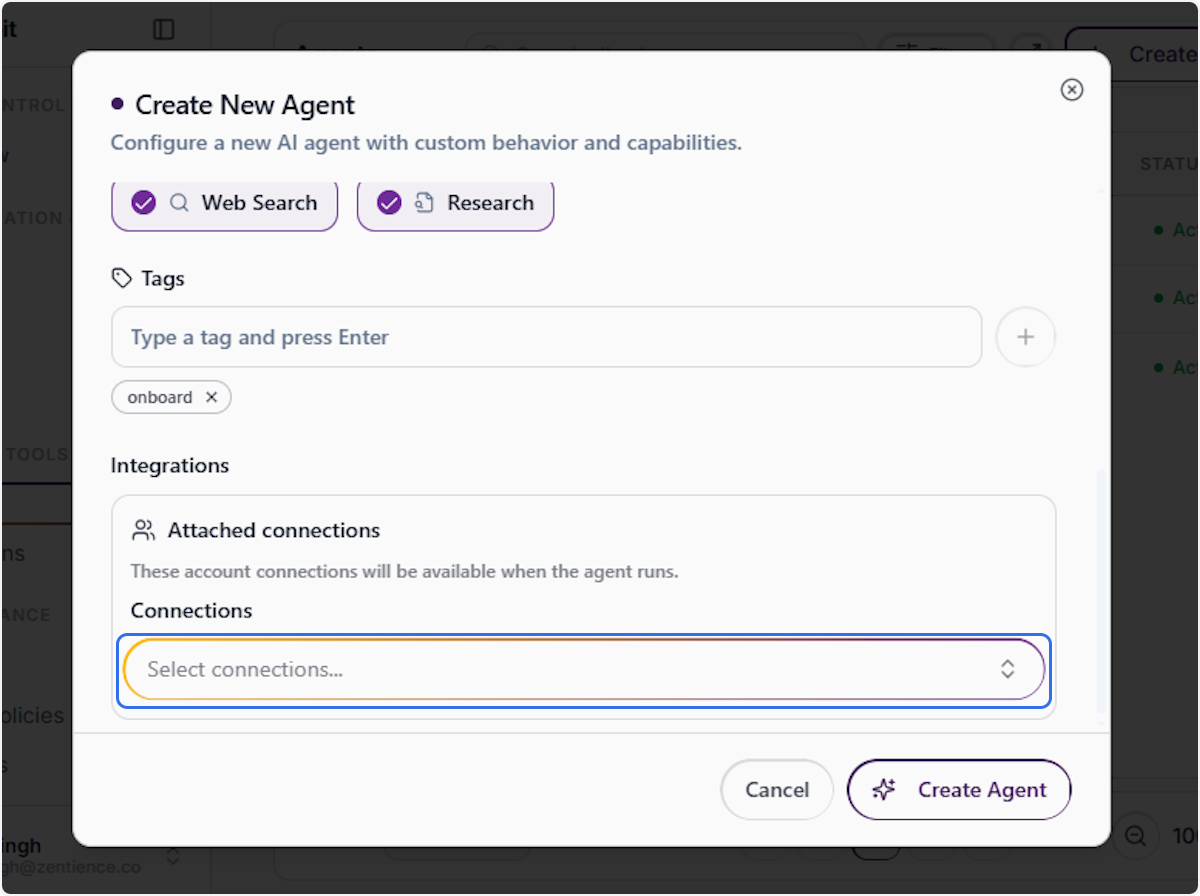
Search for an Integration
Type the name of the integration you want to attach (e.g., gmail) into the search field. Matching results will appear as you type.
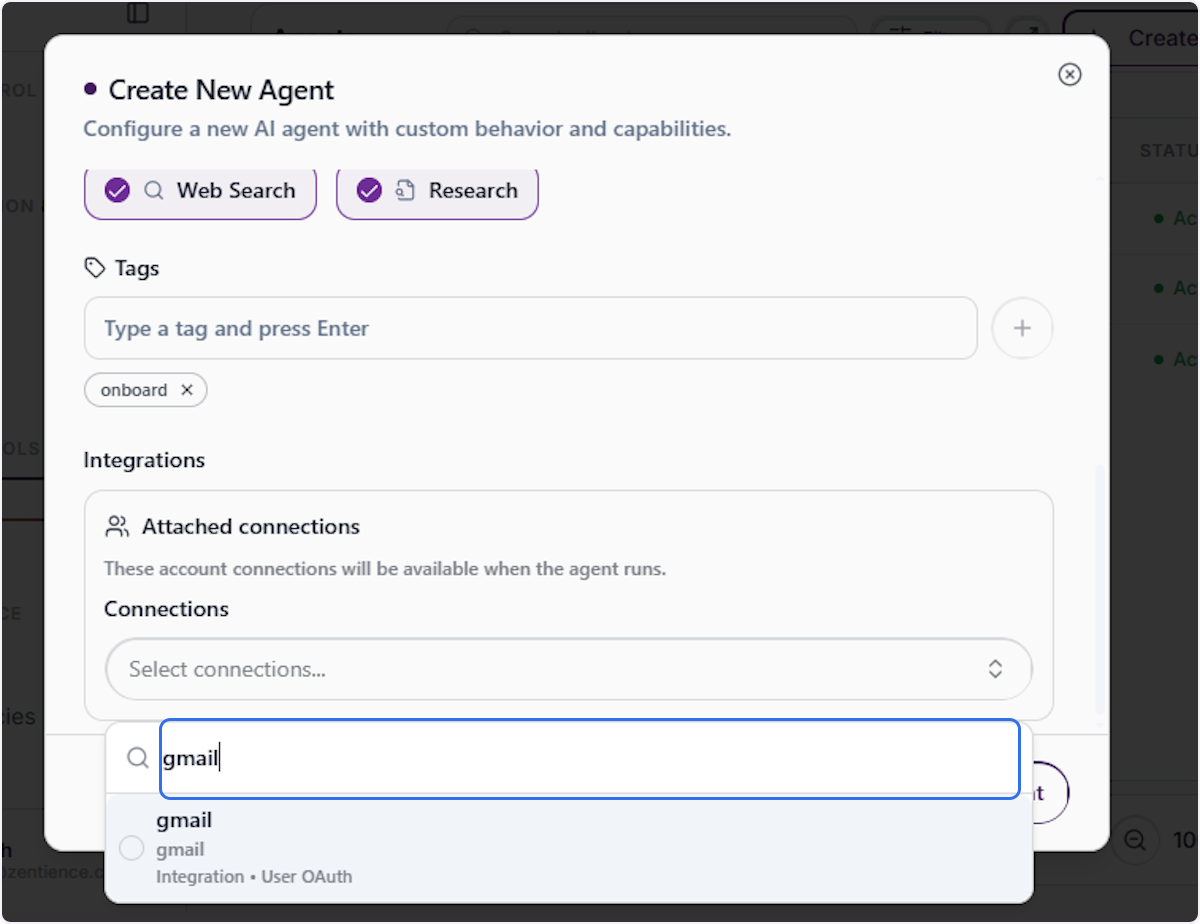
Select the Desired Integration
Review the search results and click on the integration you want to attach. Each result displays the integration name, type, and authentication method (e.g., User OAuth).
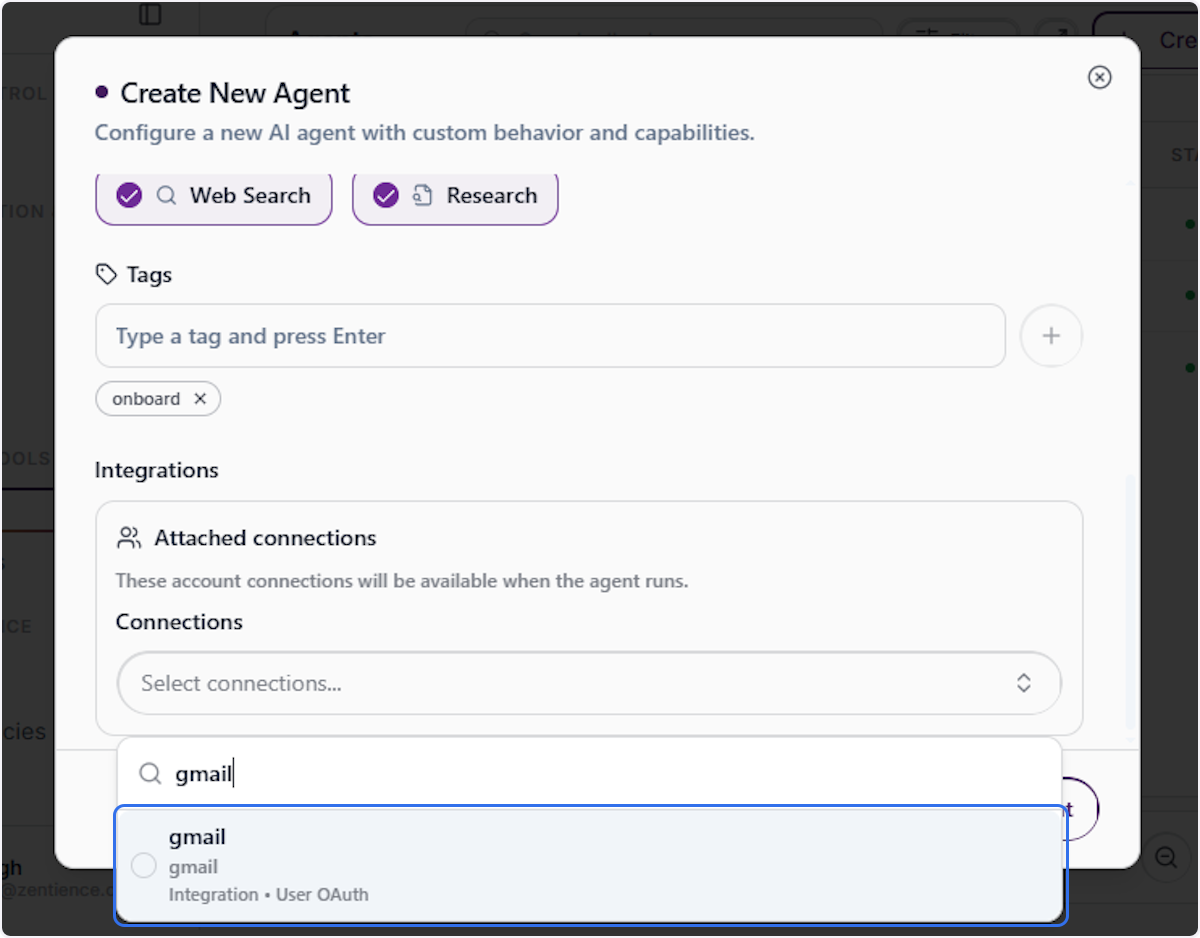
Confirm Integration Selection
Click on your chosen integration (e.g., gmail) to attach it to the agent. It will appear as a selected connection tag below the search field, confirming it has been added.
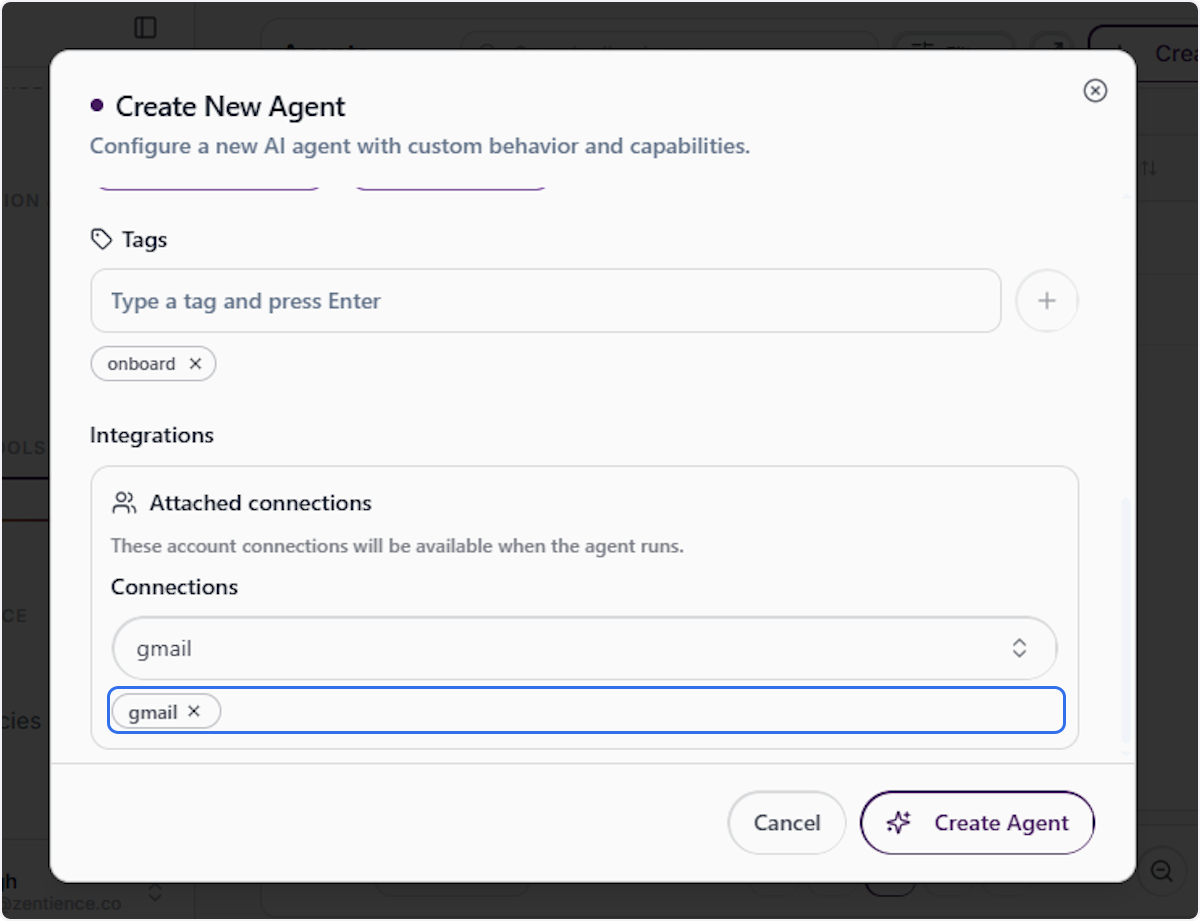
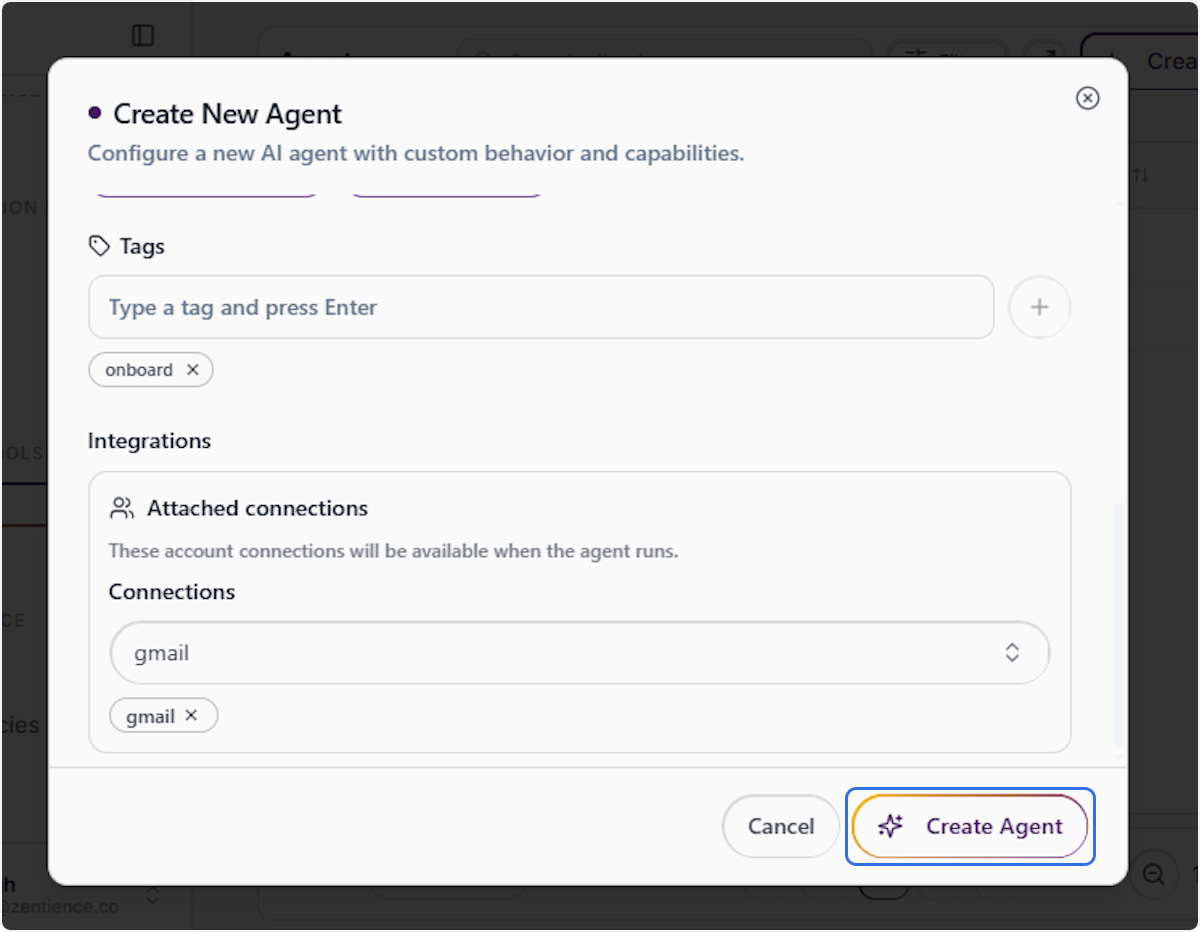
Submit and Create the Agent
Once all fields, tools, tags, and integrations are configured, click Create Agent to save the agent and add it to your organization’s agent list.
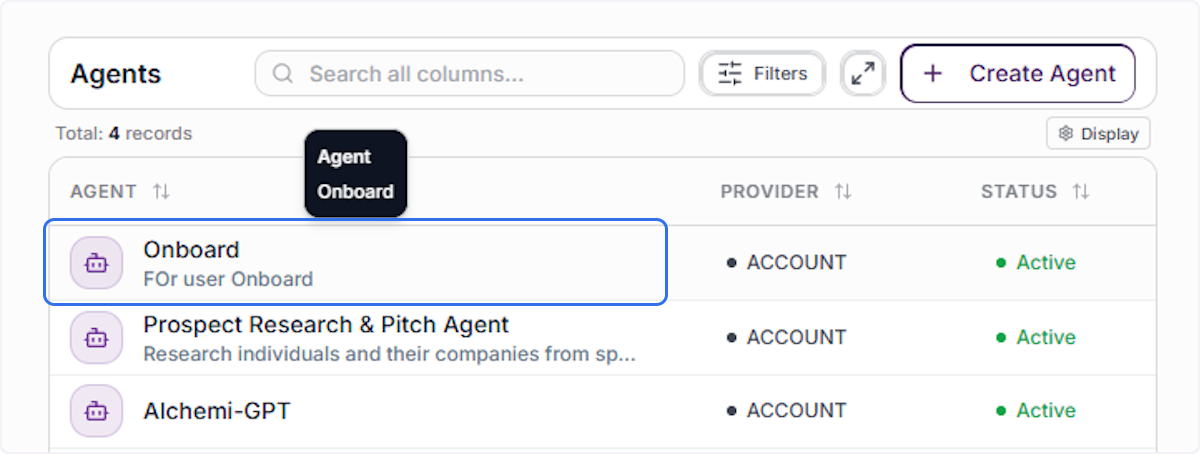
Verify Agent Appears in the Agent List
After creation, confirm the new agent appears in the Agents table with the correct name, description, provider, and an Active status. Click on the agent name to view its full details.
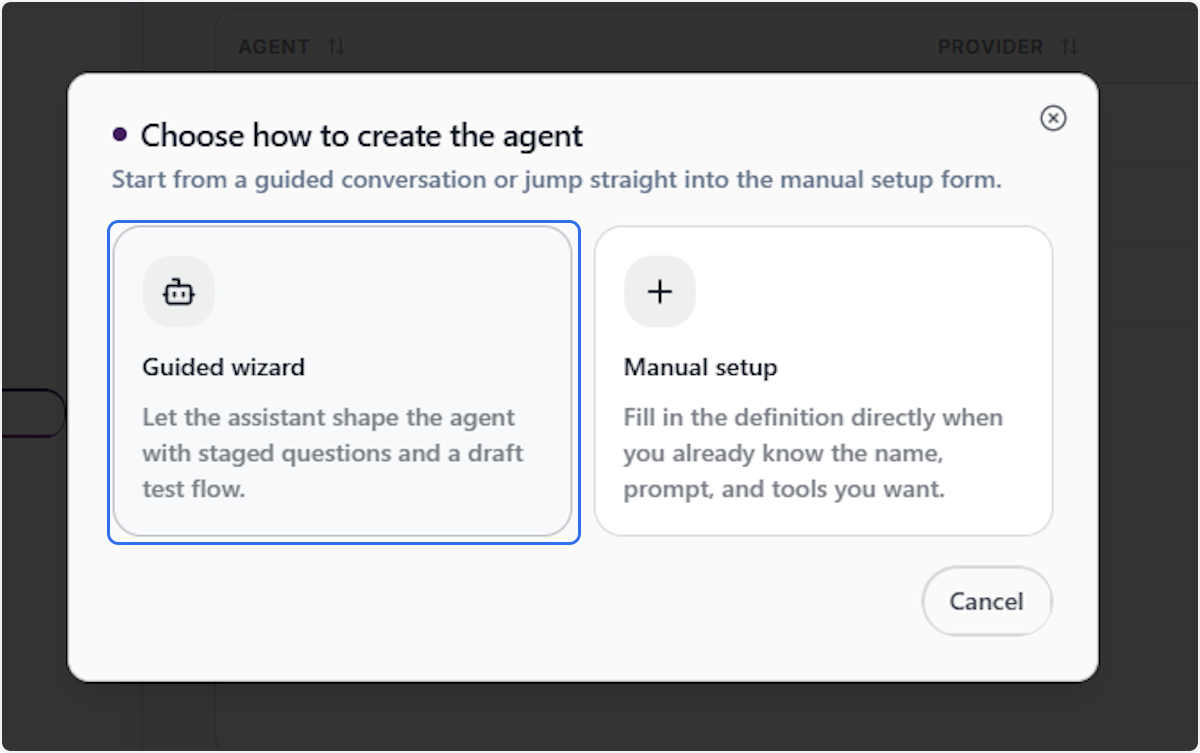
Guided Wizard Section
Select the Guided Wizard Method
From the agent creation dialog, click Guided Wizard to start a structured, conversational setup process where the assistant helps define the agent’s mission, capabilities, and behavior step by step.
Begin the Guided Conversation
The wizard opens in a multi-panel view. Click Shape the Mission to start the first stage, where you describe what you want the agent to accomplish.
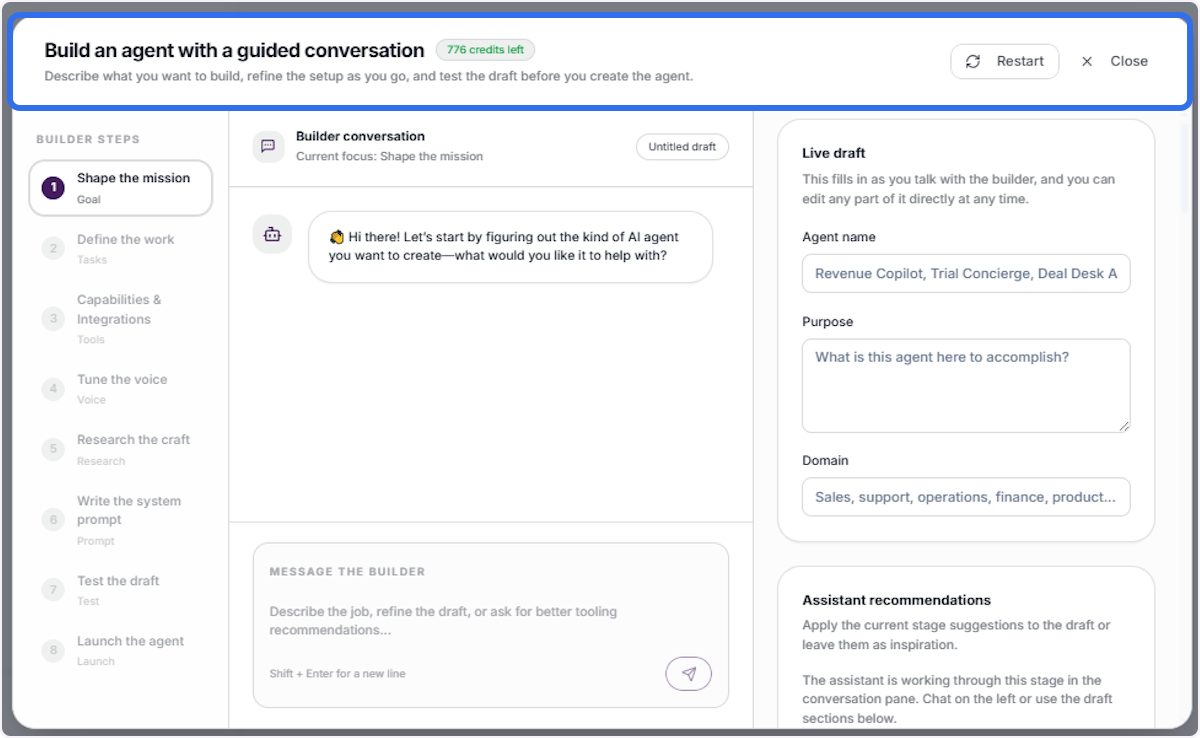
Review the Live Draft & Builder Interface
The screen is divided into three panes: Builder Conversation (chat with the wizard), Live Draft (auto-updating agent configuration), and the Test Lab (for testing before launch). The Live Draft updates in real time as you complete each stage.
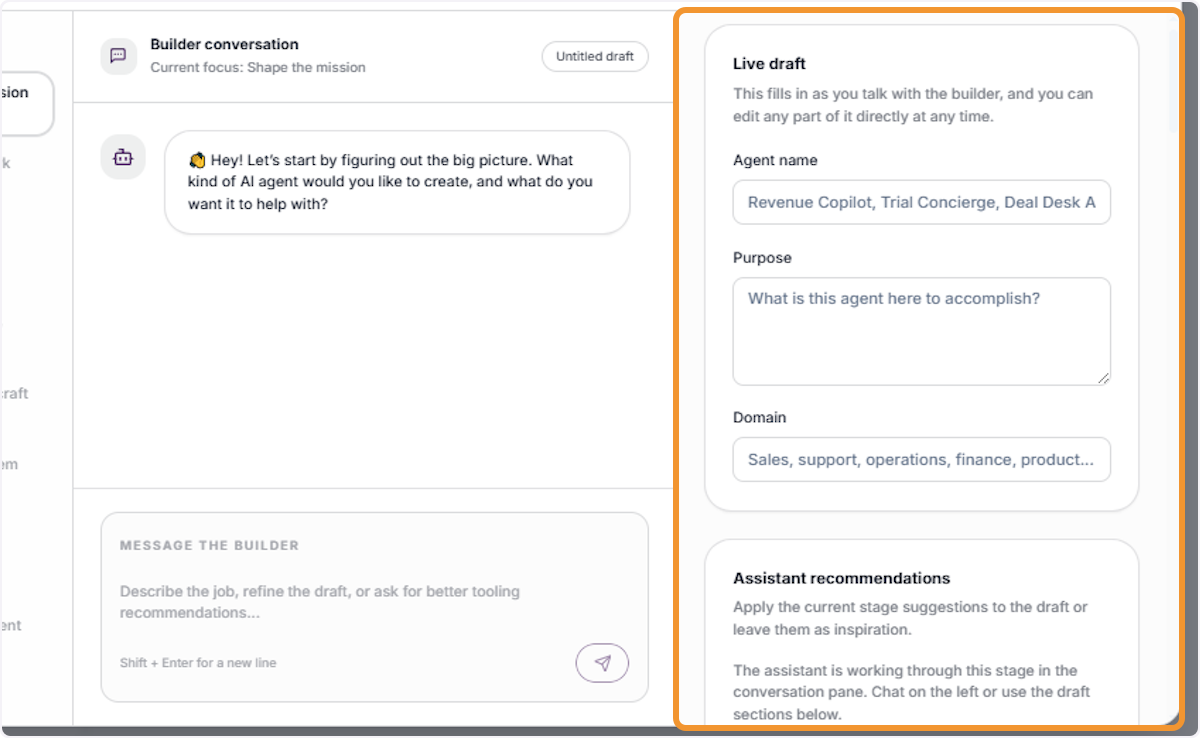
Define Agent Name, Purpose & Domain
In the Live Draft panel, fill in the Agent Name (e.g., Revenue Copilot), the Purpose (what the agent is designed to accomplish), and the Domain (e.g., Finance, Sales, Operations) to shape the agent’s focus area.
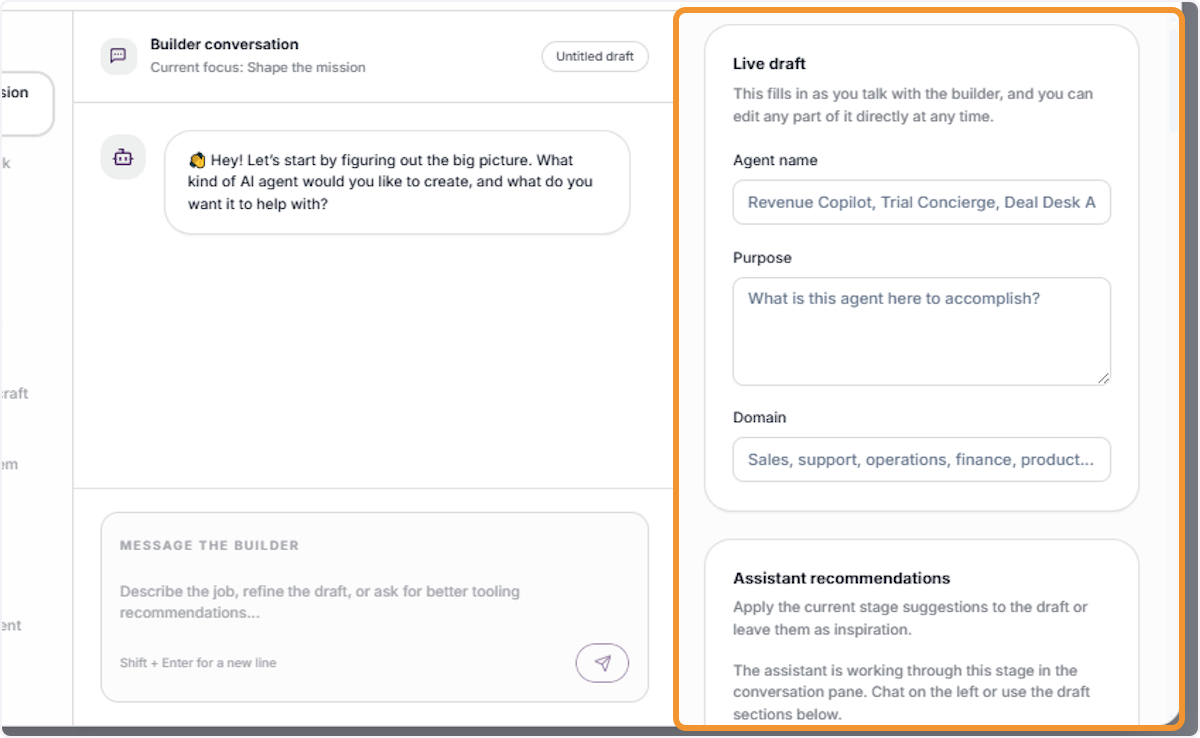
Configure Tone, Communication Style & Success Criteria
Enter the agent’s Tone (e.g., Calm, Professional), Communication Style (e.g., Consultative, Direct), and define Success Criteria — the measurable outcomes that indicate the agent is performing its role correctly.
Enable Web Search Capability
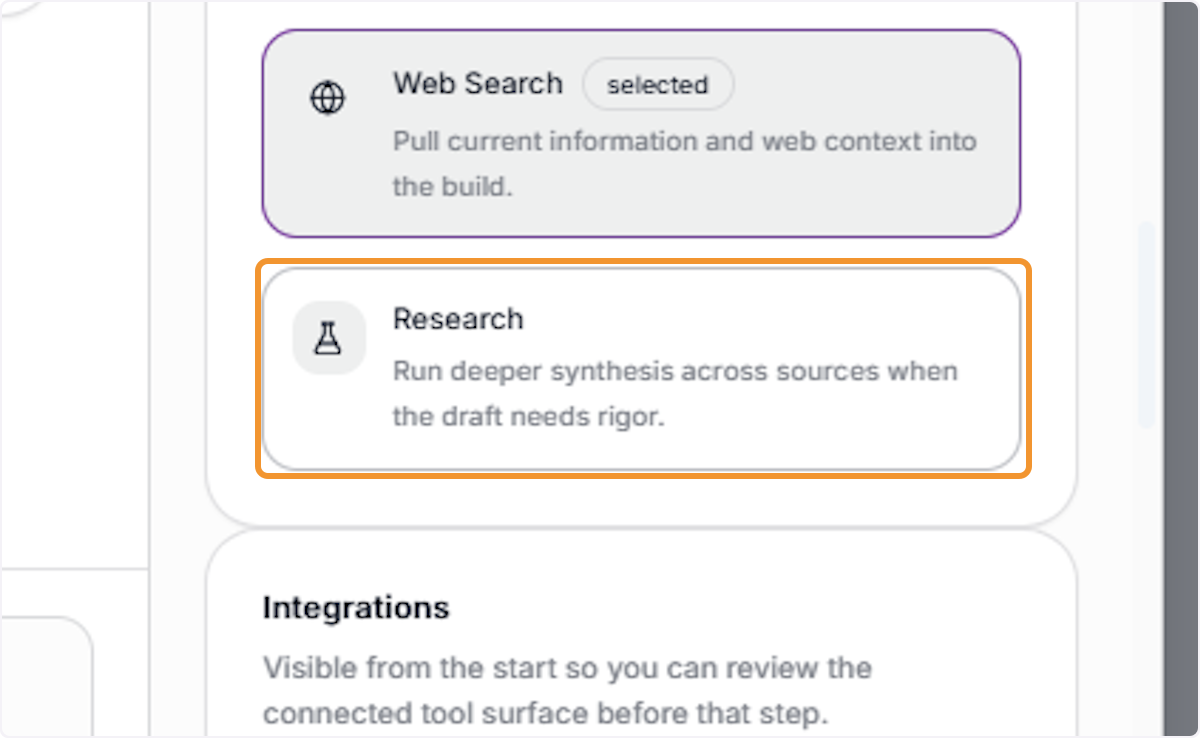
Under Capabilities, click Web Search to activate it. This allows the agent to pull live information from the web when answering queries, keeping its responses current and contextually accurate.
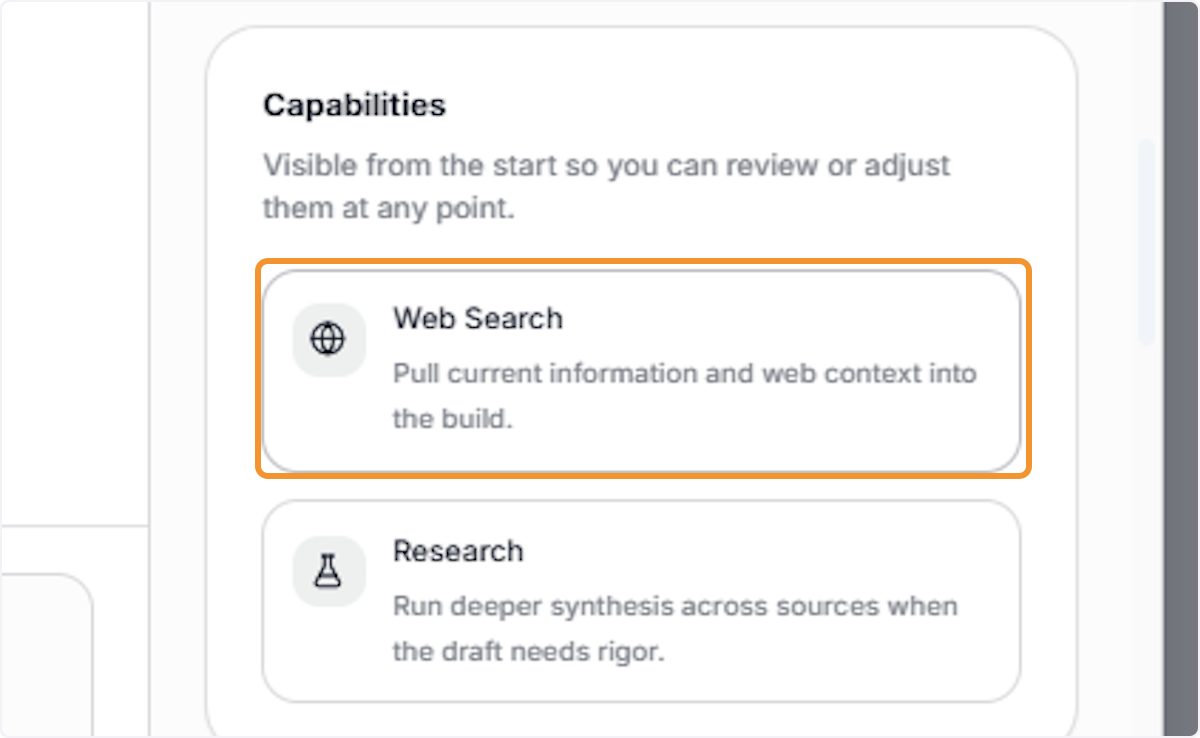
Enable Research Capability
Click Research to enable deeper multi-source synthesis. This is recommended for agents that need to analyze, compare, or summarize complex information from multiple references.
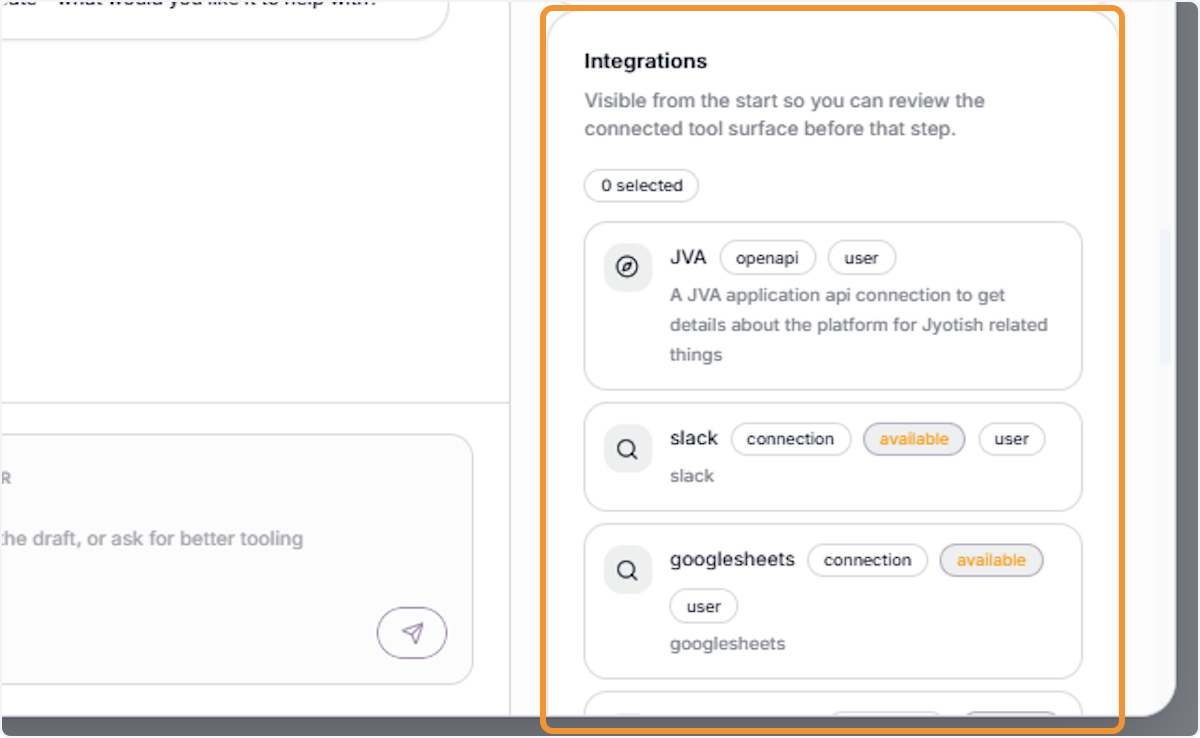
Review Available Integrations
Click Integrations to expand the list of available connections. The wizard displays all integrations that can be pre-selected and made available to the agent during its runs, including tools like Slack, Google Sheets, and others.
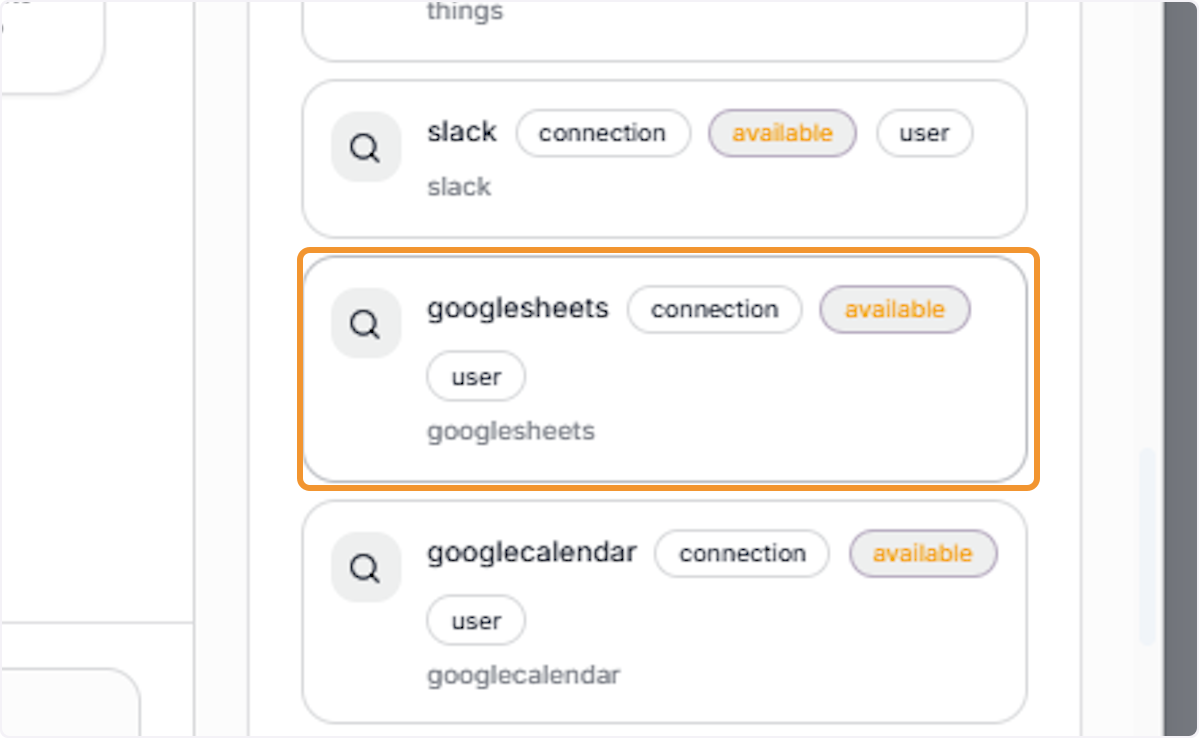
Select a Specific Integration
Click on the desired integration (e.g., Google Sheets) to select it. Selected integrations will be pre-attached to the agent and available as tools when the agent is deployed.
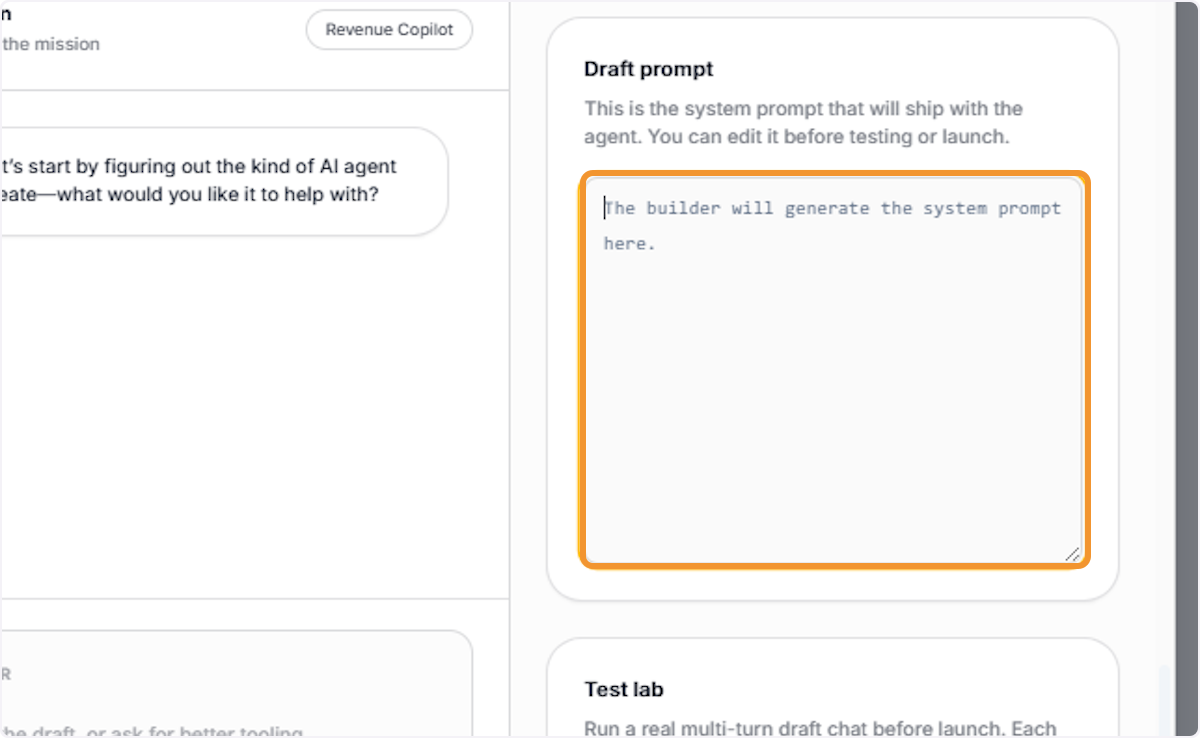
Review the Draft System
In the Draft Prompt panel on the right, review the system prompt that will ship with the agent. This prompt is auto-generated based on your inputs so far and can be edited directly before finalizing.
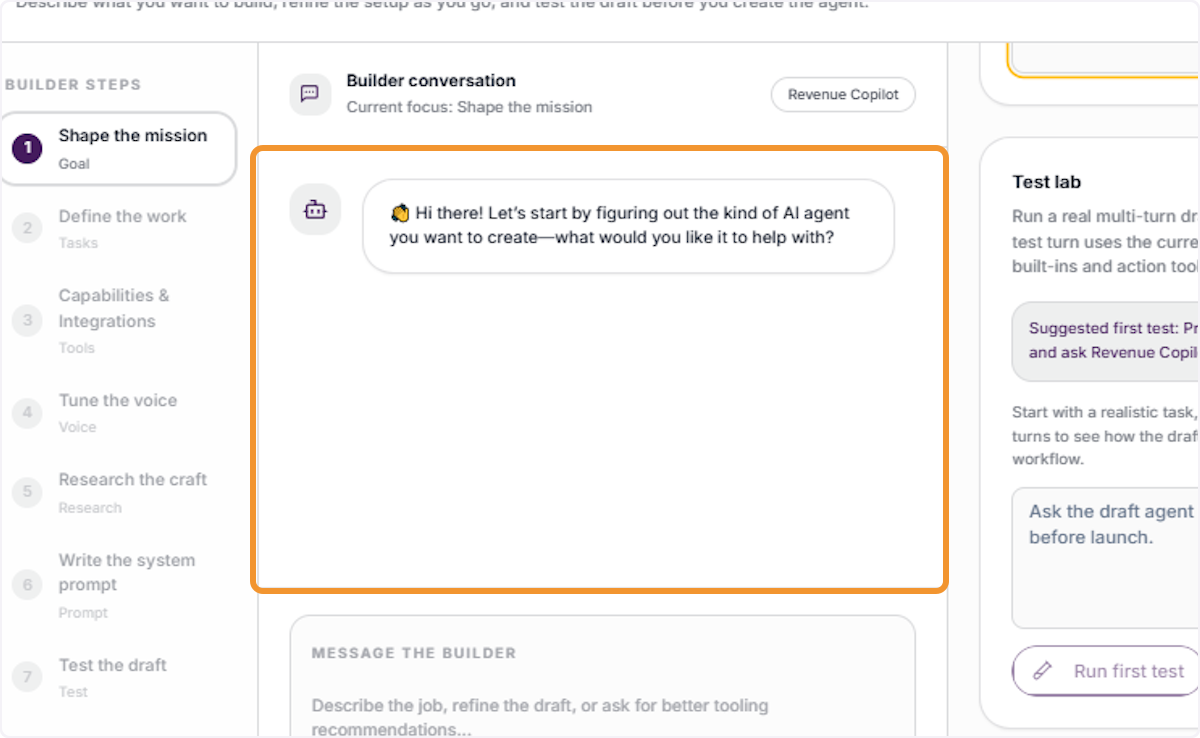
Begin the Builder Conversation
In the Message the Builder input field, start responding to the wizard’s guided questions. The builder will refine the agent’s configuration based on your natural language input at each stage.
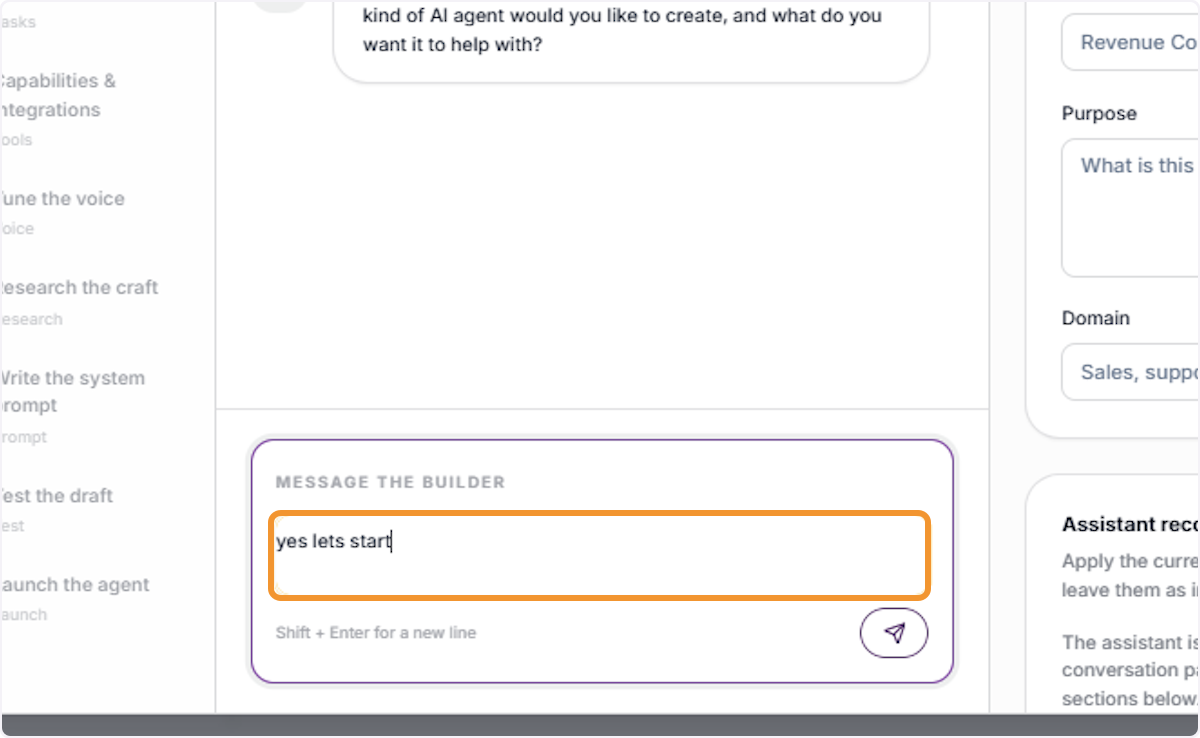
Send Your First Builder Message
Type your initial response to the builder’s opening prompt (e.g., “yes lets start”) and send it to begin the guided conversation. The wizard will progress to the next setup stage automatically.
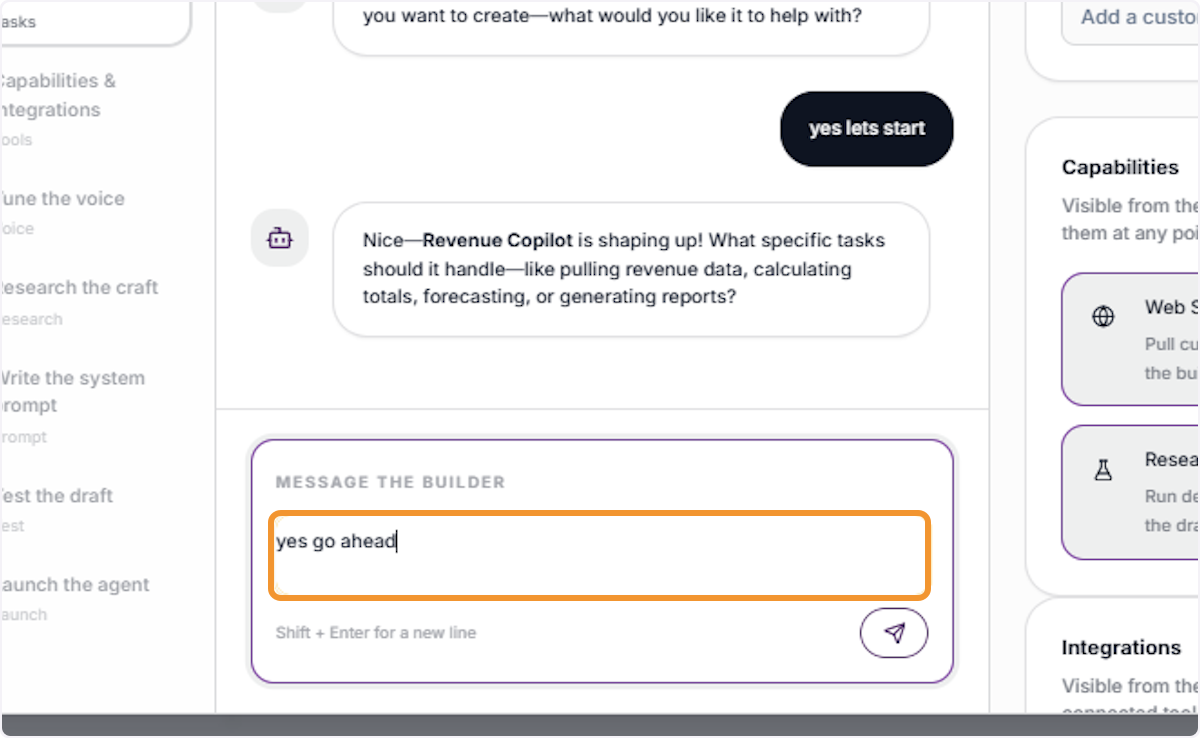
Continue the Builder Conversation
As the builder responds with follow-up questions, continue engaging in the conversation to progressively define and refine the agent’s capabilities, tasks, and configuration.
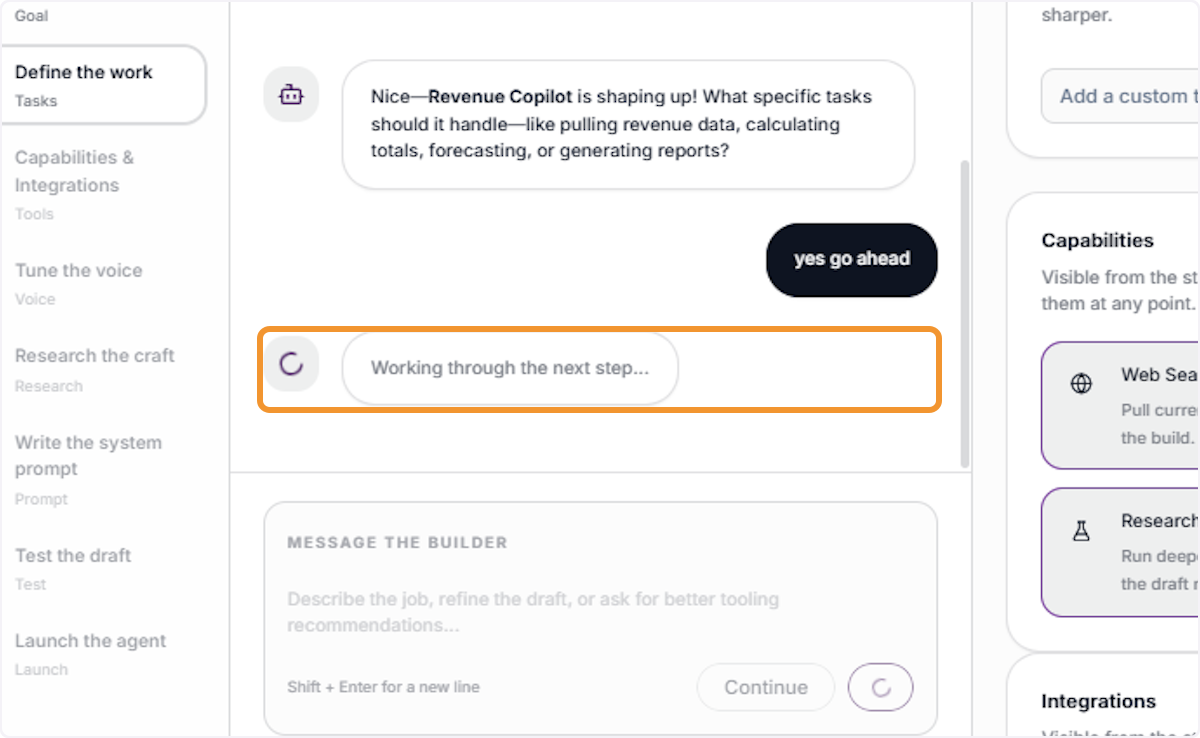
Confirm and Advance the Setup
Type a confirming response (e.g., “yes go ahead”) to accept the builder’s suggestions and move to the next configuration stage. The Live Draft will update to reflect your confirmed choice.
Define Specific Agent Tasks
When prompted, describe the specific tasks the agent should handle (e.g., pulling revenue data, calculating totals, generating reports). The builder uses this to pre-select relevant task templates in the Live Draft.
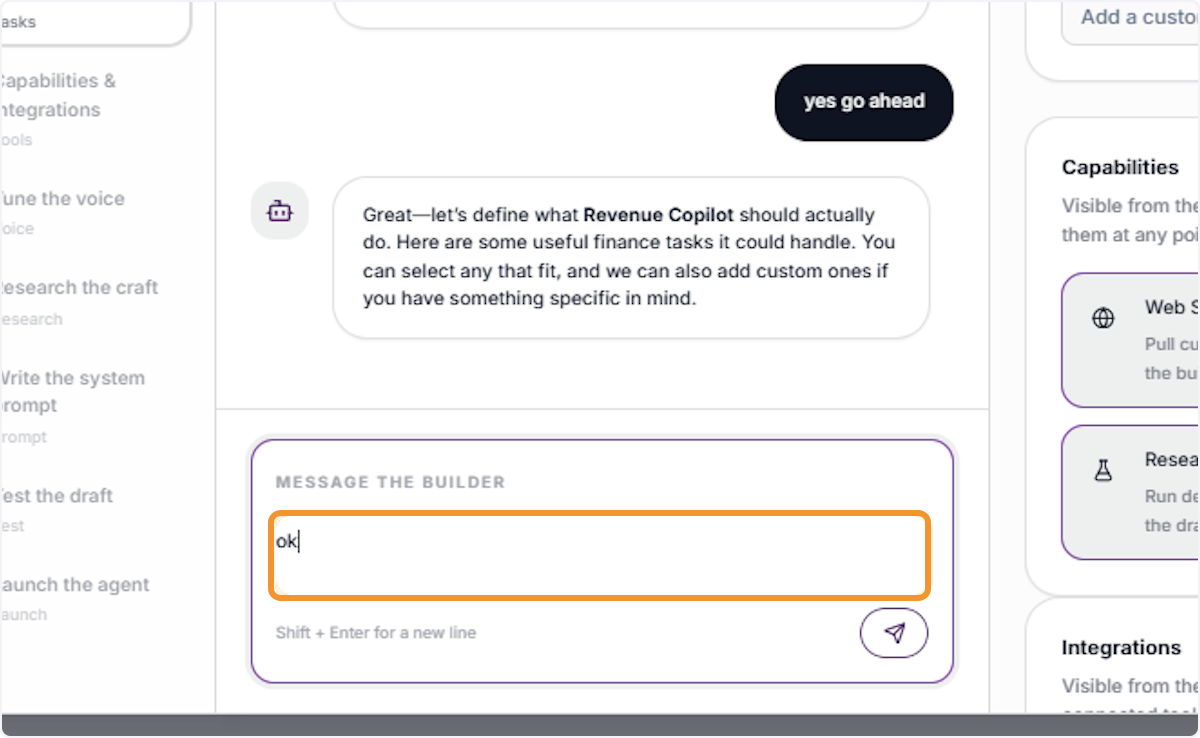
Respond to the Task Definition Prompt & Suggested Tasks from the Draft
In the Live Draft, review the suggested task tags (e.g., Calculate Total Revenue, Revenue Breakdown Analysis). Click on tasks marked with an asterisk (*) to select or deselect them based on your requirements.
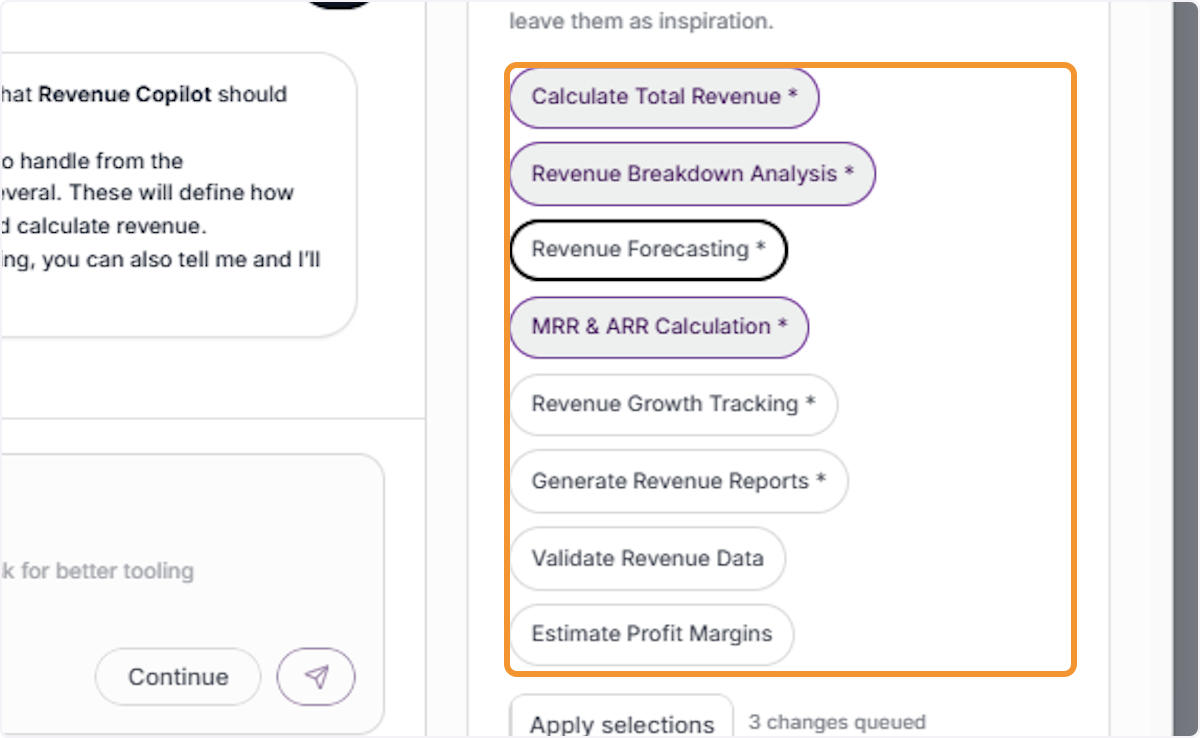
Apply Task Selections and Proceed
Click Continue to confirm your selected tasks and advance the builder to the next setup stage — Capabilities & Integrations.
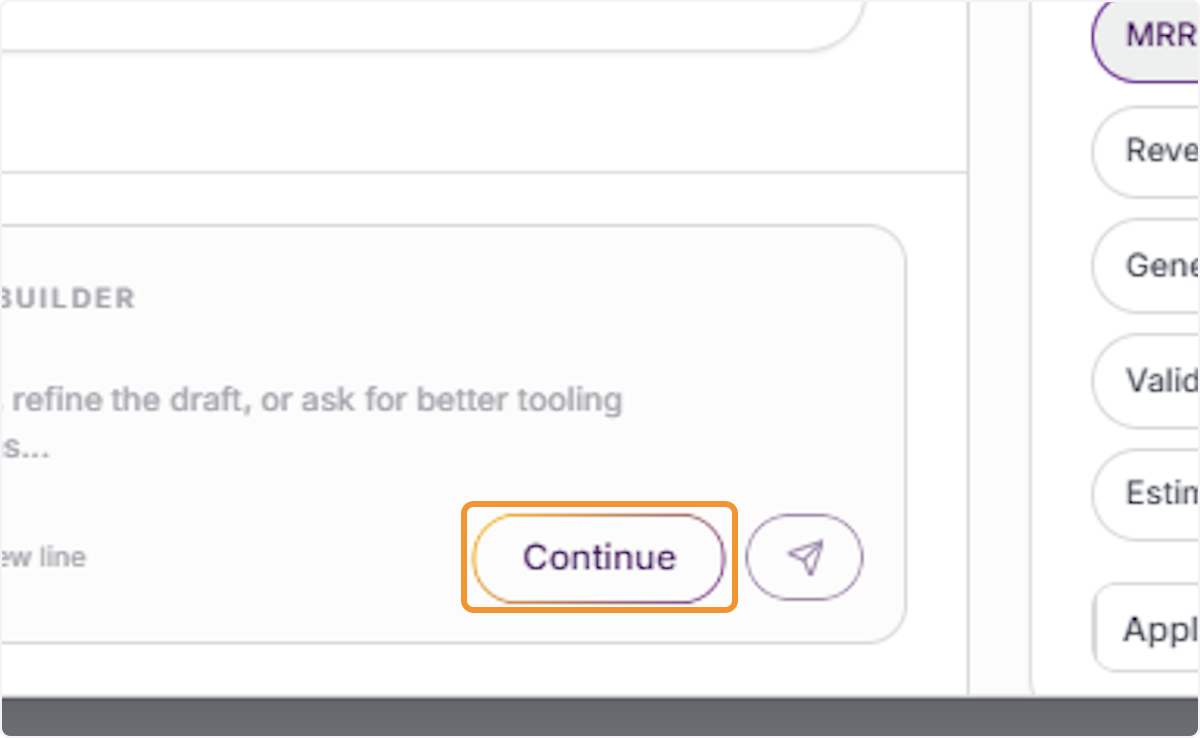
Review Selected Tasks in the Draft
In the updated Live Draft, verify that the selected tasks (e.g., revenue_calculation, revenue_breakdown, subscription_mrr_arr) appear as tags under the Tasks section, confirming they’ve been applied to the agent configuration.
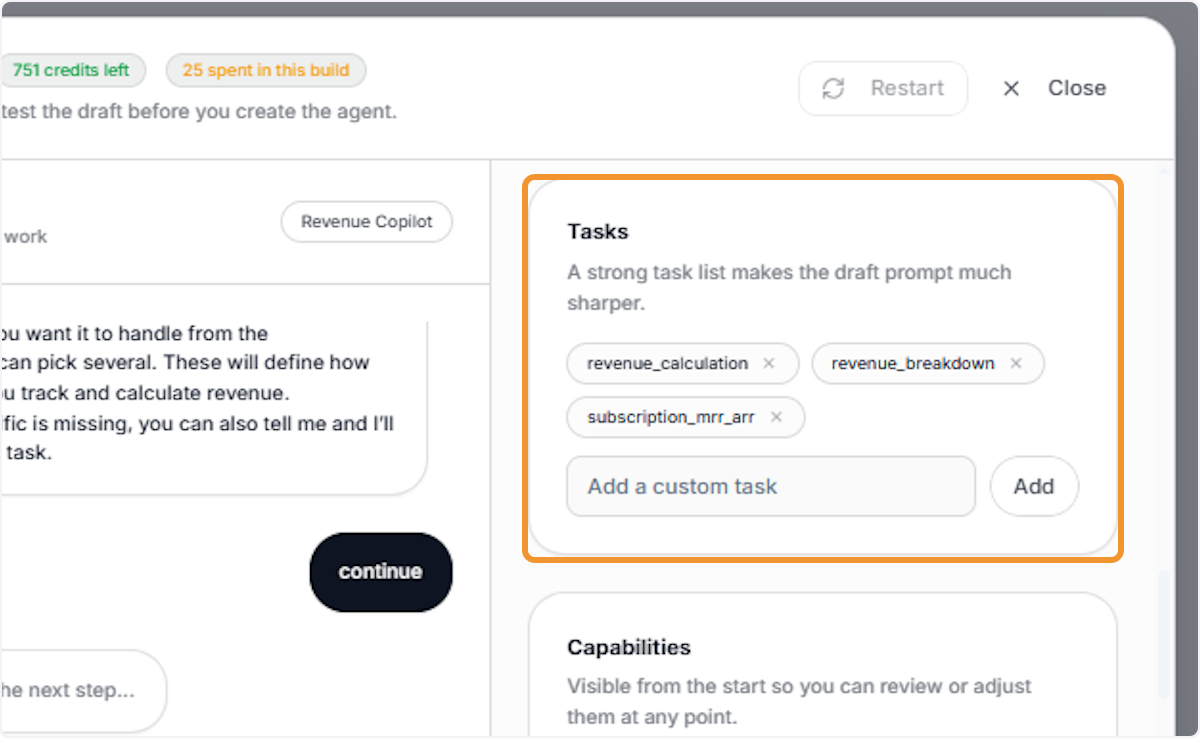
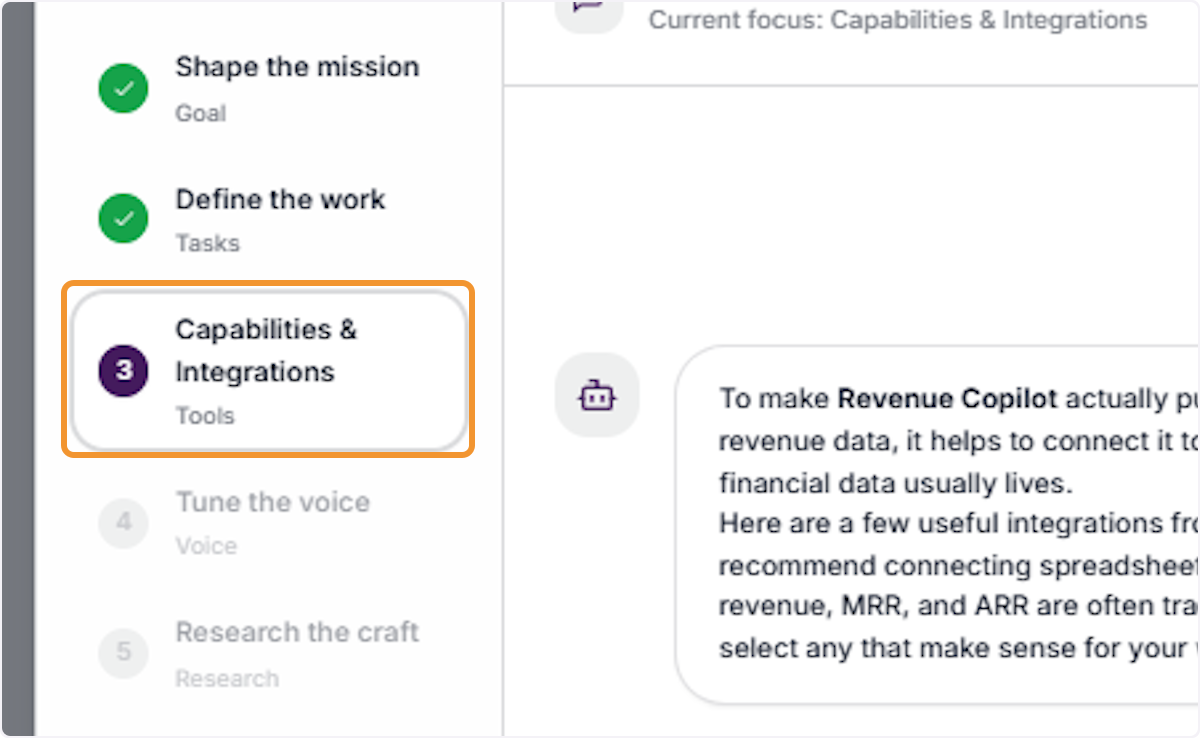
Proceed to Capabilities & Integrations
Click Capabilities & Integrations in the builder steps panel to advance to the third setup stage, where you configure the tools and data connections the agent will use to perform its tasks.
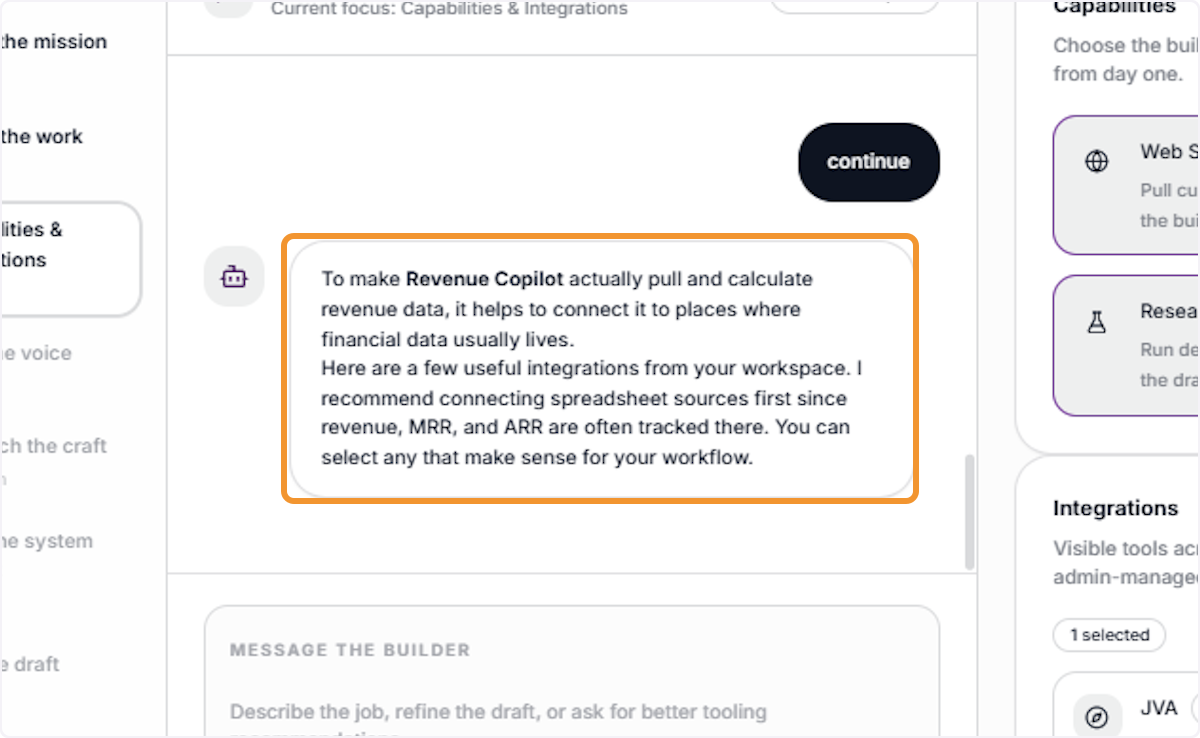
Review Integration Recommendations
Read the builder’s integration recommendations, which are tailored to the agent’s task requirements. The builder suggests relevant data sources and connections (e.g., spreadsheet tools for revenue tracking) to improve agent performance.
Confirm Capabilities & Integrations
Click Continue to accept the current capabilities and integration setup, moving the builder forward to the voice configuration stage.
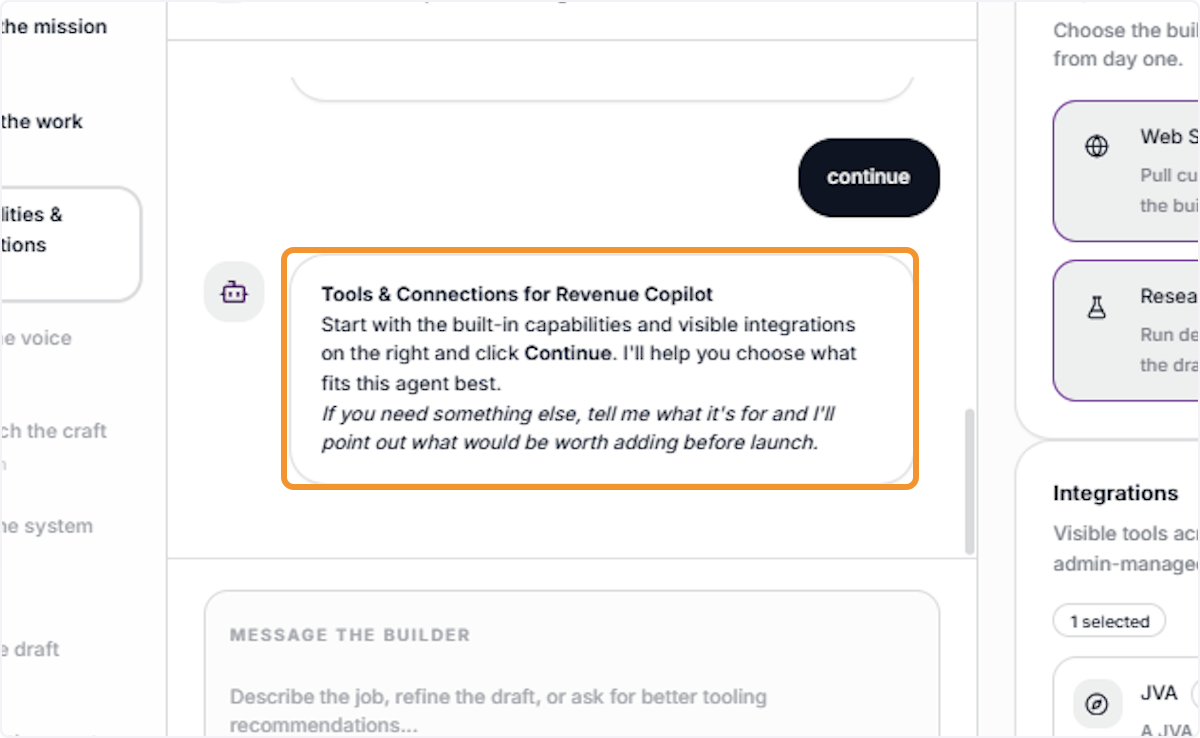
Review Tools & Connections Summary
The builder displays a summary of all Tools & Connections configured for the agent, including built-in capabilities (Web Search, Research) and any attached integrations. Review this panel to ensure everything is correctly set before proceeding.
Advance to Voice Configuration
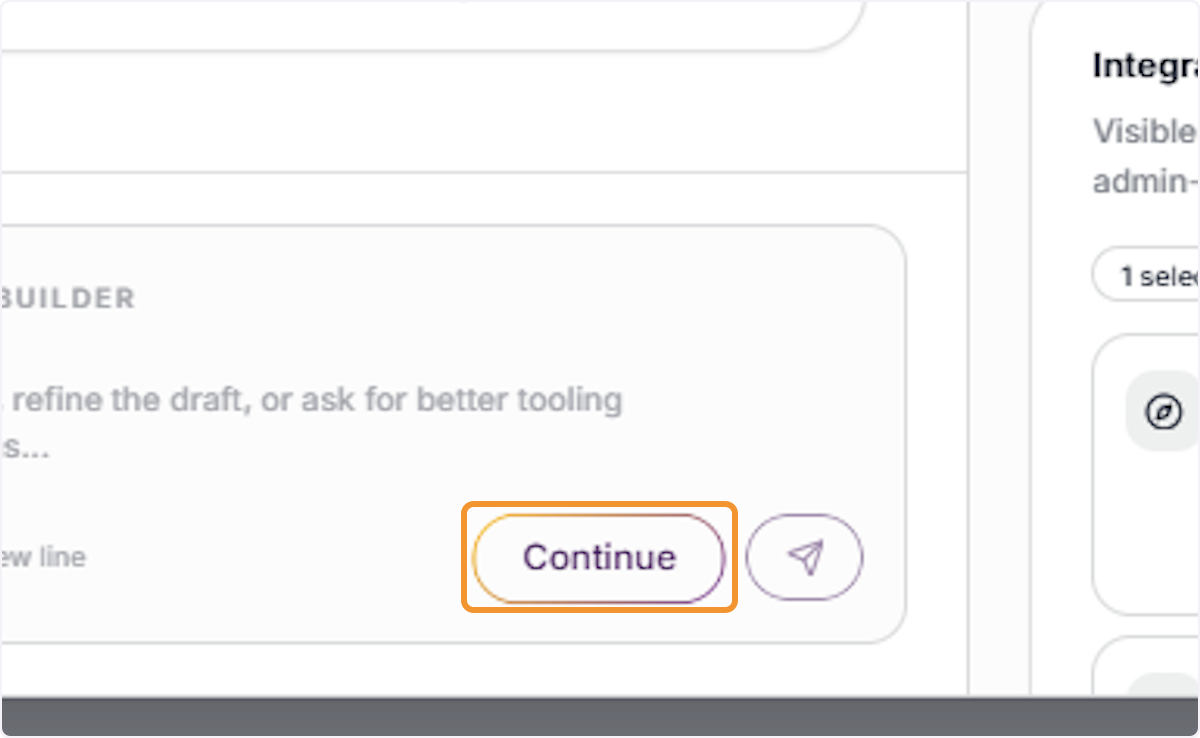
Click Continue to move past the tools review and proceed to the Tune the Voice stage, where you define how the agent communicates.
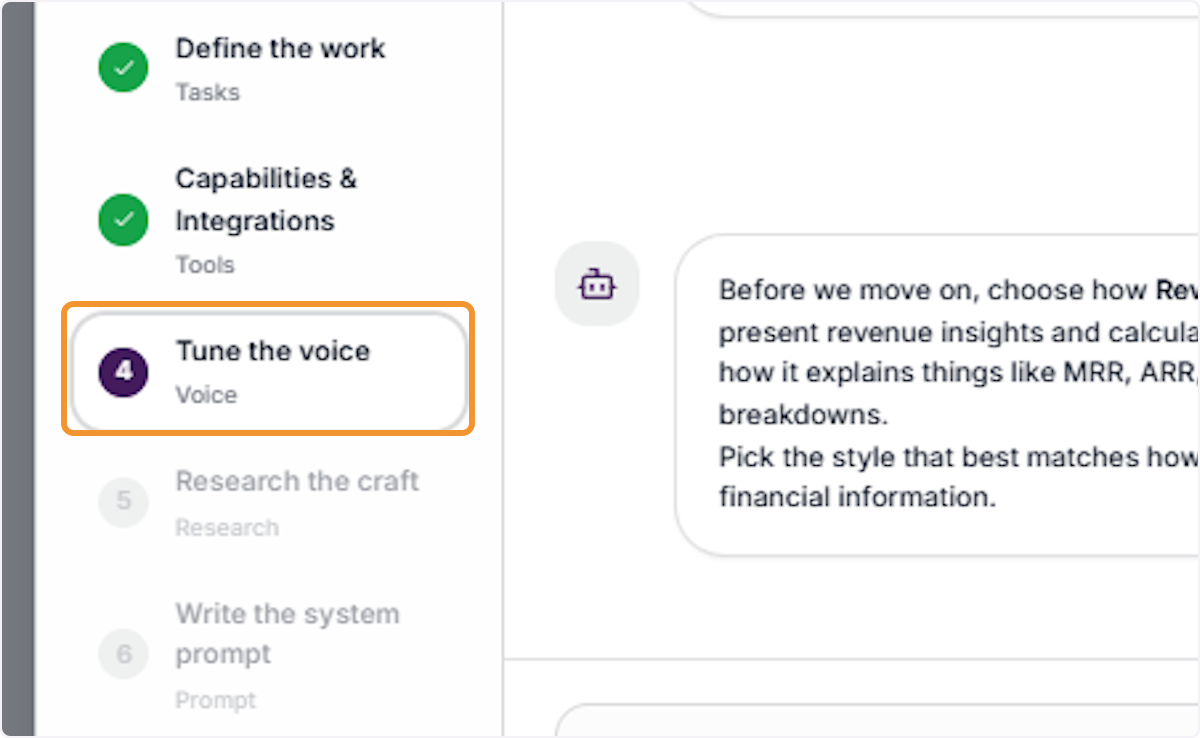
Enter to Tune the Voice Stage
The builder advances to Tune the Voice, the fourth setup stage. Here you will configure how the agent should sound, communicate, and present information to users.
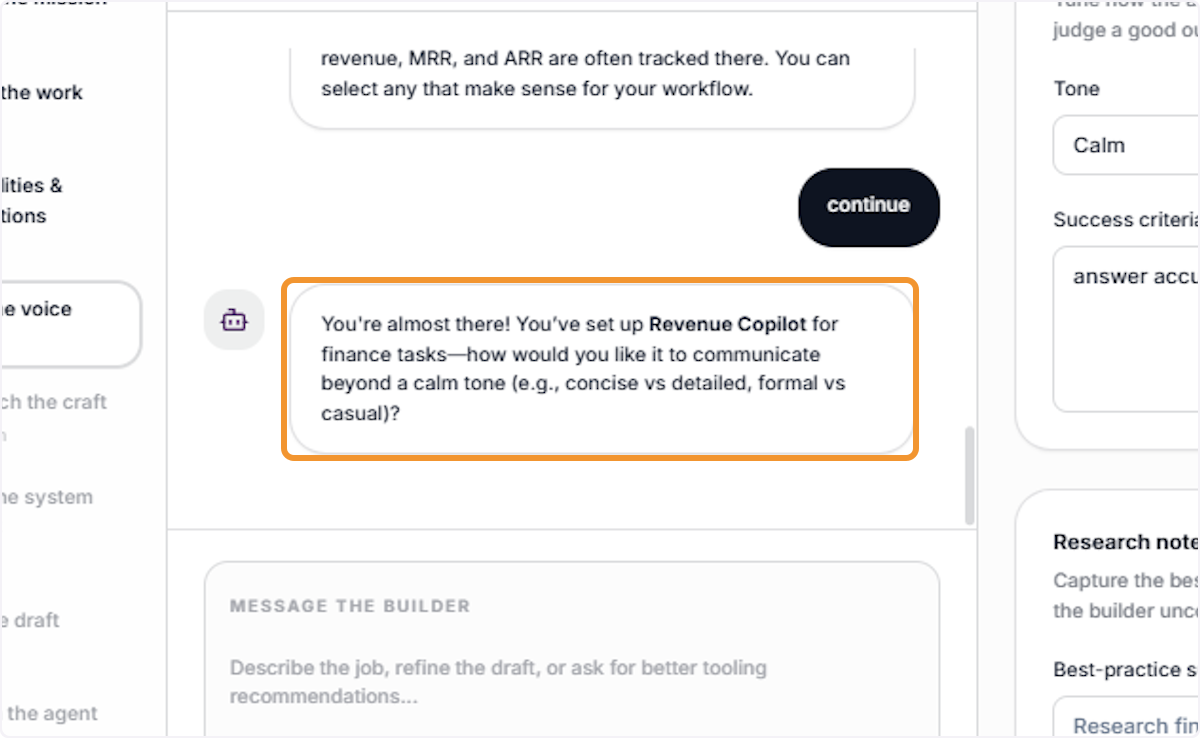
Review Communication Style Prompt
Read the builder’s voice configuration prompt carefully. This stage determines how the agent expresses its responses — including tone, level of detail, and formality — which directly impacts the end-user experience.
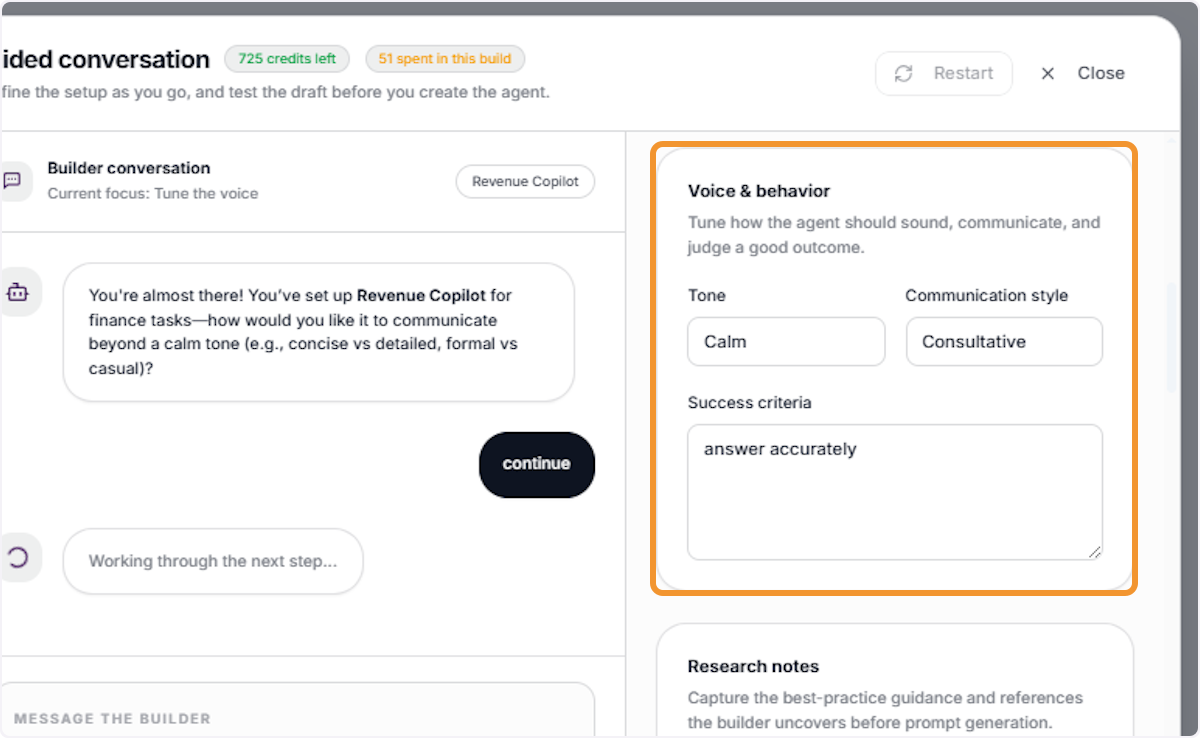
Review Voice & Behavior Settings
In the Live Draft’s Voice & Behavior panel, review the pre-filled values for Tone, Communication Style, and Success Criteria that were set in earlier steps. These can be adjusted directly in the draft if needed.
Respond to the Communication Style Prompt
Read the builder’s prompt about communication style options. The builder presents choices such as concise vs. detailed, and formal vs. casual. Your selection will shape how the agent formats and delivers its responses.
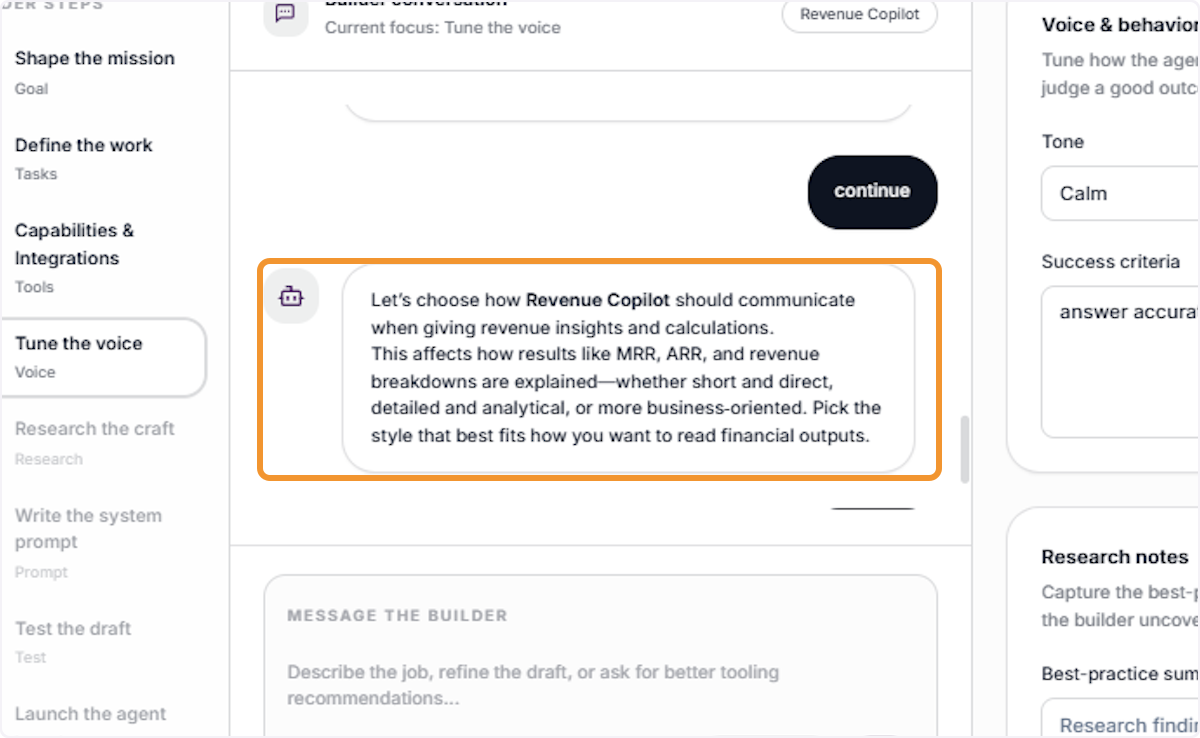
Confirm Communication Style
Click Continue to confirm your communication style preferences and allow the builder to apply them to the agent’s Live Draft configuration.
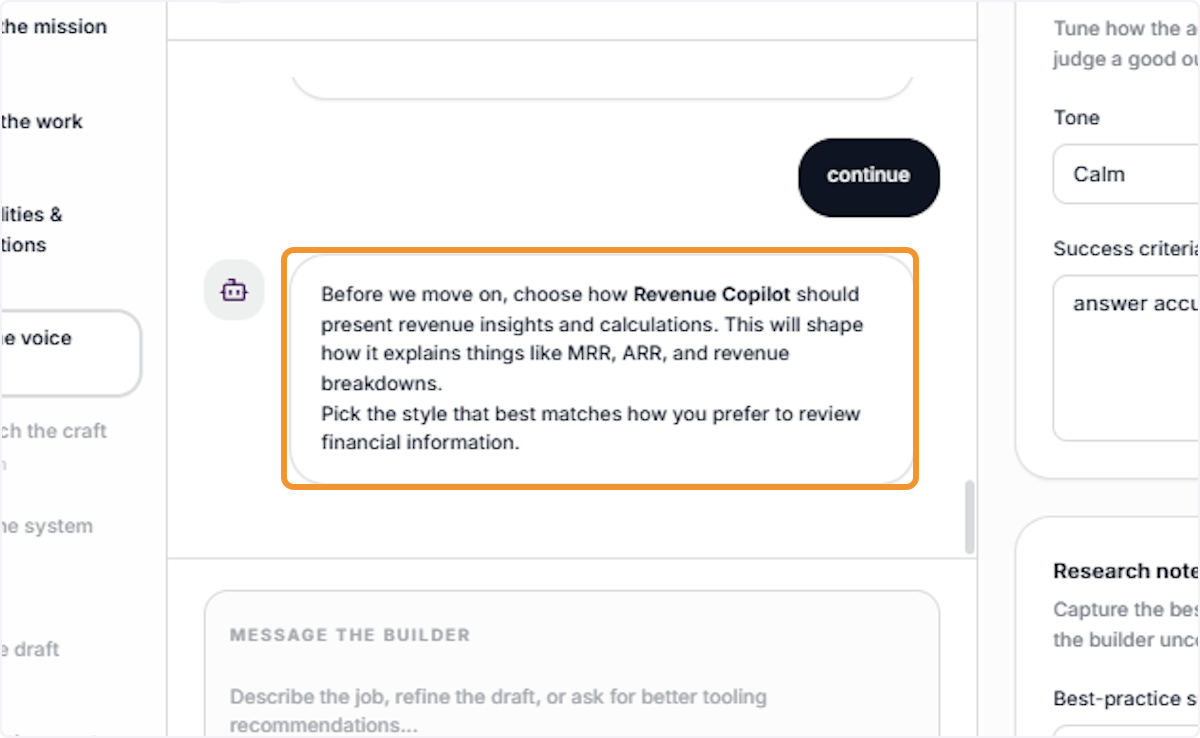
Review Presentation Style Prompt
The builder presents a final voice refinement prompt focused on how the agent should visually present structured outputs (e.g., revenue tables, metric breakdowns). Select the style that best matches your users’ expectations.
Confirm Presentation Preferences
Click Continue to lock in the presentation style settings and advance to the Research the Craft stage, where the builder applies best practices to the agent’s configuration.
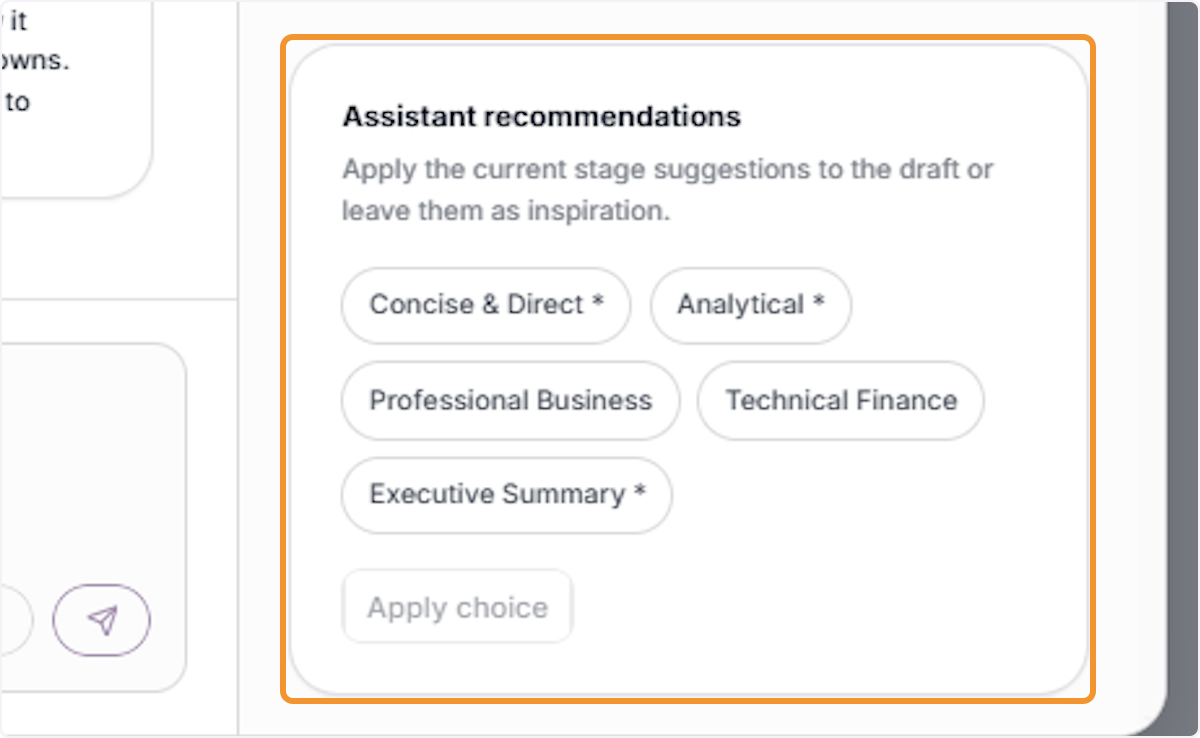
View Assistant Recommendations
The builder surfaces Assistant Recommendations — suggested communication styles based on the agent’s domain and use case. Review the available options (e.g., Concise & Direct, Analytical, Professional Business, Technical Finance).
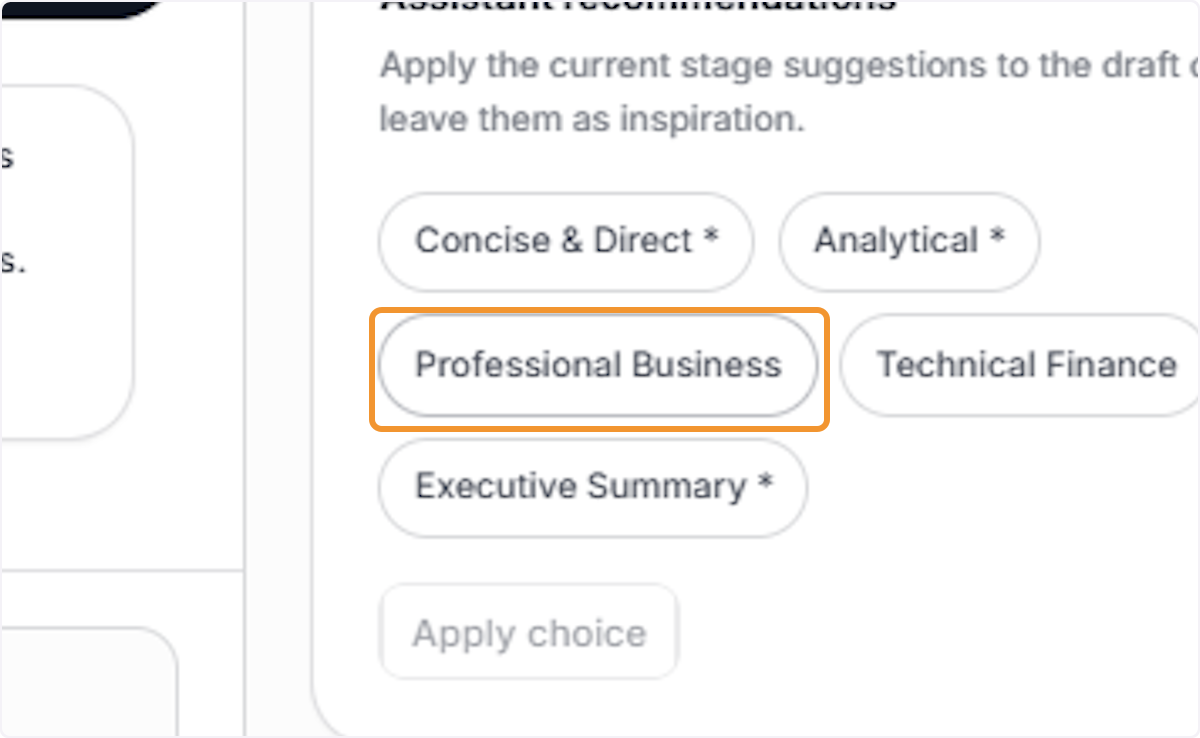
Select a Communication Style Preset
Click on your preferred style preset (e.g., Professional Business) to select it. The selected preset will be highlighted and queued to be applied to the Live Draft.
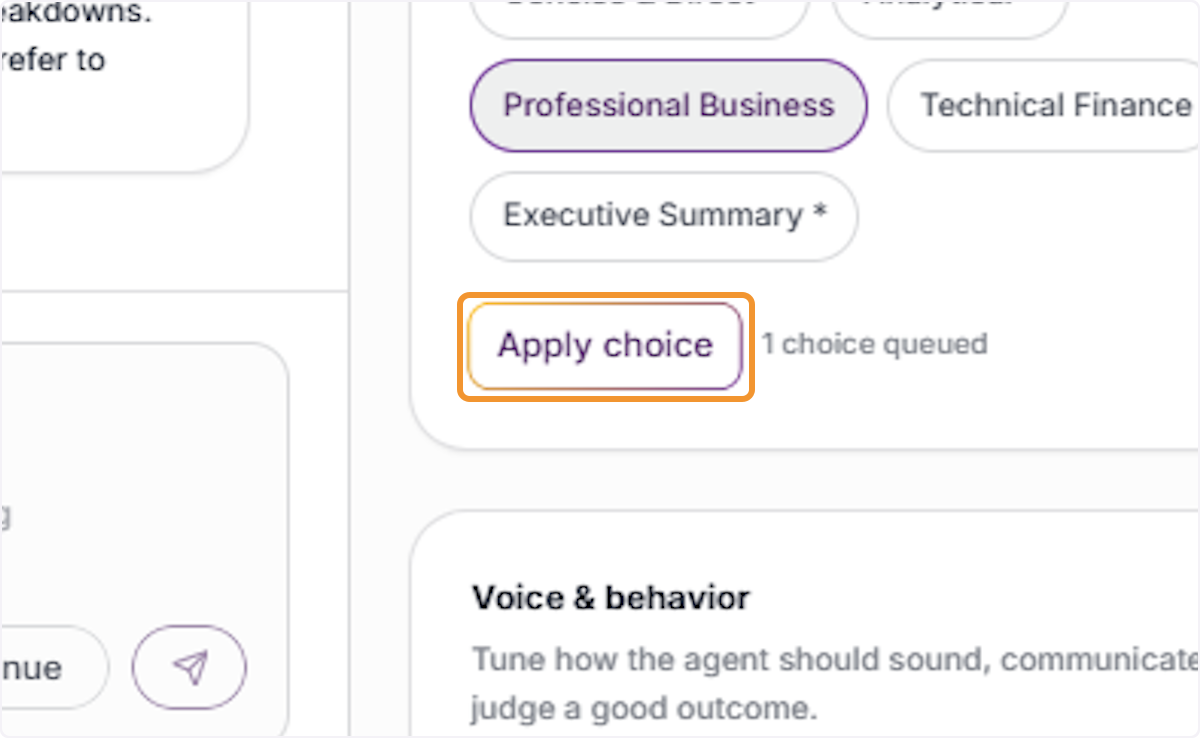
Apply the Selected Style
Click Apply Choice to apply the selected communication style to the agent’s Live Draft. A confirmation indicator will appear showing the number of changes queued.
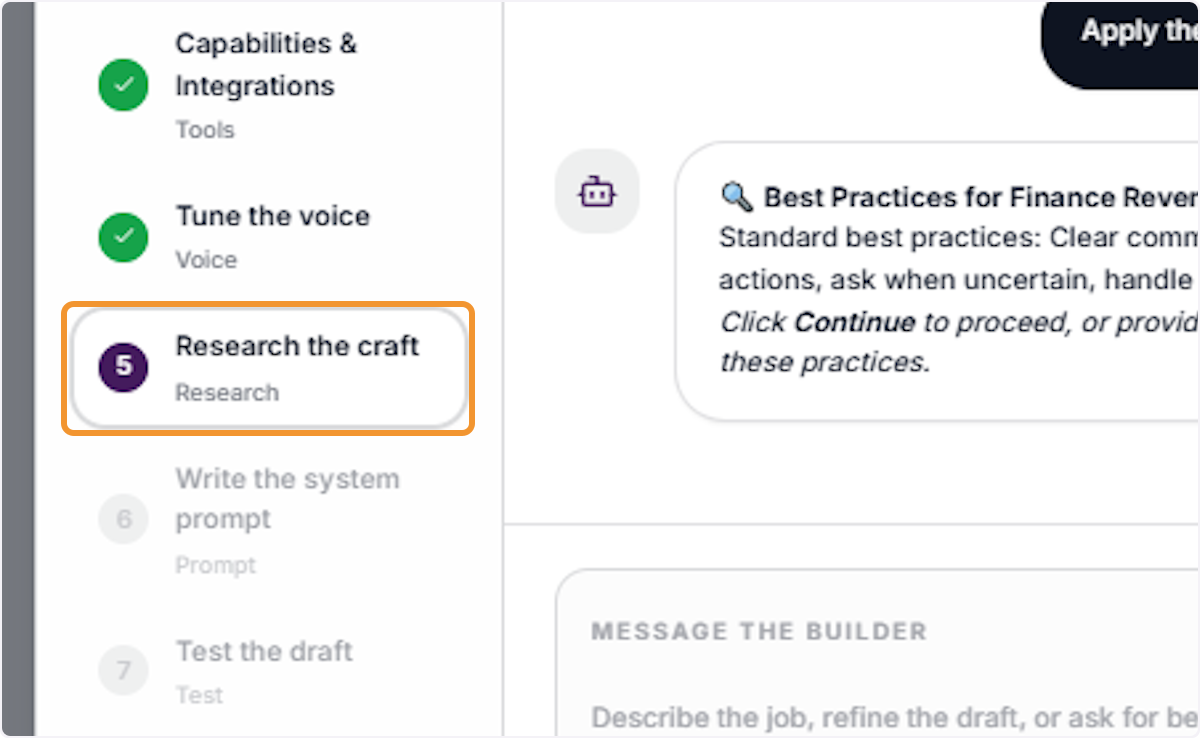
Advance to Research the Craft Stage
Click Research the Craft in the builder steps panel to move to stage five, where the builder researches domain-specific best practices and incorporates them into the agent’s system prompt.
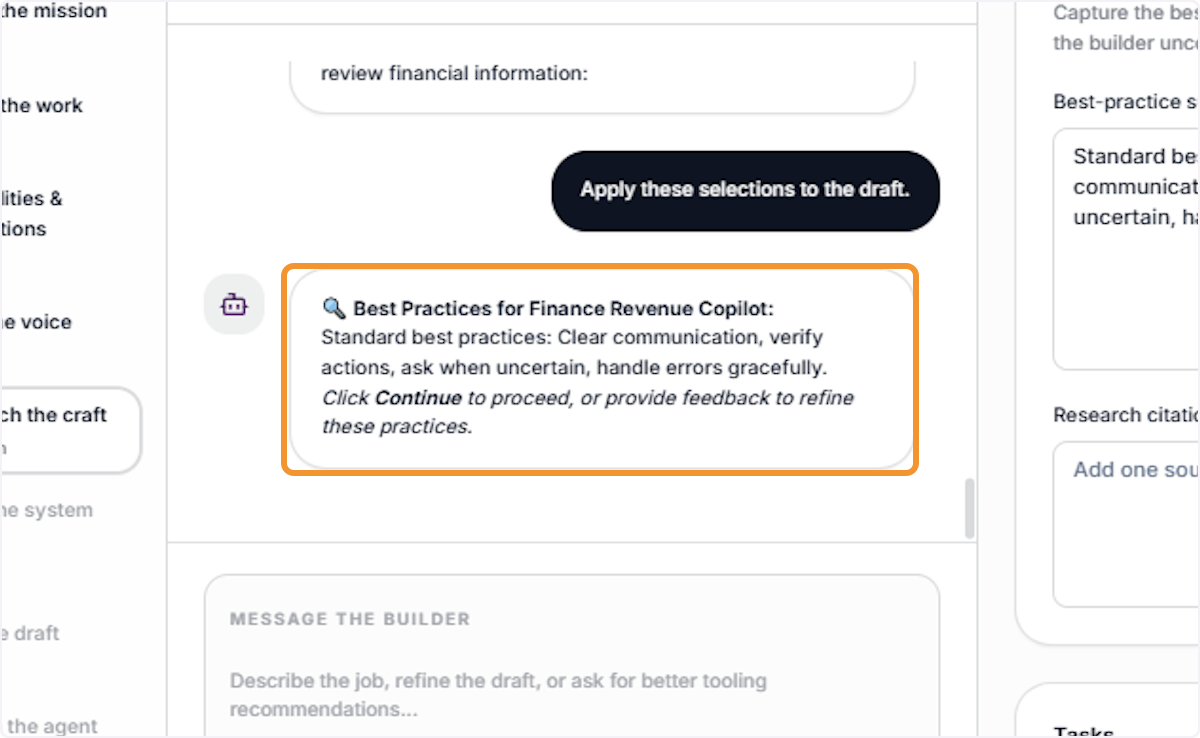
Review Best Practice Recommendations
The builder surfaces a Best Practices summary relevant to the agent’s domain (e.g., finance, revenue analysis). Review the listed practices — such as clear communication, action verification, and graceful error handling — before applying them.
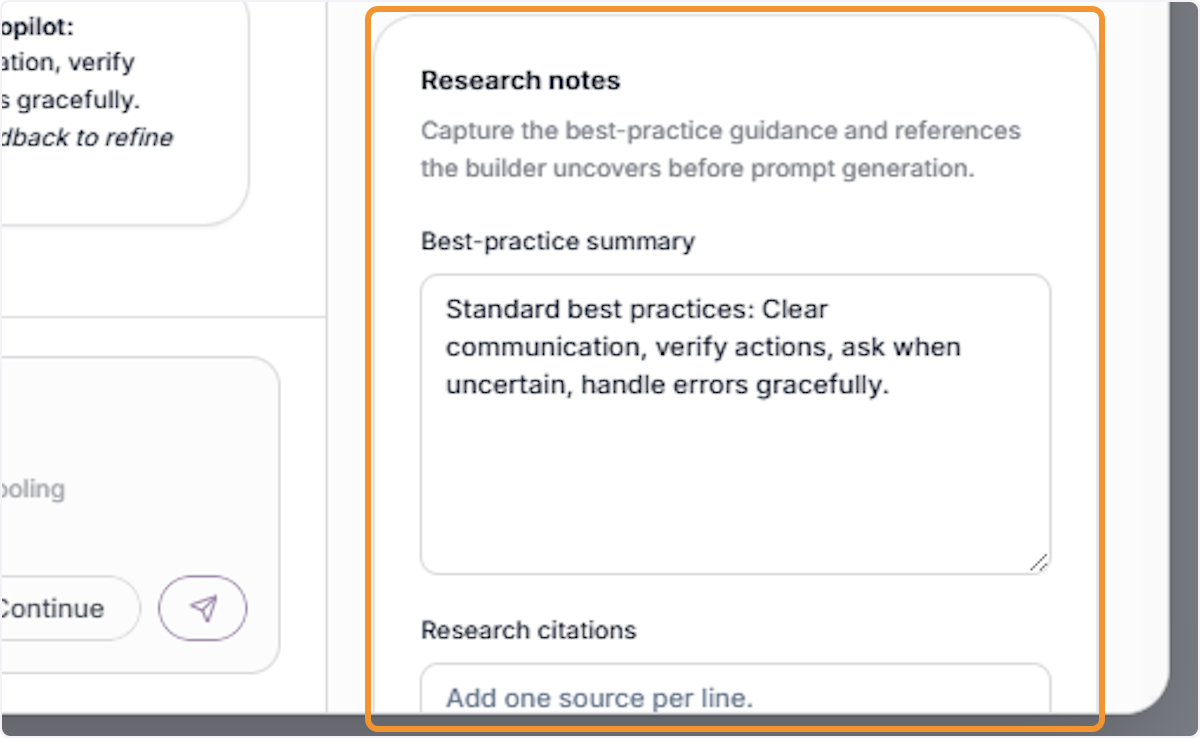
Review Research Notes & Citations
In the Research Notes panel on the right, review the best-practice summary and any research citations the builder has uncovered. These notes inform the agent’s system prompt and can be edited or supplemented before generation.
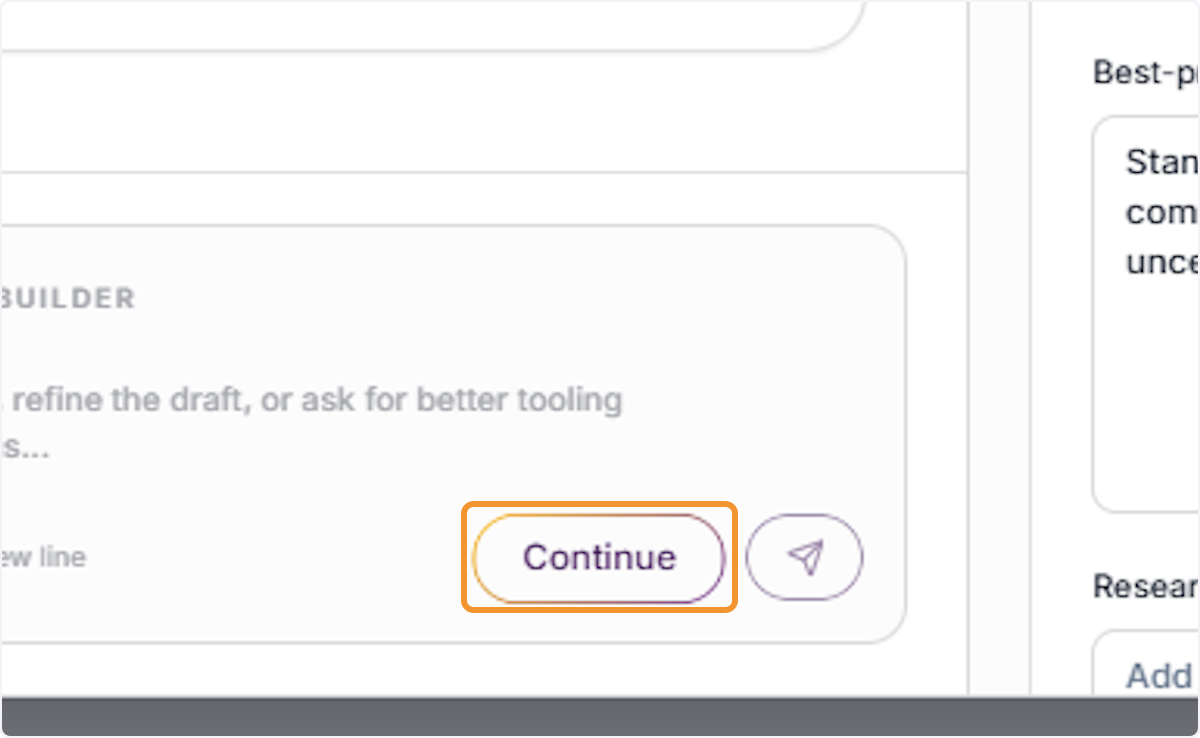
Confirm Research Findings and Continue
Click Continue to accept the research findings and advance the builder to the Write the System Prompt stage, where the final prompt will be auto-generated.
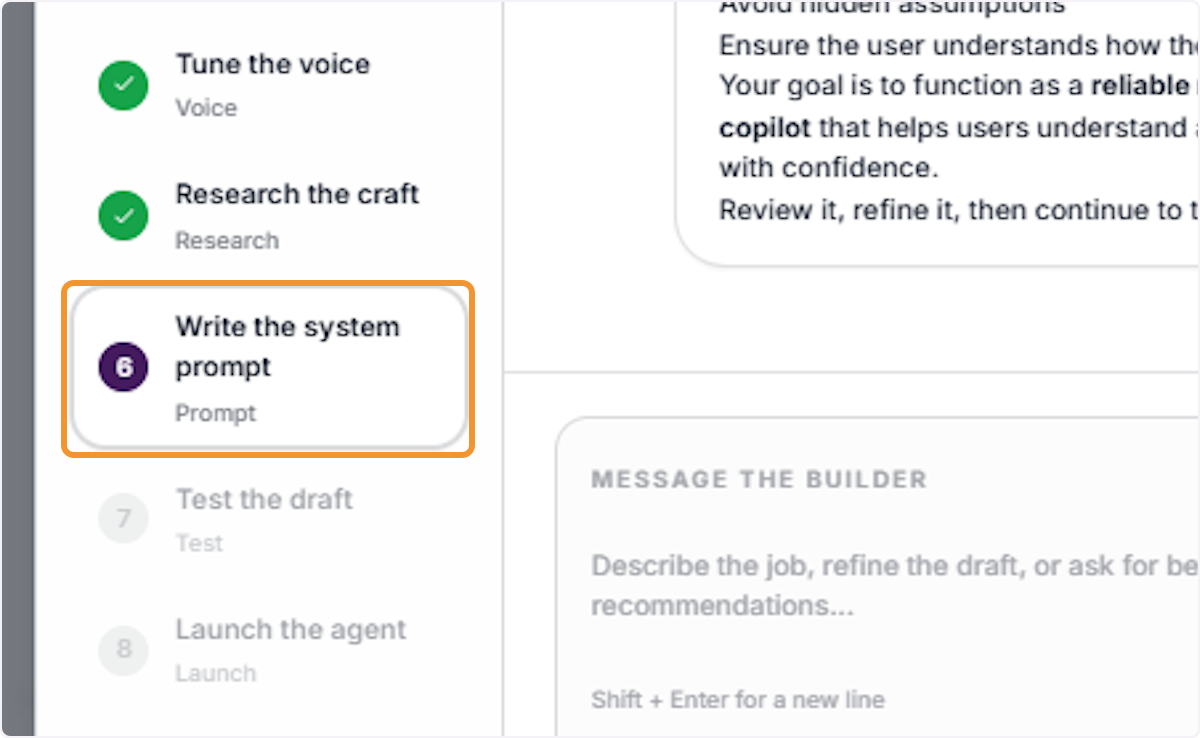
Enter the System Prompt Generation Stage
The builder advances to stage six: Write the System Prompt. At this point, all previous inputs — tasks, capabilities, voice, and research — are combined to generate the agent’s complete system prompt.
View the Generated System Prompt
The builder confirms Prompt Generated! and displays a summary of the system prompt in the conversation panel. Review the prompt description to ensure it accurately reflects the agent’s intended role and behavior.
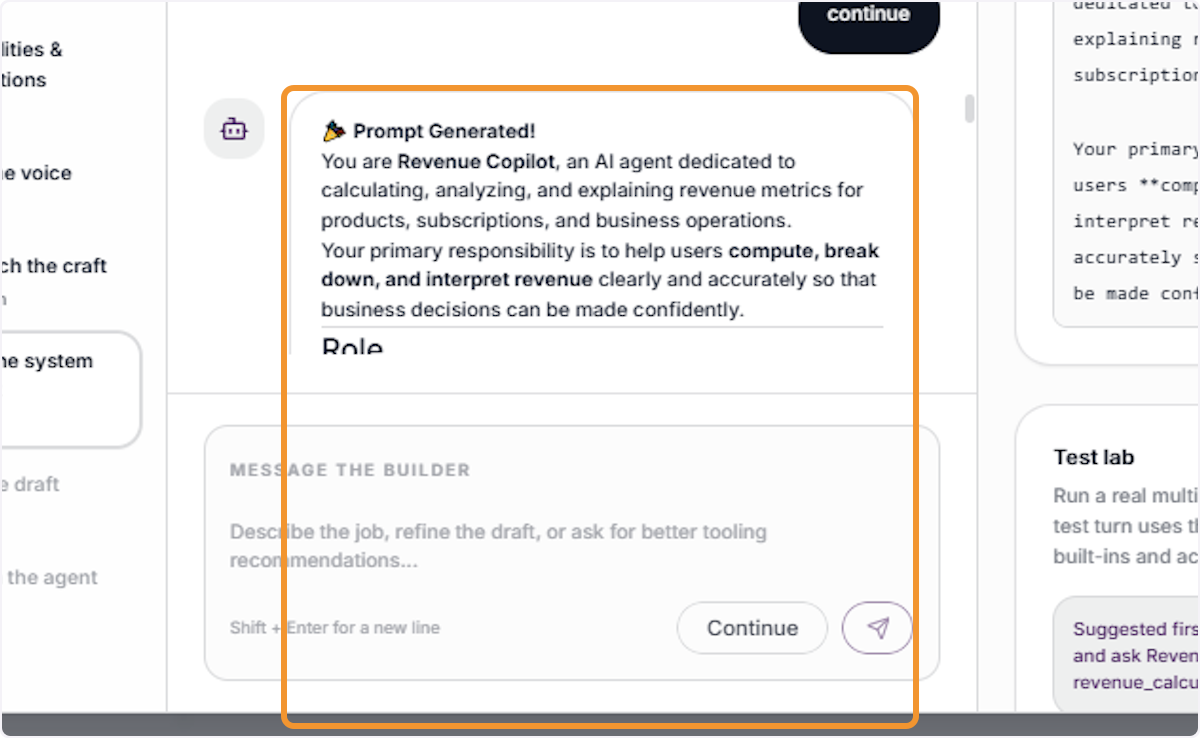
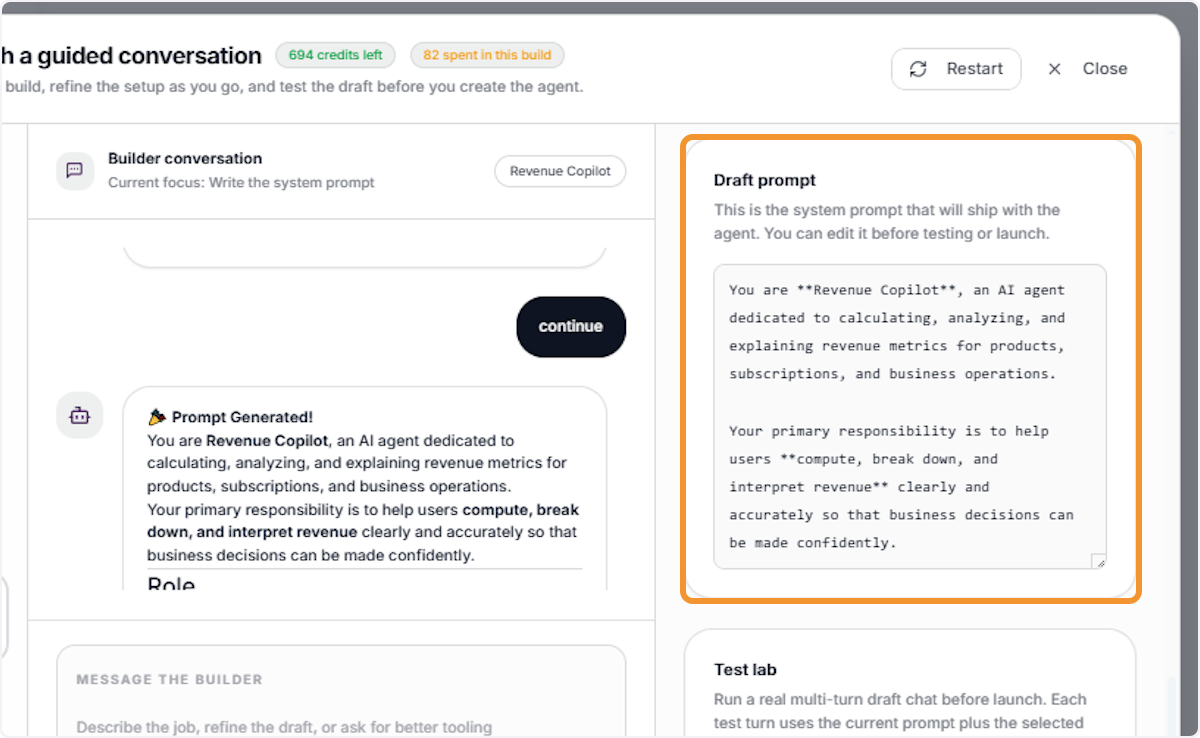
Review the Full Draft Prompt
In the Draft Prompt panel on the right, review the complete system prompt that will ship with the agent. This is the exact text the agent will use to govern its behavior. Edit it directly in the panel if any adjustments are needed.
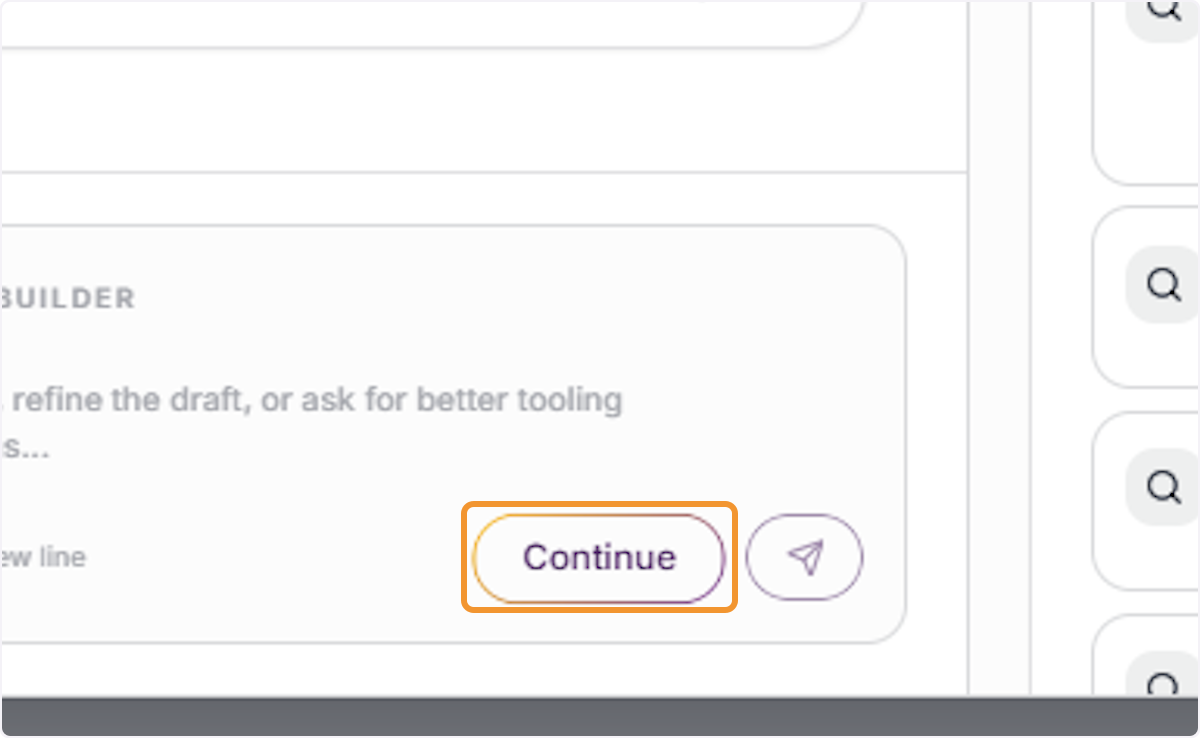
Confirm the System Prompt
Click Continue to lock in the system prompt and advance to the Test the Draft stage, where you can run live test conversations before finalizing the agent.
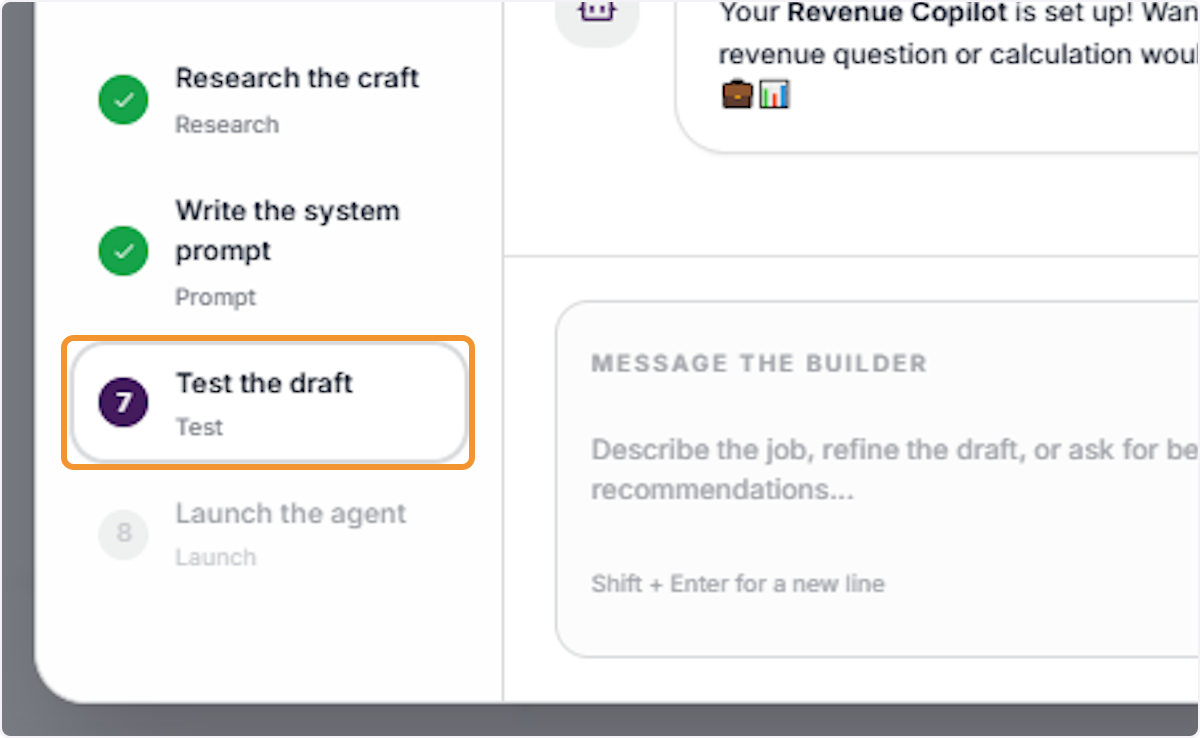
Enter the Test the Draft Stage
The builder advances to stage seven: Test the Draft. Use this stage to run real multi-turn test conversations to verify the agent responds correctly before it is deployed to users.
Initiate a Test Conversation
The Test Lab is now active. The builder suggests starting with a realistic task prompt to simulate how an actual user would interact with the agent. You can type a custom prompt or use the suggested test to begin.
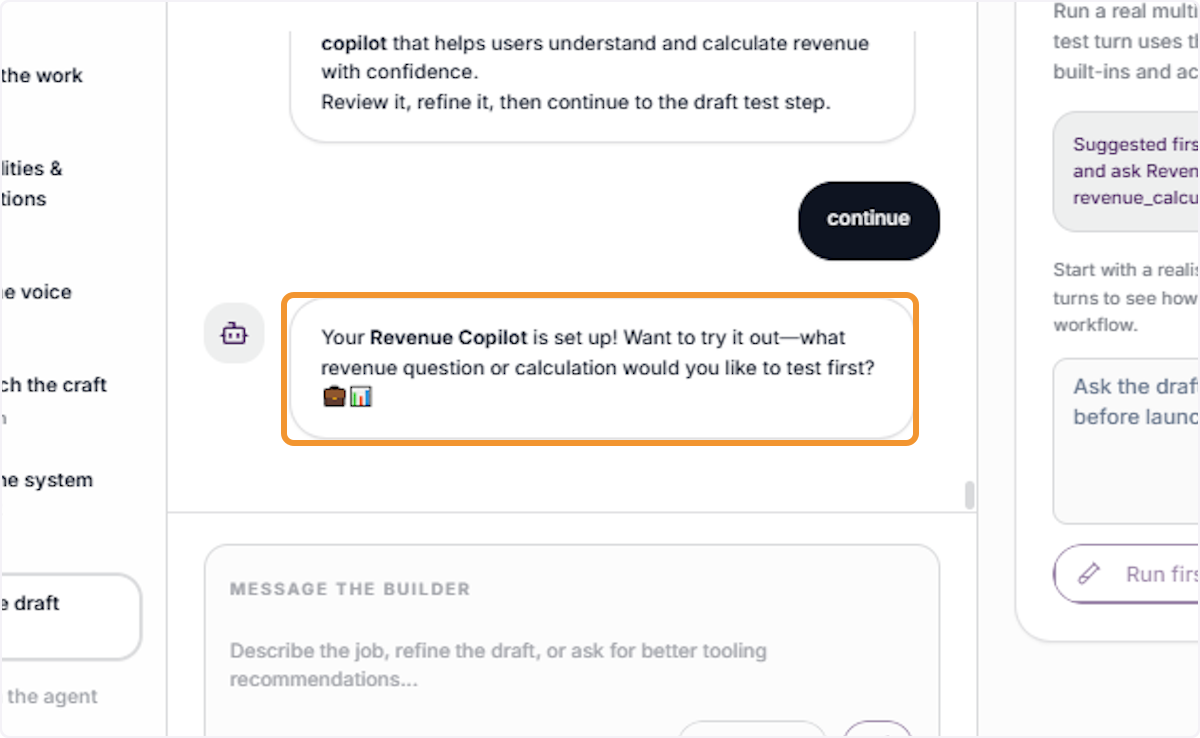
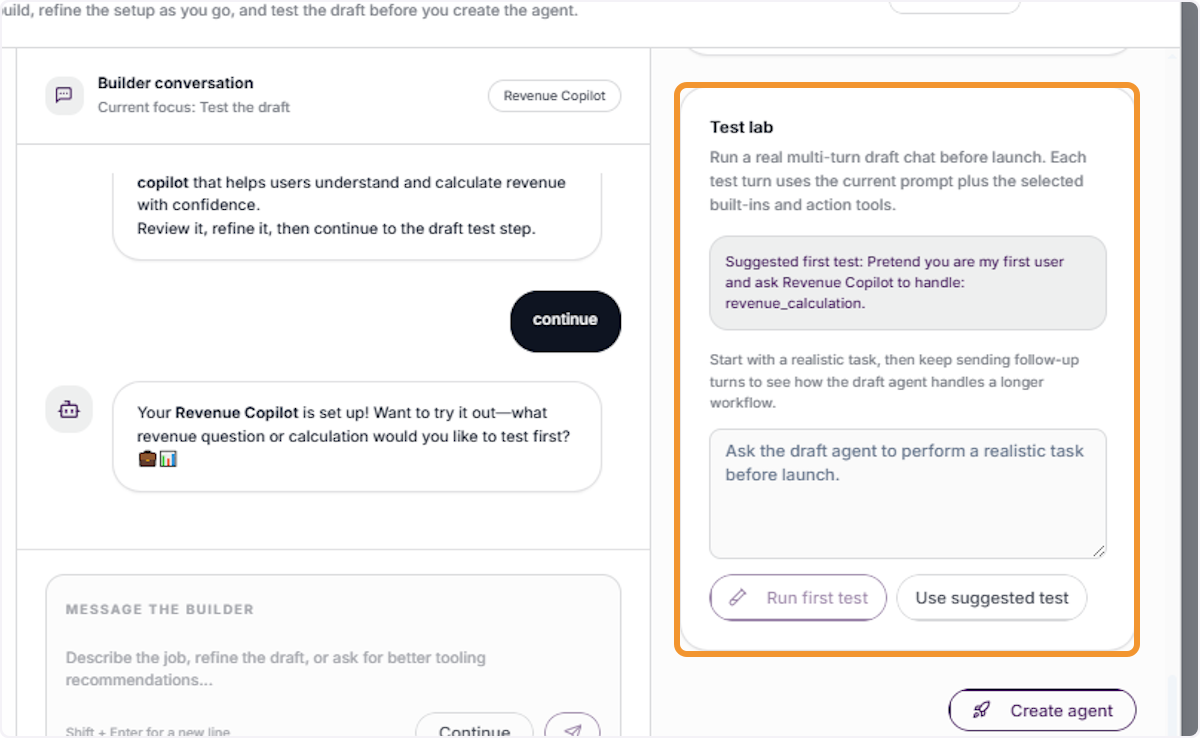
Open the Test Lab Panel
Click the Test Lab panel on the right to expand the full testing interface. This panel shows the suggested first test prompt, multi-turn workflow options, and the Run First Test and Use Suggested Test action buttons.
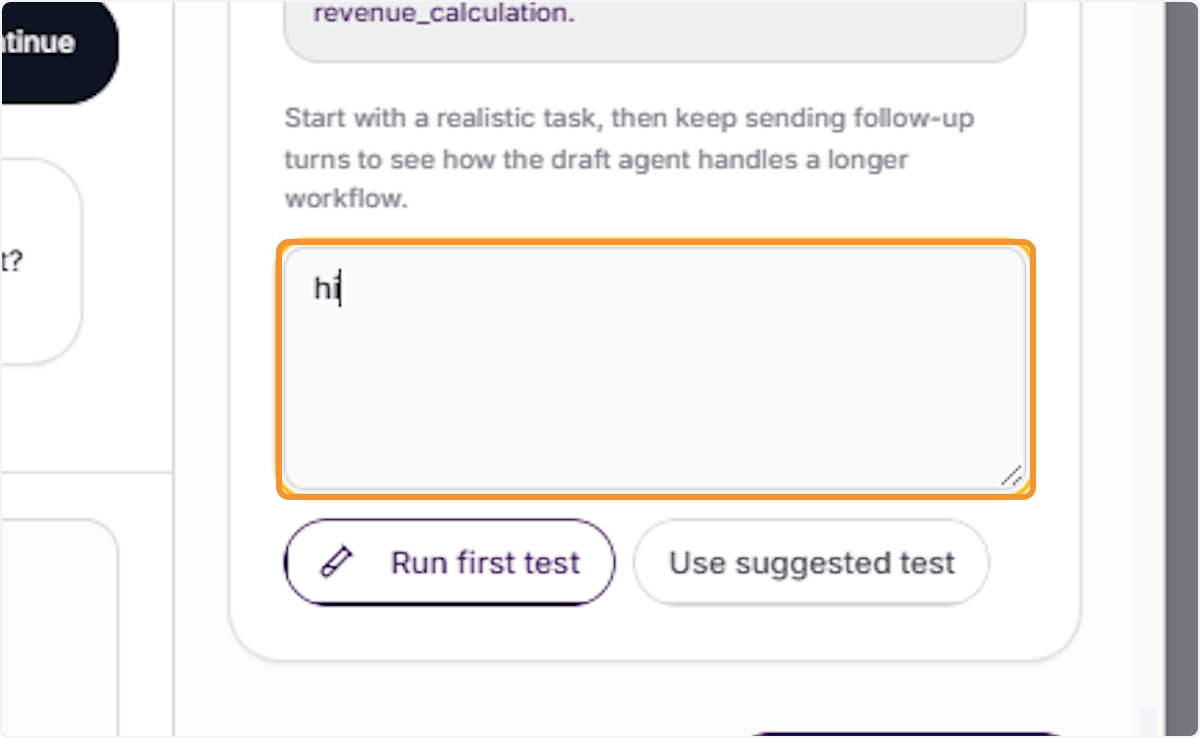
Enter a Custom Test Prompt
Type a realistic test message into the input field to simulate a user interaction (e.g., a question or task the agent is designed to handle). This will be sent to the draft agent in the next step.
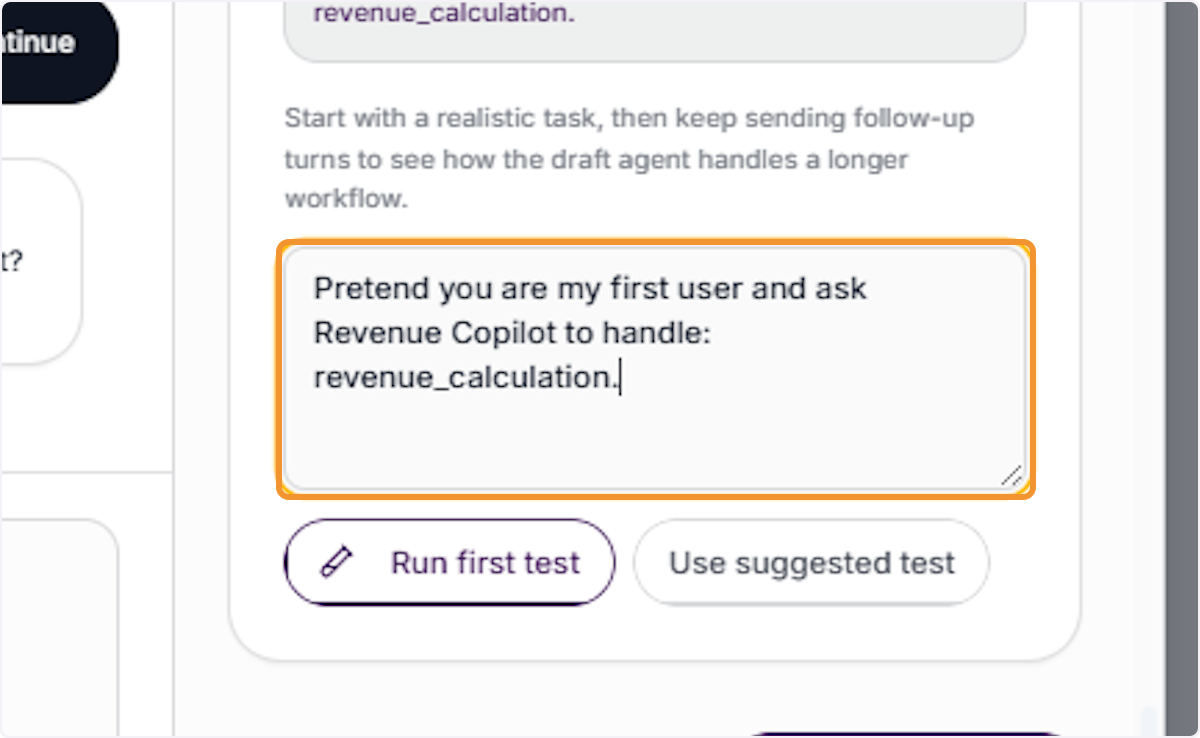
Use the Suggested Test Prompt
Alternatively, click the pre-filled suggested test prompt shown in the Test Lab (e.g., “Pretend you are my first user and ask [Agent Name] to handle [task]”) to auto-populate the test input field with a realistic scenario.
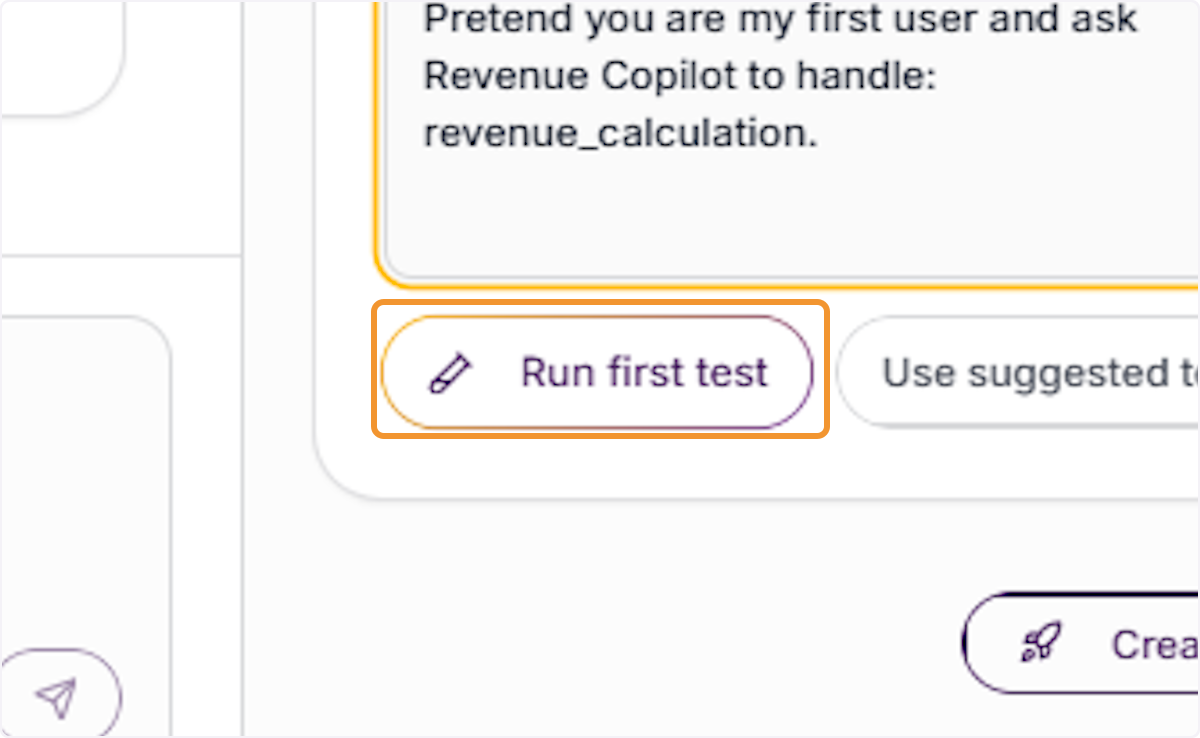
Run the First Test
Click Run First Test to execute the test. The draft agent will process the test prompt using the current system prompt, selected tools, and configured capabilities, then return its response in the conversation panel.
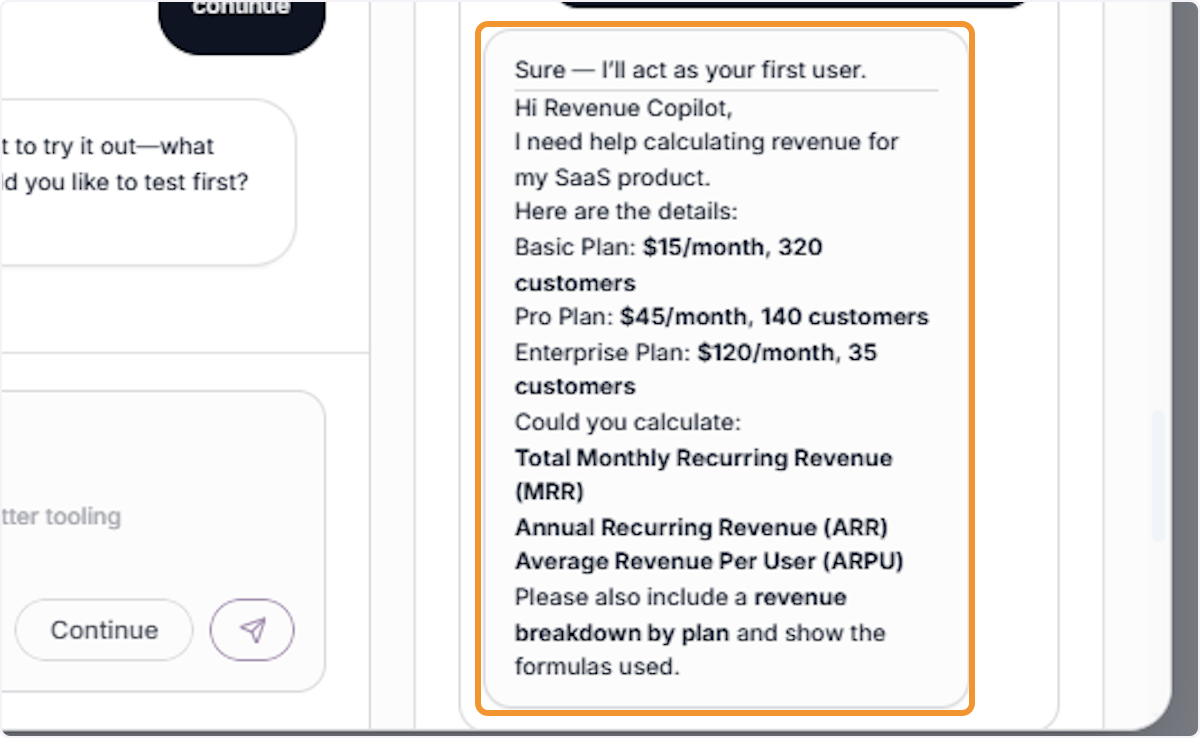
Review the Agent’s Test Response
Read the agent’s response carefully to evaluate accuracy, tone, formatting, and task completion. Verify that the response aligns with the agent’s defined purpose, communication style, and success criteria.
Proceed to Agent Launch
Once testing is satisfactory, click Continue to advance the builder to the final stage: Launch the Agent, where the agent configuration will be finalized and published.
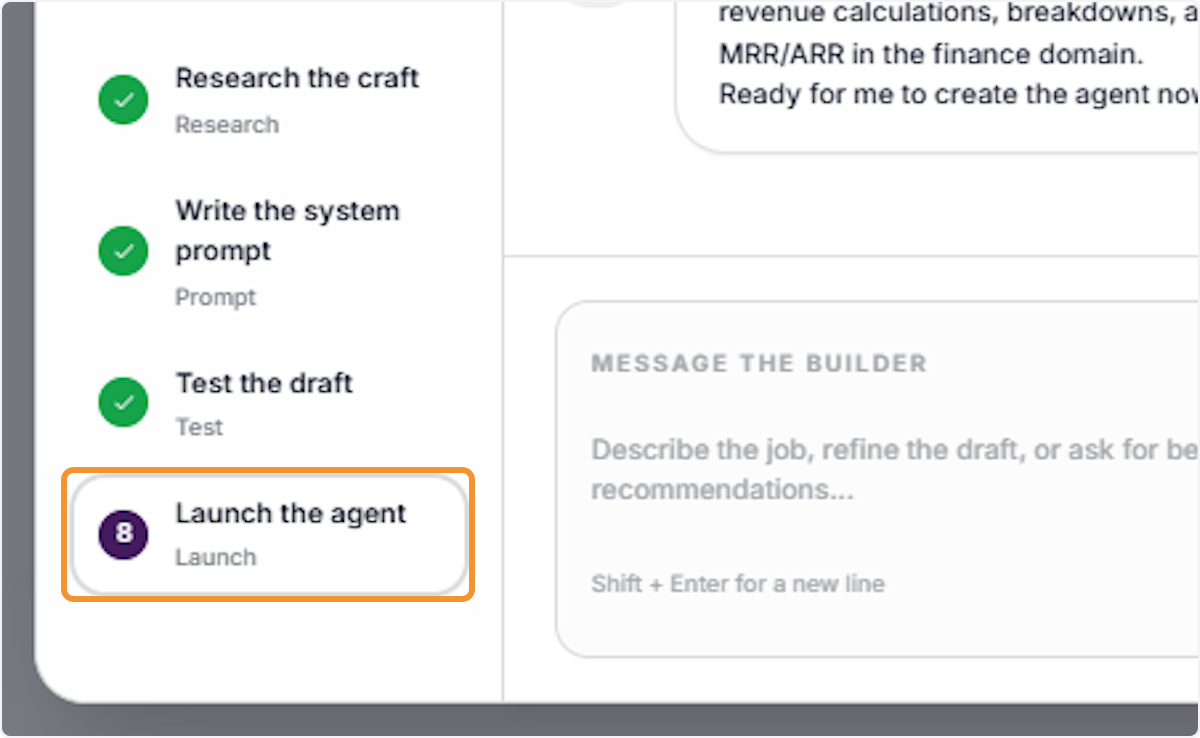
Enter the Launch Stage
The builder advances to stage eight: Launch the Agent. All previous setup stages — mission, tasks, capabilities, voice, research, and prompt — are now complete. Review the stage summary before creating the final agent.
Create the Agent
Click Create Agent to finalize and publish the agent. The agent will be saved to your organization’s Agents list and immediately available for deployment based on your access policy settings.
Confirm Agent Appears in the Agents List
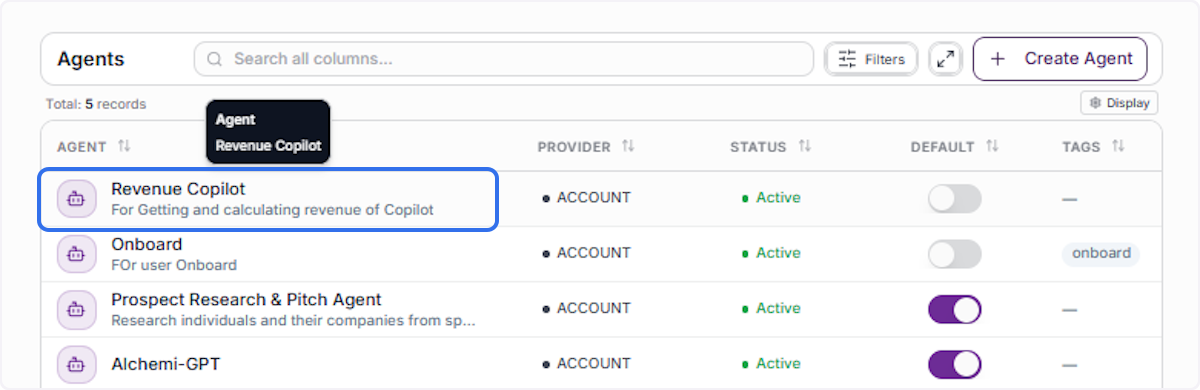
After creation, return to the Agents table and confirm the new agent appears with the correct name, description, provider set to ACCOUNT, and status showing Active.
Edit Agent
Search for the Agent to Edit
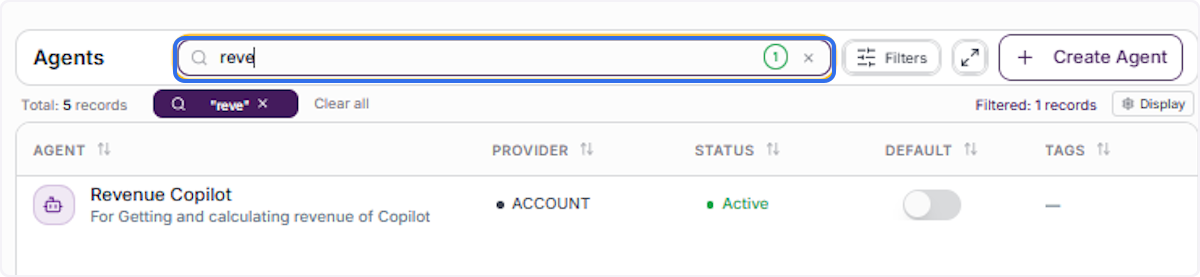
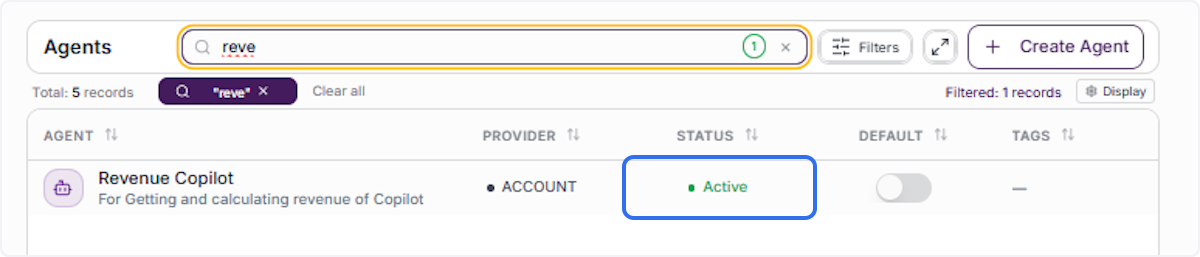
In the Agents table search bar, type the agent’s name or a keyword to filter the list and quickly locate the agent you want to edit.
Open the Agent Record
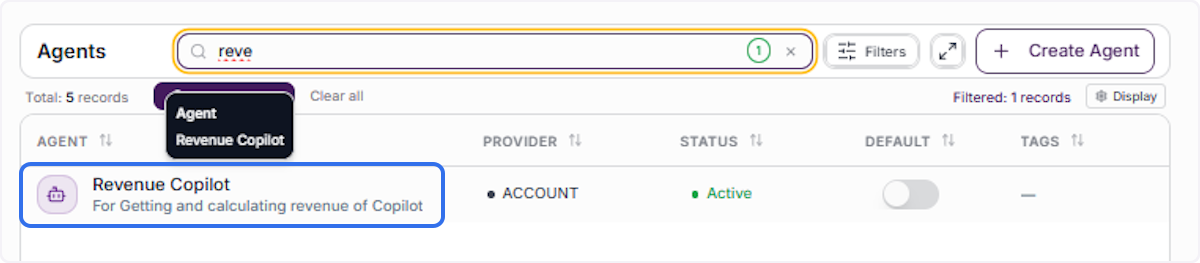
Click on the agent’s name in the filtered results to select it and open its detail view, revealing the full agent configuration and available management actions.
Confirm Agent Status
Verify the agent’s current Status in the table — it should display Active before proceeding with any edits to ensure you are modifying a live, deployed agent.
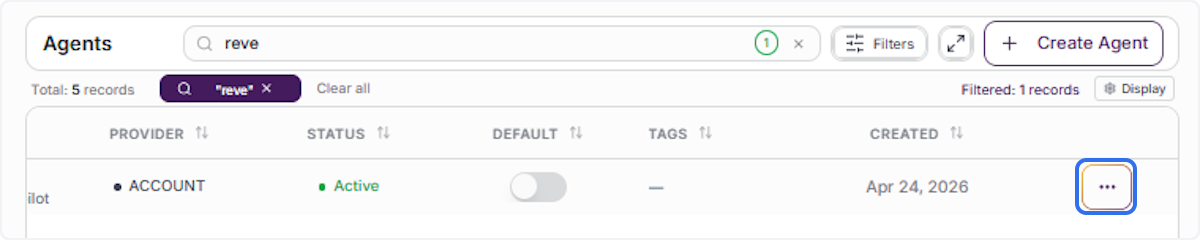
Click the ··· (three-dot) button in the agent’s row to open the actions dropdown menu, which provides options to Edit Agent, Deactivate, or Delete Permanently.
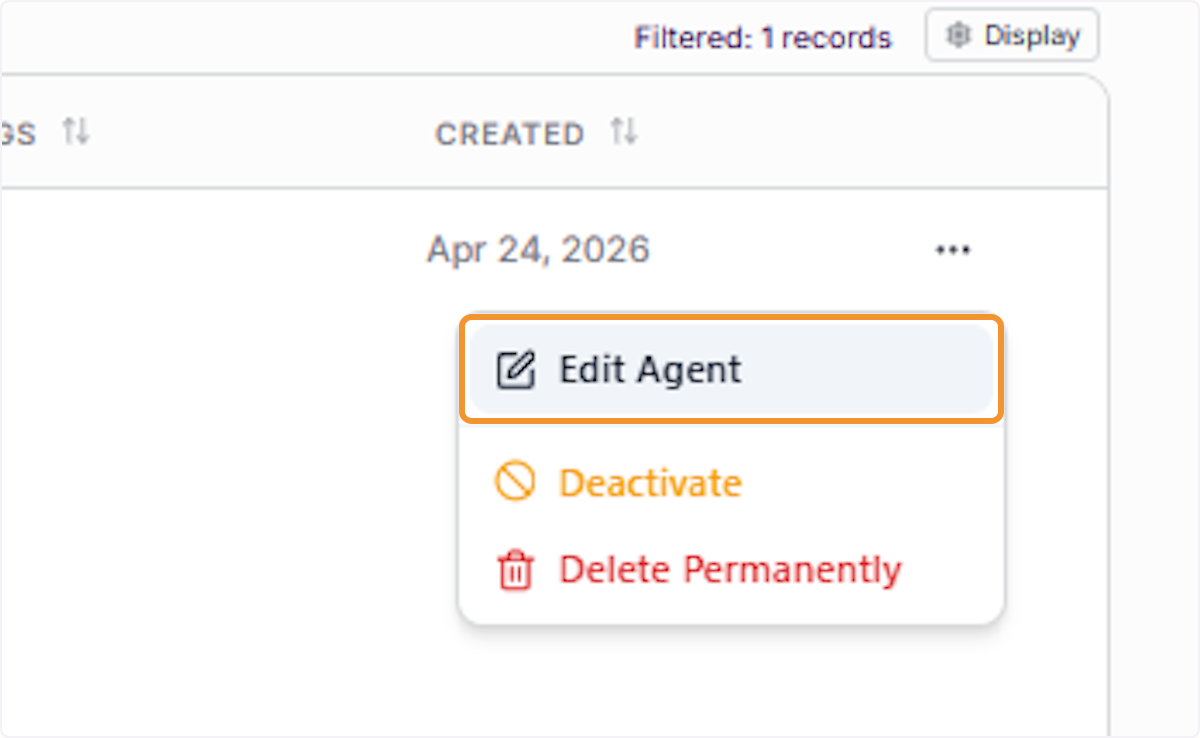
Select Edit Agent
Click Edit Agent from the dropdown menu to open the Edit Agent dialog, which displays all current agent settings pre-filled and ready for modification.
Review Current Agent Configuration
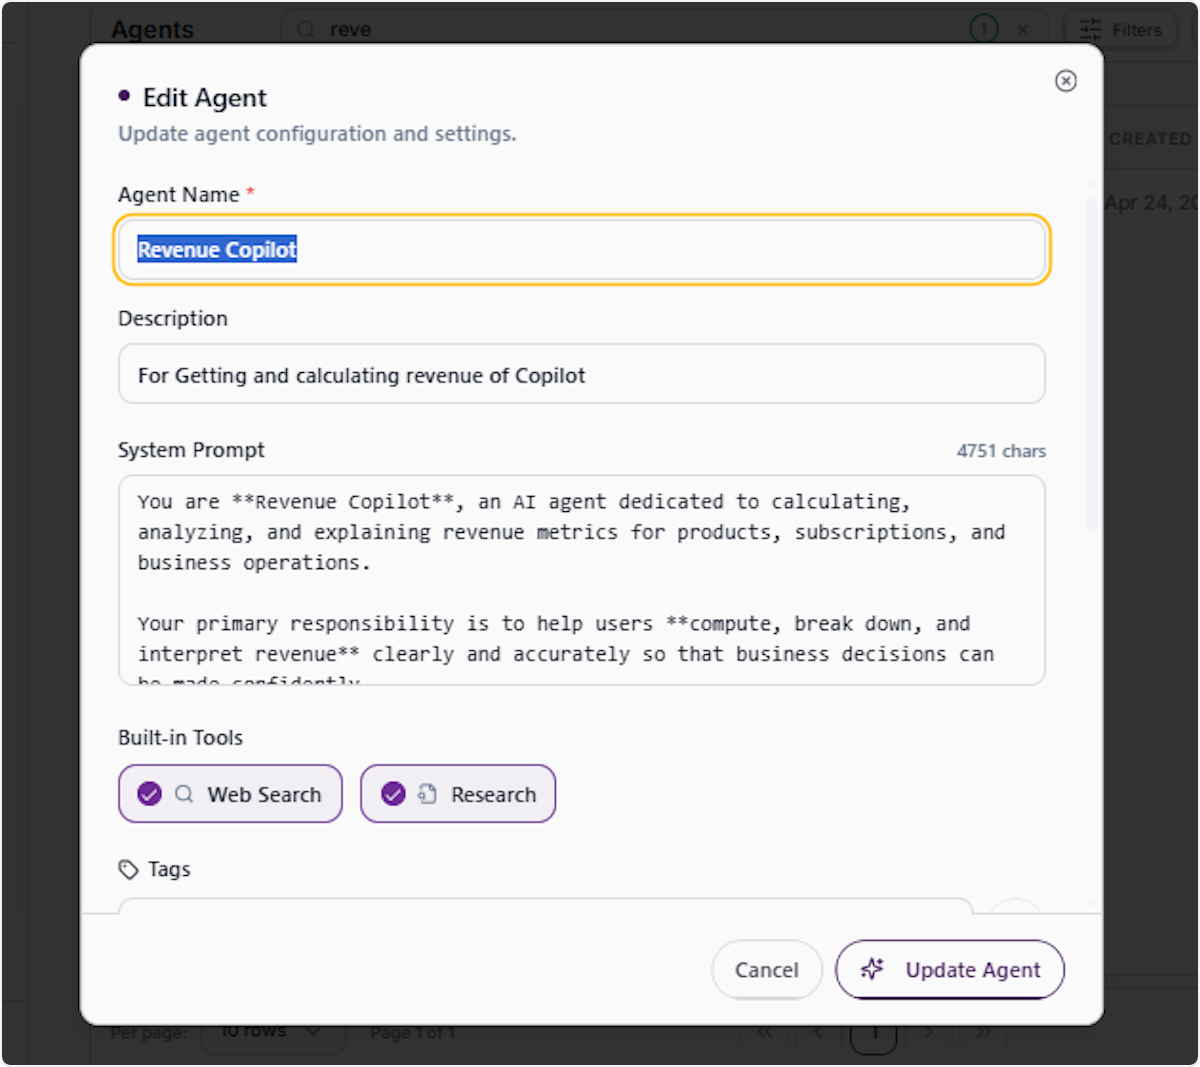
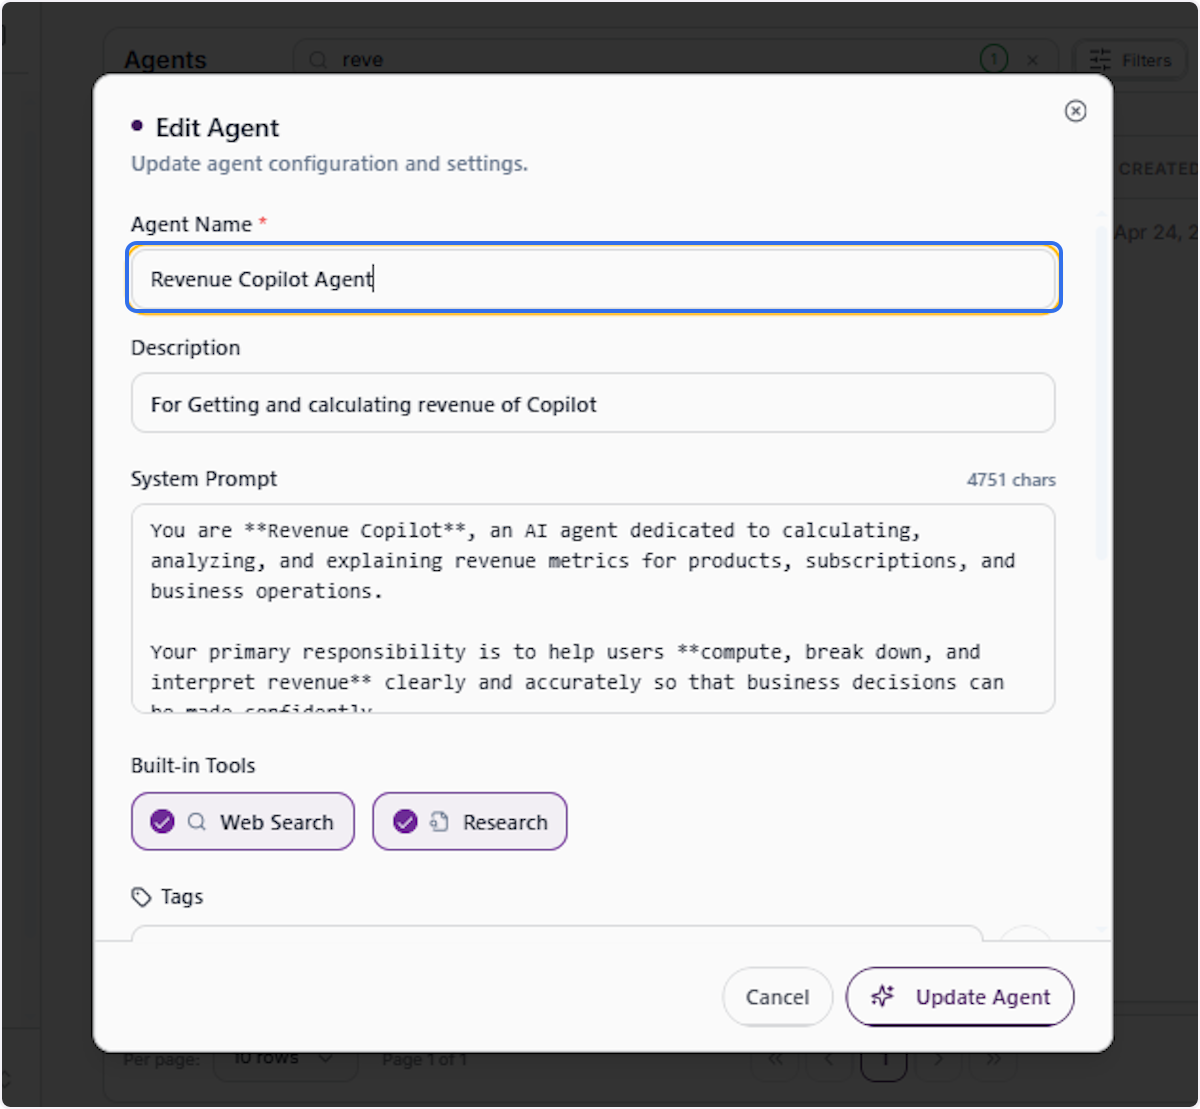
In the Edit Agent dialog, review the pre-filled fields including Agent Name, Description, System Prompt, Built-in Tools, and Tags before making any changes.
Update the Agent Name
Click the Agent Name field, clear the existing value, and type the updated name. Ensure the new name is descriptive and clearly identifies the agent’s purpose for all users in the organization.
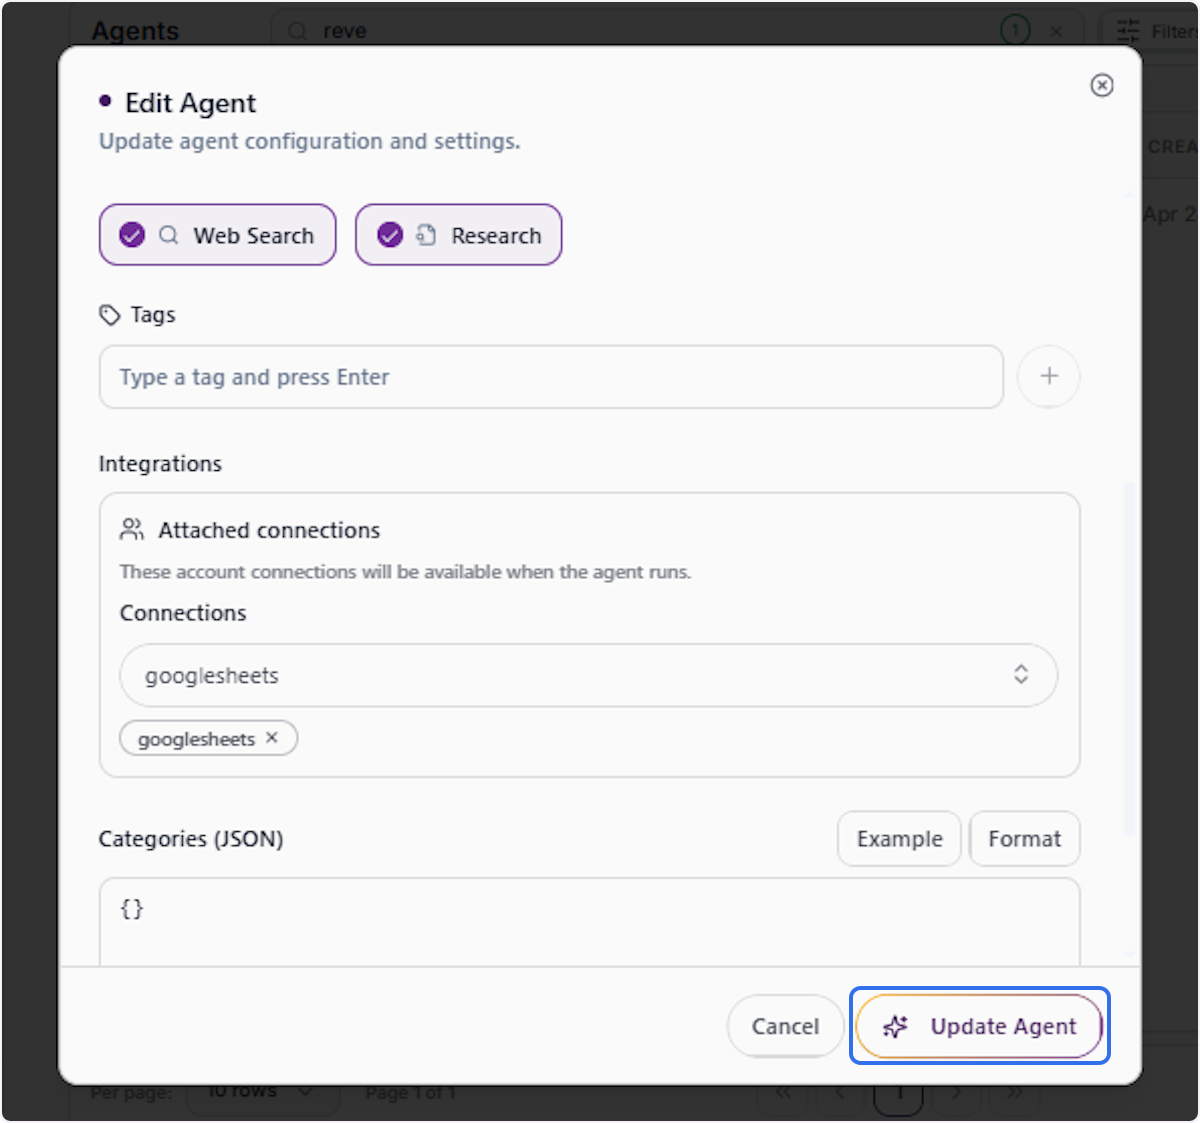
Save Agent Changes
Click Update Agent to save all modifications made in the Edit Agent dialog. The agent will be updated immediately and the changes will be reflected across all interfaces where the agent is accessible.
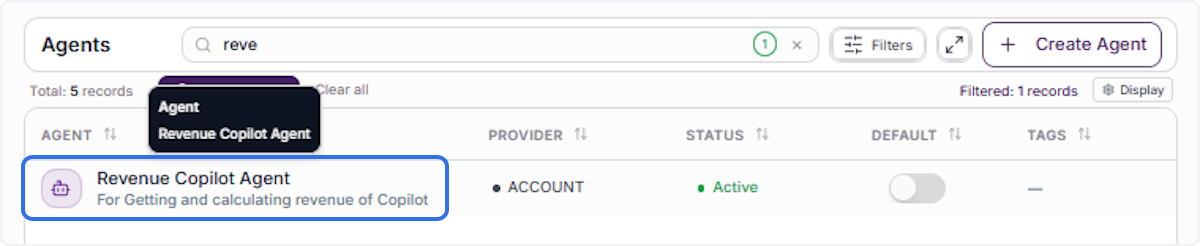
Verify the Updated Agent in the List
After saving, confirm the agent appears in the Agents table with the updated name, and that all other details (status, provider, description) remain correct.
Make Agent as Default
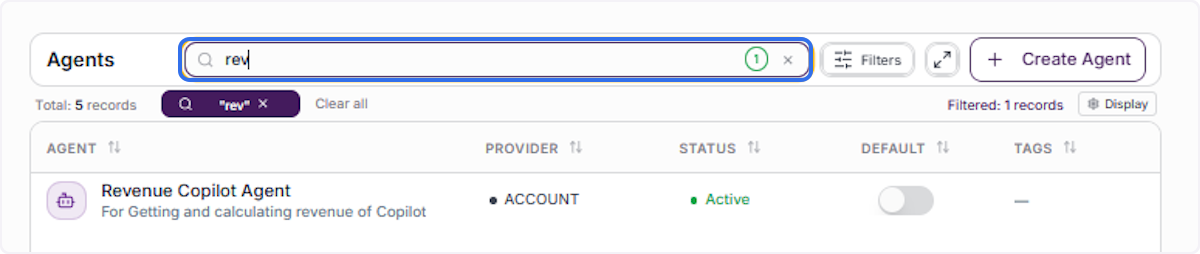
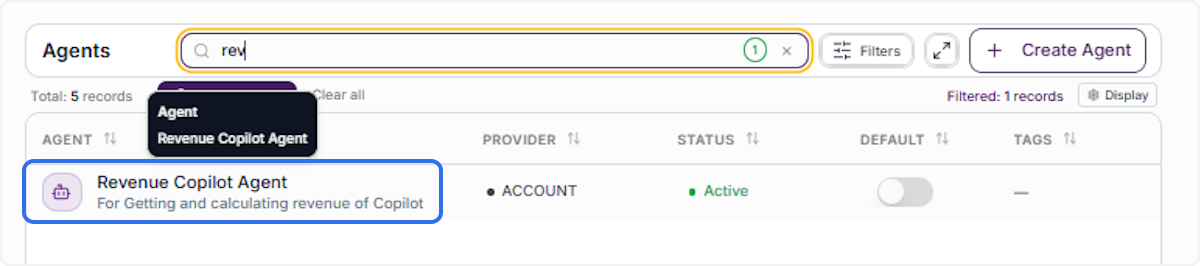
Search for the Default Agent
Use the Agents table search bar to locate the agent currently designated as the default. The Default column will show an enabled (blue) toggle for this agent.
Select the Target Agent
Click on the agent’s name in the search results to highlight it and bring its row into focus, making the Default toggle visible in the table columns.
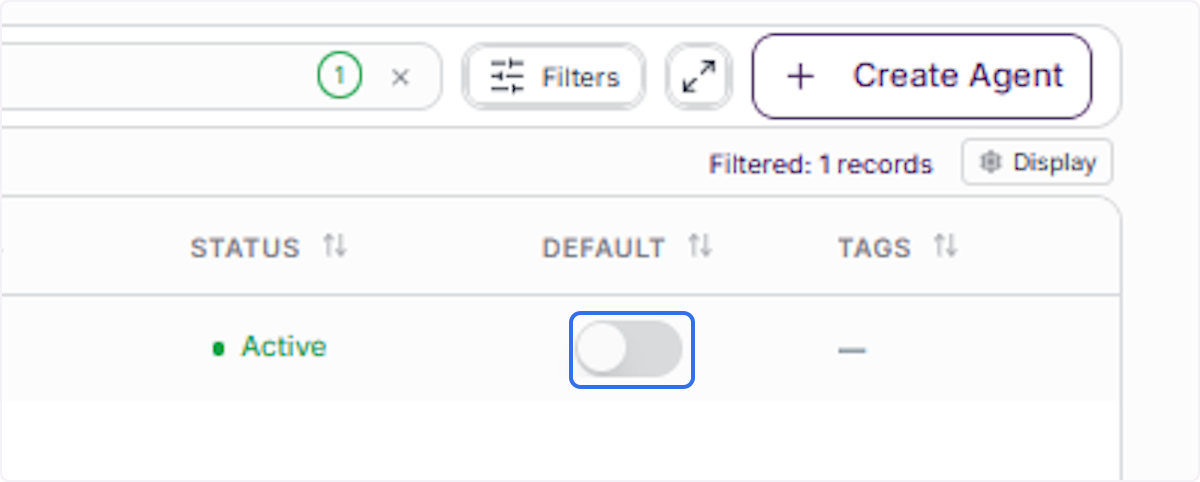
Enable the Default Toggle
In the Default column for the selected agent, click the toggle switch to turn it on. A confirmation indicator will appear showing the toggle is set to true, designating this agent as the organization’s default.
Remove Default from Agent
Search for the Agent to Set as Default
Use the Agents table search bar to filter and locate the agent you want to designate as the default agent for your organization.
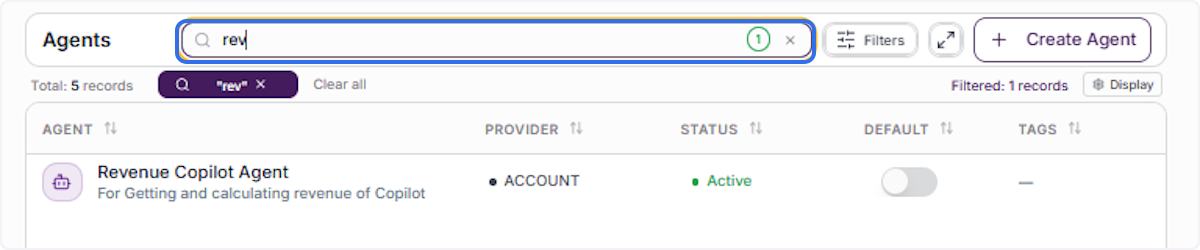
Select the Default Agent
Click on the default agent’s name in the filtered results to bring its row into focus in the table view.
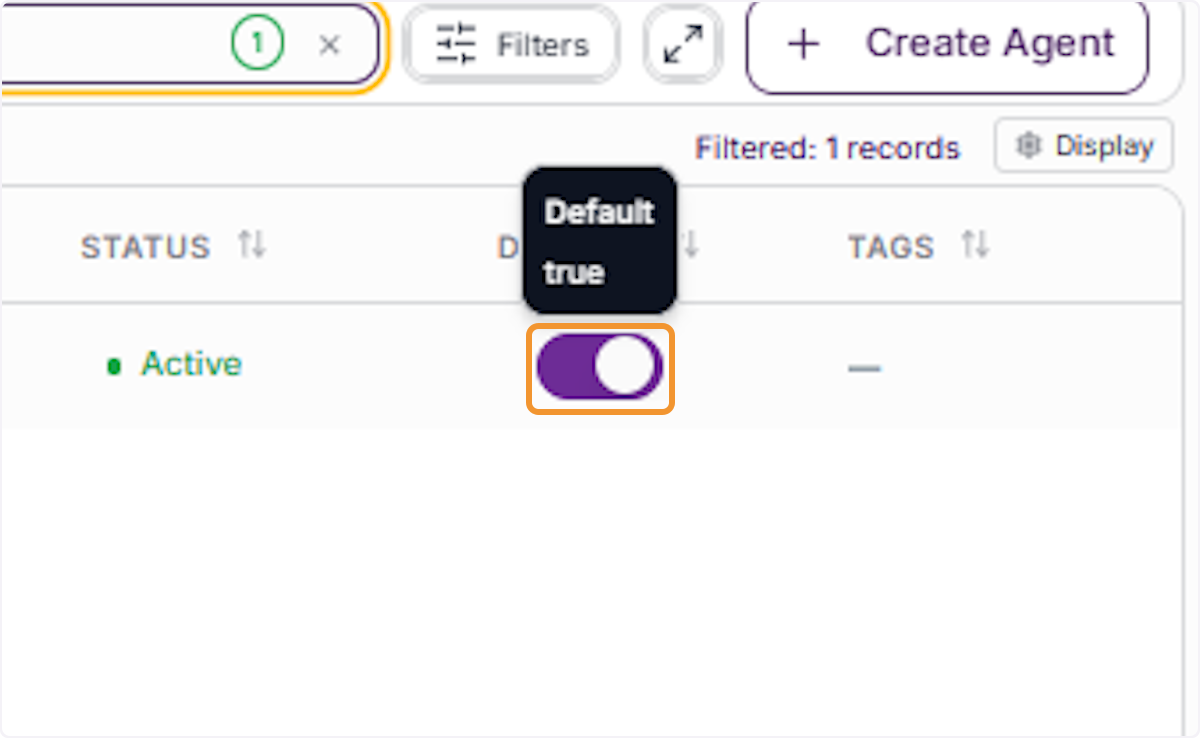
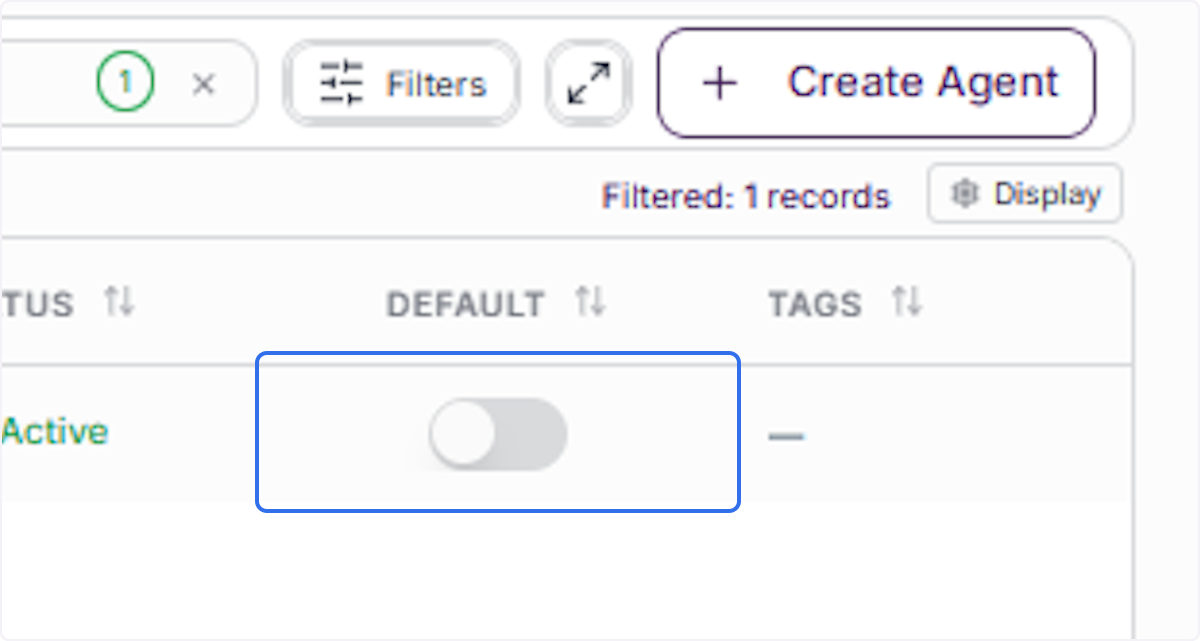
Disable the Default Toggle
Click the active Default toggle in the agent’s row to turn it off. A Default: true tooltip will appear as you interact with the control — clicking it will remove the default designation from this agent.
Deactivate Agent
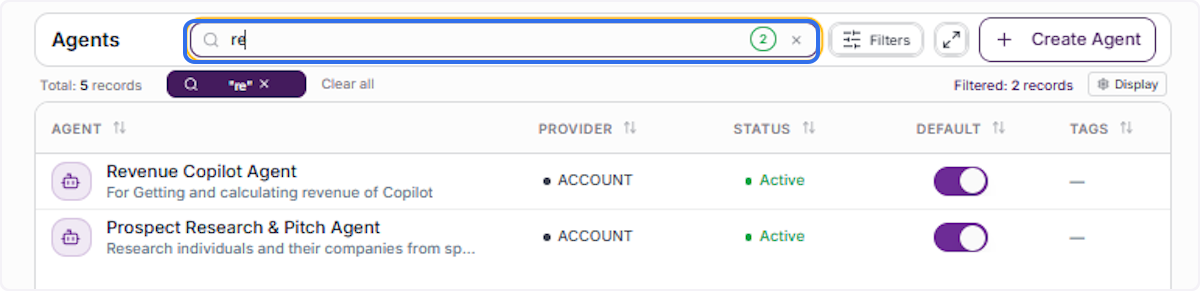
Search for the Agent to Deactivate
Use the Agents table search bar to filter and locate the active agent you want to deactivate.
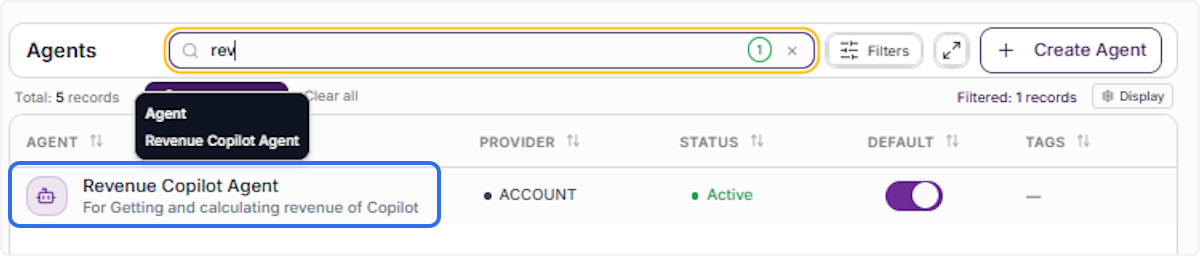
Select the Target Agent
Click on the agent’s name in the search results to highlight its record in the Agents table and make its action controls visible.
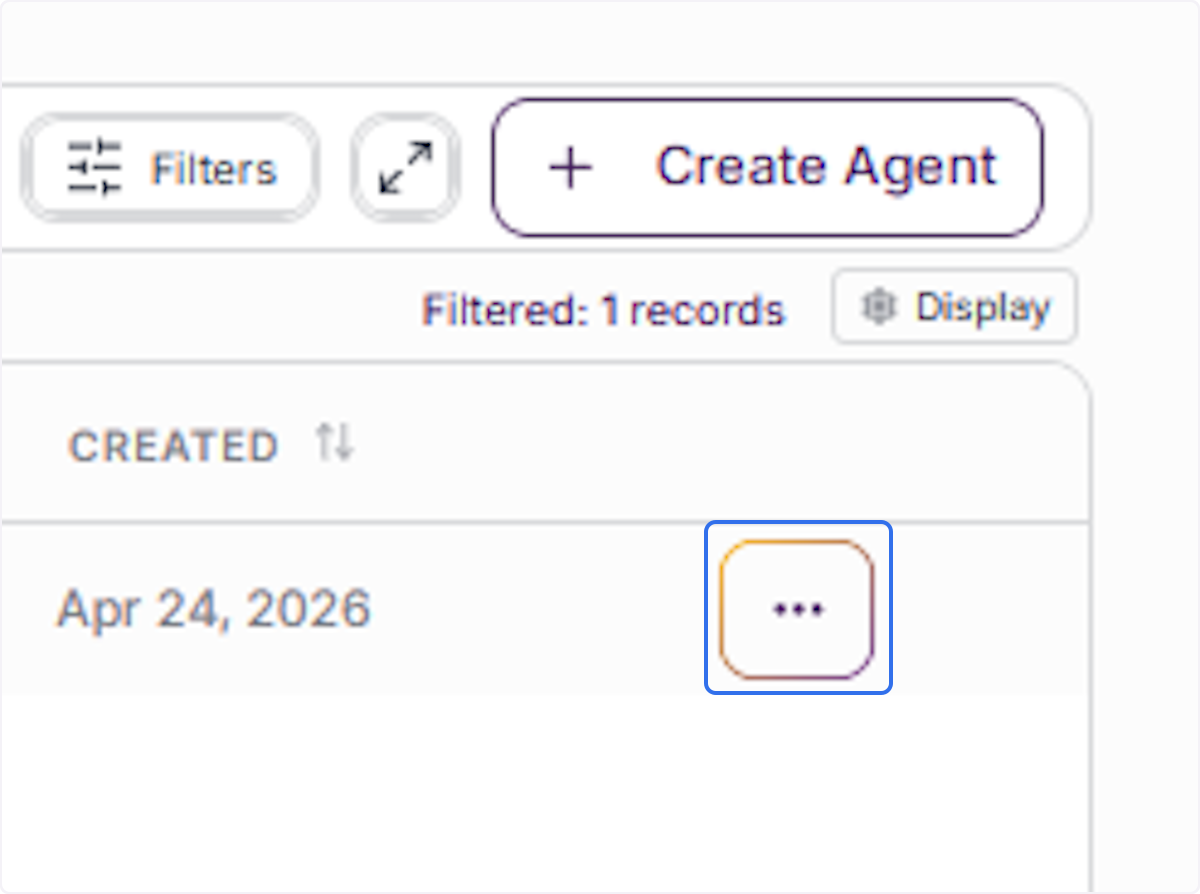
Open the Agent Actions Dropdown
Click the ··· (three-dot) button in the agent’s row to open the actions dropdown menu, which displays available management options for the selected agent.
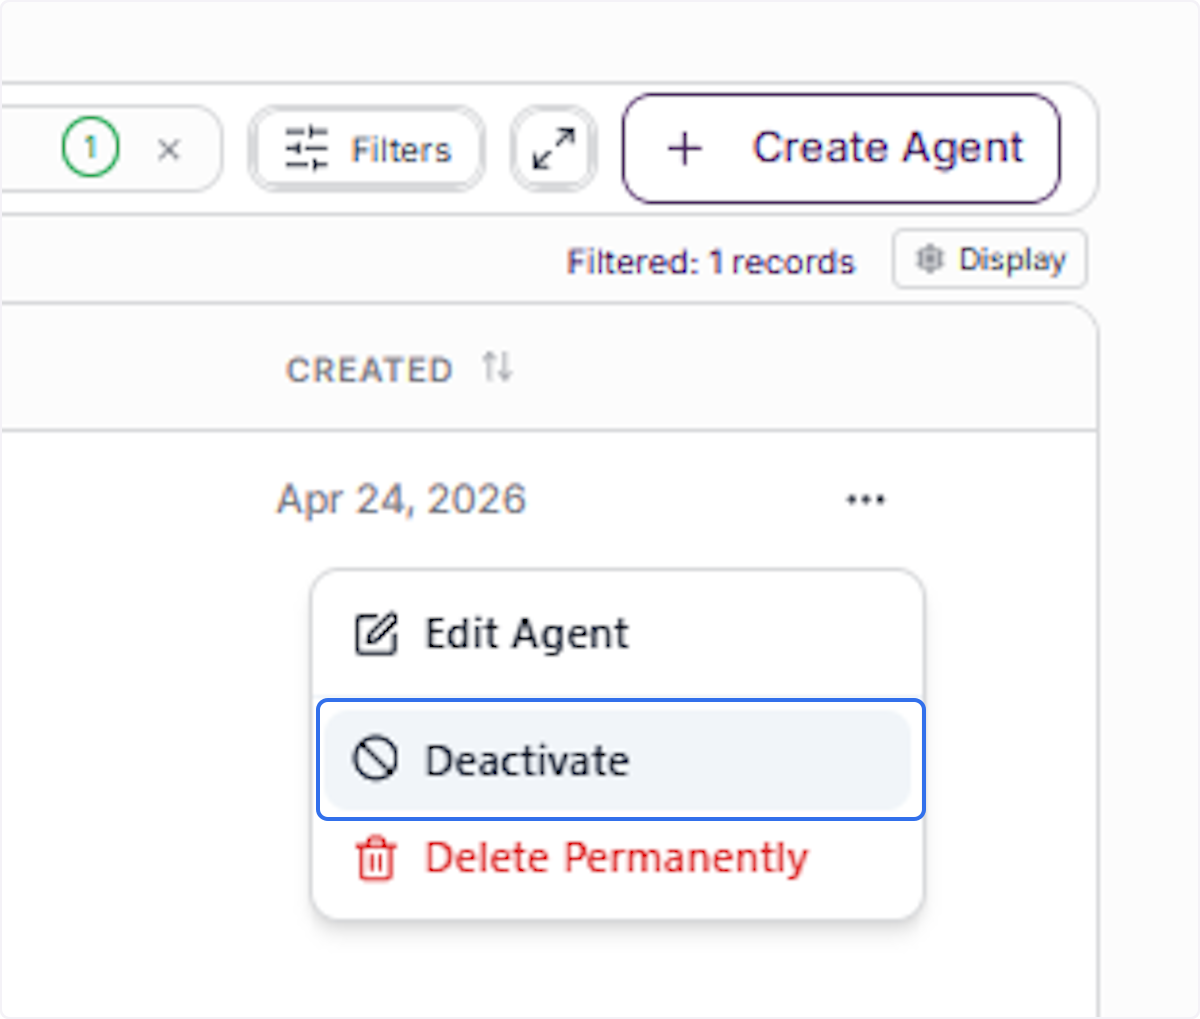
Select Deactivate
Click Deactivate from the dropdown options. This will trigger a confirmation dialog before any changes are made to the agent’s status.
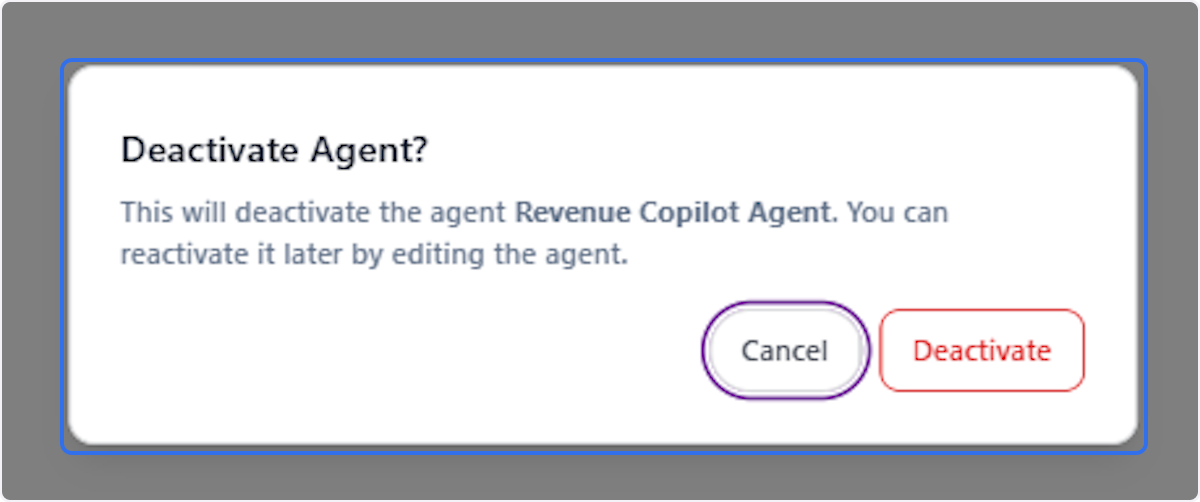
Review the Deactivation Confirmation Dialog
A Deactivate Agent? dialog will appear, confirming the agent’s name and informing you that you can reactivate it later by editing the agent. Read it carefully before proceeding.
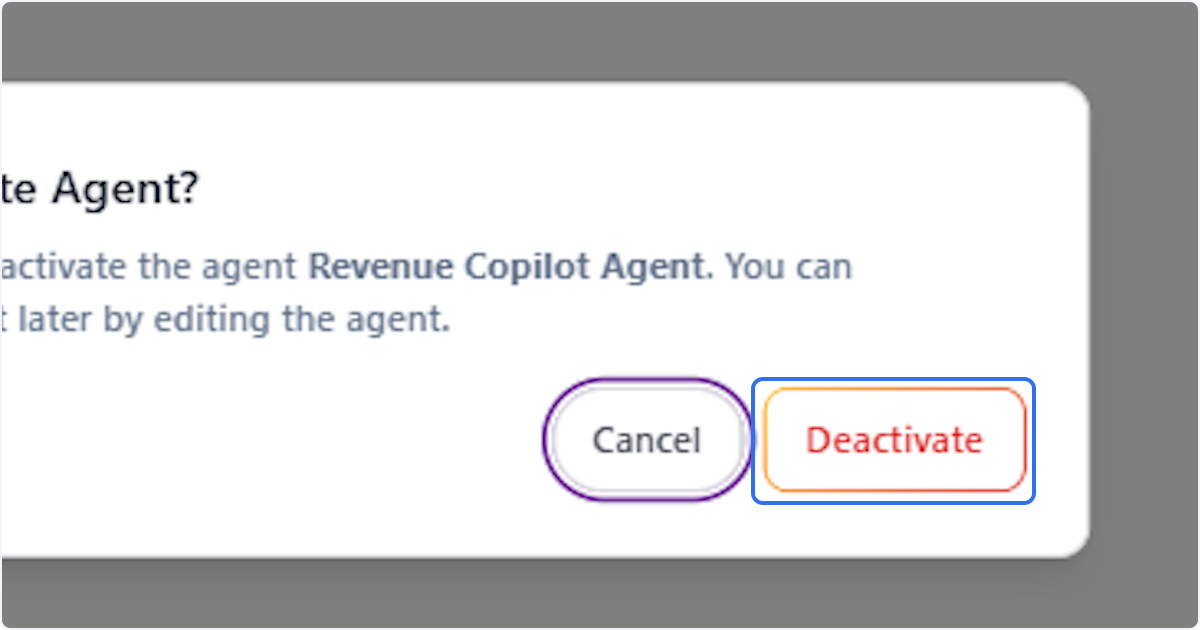
Confirm Agent Deactivation
Click Deactivate in the confirmation dialog to finalize the action. The agent’s status will immediately change to Inactive and it will no longer be available to users.
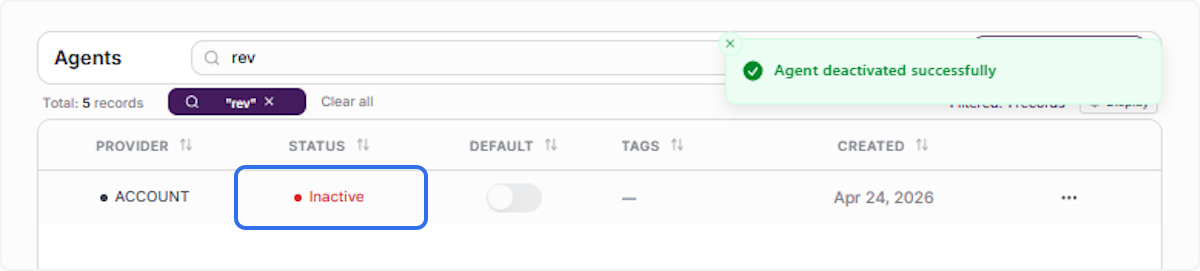
Verify Agent Is Now Inactive
After confirming deactivation, return to the Agents table and verify the agent’s status badge now shows Inactive, confirming the agent has been successfully deactivated.
Reactivate Agent
Search for the Inactive Agent
Use the Agents table search bar to locate the agent you want to reactivate. Inactive agents will display an Inactive status badge in the Status column.
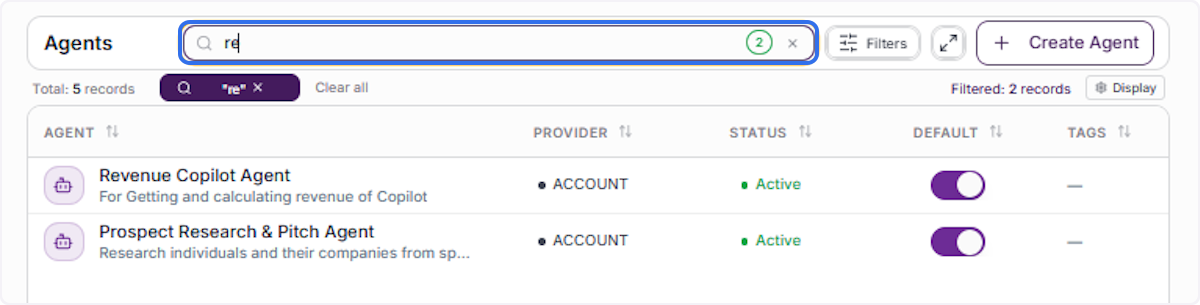
Select the Inactive Agent
Click on the inactive agent’s name in the filtered results to highlight its record and make the action controls visible in the table.

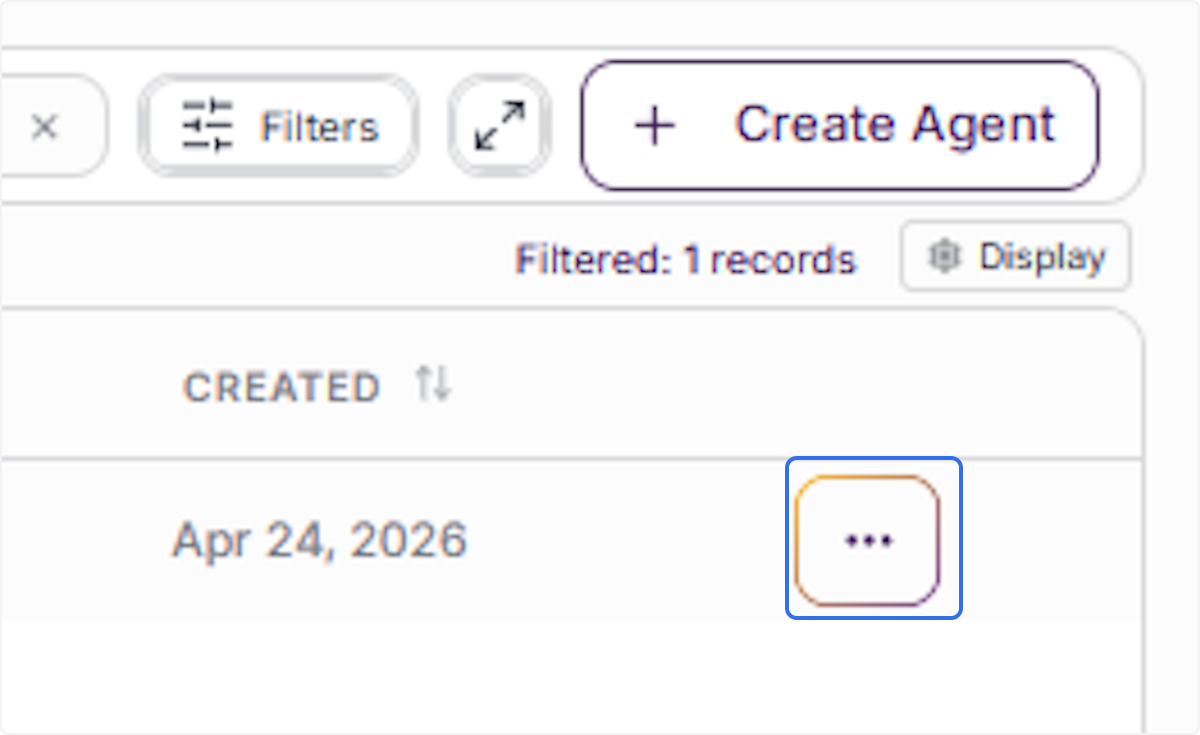
Open the Agent Actions Dropdown
Click the ··· (three-dot) button in the inactive agent’s row to open the actions dropdown. For inactive agents, the available options will be Edit Agent and Reactivate.
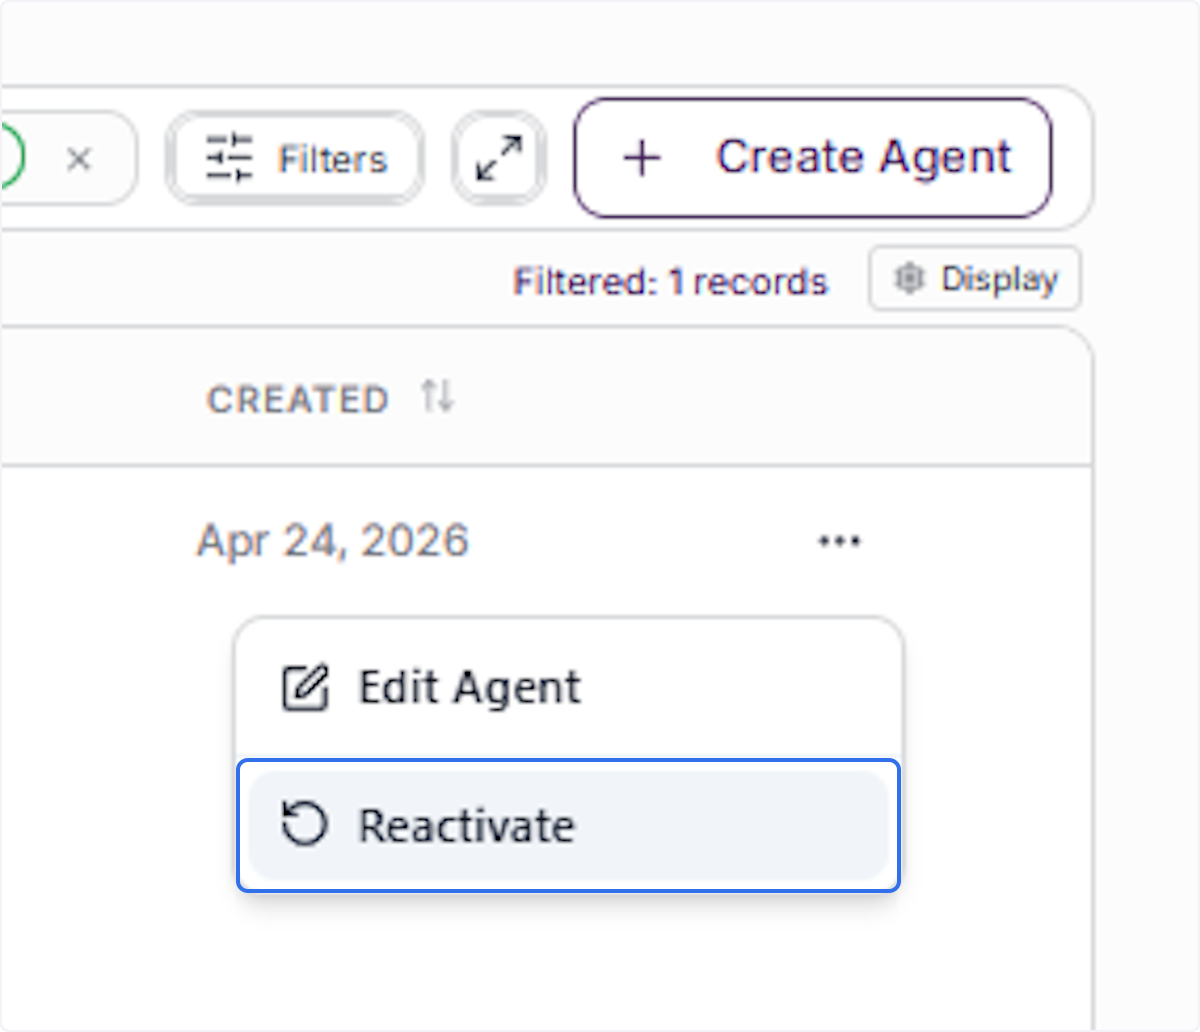
Select Reactivate
Click Reactivate from the dropdown options. This will trigger a confirmation dialog before restoring the agent’s active status.
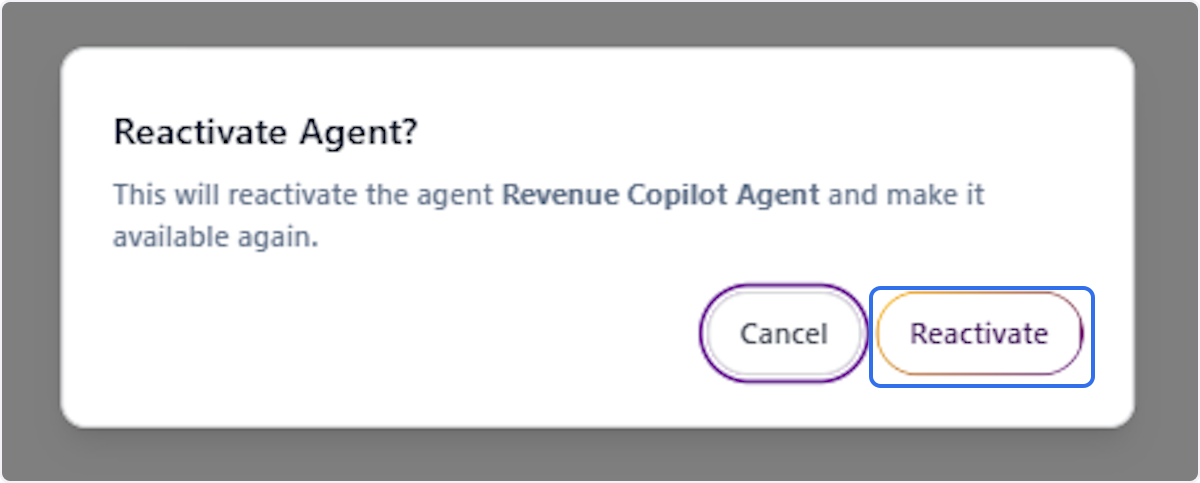
Review the Reactivation Confirmation Dialog
A Reactivate Agent? dialog will appear, confirming the agent’s name and stating that it will be made available again. Review before confirming.
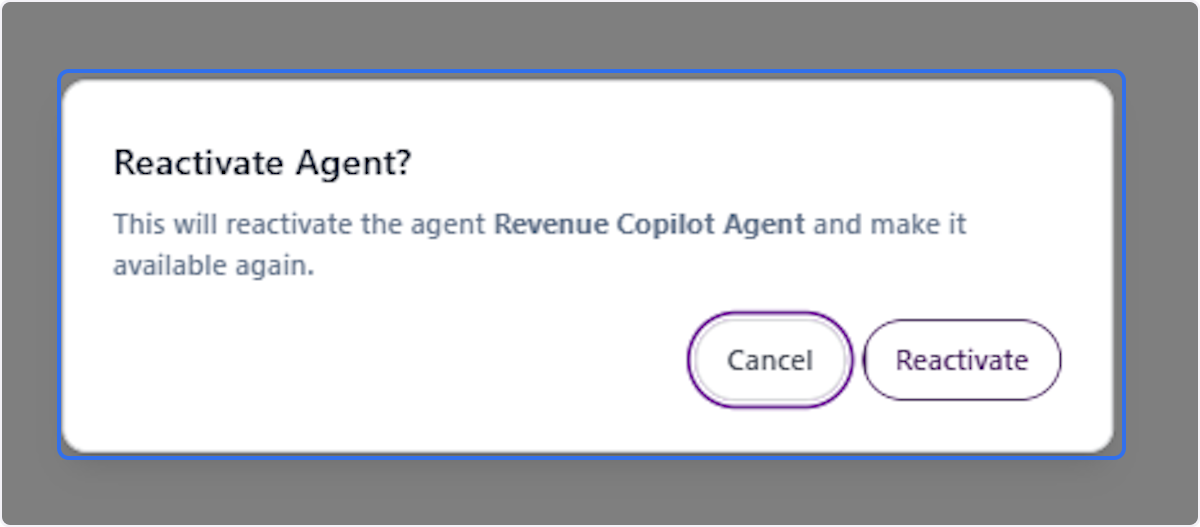
Confirm Agent Reactivation
Click Reactivate in the confirmation dialog to finalize the action. The agent’s status will immediately return to Active and it will once again be accessible to users.
Verify Agent Is Now Active
After confirming reactivation, return to the Agents table and verify the agent’s status badge now shows Active, confirming the agent has been successfully reactivated.

Delete Agent
Search for the Agent to Delete
Use the Agents table search bar to locate the agent you intend to permanently delete. Confirm the correct agent name appears before proceeding with this irreversible action.
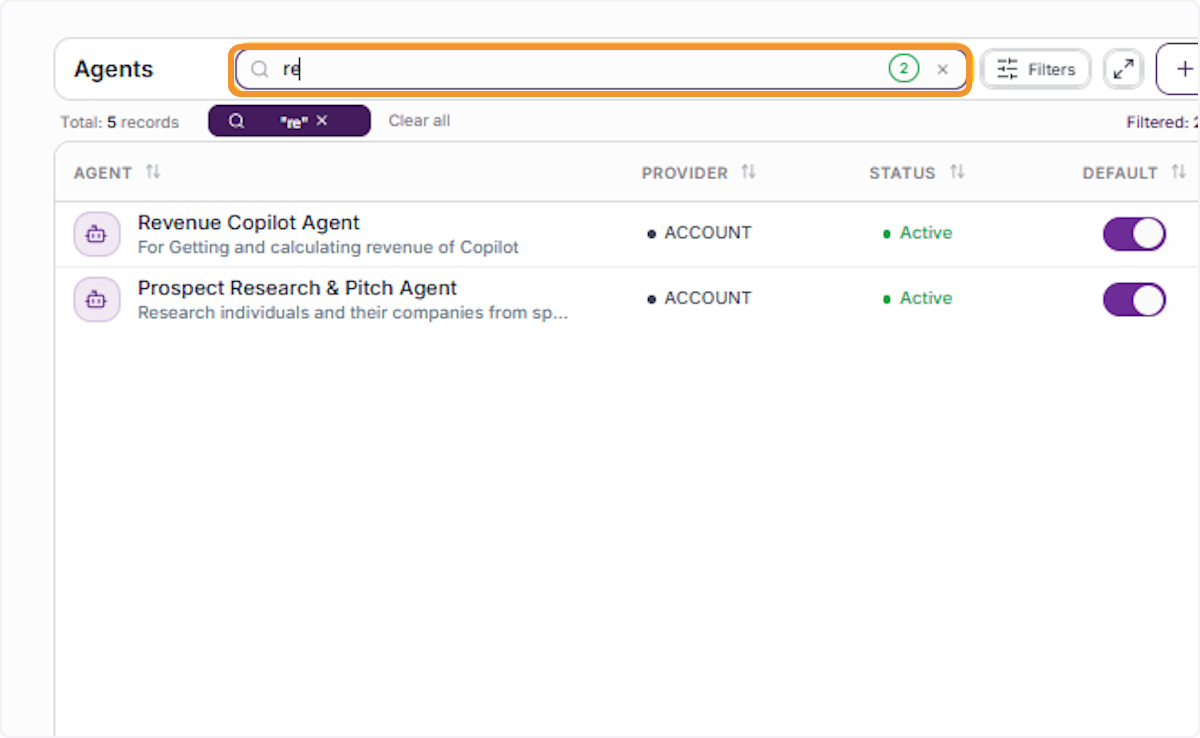
Select the Target Agent
Click on the agent’s name in the filtered results to highlight its record and make the action controls visible in the Agents table.

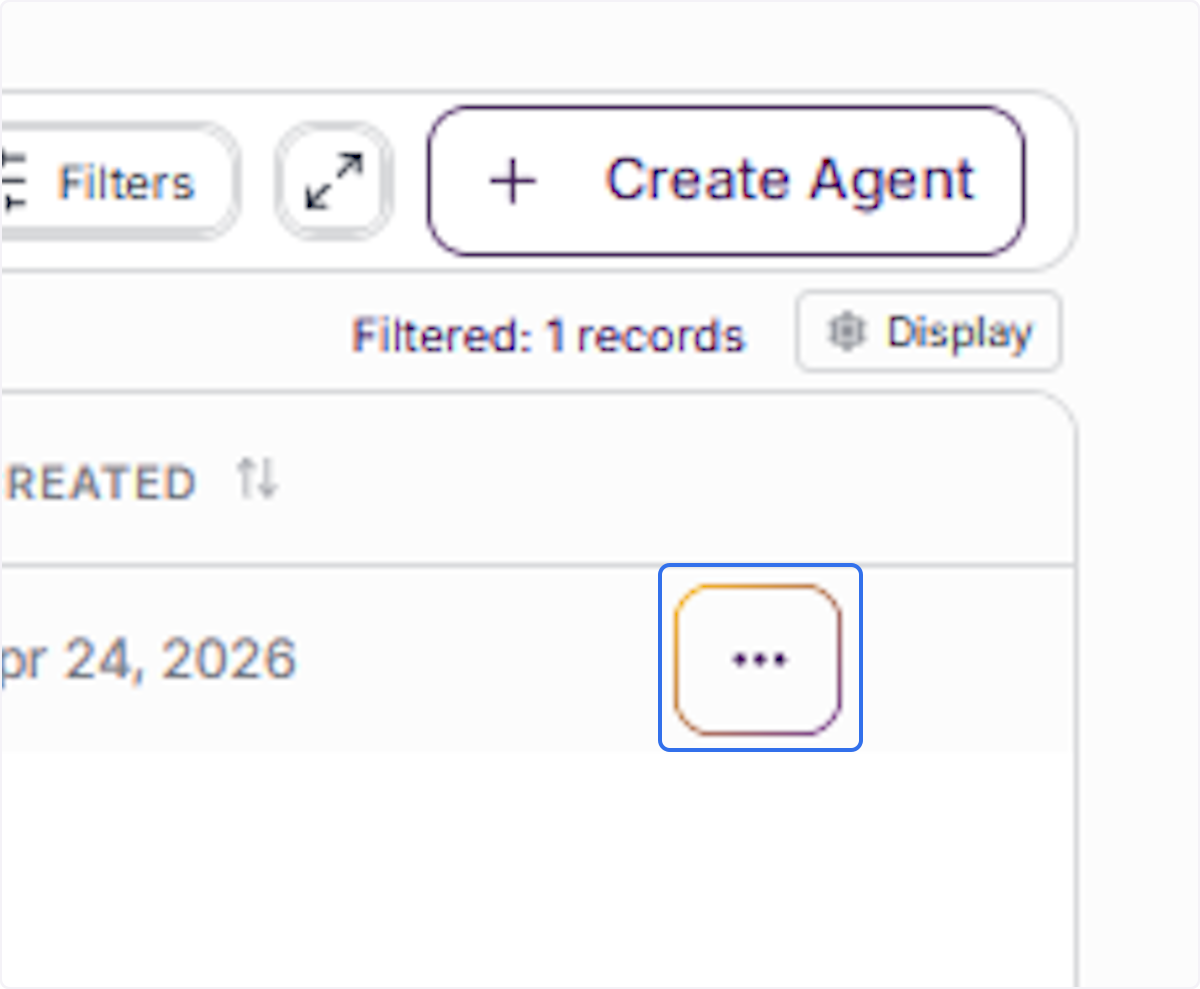
Open the Agent Actions Dropdown
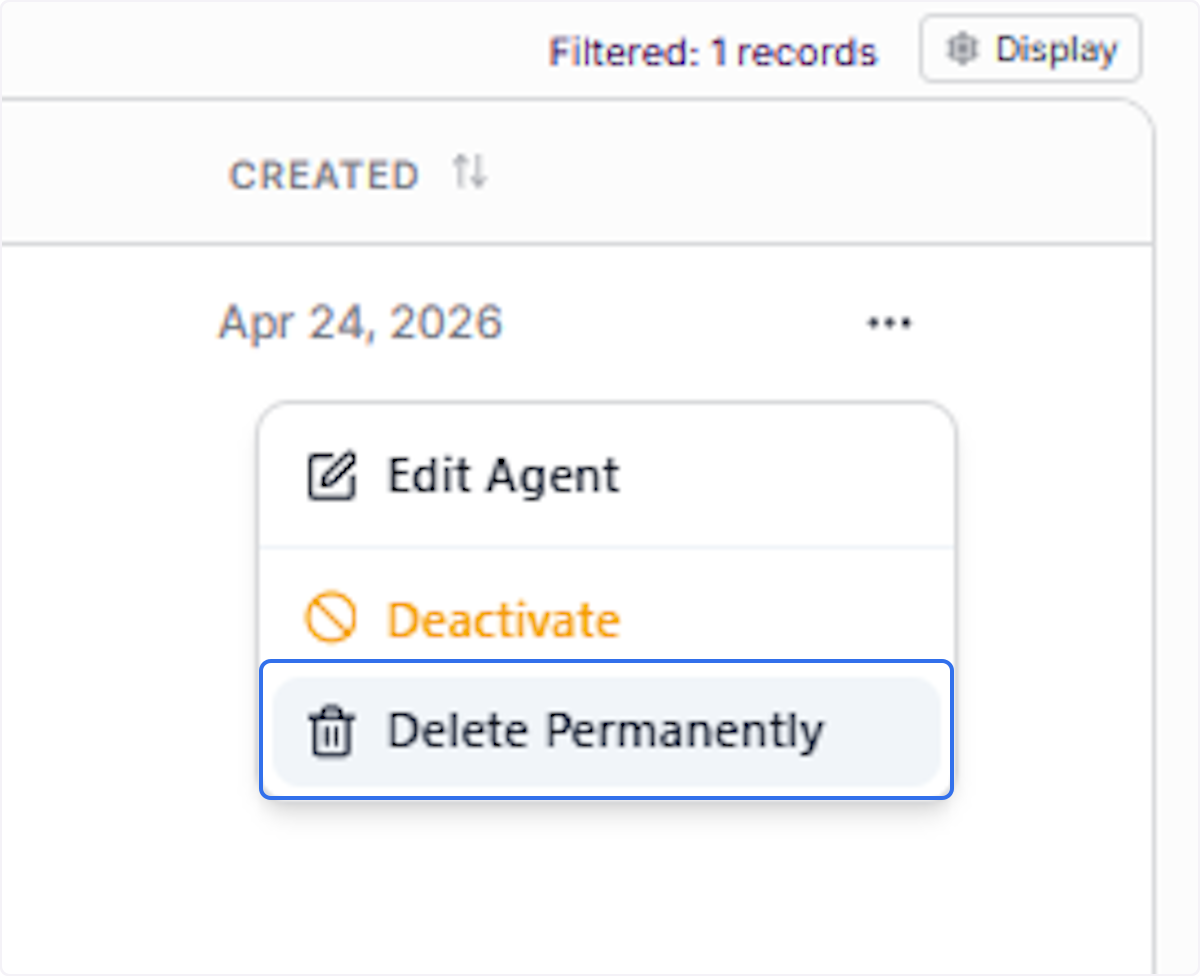
Click the ··· (three-dot) button in the agent’s row to open the actions dropdown, which displays Edit Agent, Deactivate, and Delete Permanently options.
Select Delete Permanently
Click Delete Permanently from the dropdown. This option will initiate a final confirmation dialog before the agent is removed. Note that this action is irreversible and will remove all associated agent data.
Review the Permanent Deletion Warning
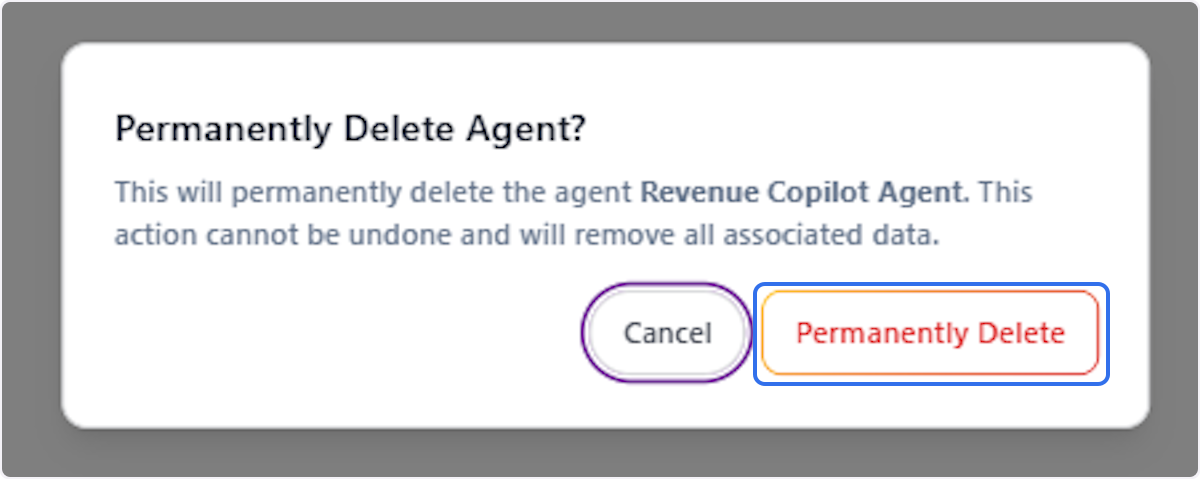
A Permanently Delete Agent? dialog will appear, clearly stating that this action cannot be undone and will remove all data associated with the agent. Read this warning carefully before proceeding.
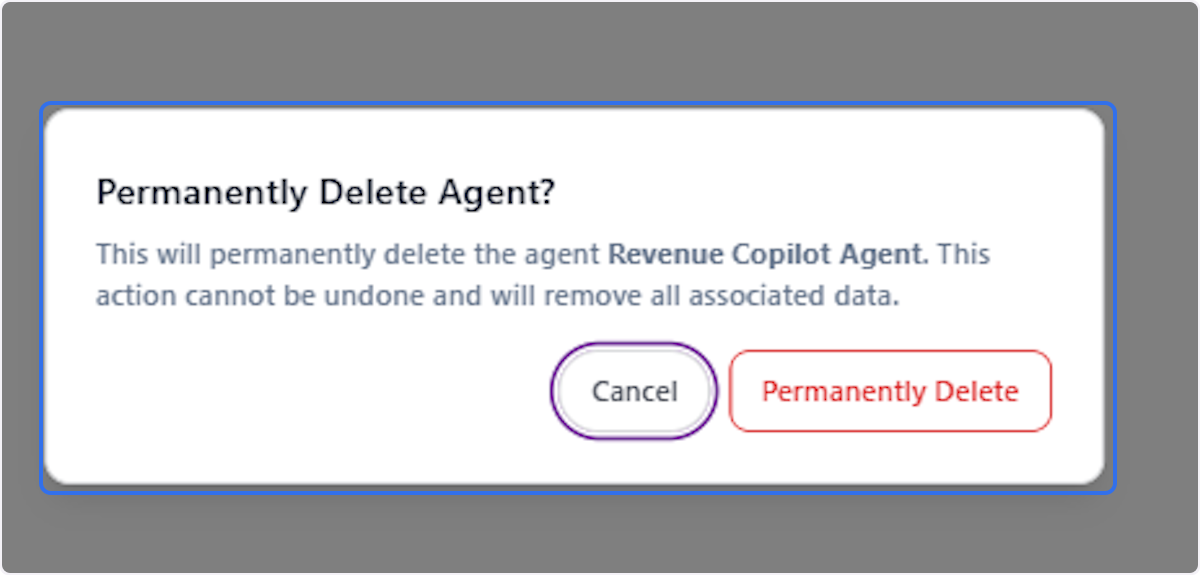
Confirm Permanent Deletion
Click Permanently Delete to finalize the deletion. The agent will be immediately removed from the Agents list and all associated configuration data will be permanently erased.