Credit Allocation Management
Managing Credits and Allocations
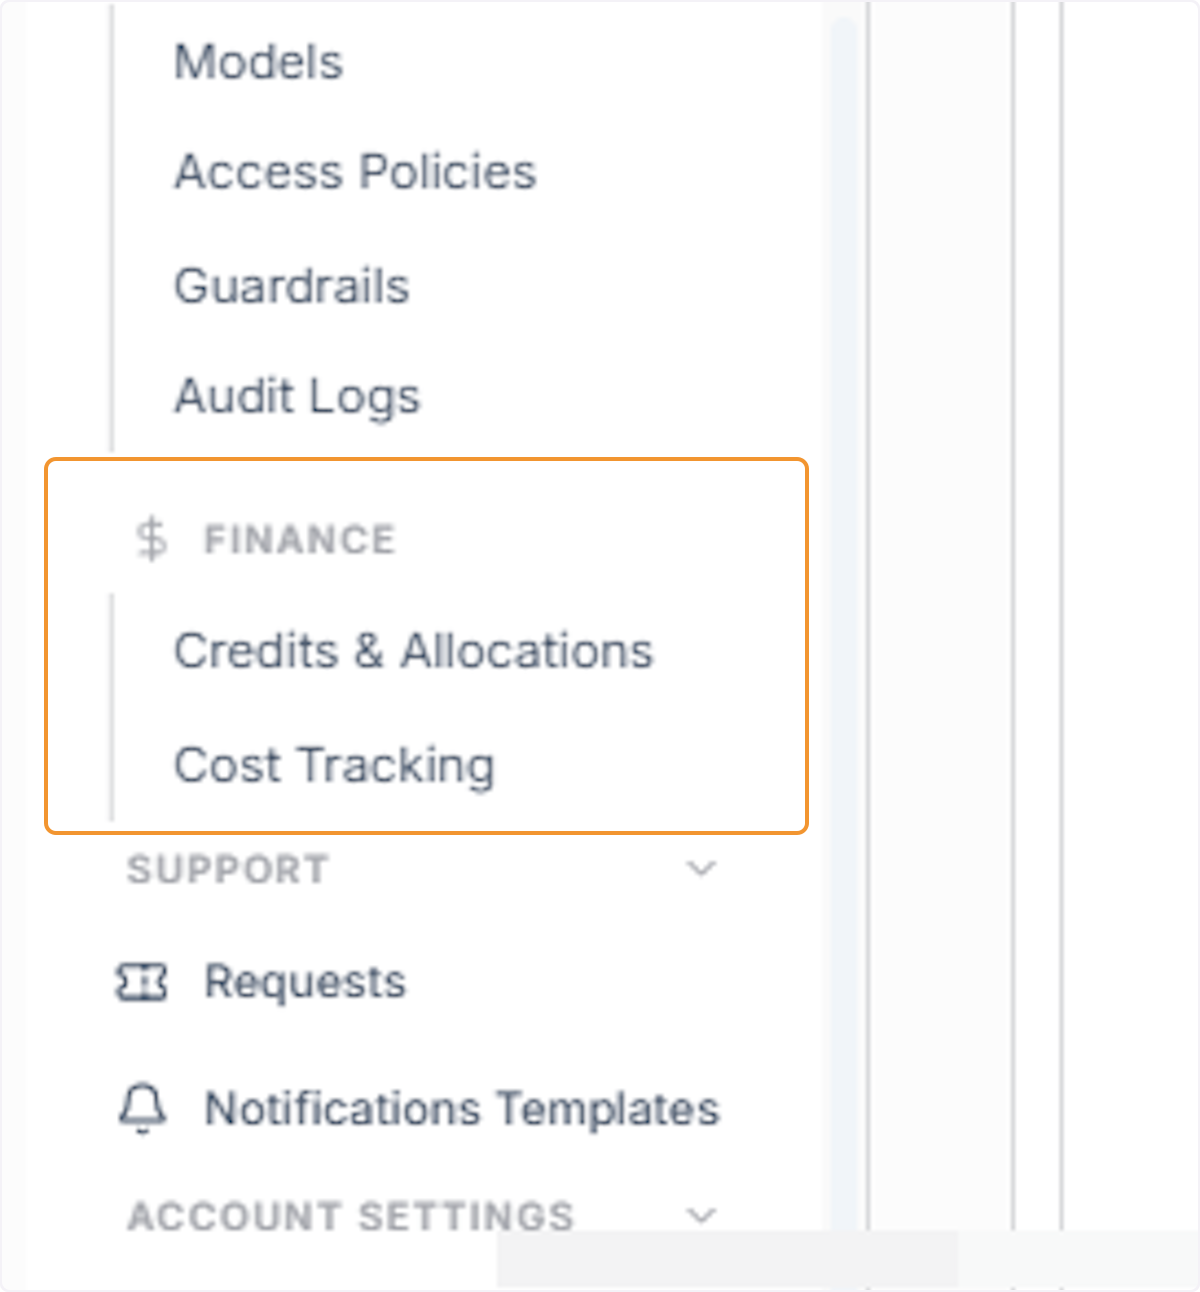
From the left-hand navigation menu, locate and click on the ‘FINANCE’ section to expand it. This section contains all financial management tools including Credits & Allocations and Cost Tracking for your account.
Click on Credits & Allocations
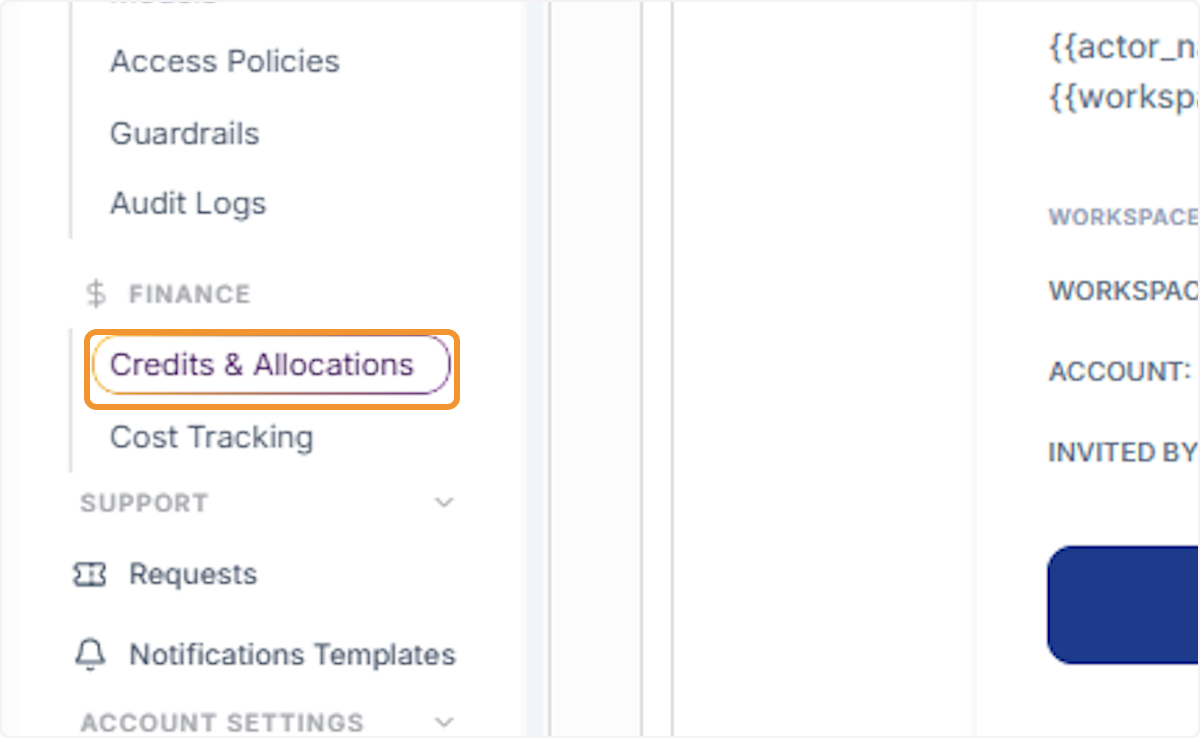
Within the expanded Finance section, click on ‘Credits & Allocations’. This will take you to the financial management area where you can monitor account credit cycles, manage group budgets, review user allocations, and handle credit requests.
Open the Credits & Allocations Dashboard
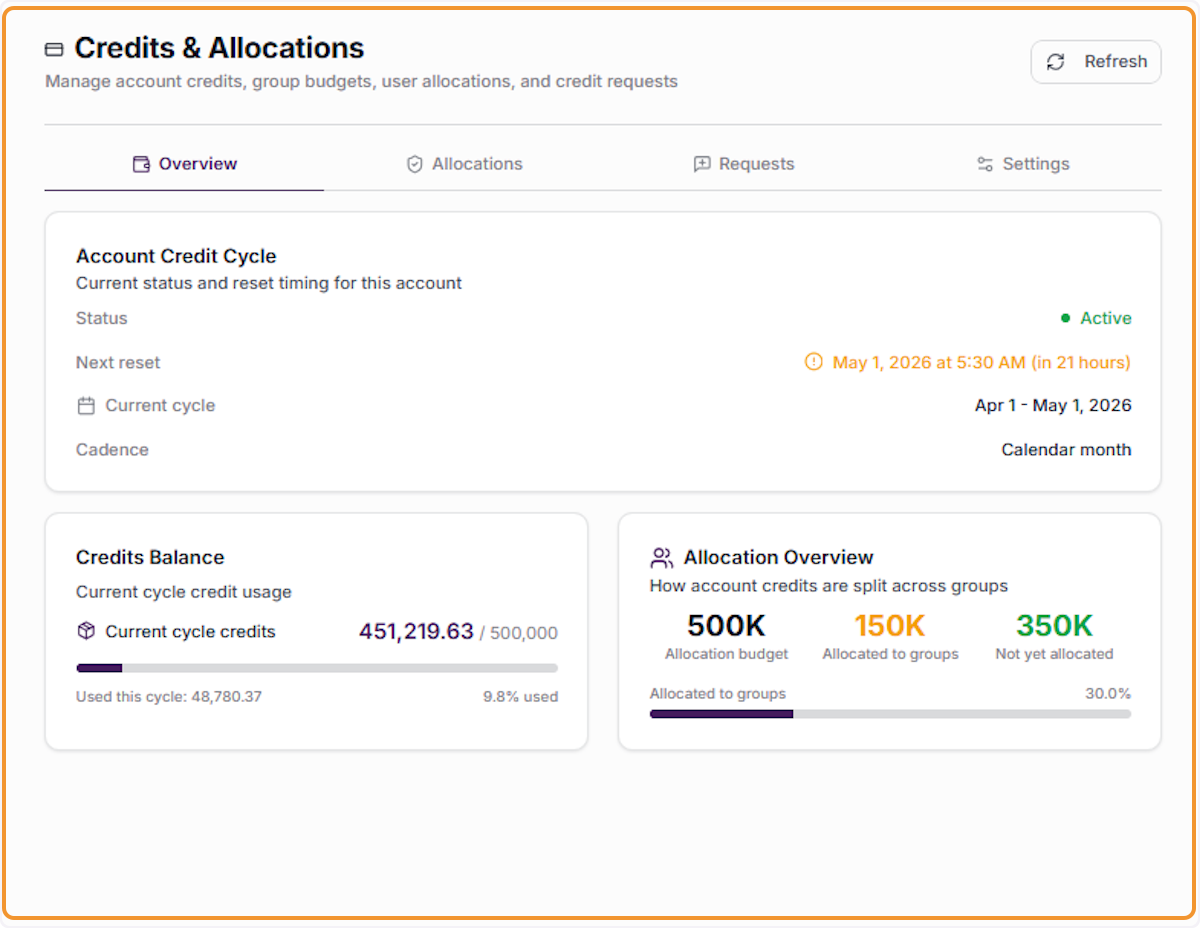
The Credits & Allocations dashboard will load, displaying a comprehensive overview of your account’s credit status. This includes the Account Credit Cycle status, Credits Balance, current cycle usage, and an Allocation Overview showing how credits are distributed across groups.
Click on Allocations Tab
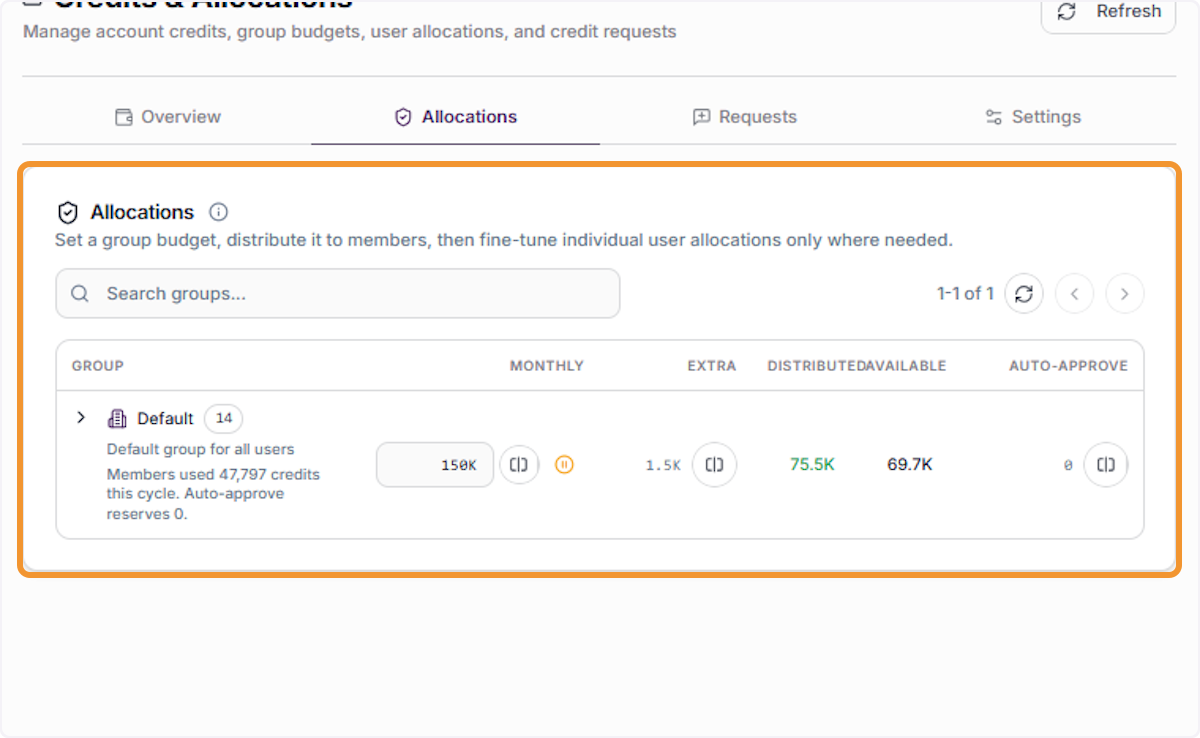
Click the ‘Allocations’ tab at the top of the dashboard to navigate to the Allocations management view. This section allows you to set group budgets, distribute credits to members, and fine-tune individual user allocations as needed.
Return to Overview Tab
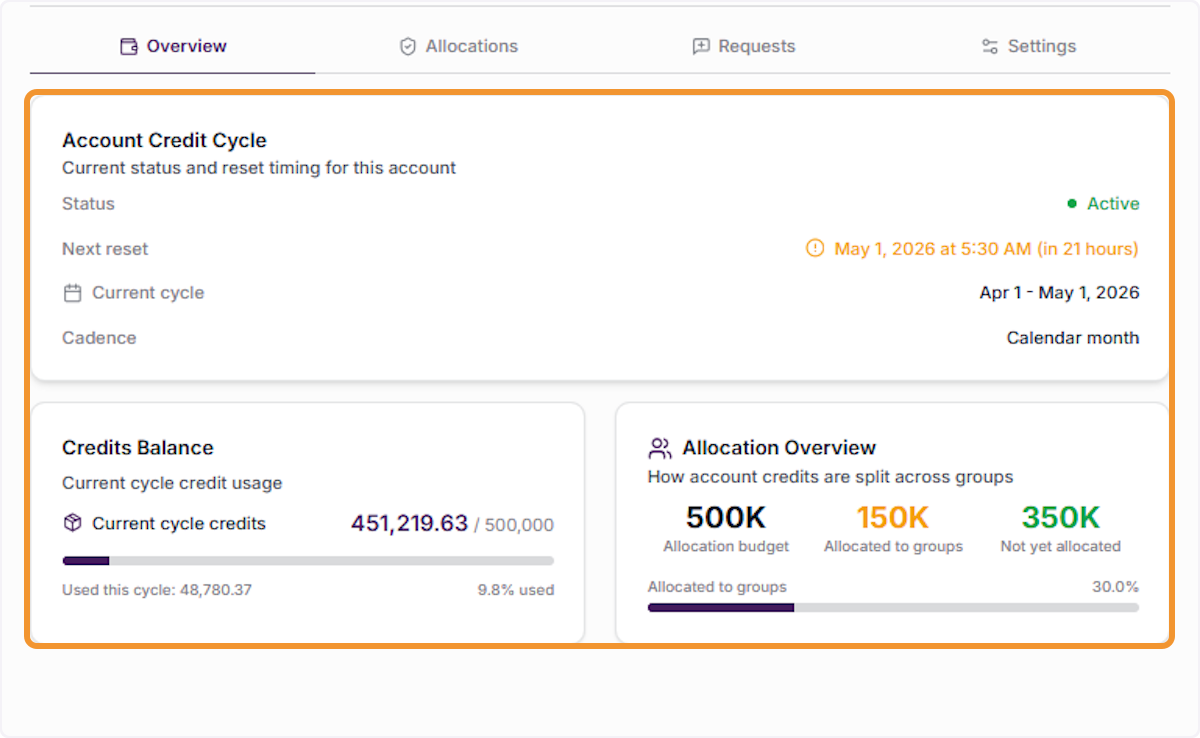
Click the ‘Overview’ tab to return to the main dashboard summary. The Overview provides a high-level snapshot of your account’s credit cycle status, total credits balance, current cycle usage percentage, and the allocation breakdown across all groups.
Re-open the Allocations Tab
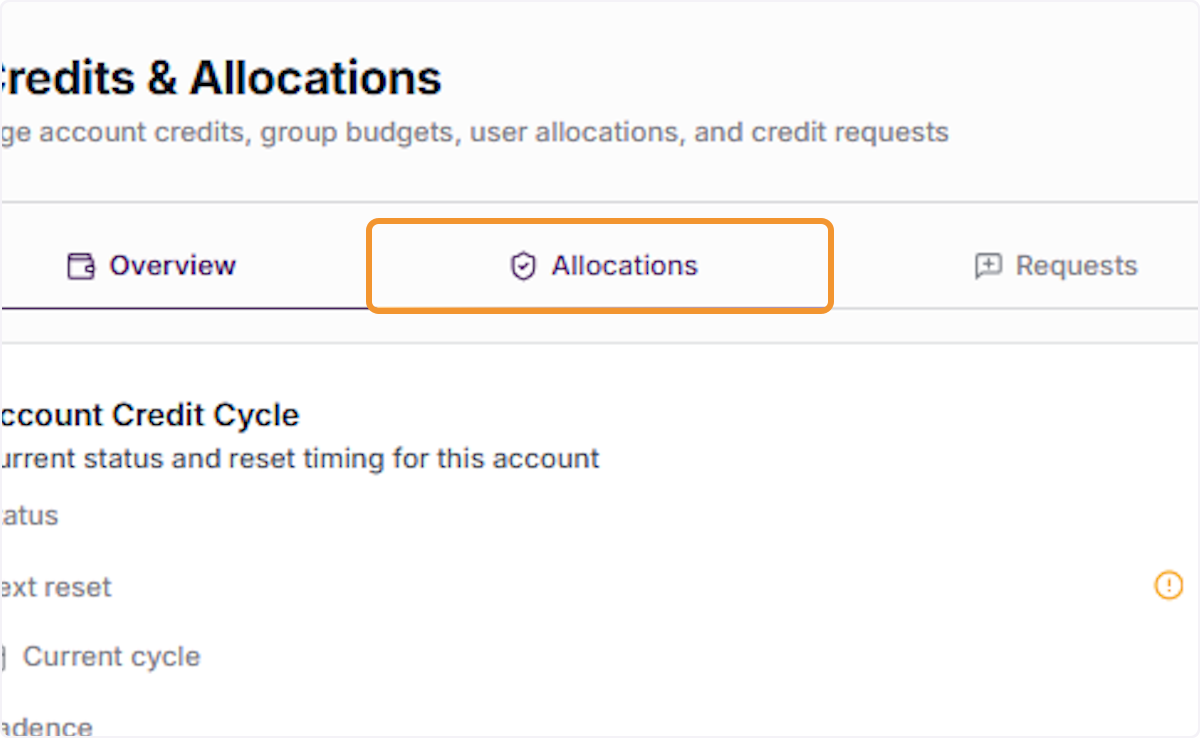
Navigate back to the ‘Allocations’ tab to continue managing group and user-level credit distributions. This tab is where all budget settings, distribution controls, and individual member allocation adjustments are performed.
Expand the GROUP Column
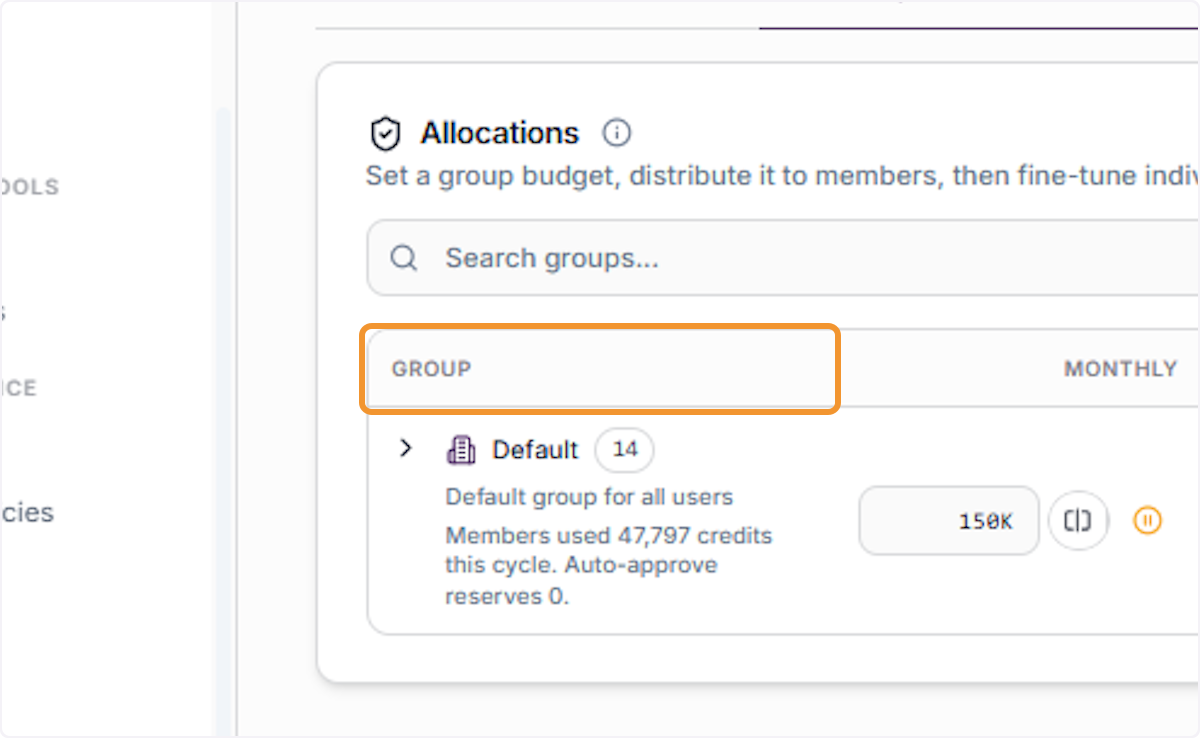
Click on the ‘GROUP’ column header or the expand arrow next to a group entry to view more details. This reveals the full list of groups within your account, including member count, monthly allocation, and available credit balance.
Select the Default Group
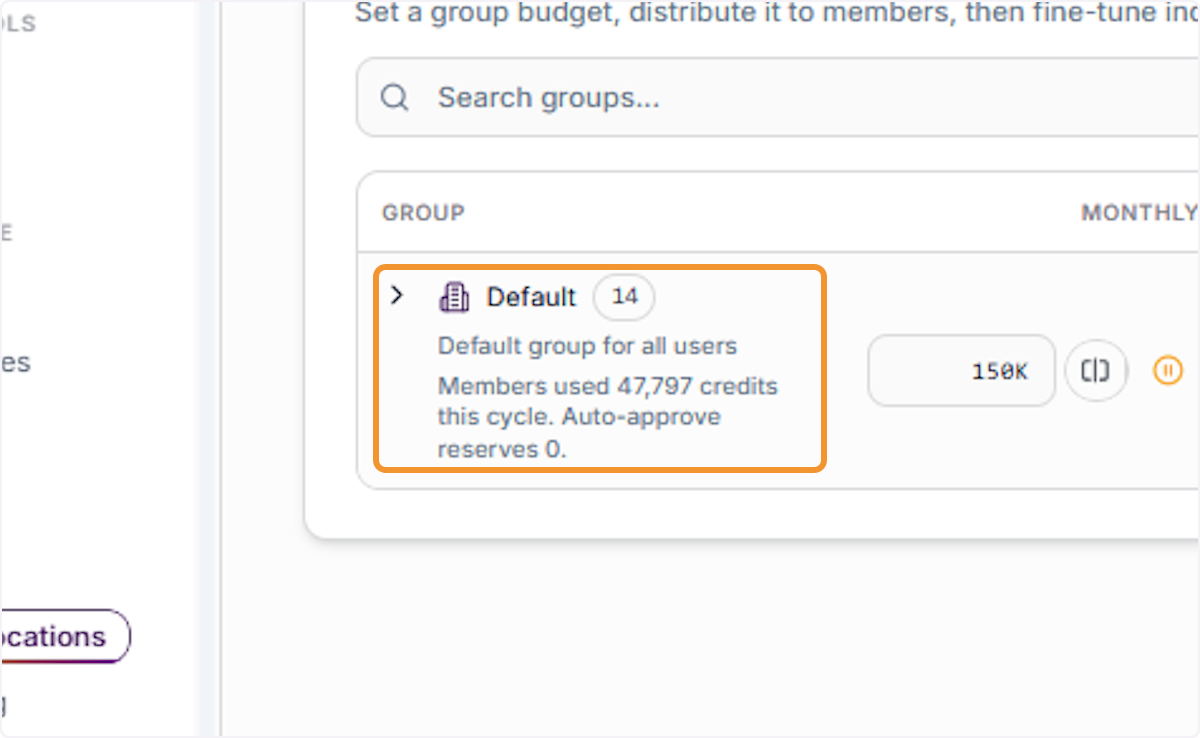
Click on the ‘Default’ group entry to select and expand it. The Default group is the system-created group that contains all users by default. It displays total member count, credits used in the current cycle, and auto-approve reserve settings.
View the Group Monthly Allocation
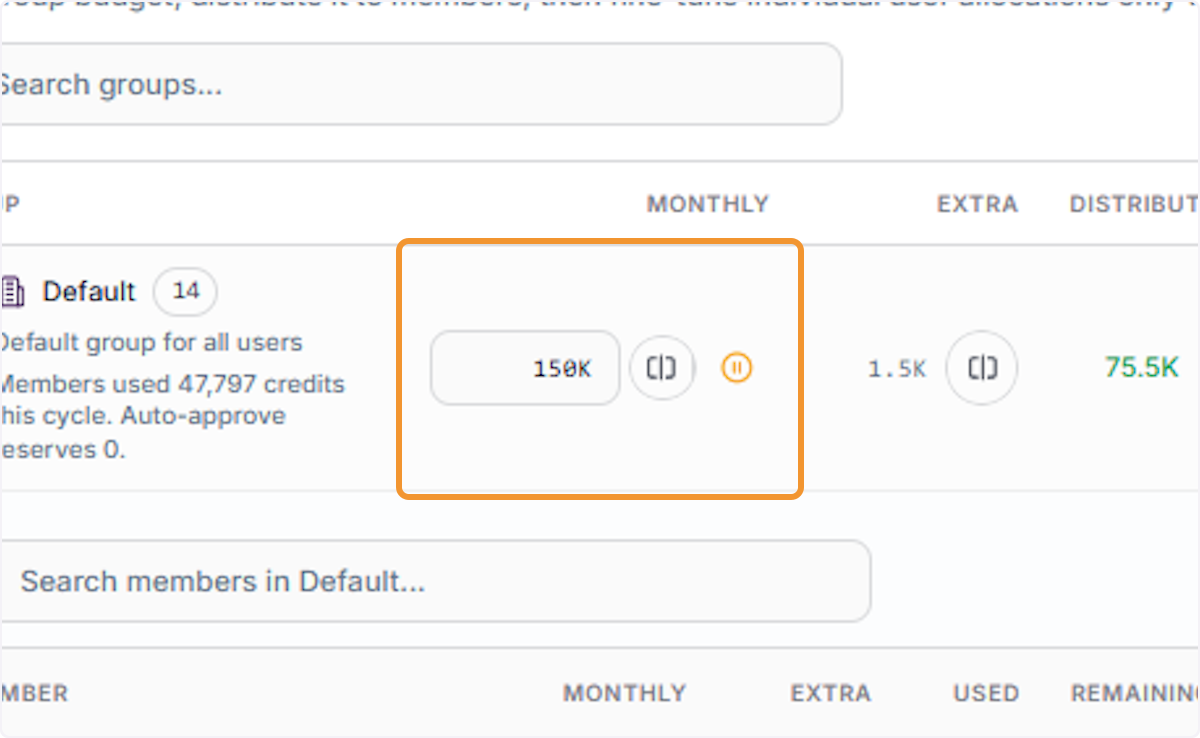
Click on the monthly allocation value displayed for the Default group. This figure represents the total monthly credit budget allocated to this group per cycle. Clicking it highlights the field, allowing you to review or edit the allocation amount.
Review the Group’s Extra Credits
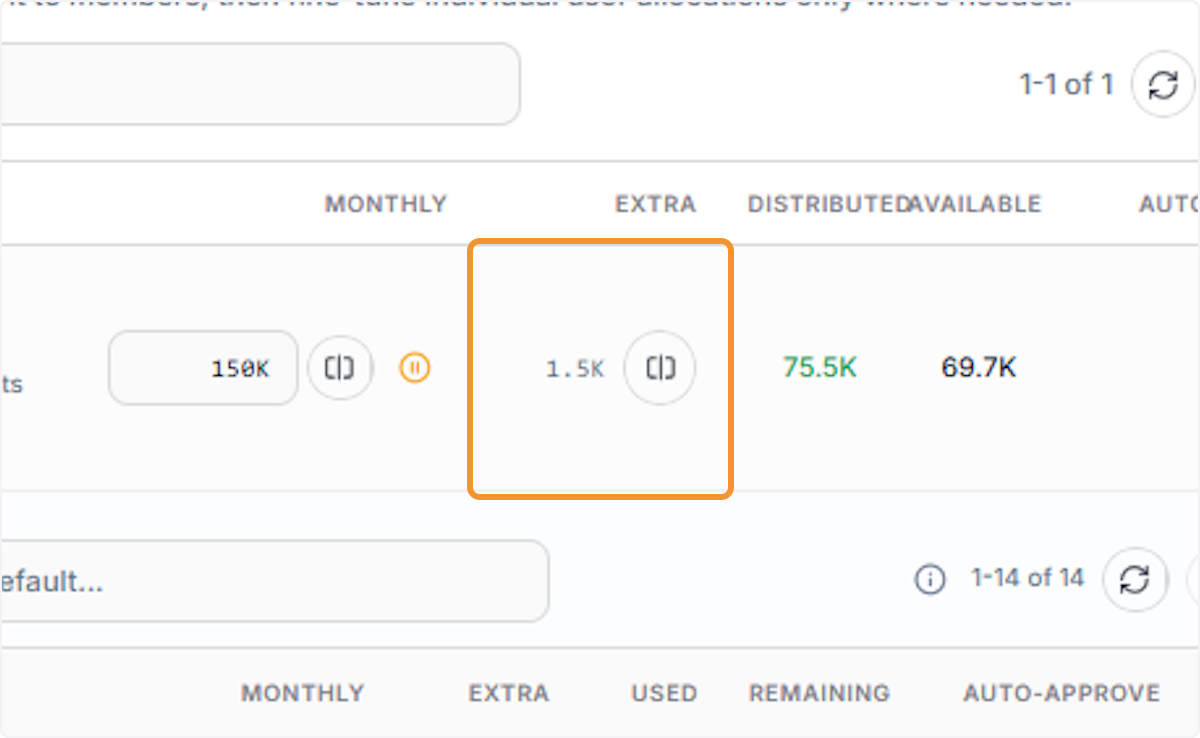
Click on the figure in the Extra column at the group level. Extra credits are supplementary credits granted in addition to the standard monthly allocation, allowing users additional capacity beyond their base limit when required.
View the Group’s Distributed Credits
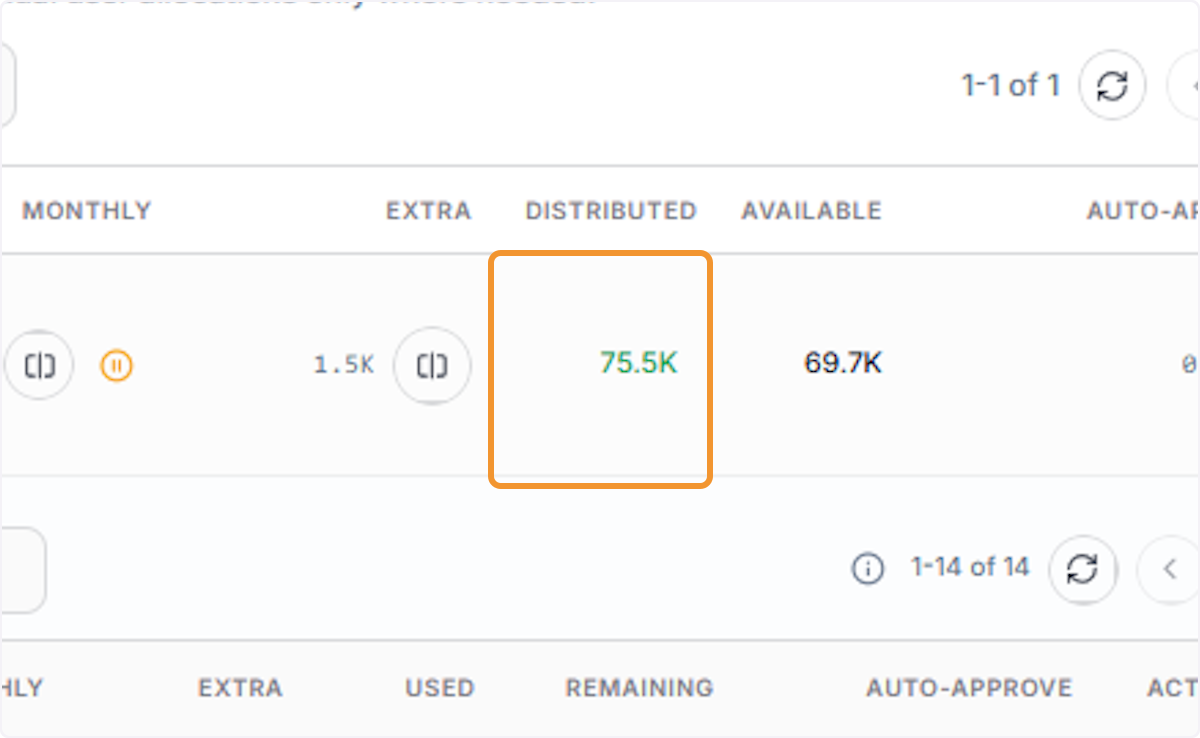
Click on the value shown in the Distributed column. This figure represents the total amount of credits that have been individually assigned and distributed to members within this group from the overall group budget.
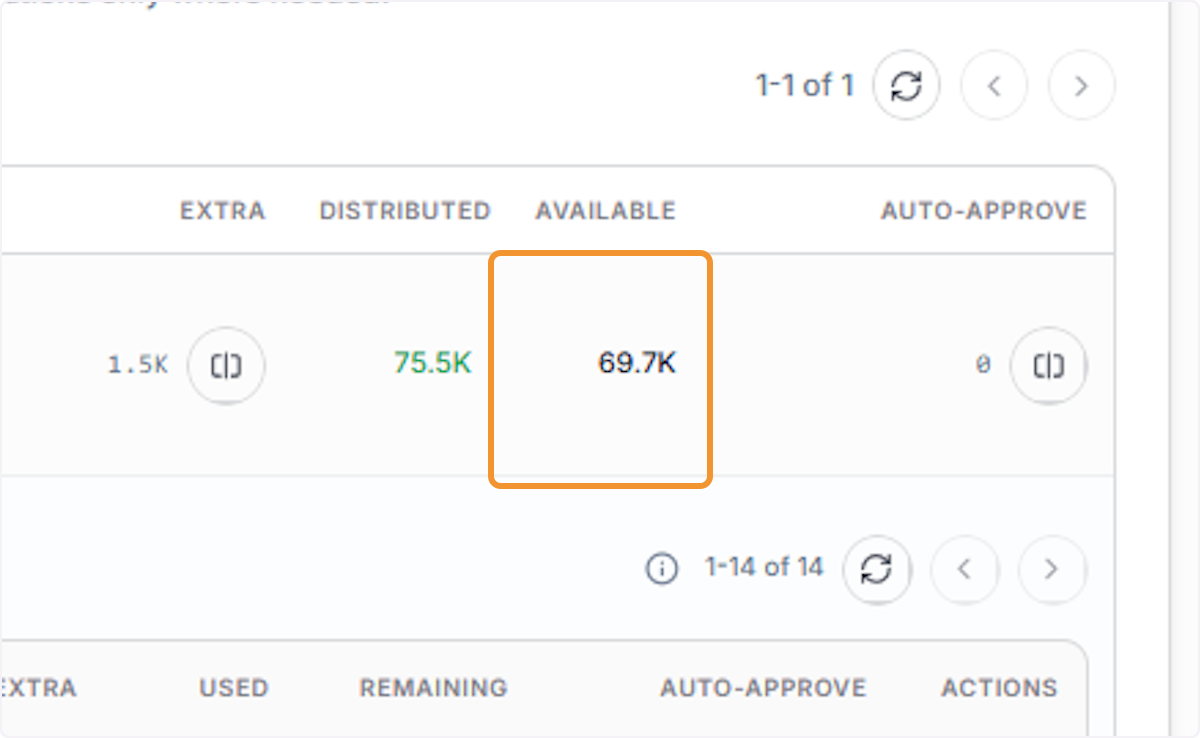
Review the Group’s Available Credits
Click on the value in the Available column. This number reflects the total credits currently available to the group — the remaining balance after accounting for all distributed and consumed credits within the current cycle.
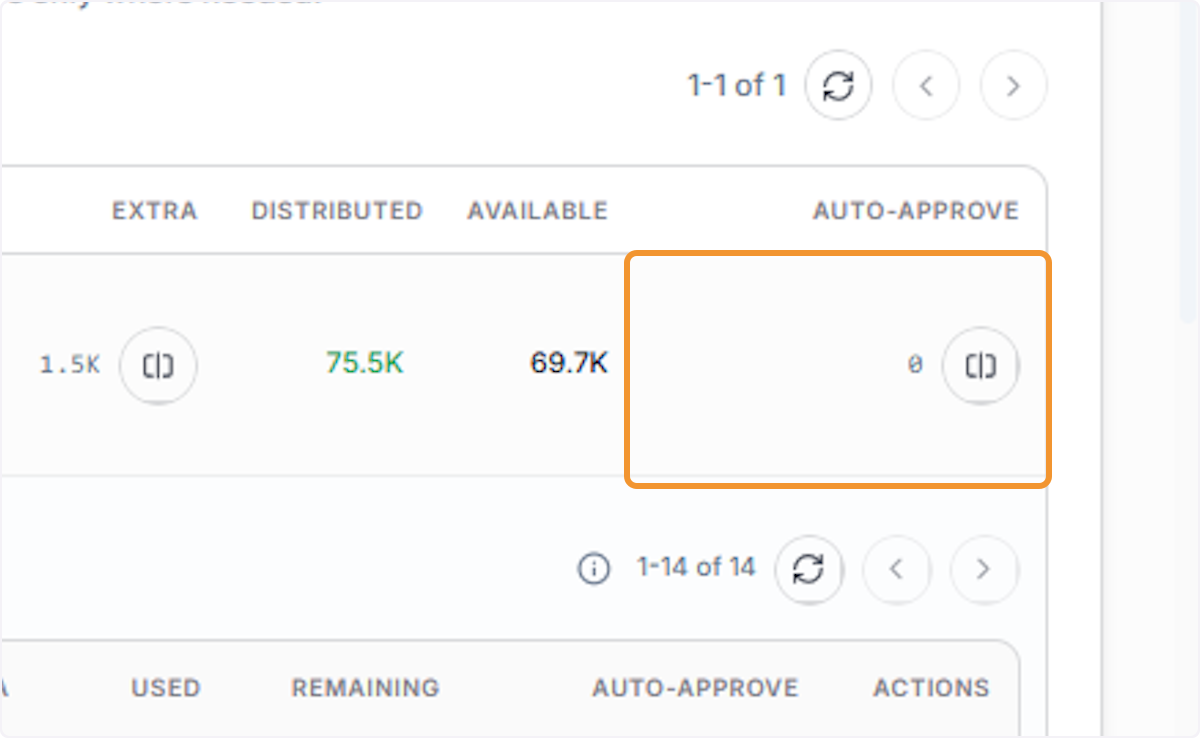
Review the Auto-Approve Setting
Click on the value in the Auto-Approve column. When set to zero, automatic credit approval for requests is disabled for this group, meaning all credit requests must be manually reviewed and approved by an administrator.
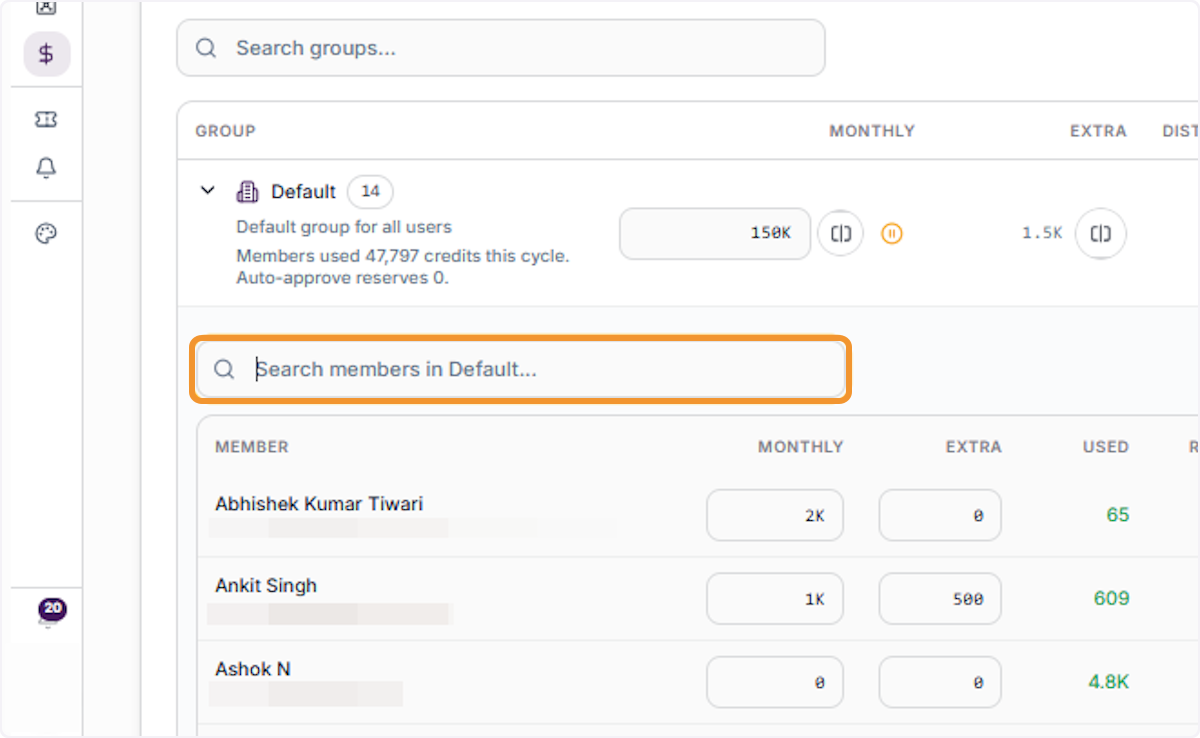
Search for a Member in the Default Group
Click on the ‘Search members in Default…’ field to activate the member search. Type a name or email address to quickly locate a specific user within the Default group. This is especially useful in large organizations with many group members.
View the Member List Pagination
Click on the pagination indicator to confirm how many members are currently displayed. The pagination control also allows you to navigate between pages if the group contains more members than can be shown on a single screen.
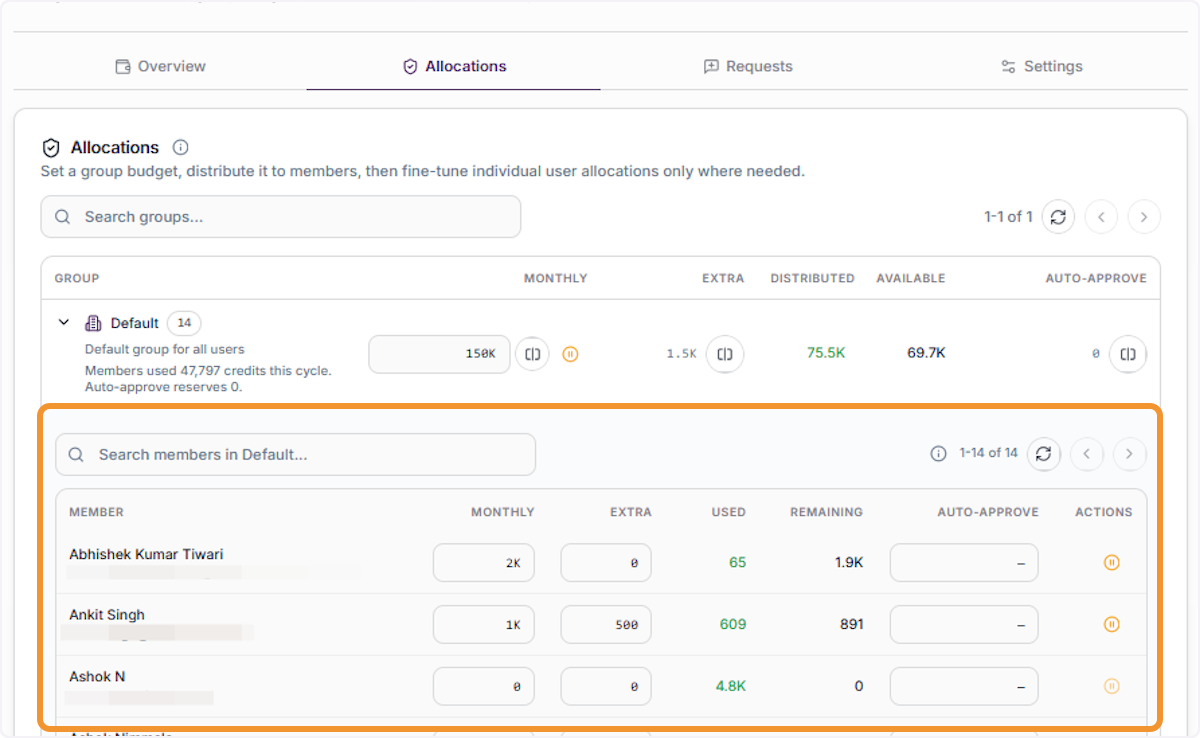
Select a Group Member
Click on a member entry to highlight and select it. This makes the member’s individual allocation fields active and editable, allowing you to review or update their monthly credit limit and extra credits.
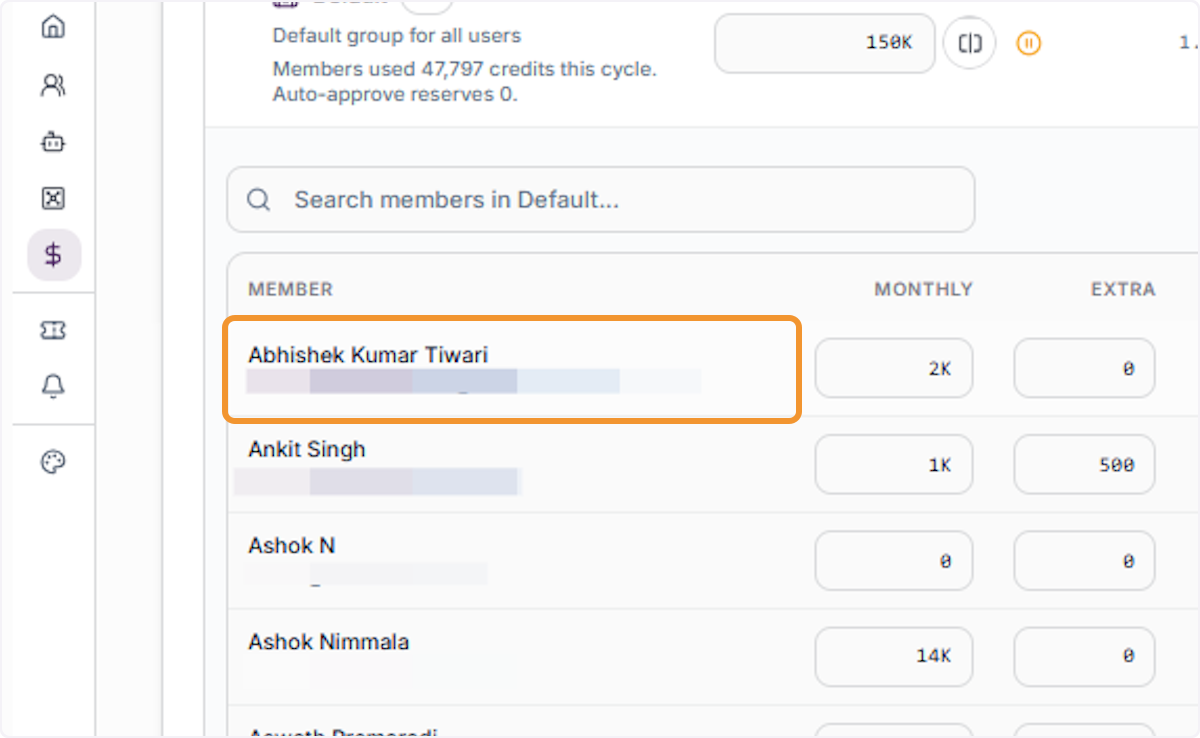
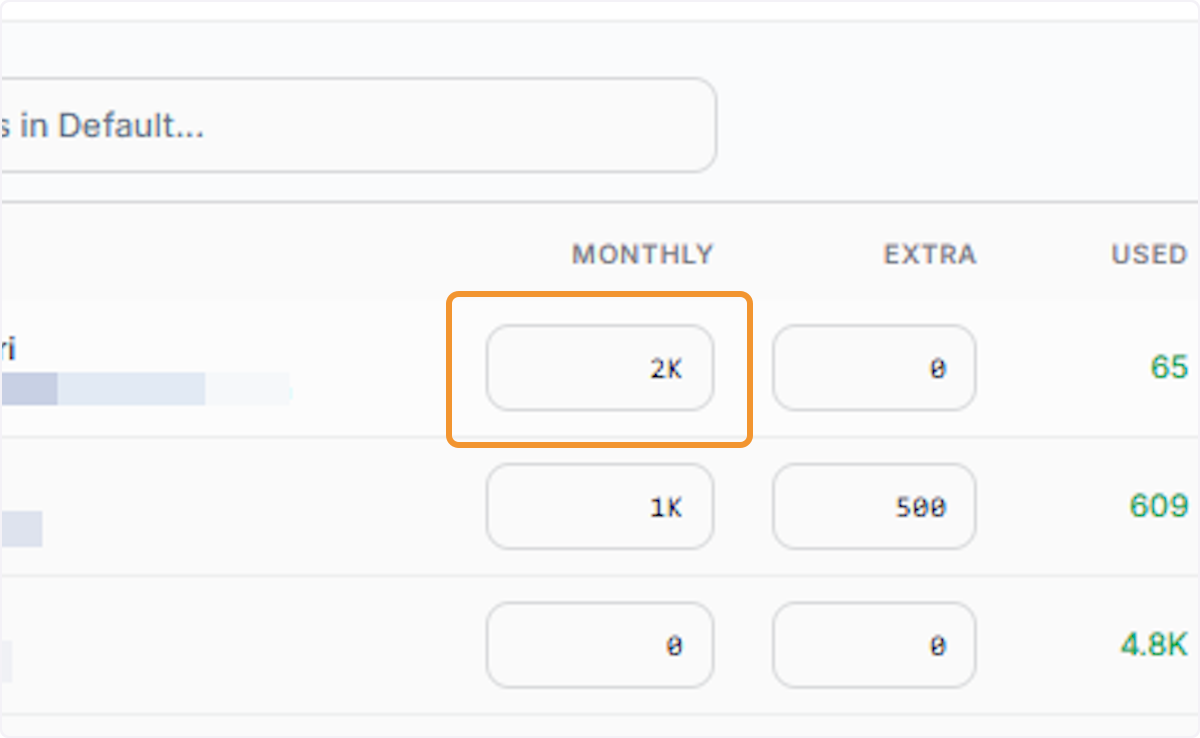
View a Member’s Monthly Allocation
Click on the value in the Monthly column for the selected member. This displays their current monthly credit allocation. The field becomes interactive when clicked, enabling direct editing of the assigned monthly credit amount.
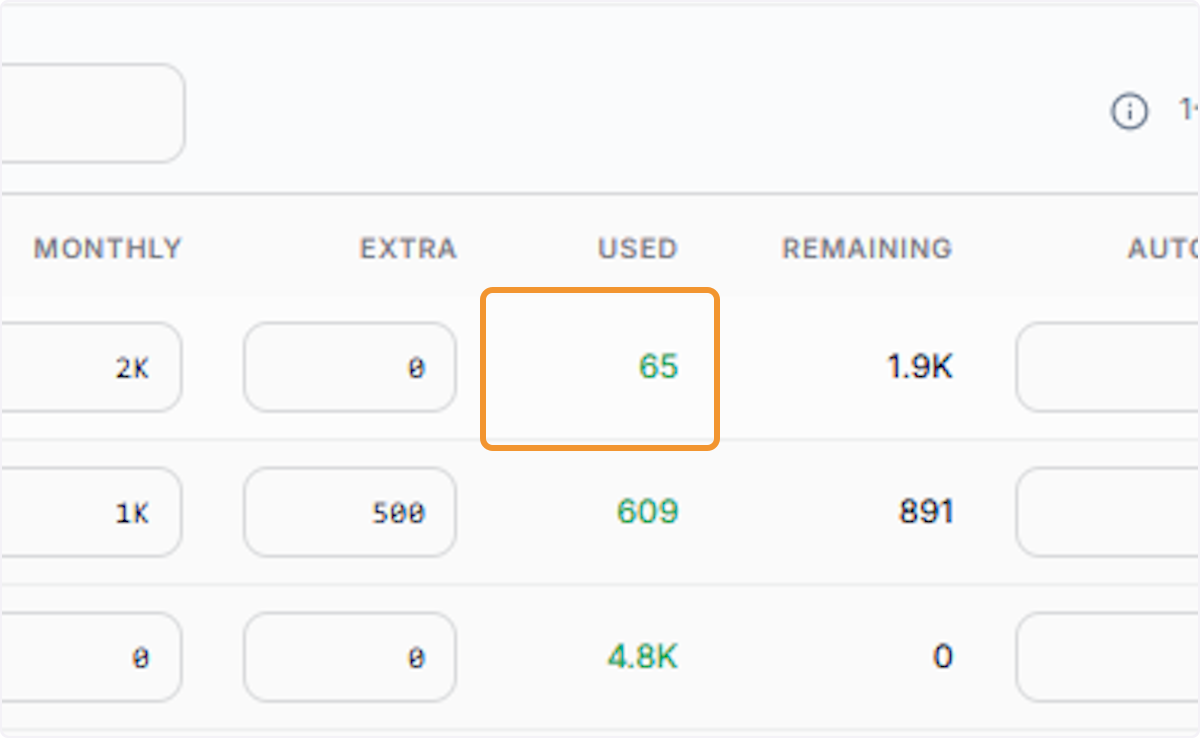
Review a Member’s Used Credits
Click on the value shown in the Used column for this member. This figure reflects the total credits consumed during the current billing cycle, helping administrators monitor individual usage patterns.
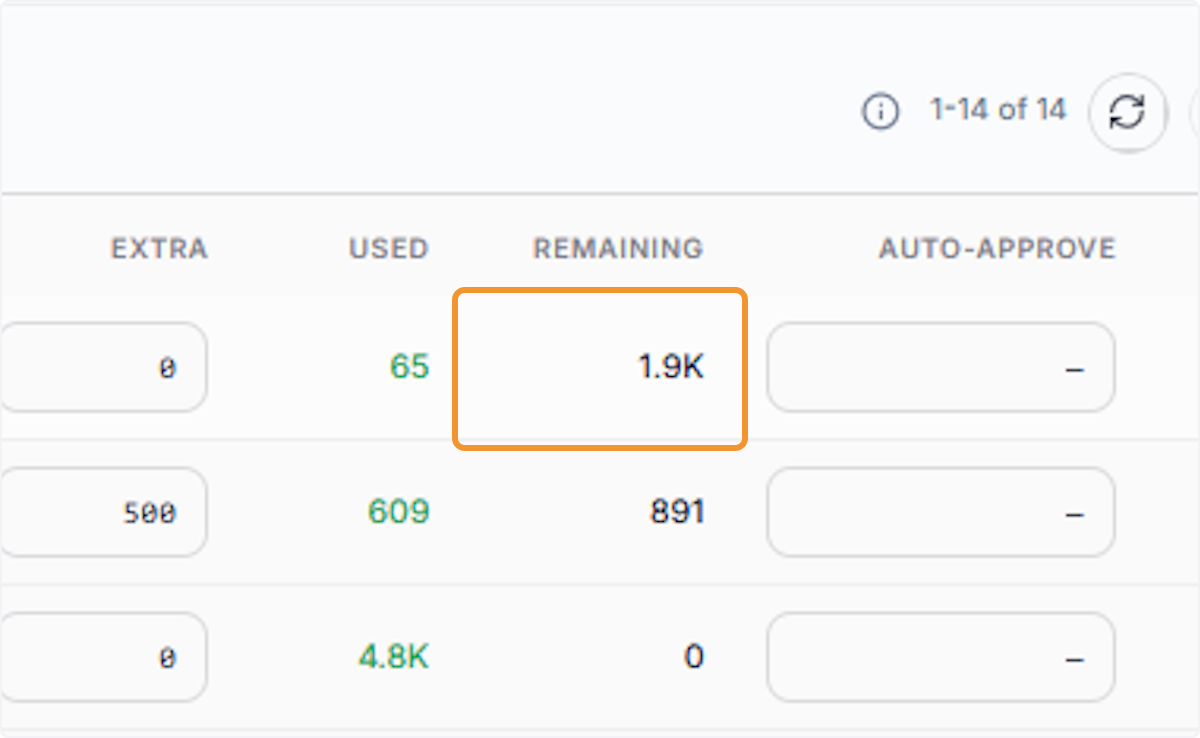
Review a Member’s Remaining Credits
Click on the value shown in the Remaining column for a specific member. This figure indicates how many credits that user has left to consume before their current cycle allocation is exhausted.
Select a Cell to Enable Editing
Click on any editable cell within the member allocation table to place your cursor and enable input mode. Cells will highlight with a purple border to indicate they are active and ready for data entry or modification.
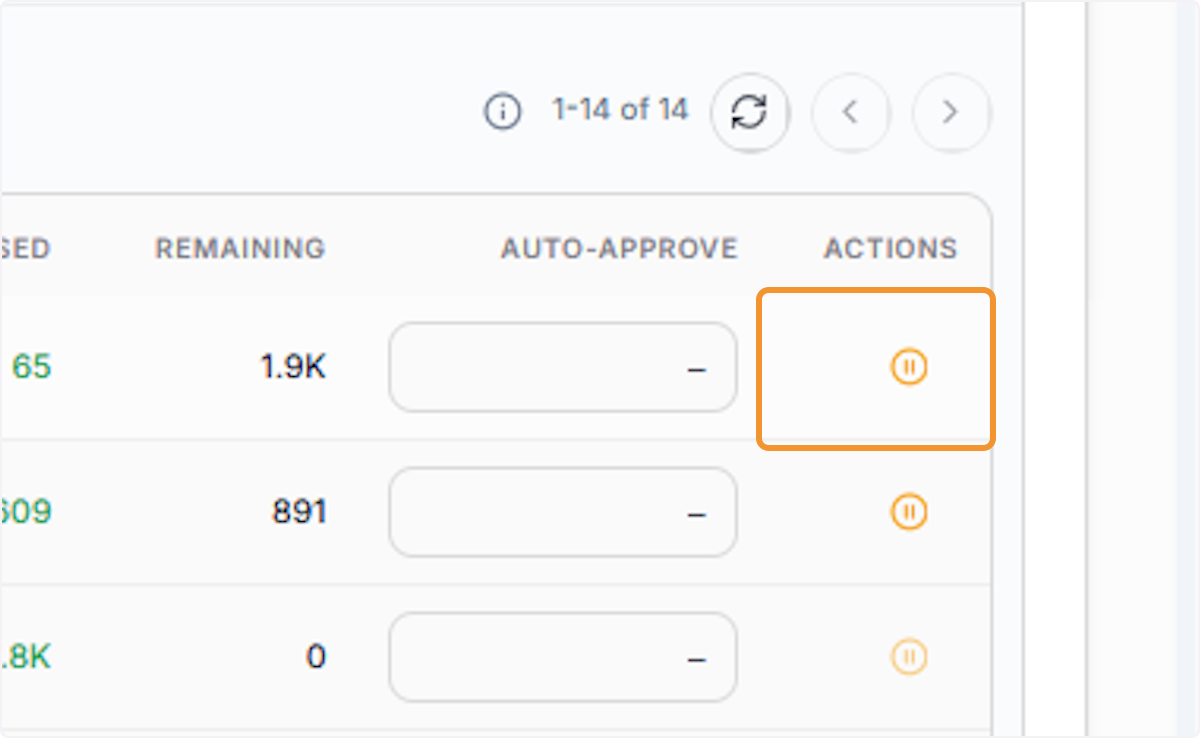
Confirm a Member’s Monthly Allocation
Click on the monthly allocation field for the selected member to confirm or prepare to update the value. The field becomes an interactive input, showing the current numeric value and allowing you to change it as needed.
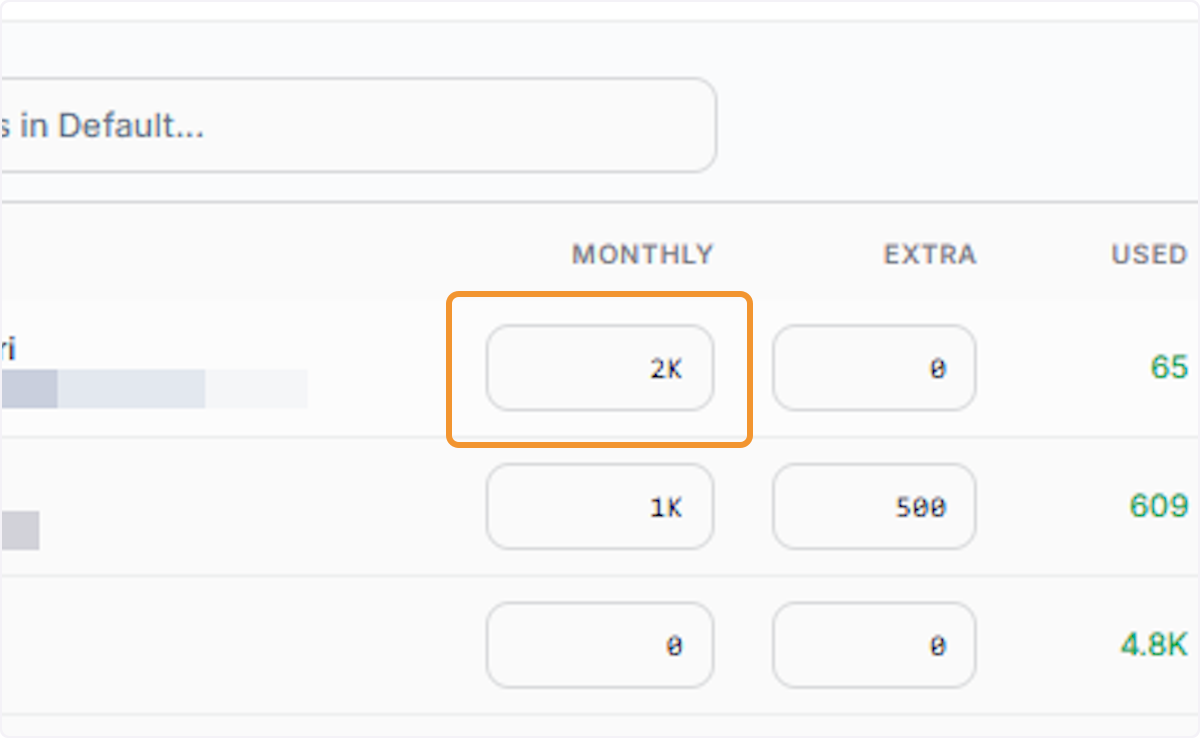
Edit a Member’s Monthly Allocation
Click on the monthly allocation input field for the selected member to open the editable tooltip. The current allocation value is displayed along with an exact value label. This is the step where you initiate changes to the member’s credit budget.
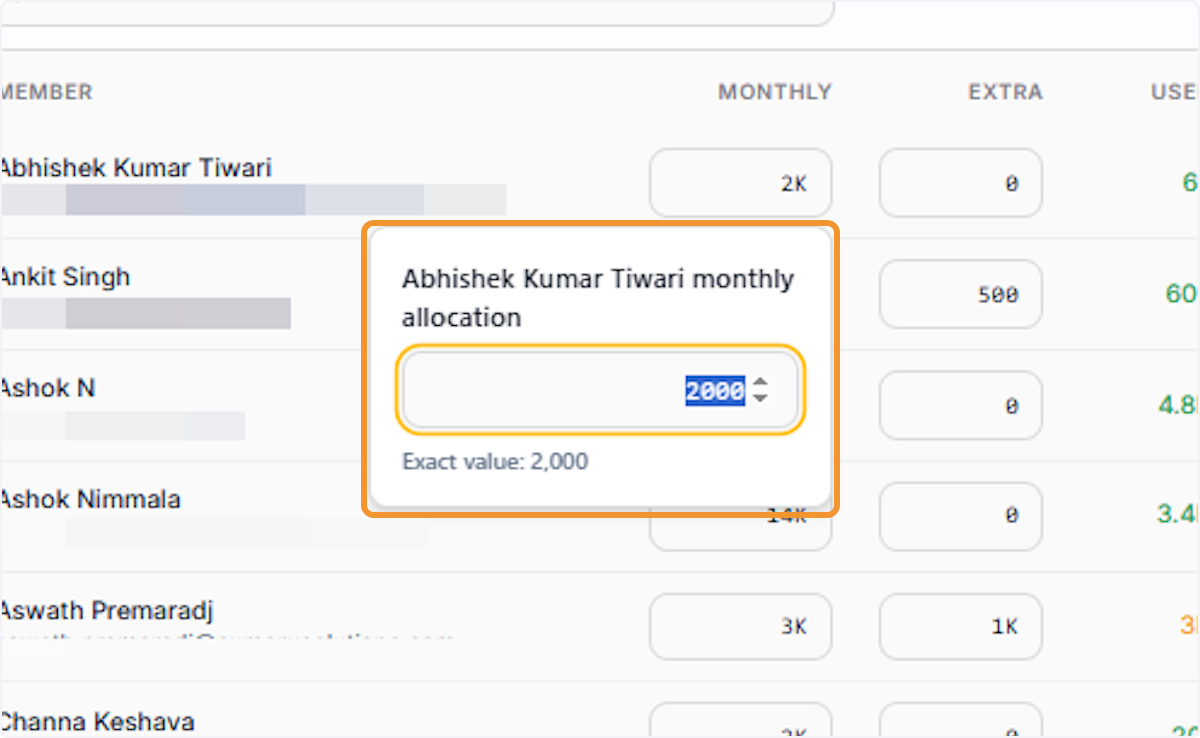
Enter a New Allocation Amount
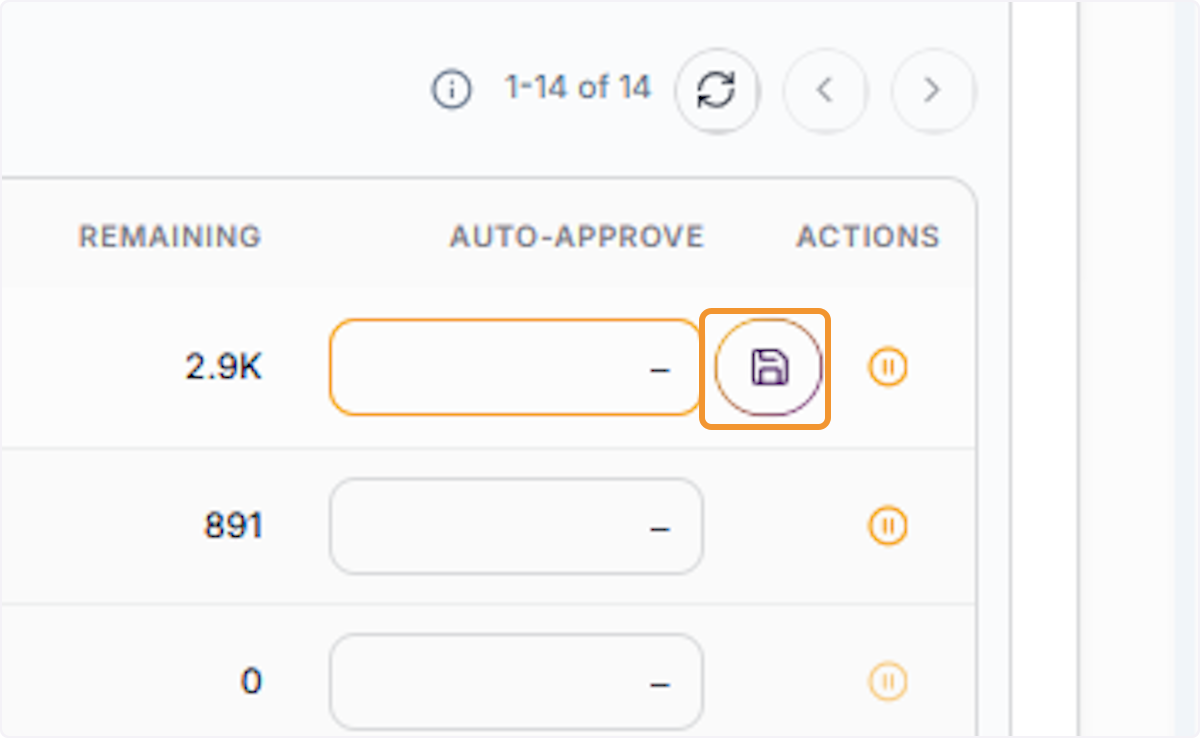
Click the save icon that appears in the Actions column after modifying the allocation value. This commits your changes and updates the member’s monthly credit limit. An ‘Unsaved’ badge will appear until this button is clicked.
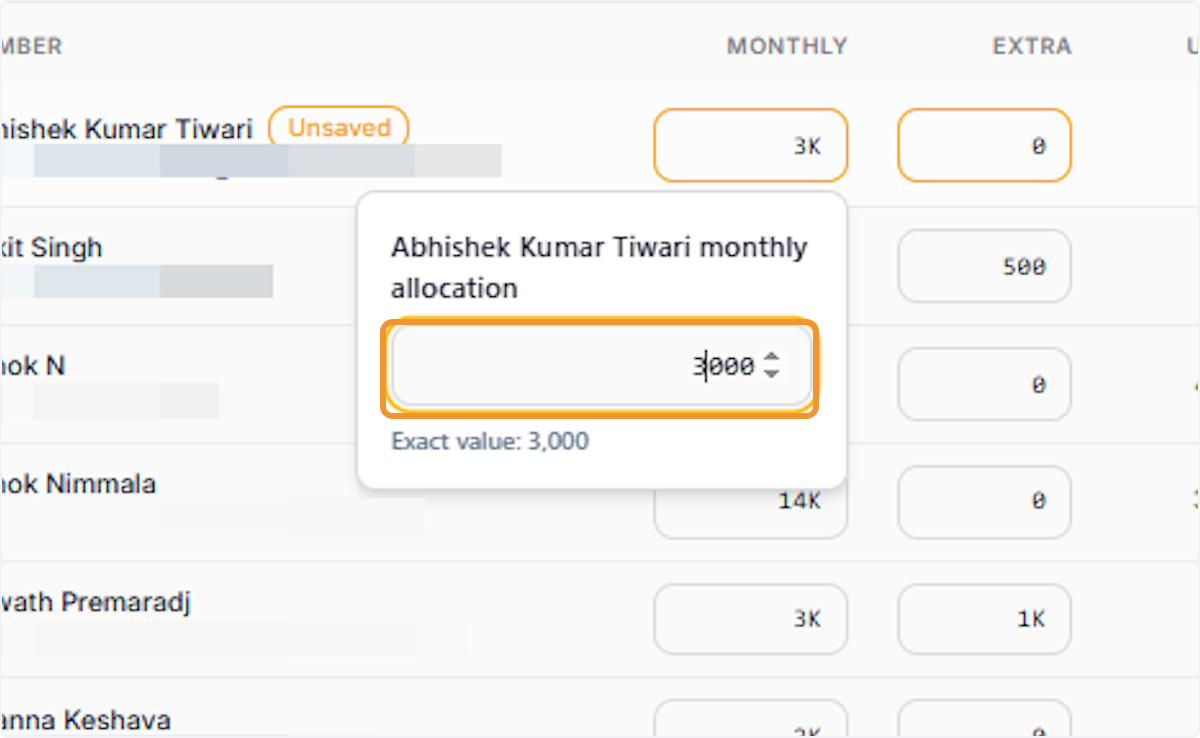
Save the Updated Allocation
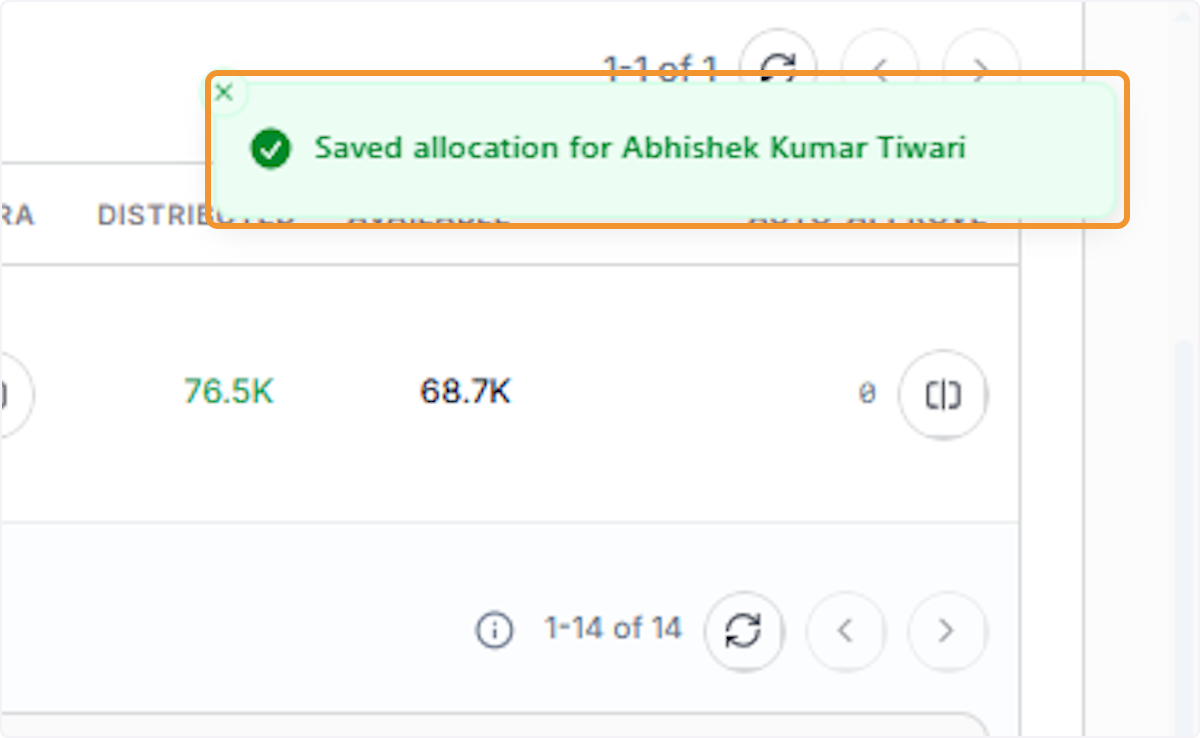
A green confirmation banner will appear at the top of the table, confirming the allocation change was successfully saved. The distributed and available credit totals for the group are automatically recalculated.
Confirm the Allocation Was Saved
A green confirmation banner will appear at the top of the table, confirming the allocation change was successfully saved. The distributed and available credit totals for the group are automatically recalculated.
Verify the Updated Monthly Value
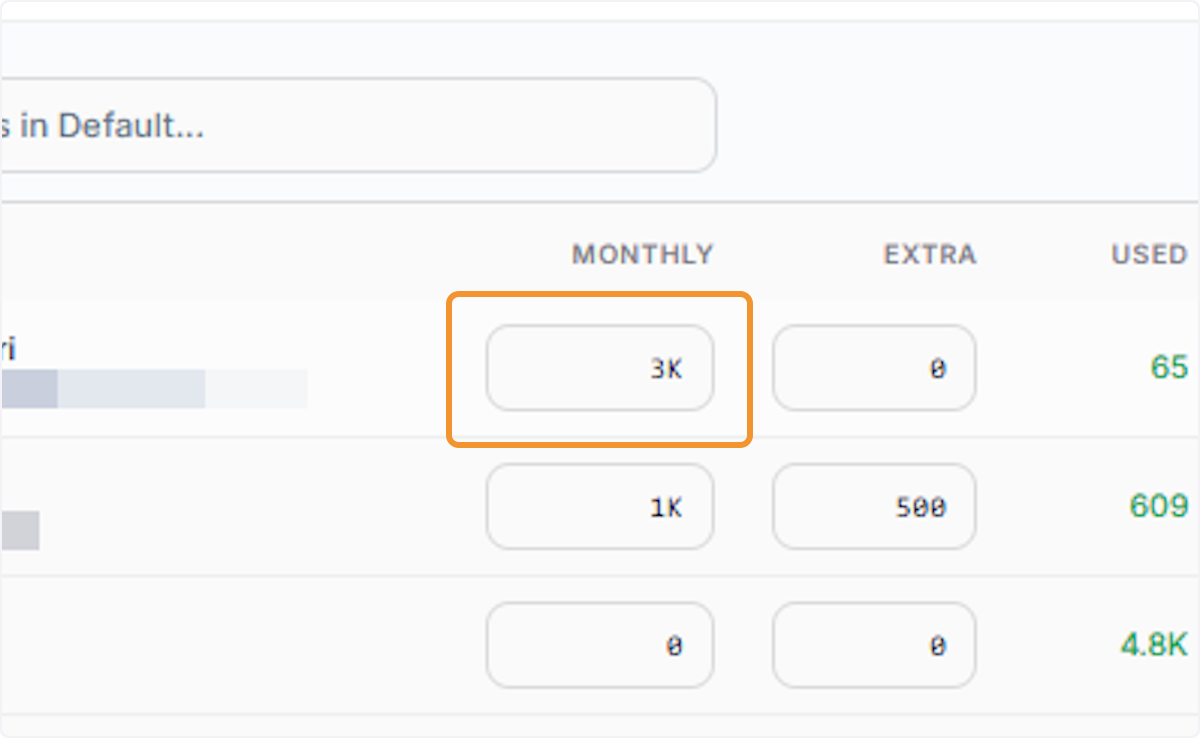
Click on the updated value in the Monthly column for the member to confirm the new allocation has been applied. The figure should now reflect the value you entered in the previous step, validating that the save was successful.
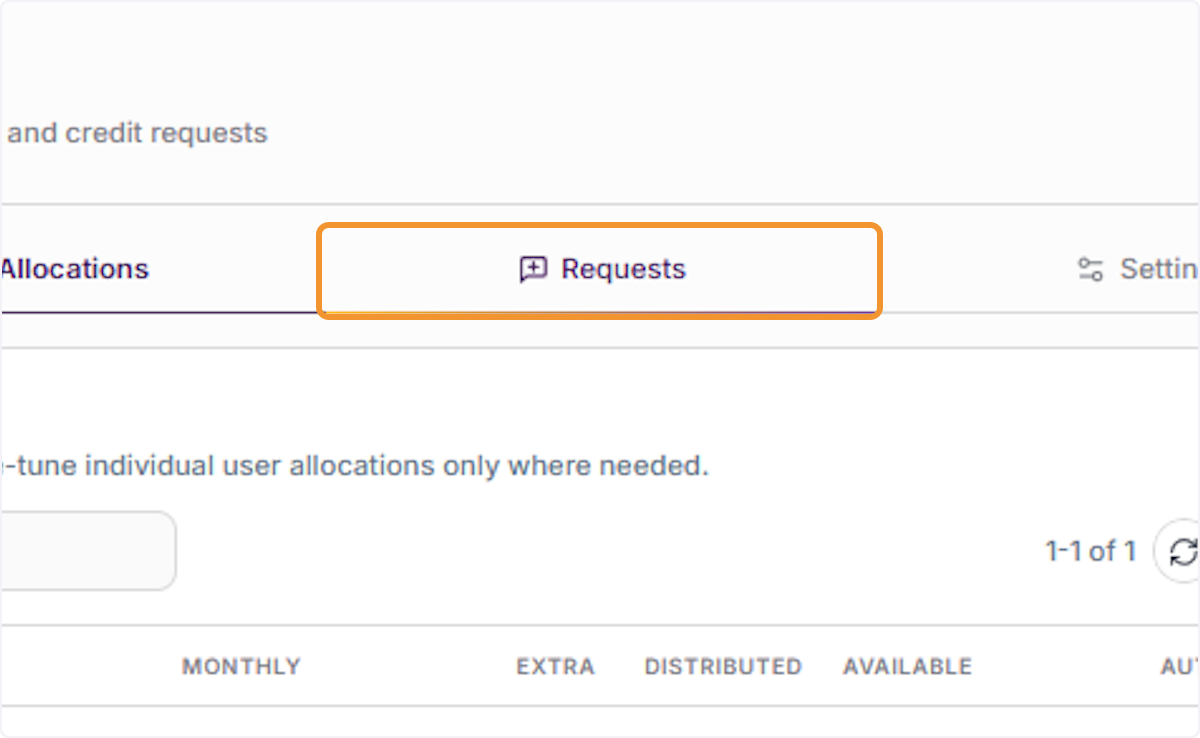
Click on the ‘Requests’ tab at the top of the Credits & Allocations panel. This section lists all credit requests submitted by users, allowing administrators to review, approve, or deny requests for additional credits beyond standard allocations.
Open the Status Filter Dropdown
Click the ‘All Statuses’ dropdown button to reveal the request status filter options. This dropdown allows you to narrow the list of credit requests by their current status, making it easier to focus on specific request categories.
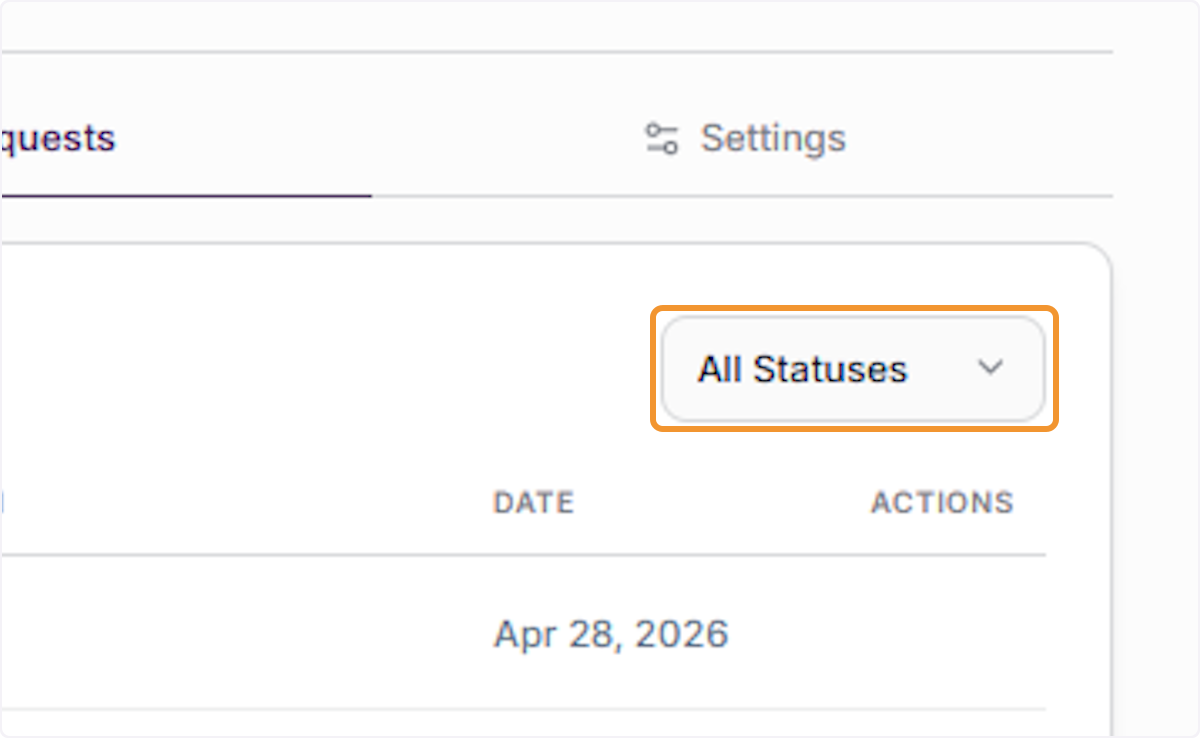
Select a Status Filter Option
Click on the dropdown to expand the full list of filter choices: All Statuses, Pending, Approved, Denied, and Auto-Approved. Select the desired status to filter the requests list and view only entries matching that state.
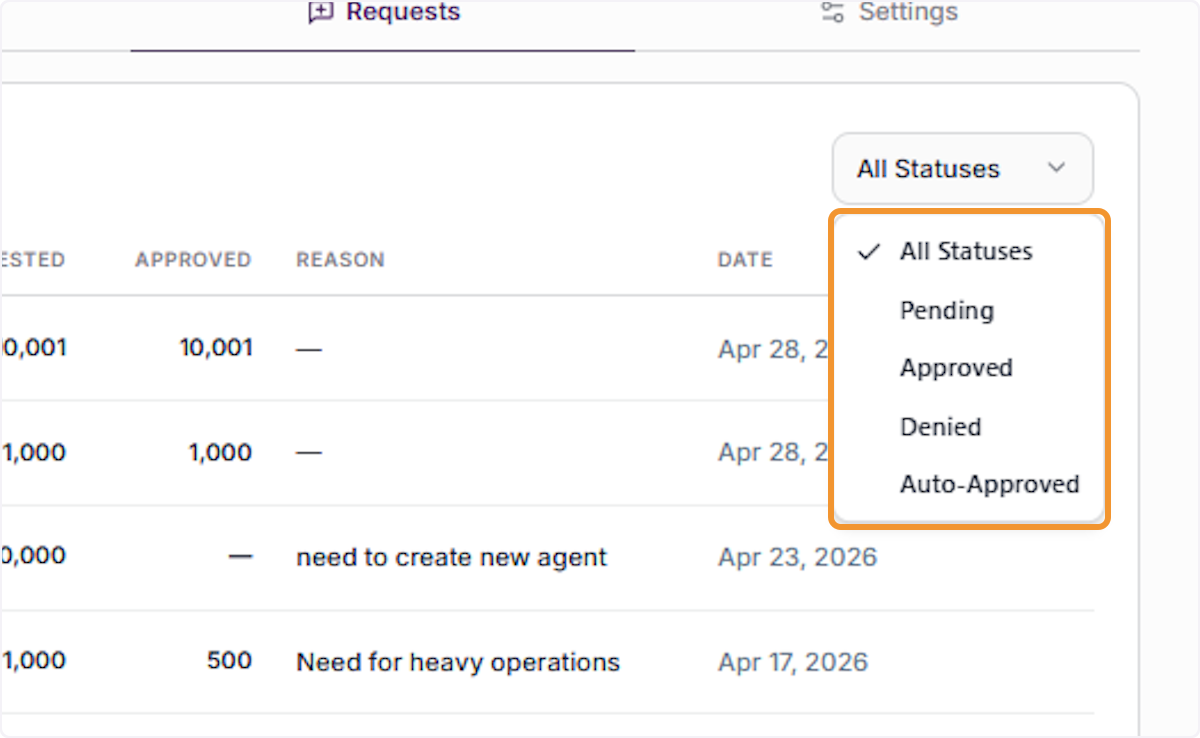
Review the Full Credit Requests List
With the filter applied, the Credit Requests list is now visible. Each row shows the requester’s name and email, the amount requested, amount approved, the reason provided, and the submission date.
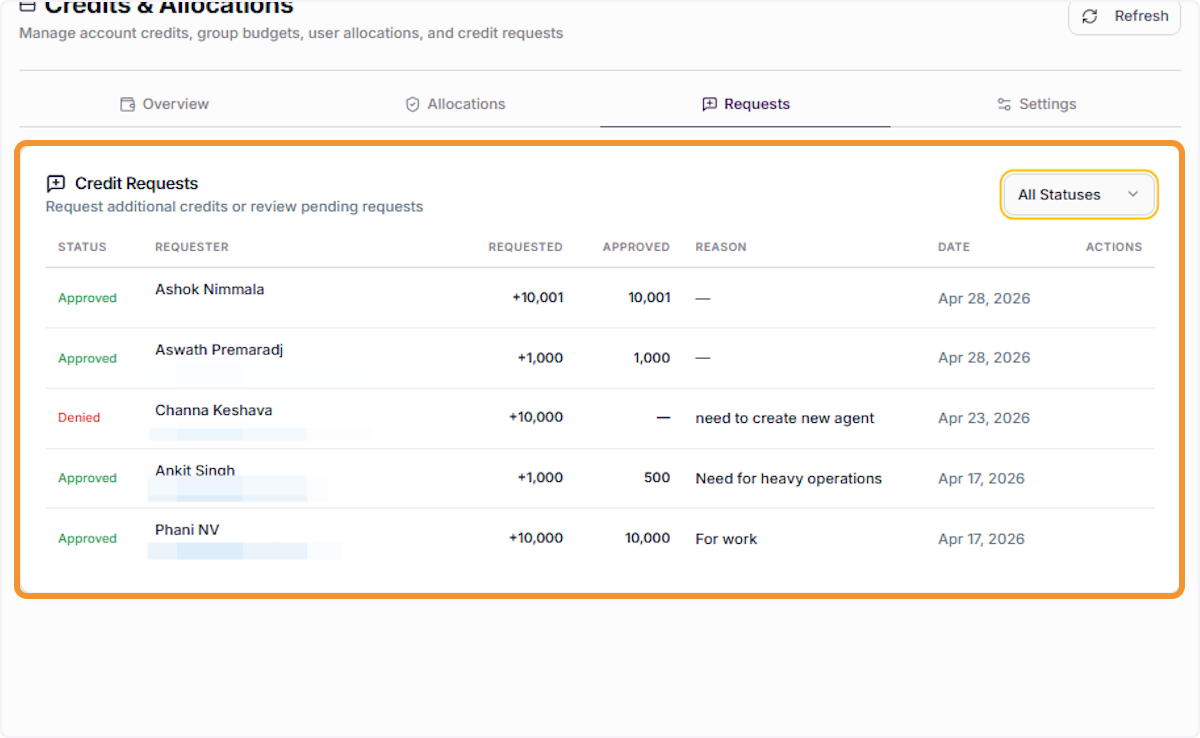
Select a Request Row
Click on any row in the Credit Requests table to select it and reveal the available action buttons in the Actions column. Selecting a row highlights it and activates controls to approve or deny that specific credit request.
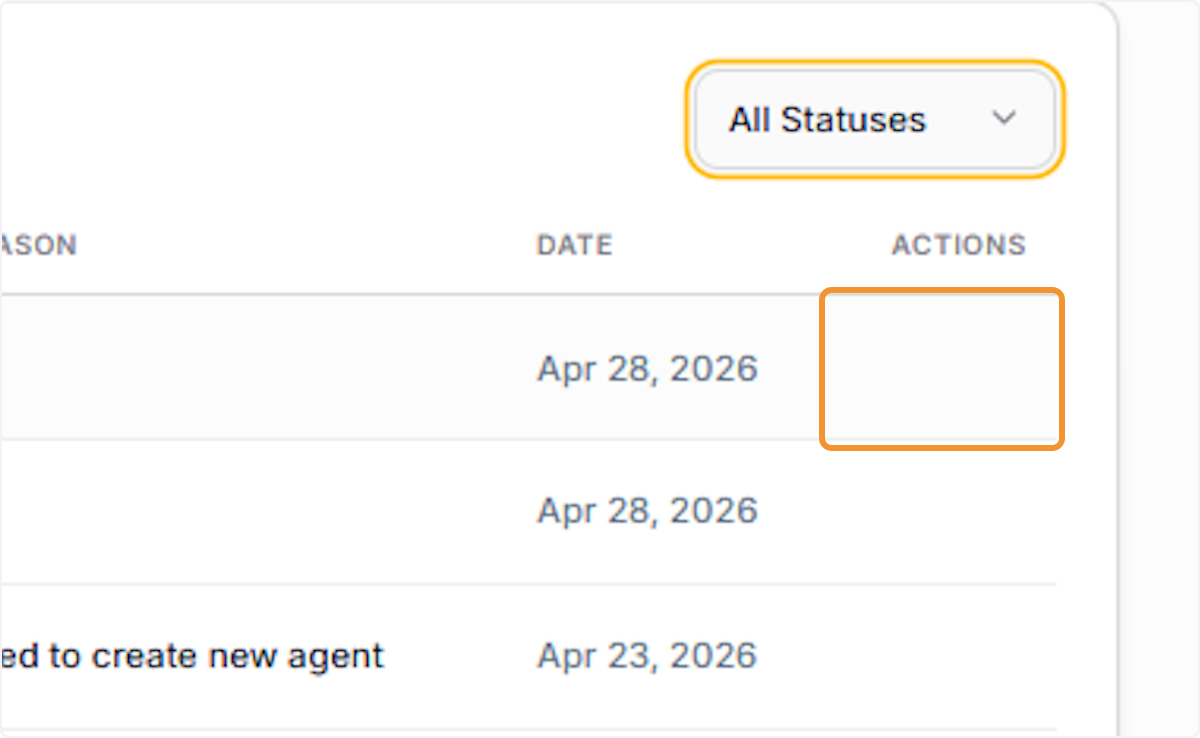
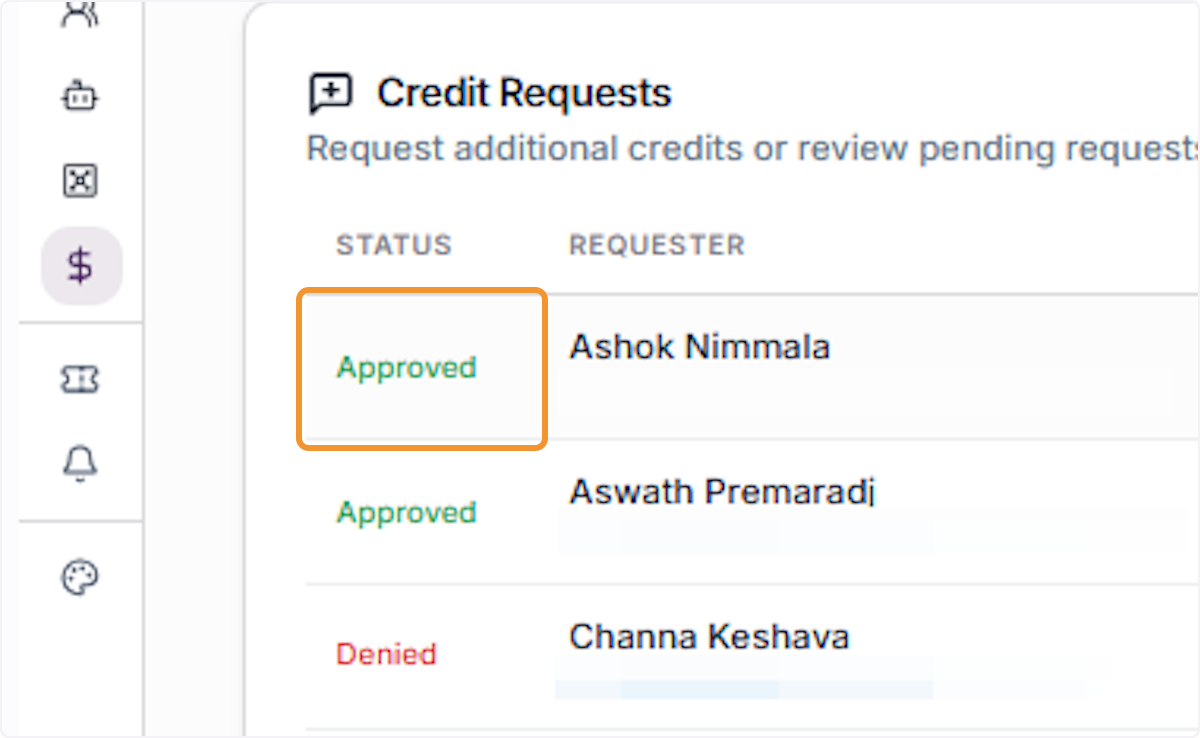
Review a Request’s Approval Status
Review the status badge displayed in the Status column. Green ‘Approved’ badges confirm a request has been reviewed and granted. Red ‘Denied’ badges indicate rejected requests. This view helps audit past credit decisions.
Click on the ‘Settings’ tab at the top of the Credits & Allocations panel. The Settings section contains all configurable account-level credit parameters, including total credit limit, cycle cadence, credit factor, and initial signup credits for new users.
Open the Account Credit Limit Section
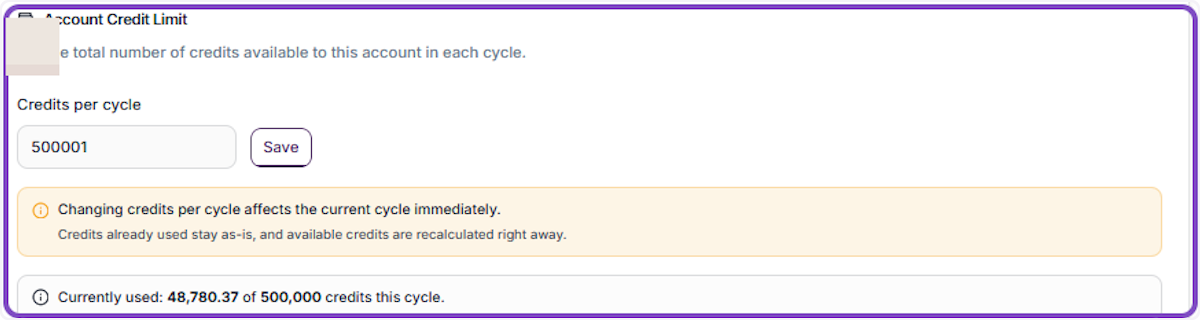
The Settings tab opens to the Account Credit Limit section. Here you can view and modify the total number of credits available to your account per cycle. Current usage is displayed at the bottom for reference before making any changes.
Edit the Credits per Cycle Field
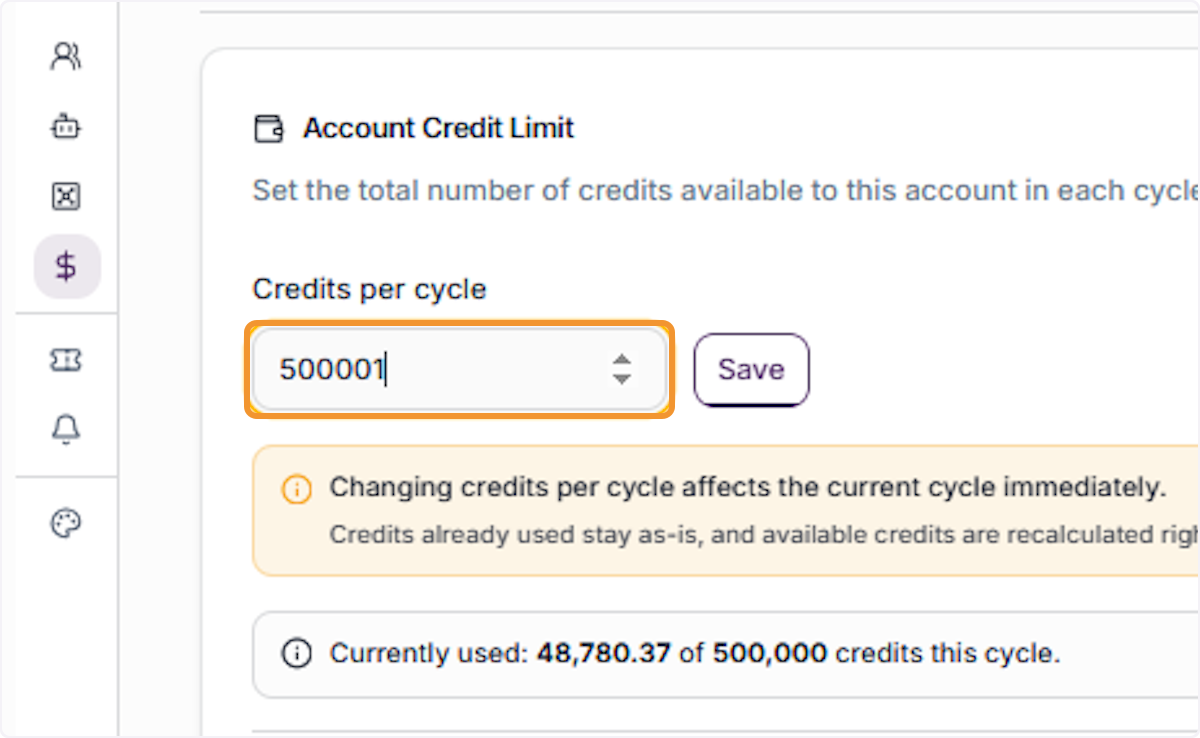
Click on the ‘Credits per cycle’ input field to activate it for editing. This field controls the total credit budget your account receives at the start of each billing cycle. The current value is shown and ready to be updated.
Save the Credits per Cycle Change
After entering the new credit limit value, click the ‘Save’ button next to the Credits per cycle field. A confirmation dialog will appear before the change is applied, as modifying this value takes effect immediately for the current cycle.
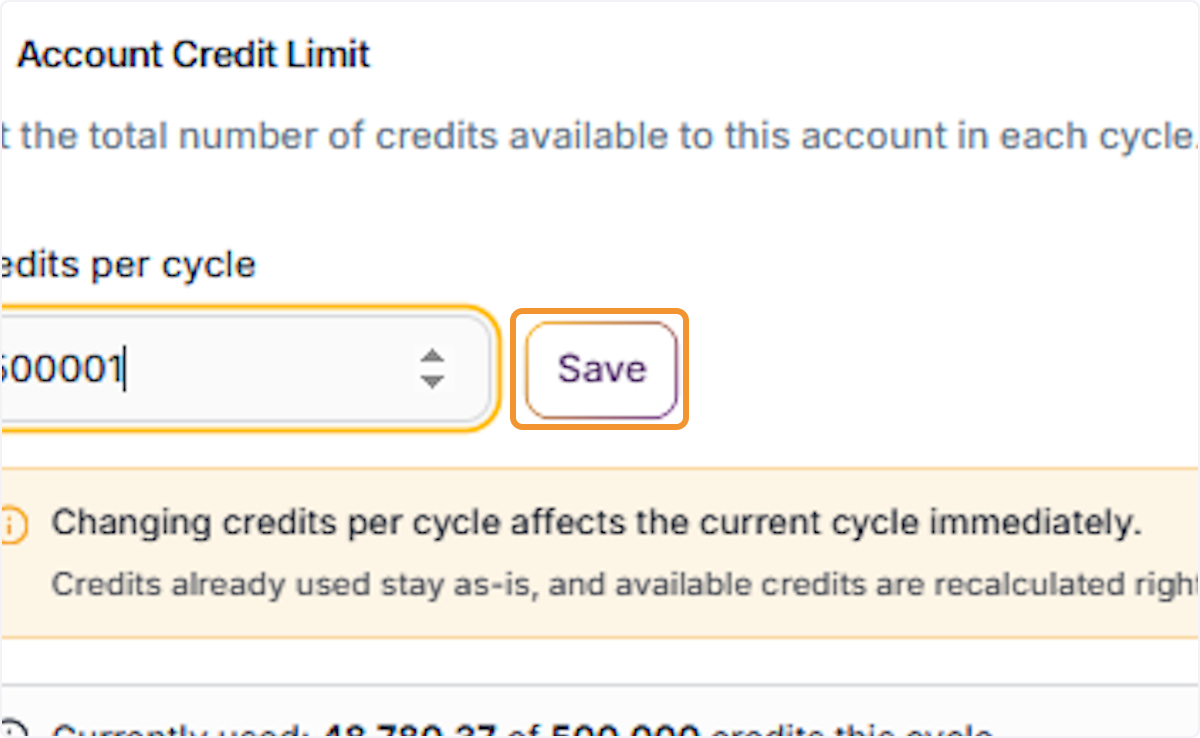
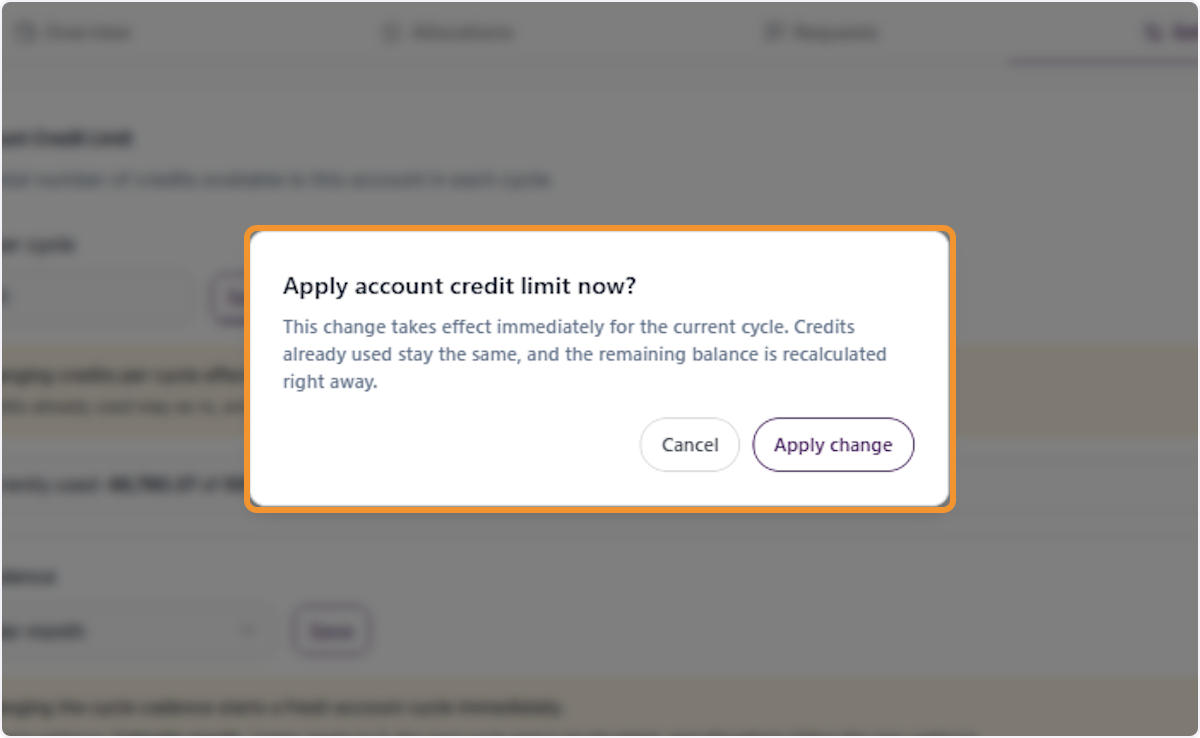
Confirm Applying the New Credit Limit
A confirmation modal will appear asking you to apply the new account credit limit. This change takes effect immediately for the current cycle. Credits already used remain unchanged, but available credits are recalculated right away. Click ‘Apply change’ to confirm or ‘Cancel’ to abort.
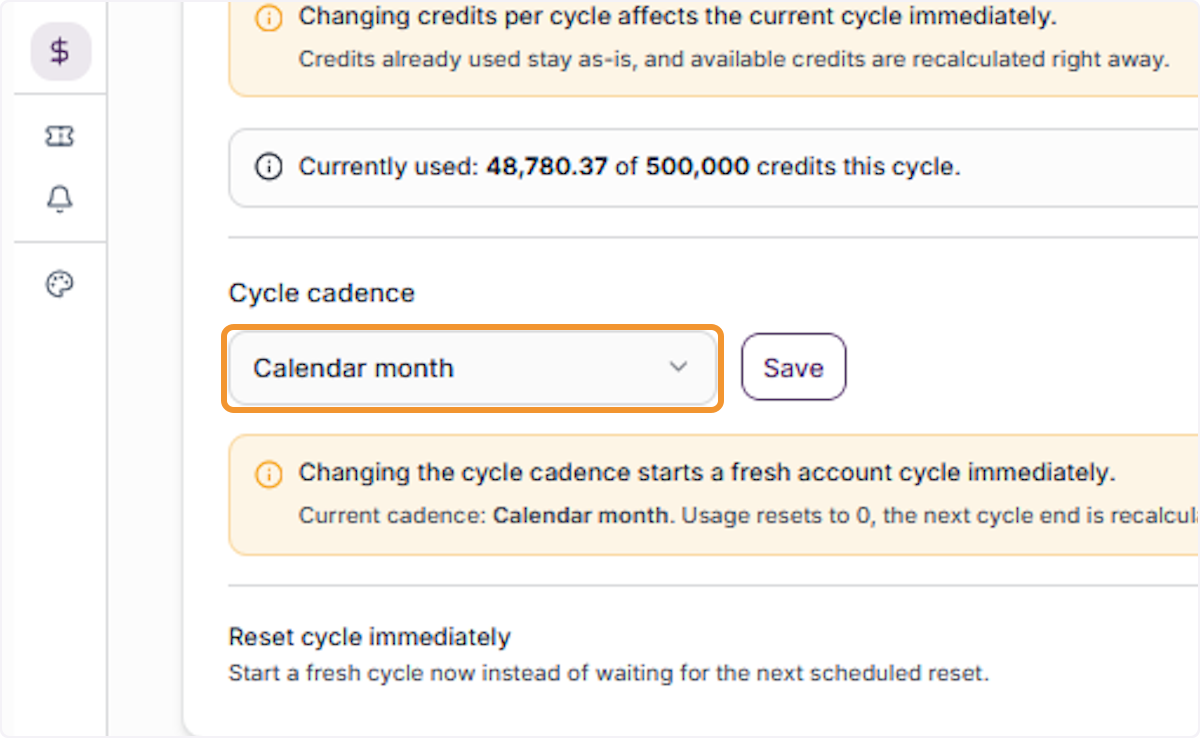
Review the Cycle Cadence Setting
Click on the Cycle cadence section to bring it into focus. This reveals the dropdown selector for changing the cadence, the current cadence label, a note that changes start a fresh cycle immediately, and a manual reset option.

Open the Cycle Cadence Controls
Click on the Cycle cadence section to bring it into focus. This reveals the dropdown selector for changing the cadence, the current cadence label, a note that changes start a fresh cycle immediately, and a manual reset option.
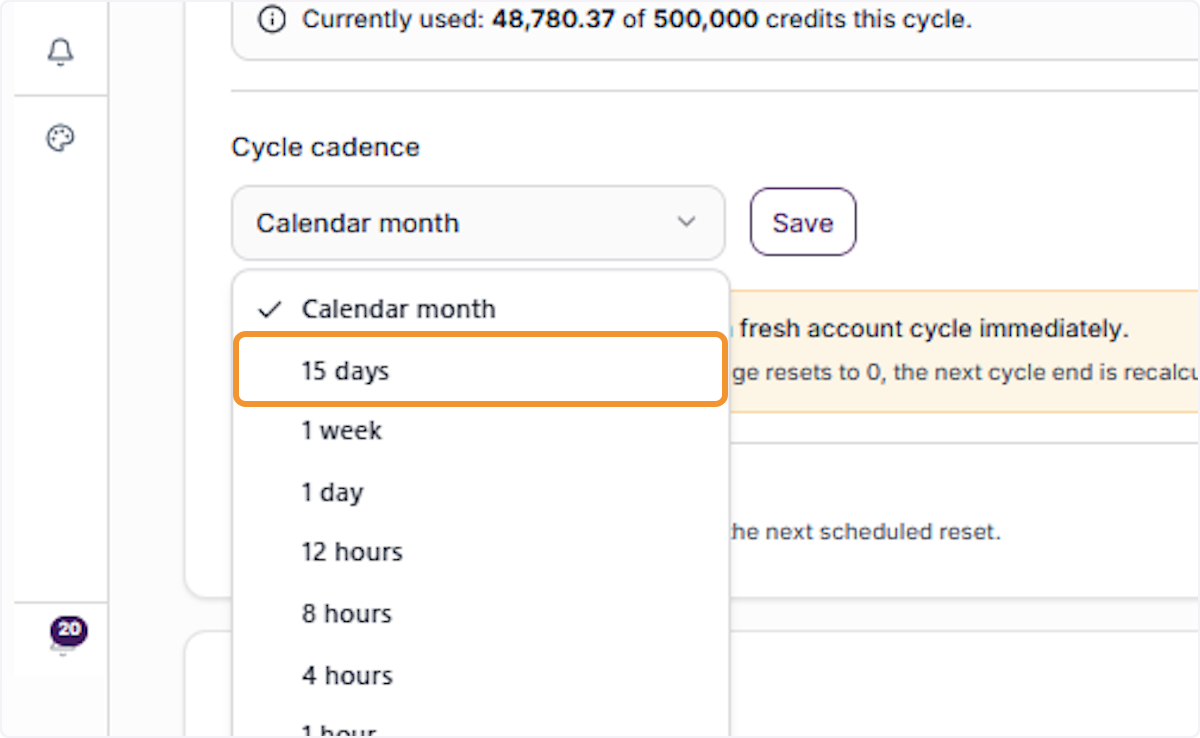
Select a New Cycle Cadence
Click the Cycle cadence dropdown to expand the list of available options such as Calendar month, 15 days, 1 week, 1 day, and shorter intervals. Select the cadence that best fits your team’s operational needs and credit consumption patterns.
Locate the Reset Cycle Option
Scroll to the bottom of the Settings tab to find the ‘Reset cycle immediately’ section. This feature allows administrators to manually trigger an immediate cycle reset without waiting for the next scheduled reset date.

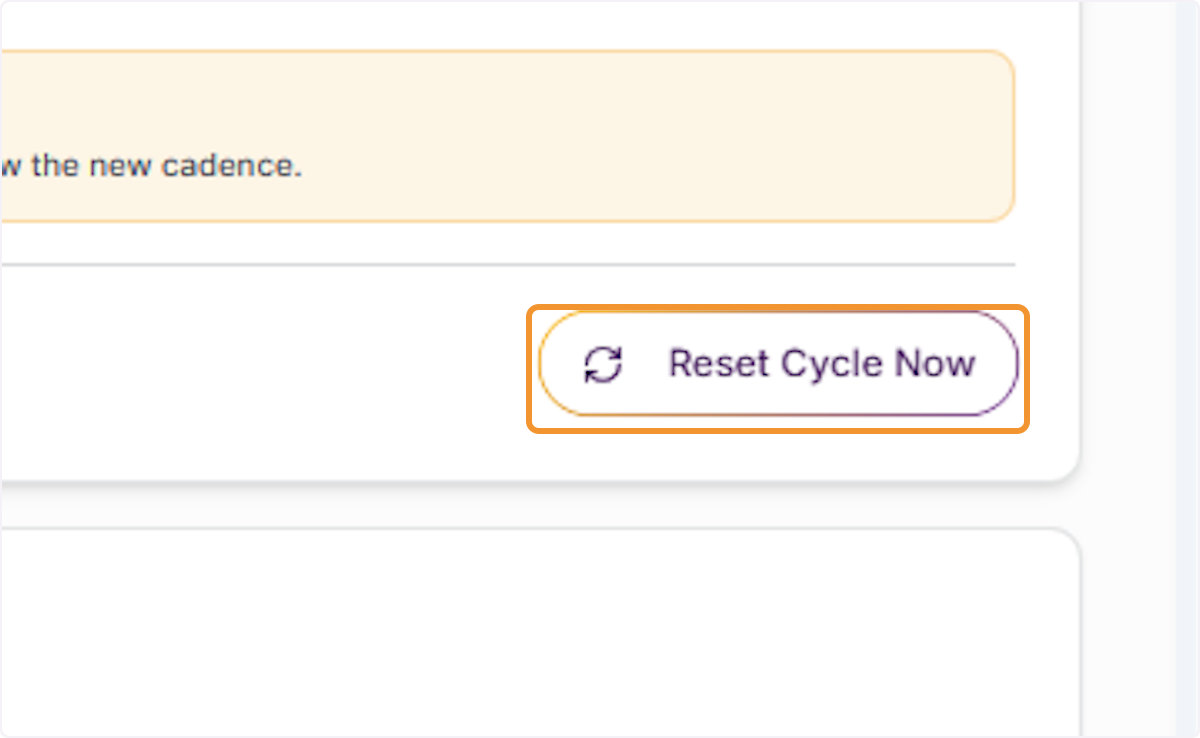
Click the Reset Cycle Now Button
Click the ‘Reset Cycle Now’ button to initiate an immediate credit cycle reset. A confirmation dialog will appear before any action is taken. This action cannot be undone, so ensure a manual reset is genuinely needed before proceeding.
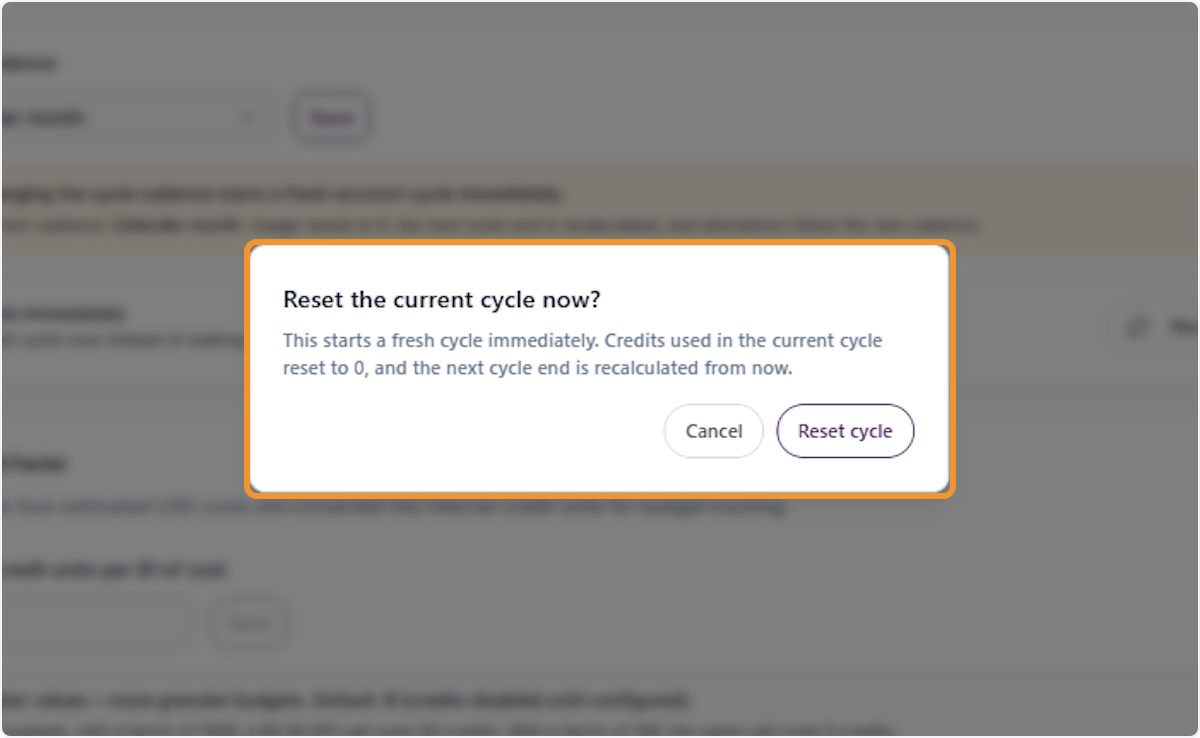
Review the Cycle Reset Confirmation
A confirmation dialog will appear, explaining that this starts a fresh cycle immediately. Credits used in the current cycle reset to zero, and the next cycle end date is recalculated from this moment. Review carefully before confirming.
Cancel the Cycle Reset
Click the ‘Cancel’ button in the confirmation dialog to abort the cycle reset and return to the Settings view without making any changes. Use this option if the reset was triggered accidentally or if further review is needed.
View the Credit Factor Settings
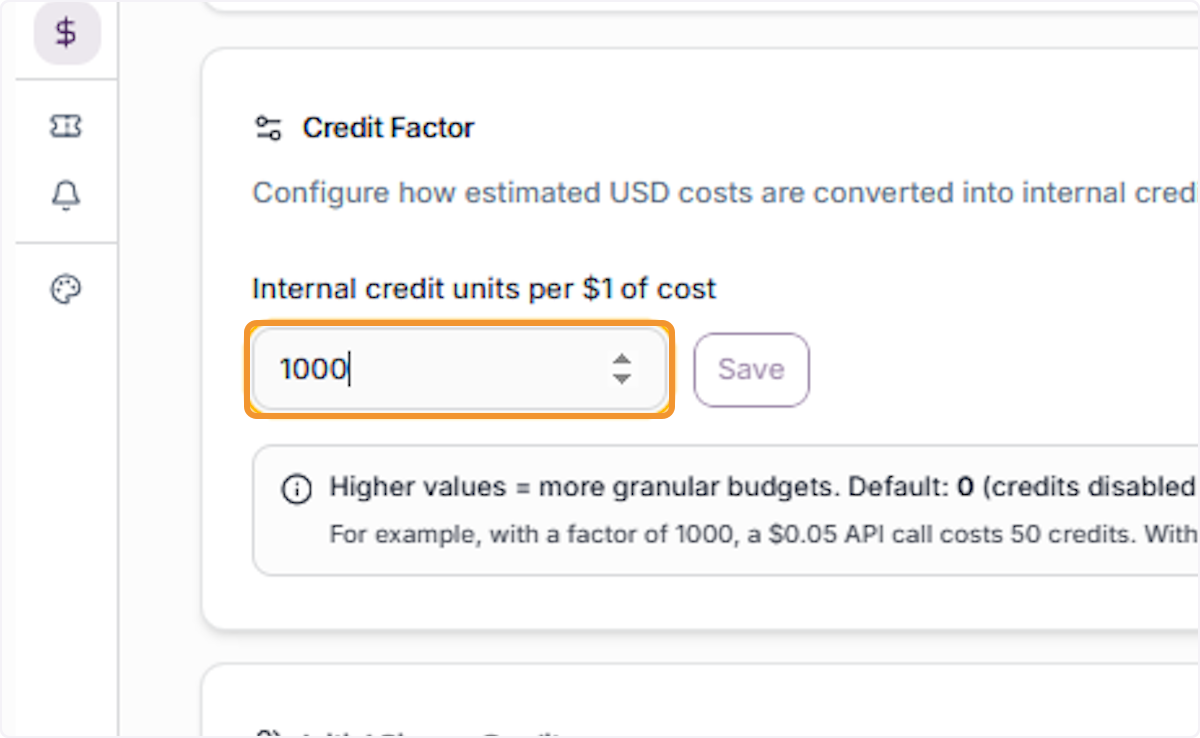
Navigate to the Credit Factor section within Settings. This section configures how estimated USD costs are converted into internal credit units for budget tracking. The Credit Factor determines the granularity of credit-based cost monitoring across your account.
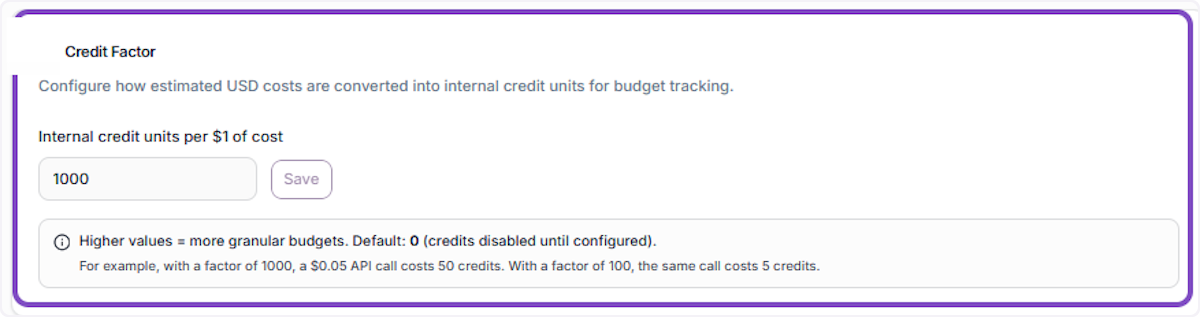
Configure Internal Credit Units per Cost
Click on the ‘Internal credit units per $1 of cost’ field to review or edit the conversion factor. The default value is 0, which disables credit tracking. Higher values provide more granular budget monitoring across your account’s API usage.
Configure Credits per New User
Click on the ‘Credits per new user’ field in the Initial Signup Credits section. This value defines how many credits are automatically assigned to users when they join the account. Set to 0 to disable automatic assignment on signup.
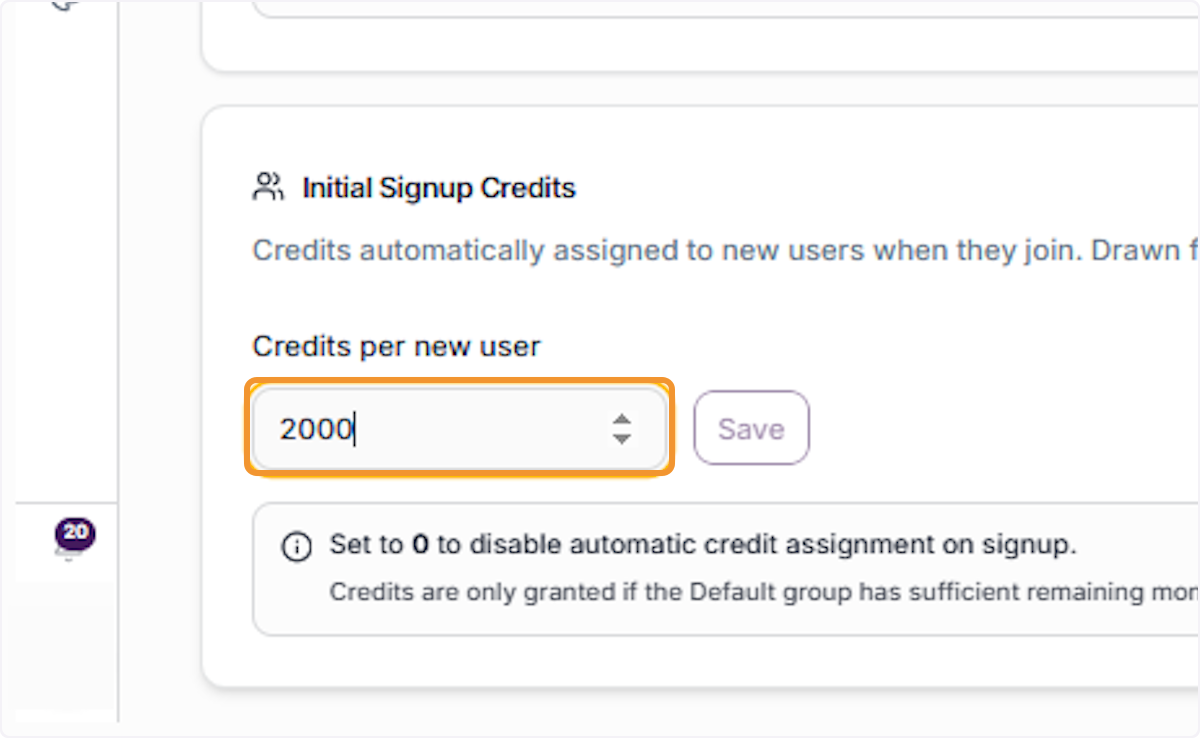
Save the initial Signup Credit
Refresh the Dashboard
Click the ‘Refresh’ button at the top-right corner of the Credits & Allocations panel to reload the latest data. Use this after making changes to ensure the dashboard reflects the most current credit usage, allocation figures, and request statuses.