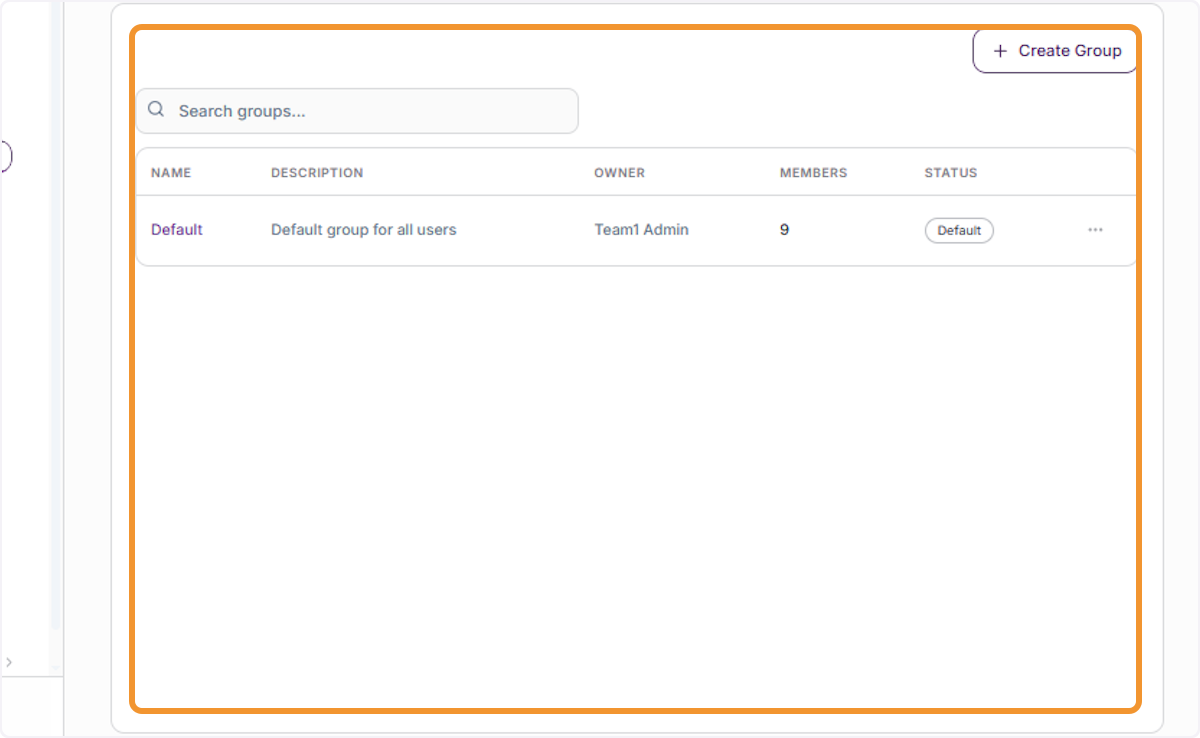
Group Management
Details of Default Group
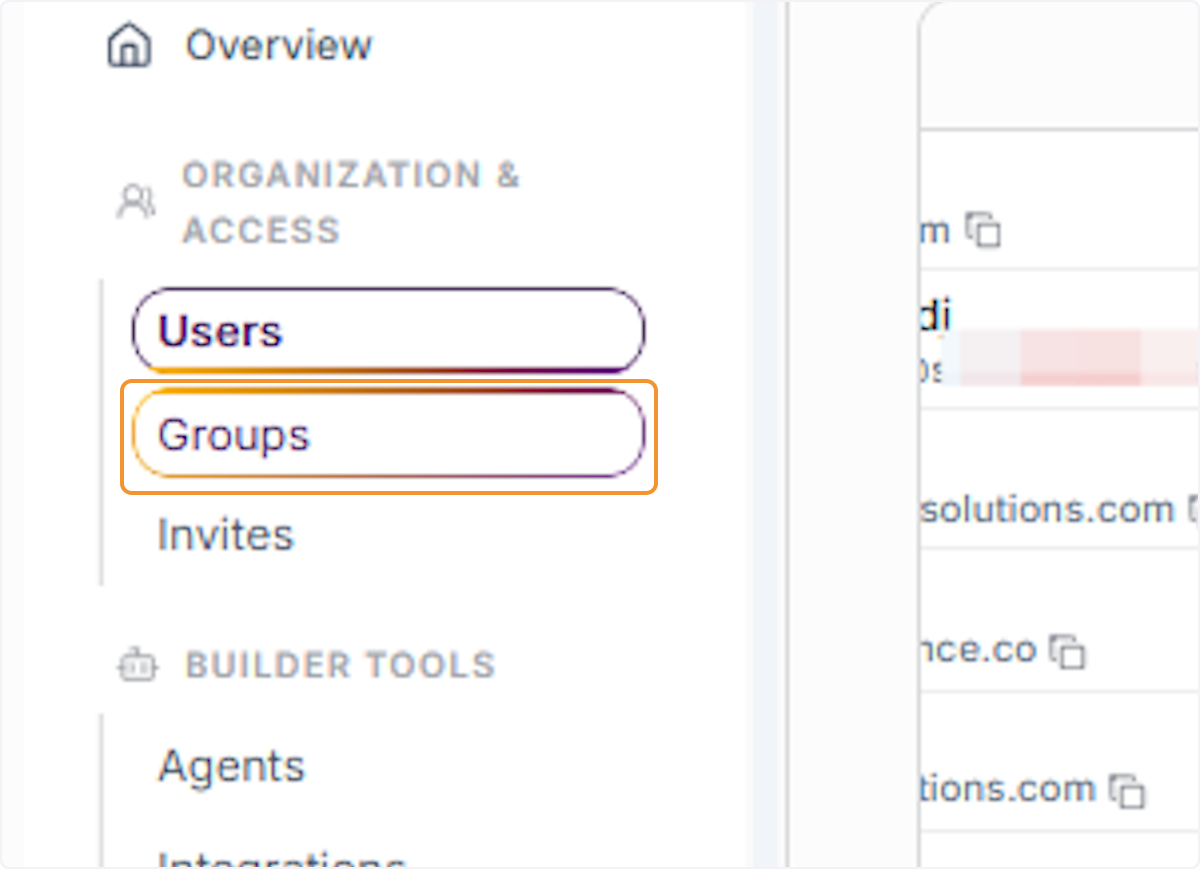
Navigate to the Groups section by clicking Groups under Organization & Access in the left-hand Copilot Control menu.
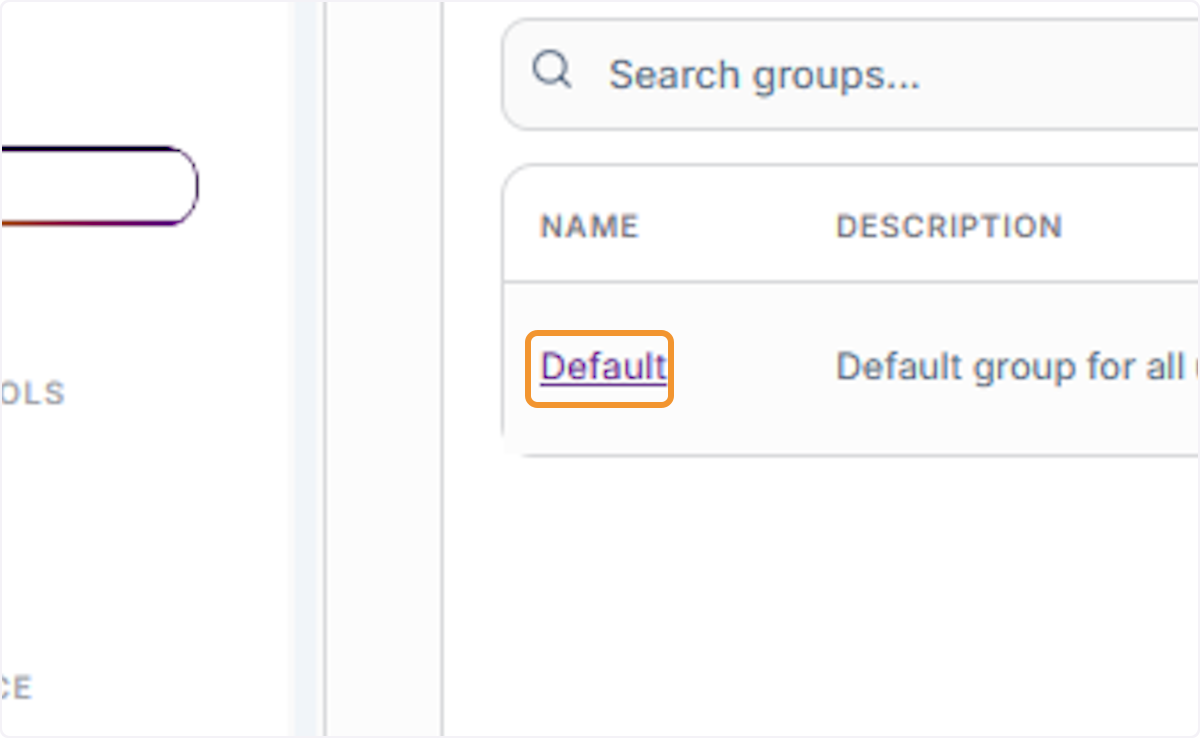
Open the Default Group
Click on Default in the group name column to view its details, including member list and group description.
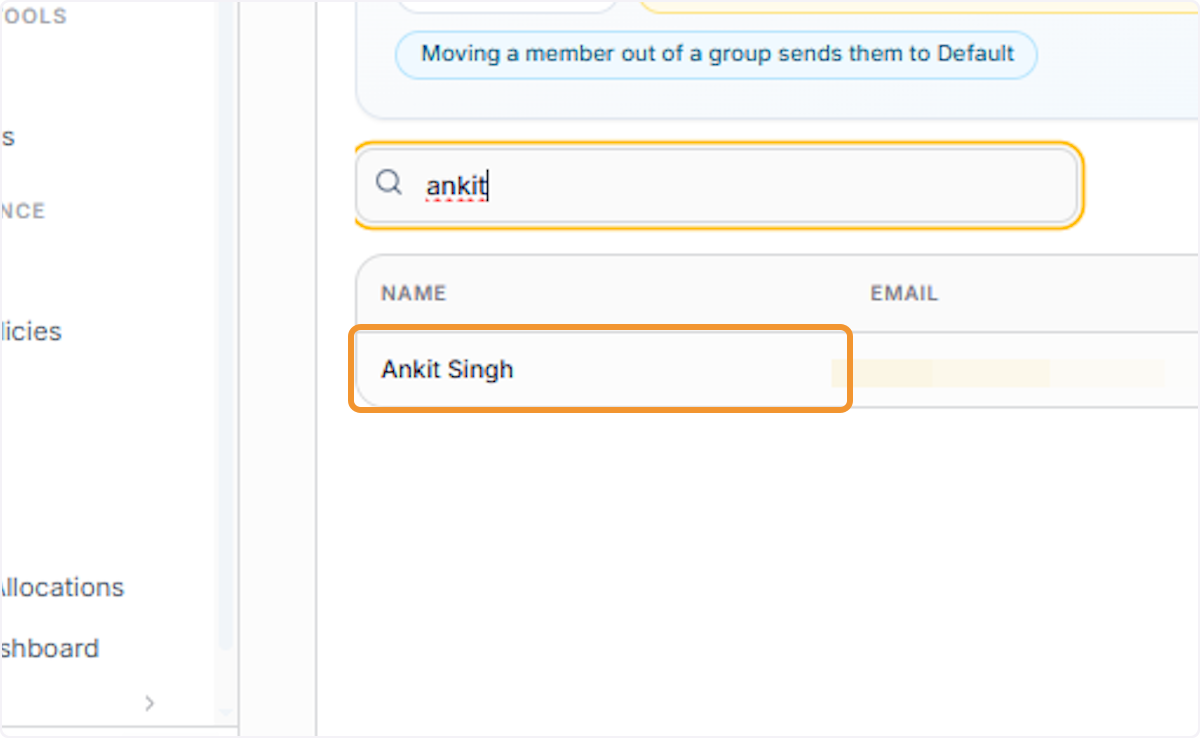
Search for a Specific Member
Use the search bar inside the group panel to find a specific user by name within the Default group.
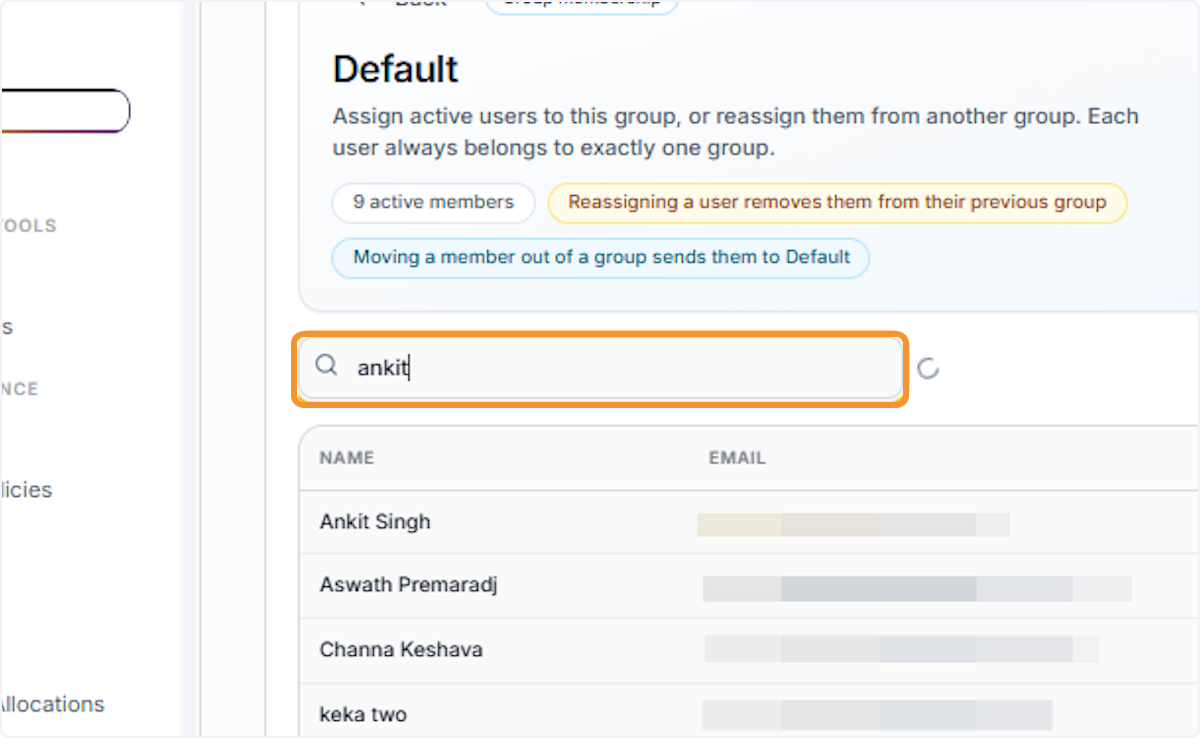
Verify Search Result
Confirm that the correct user appears in the filtered results.
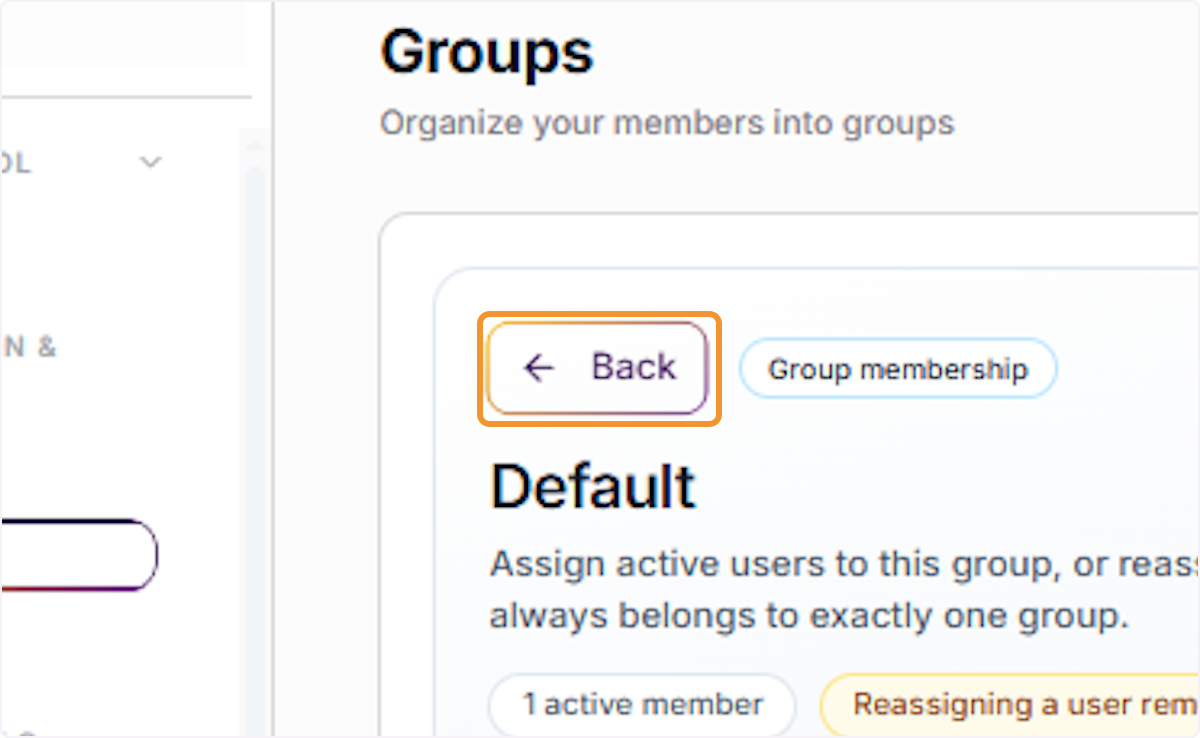
Return to All Groups
Click the ← Back button to exit the group detail view and return to the full groups listing.
Create Groups
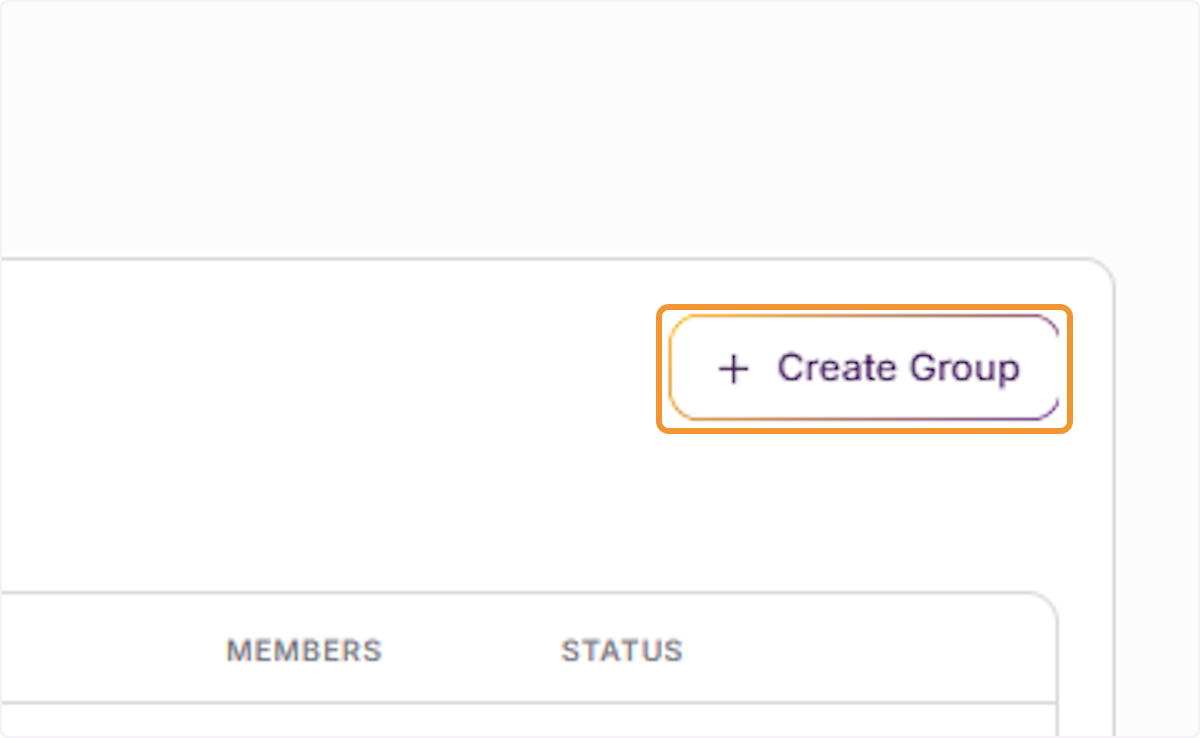
Click Create Group
In the Groups panel, click the + Create Group button in the top-right corner to open the group creation form.
Group Creation Dialog Opens
The Create Group dialog box will appear, containing fields for name, description, owner, and contact email.
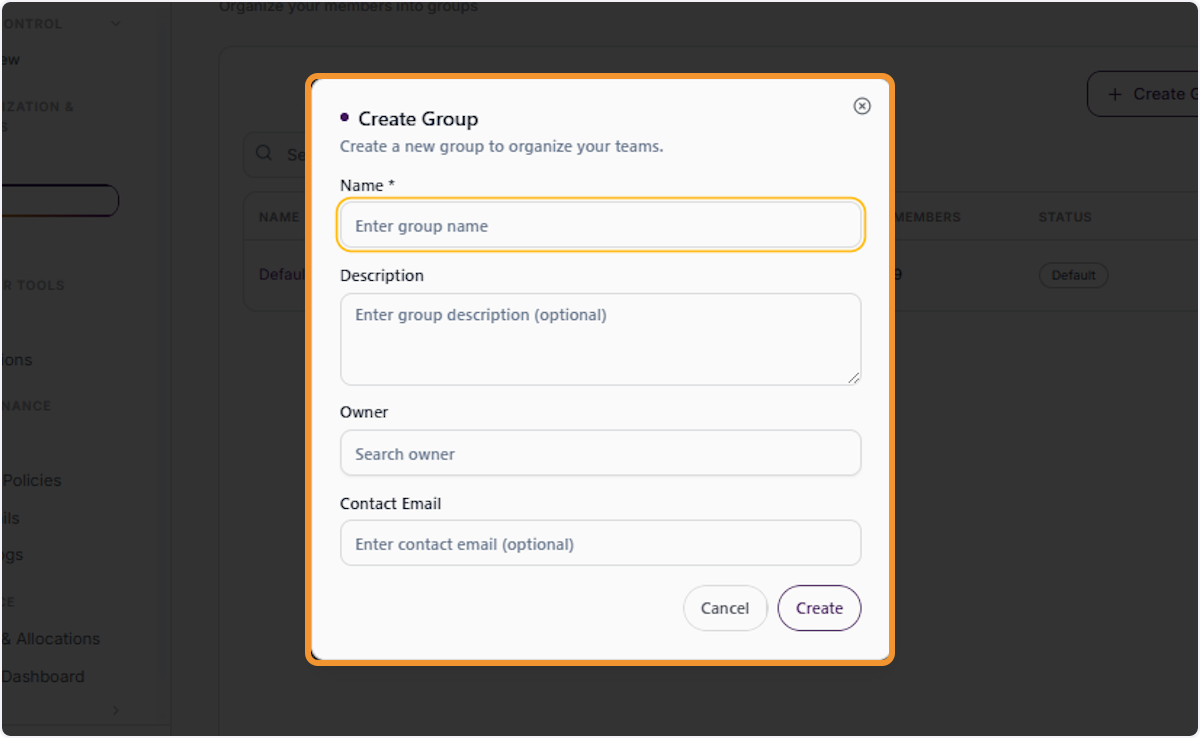
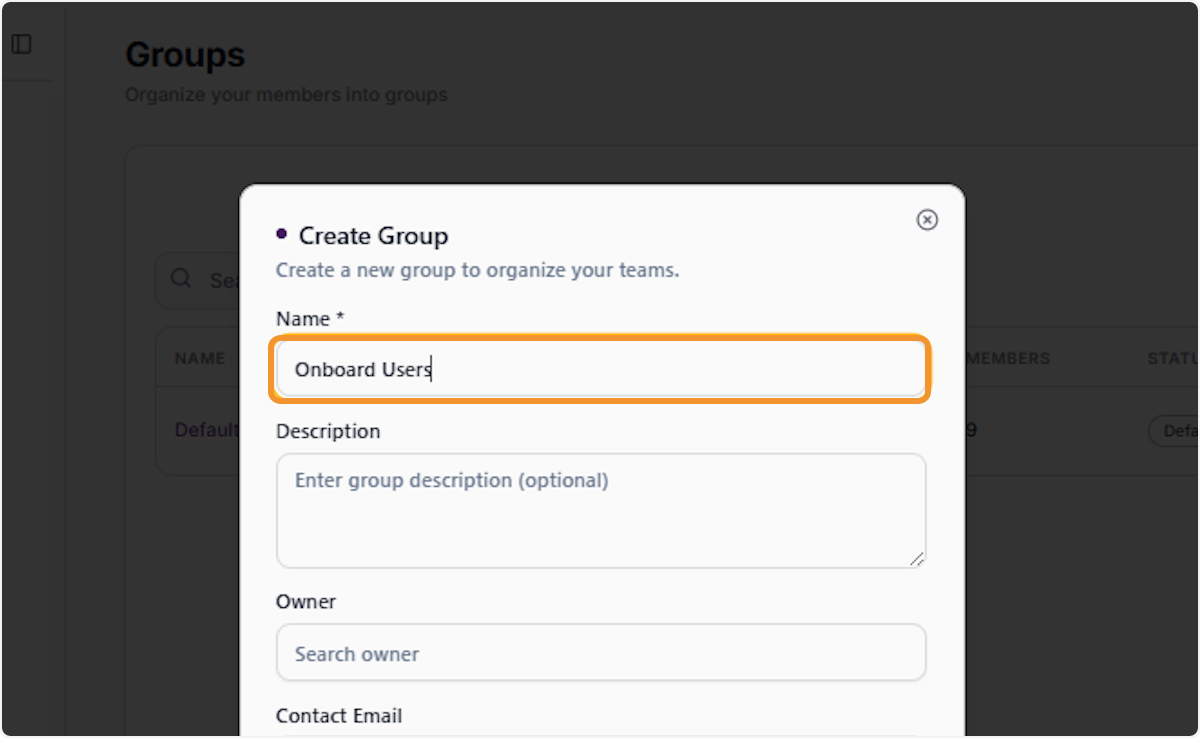
Enter a Group Name
Click the Name field and type a clear, descriptive name for the new group (e.g., “Onboard Users”).
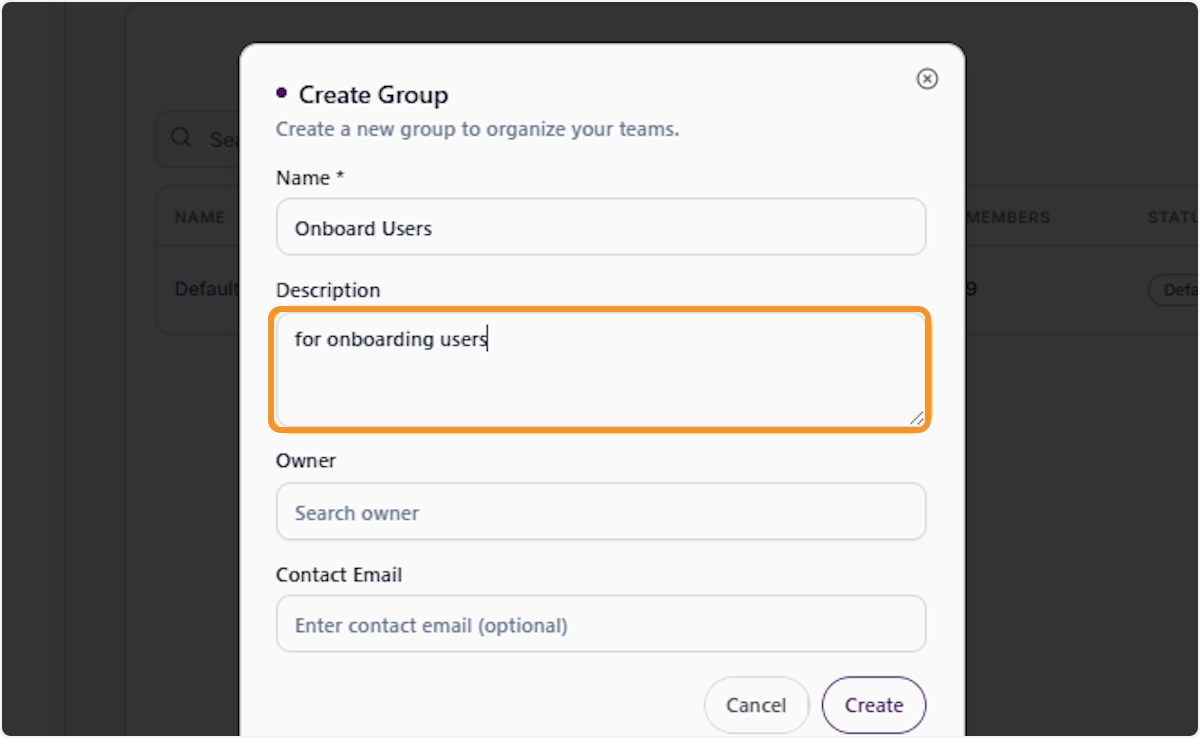
Enter a Group Description
Click the Description field and type a brief explanation of the group’s purpose (e.g., “For onboarding users”).
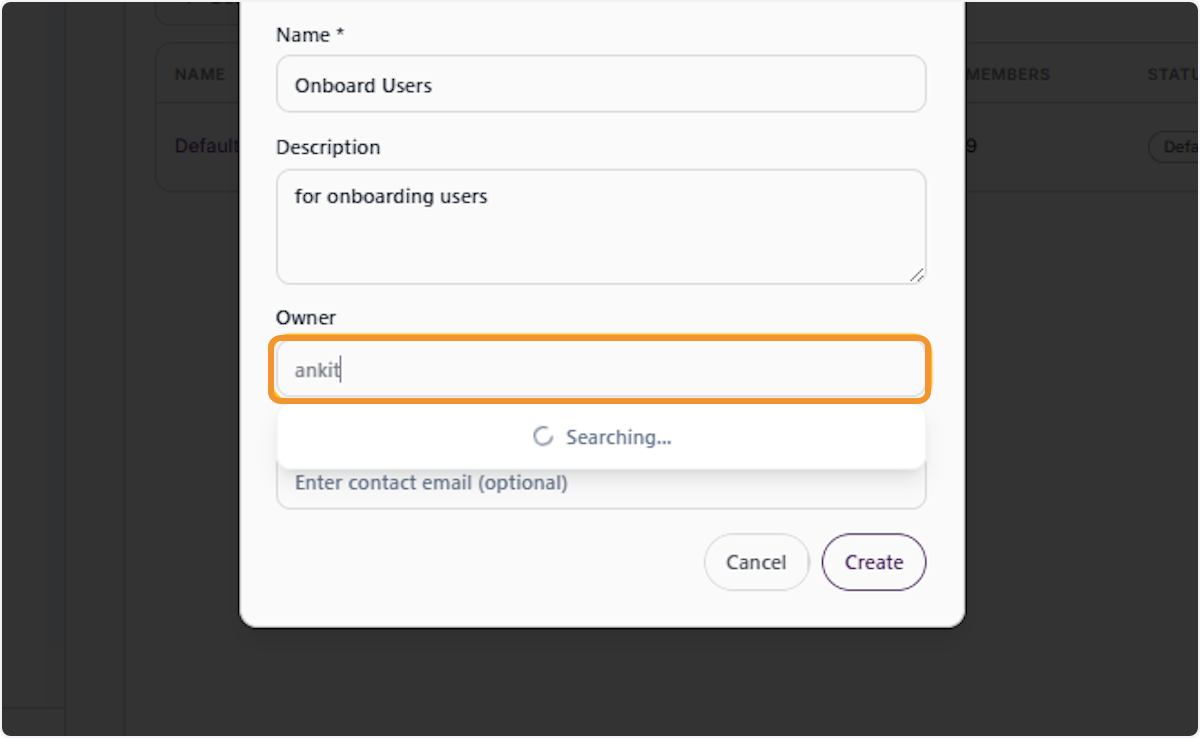
Search for a Group Owner
Click the Owner field and begin typing to search for a user from the existing user table to assign as group owner.
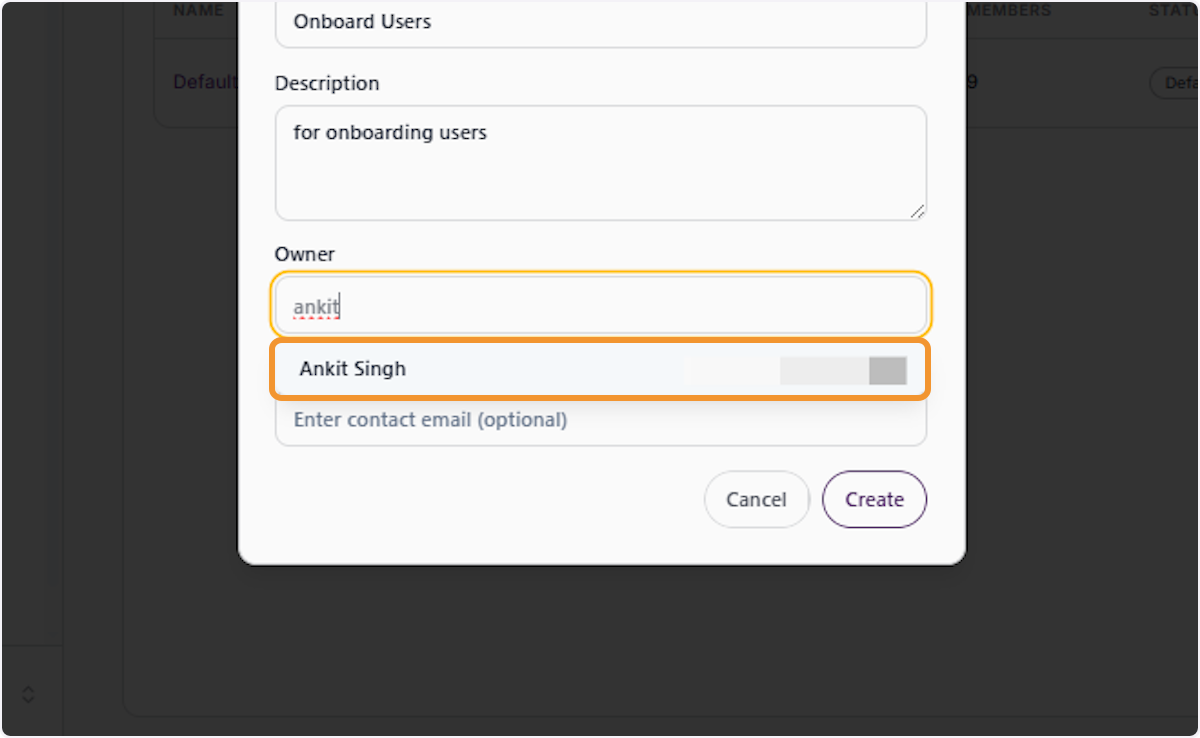
Select the Owner
Click on the desired user from the search results to assign them as the group’s owner.
Add a Contact Email (Optional)
Optionally, enter a contact email address for the group in the Contact Email field.
Submit the New Group
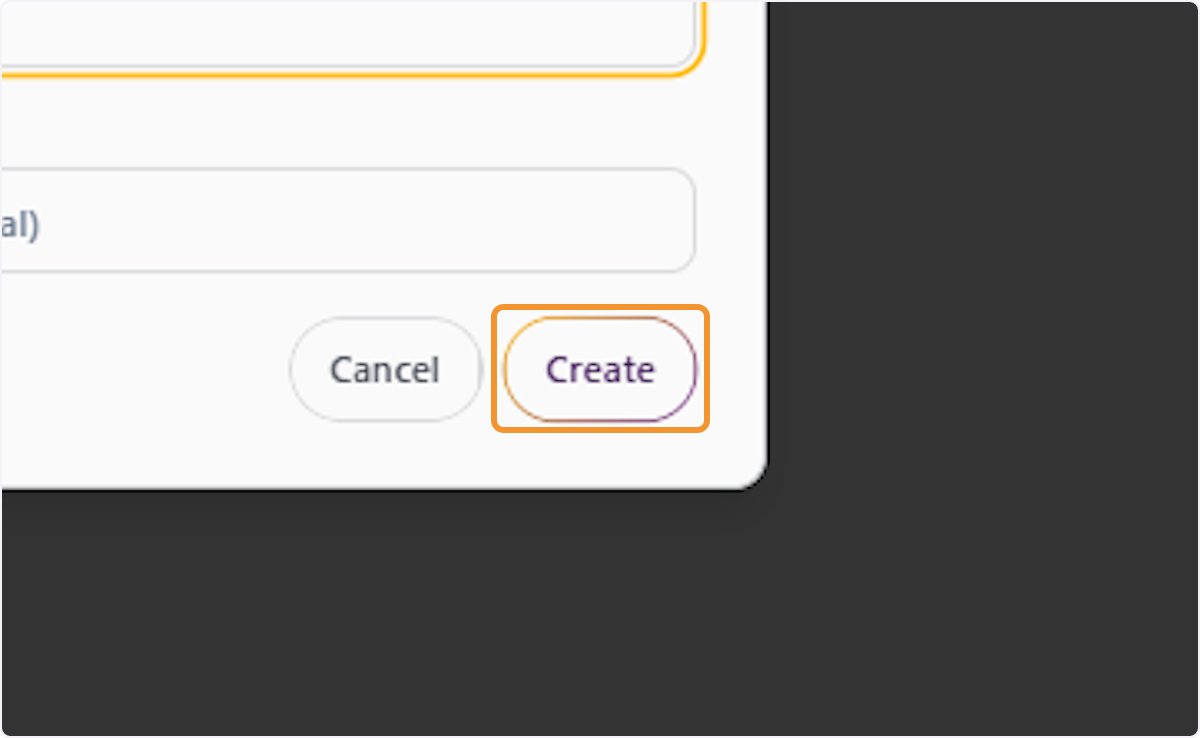
Click the Create button to save the group and add it to your organization’s group list.
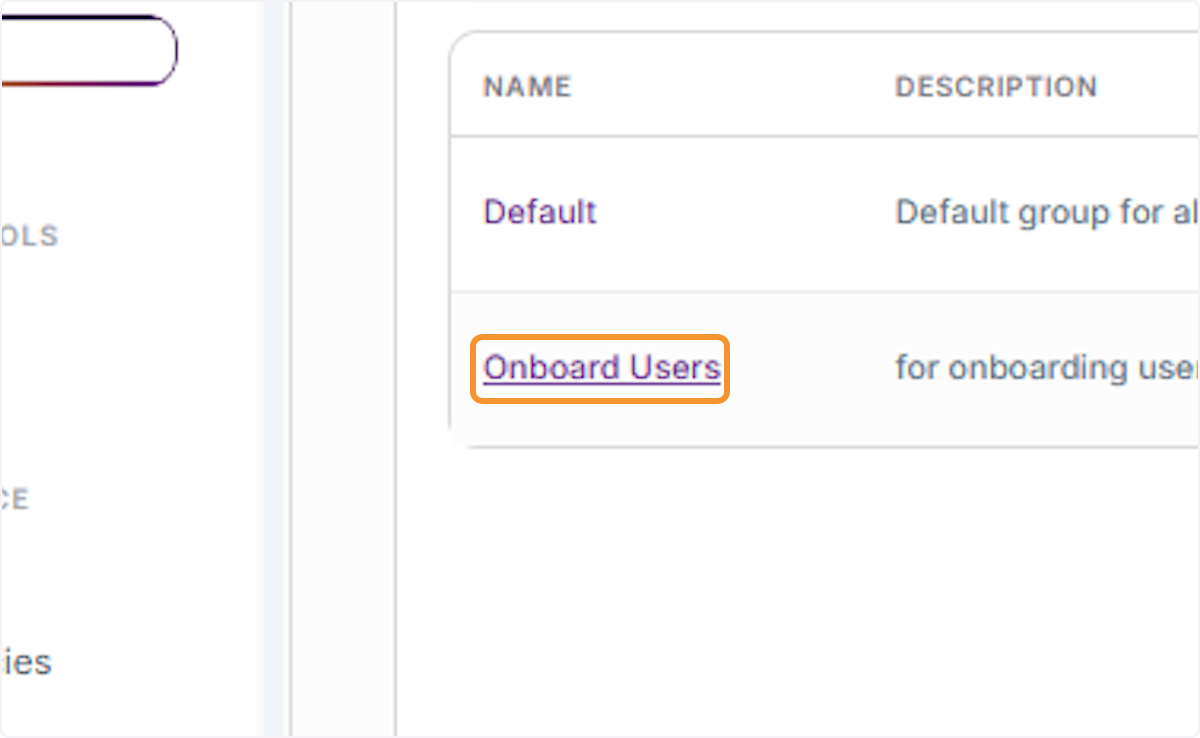
Verify Group Was Created
Confirm the new group appears in the Groups list with the correct name and description.
Add Users on New Groups
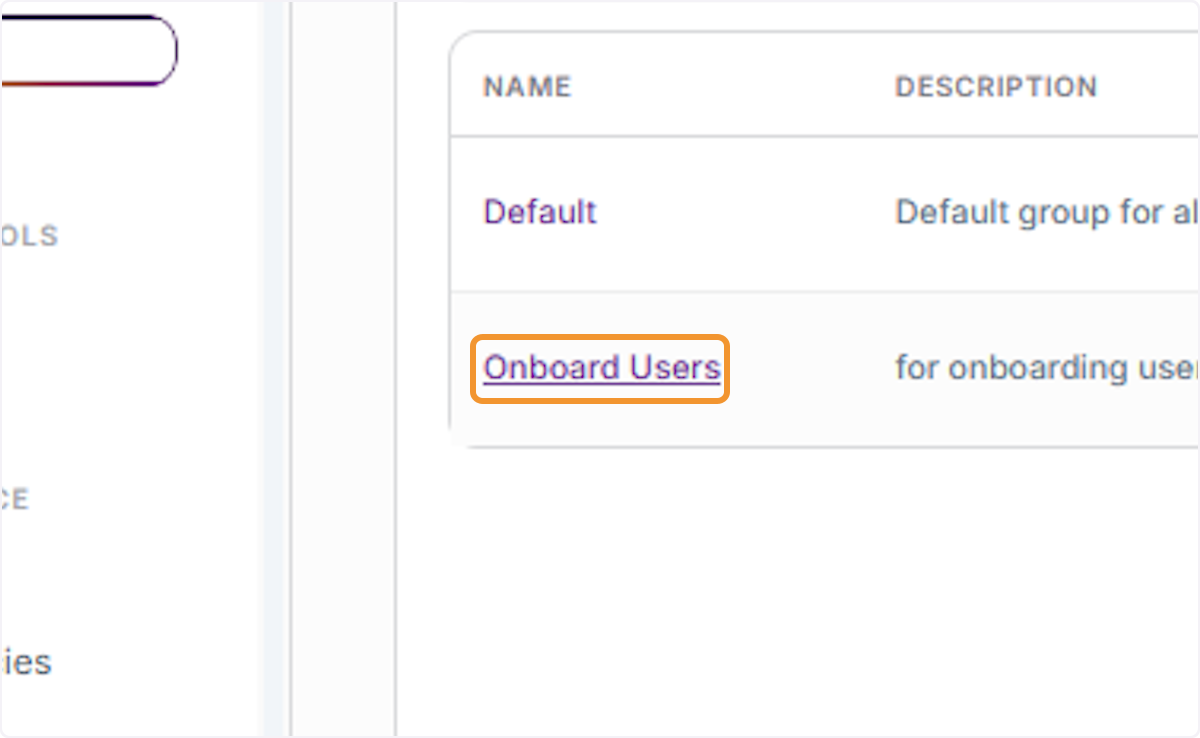
Open the New Group
Click on the newly created group’s name to open its detail page.
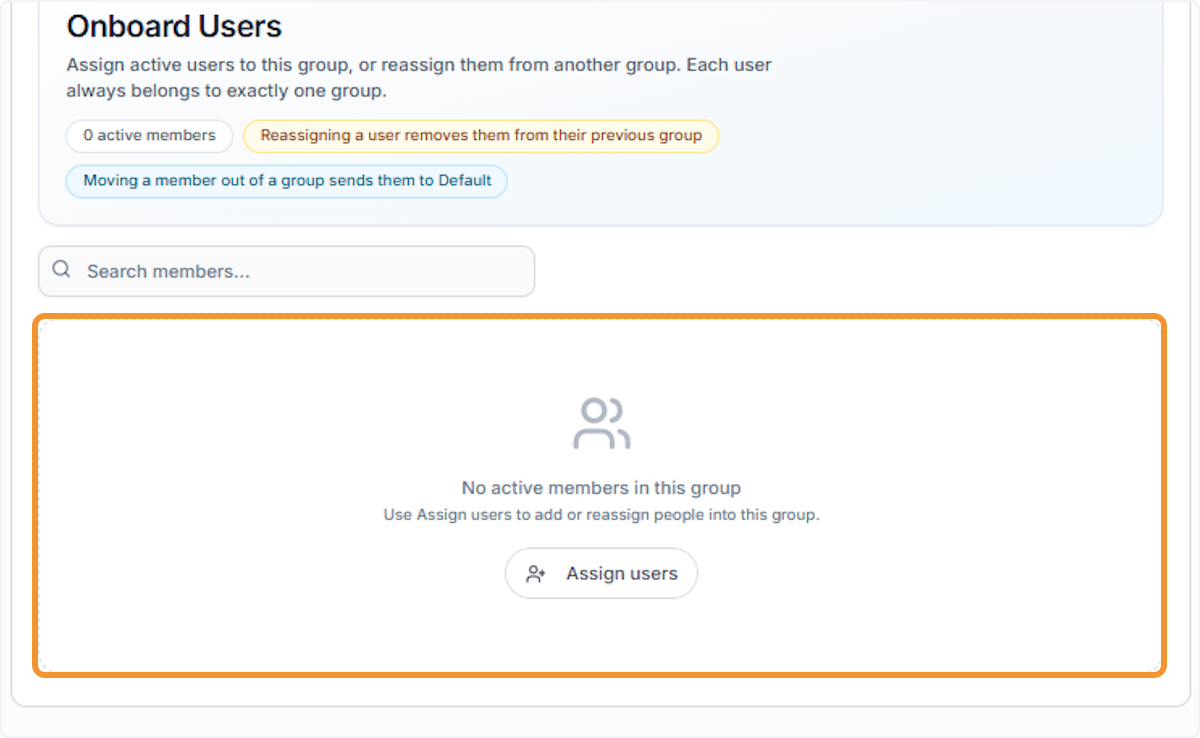
Confirm the Group Is Empty
Verify that no active members are currently listed — the panel will display a “No active members” message.
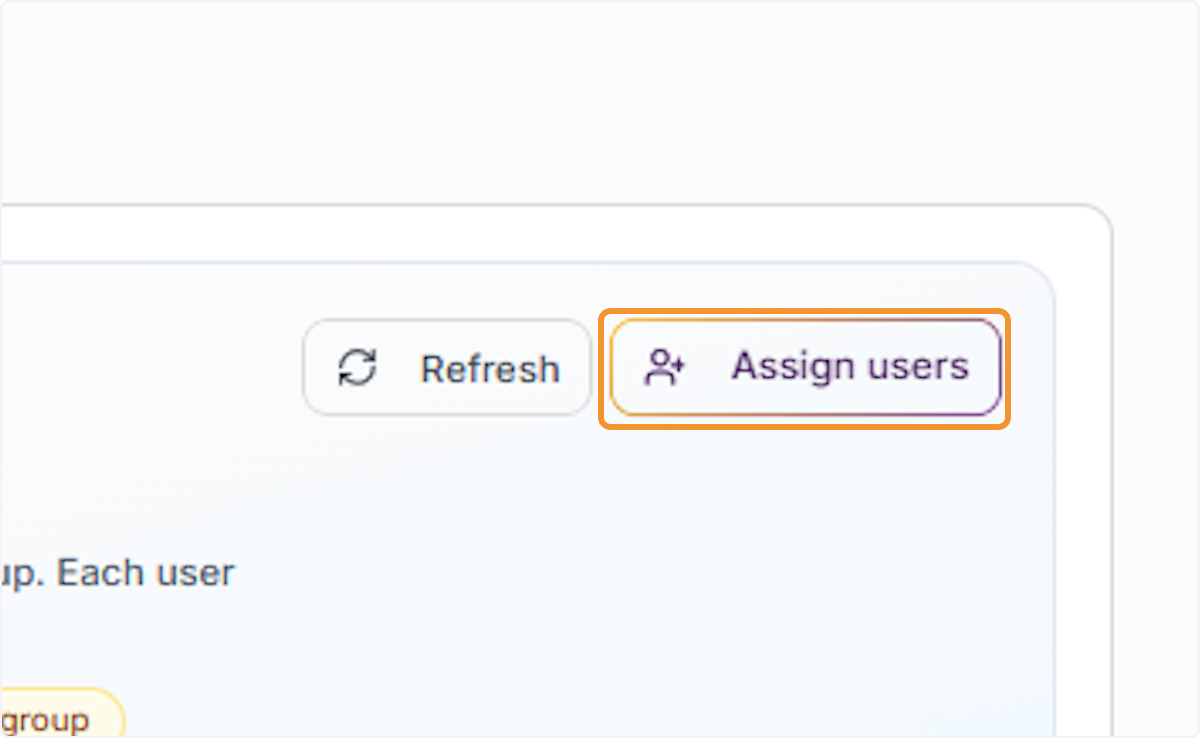
Click on Assign users button
Click the Assign users button in the top-right of the group panel to open the user assignment dialog.
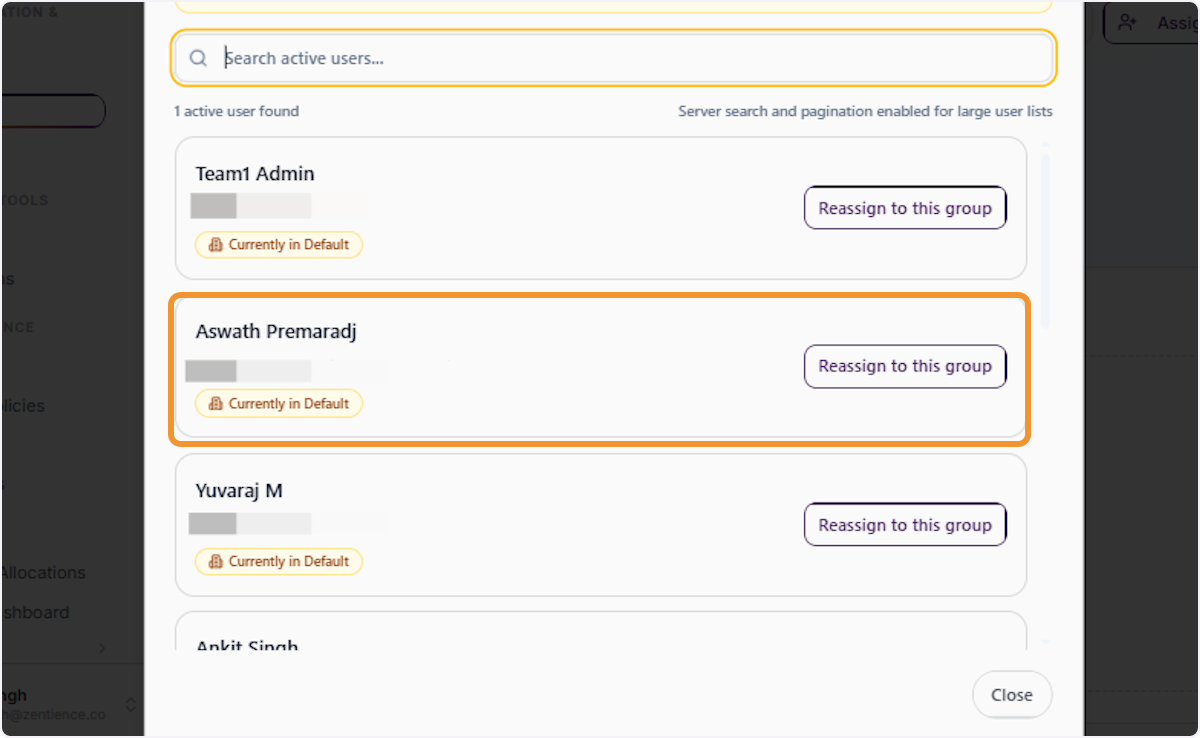
Click on User wants to add on new group
Review the list of active users displayed in the assignment dialog. Users currently in other groups are labeled accordingly.
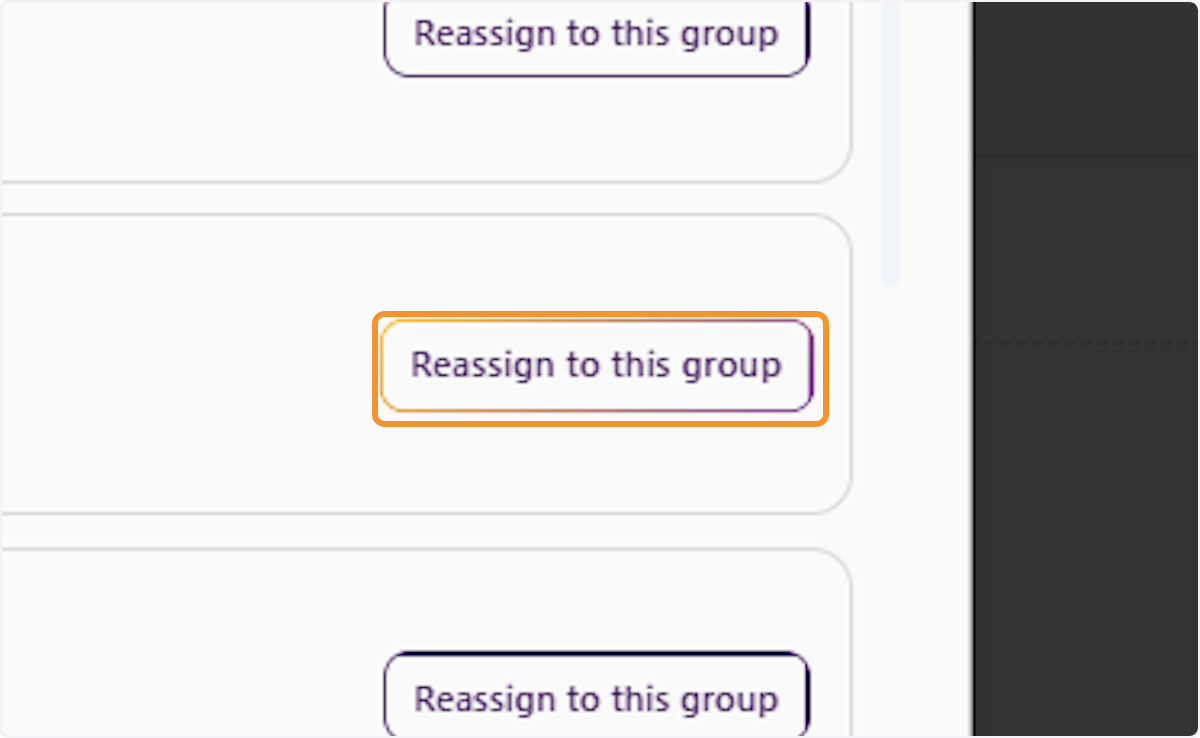
Reassign User to This Group
Click Reassign to this group next to the desired user. This will remove them from their previous group, as users may only belong to one group.
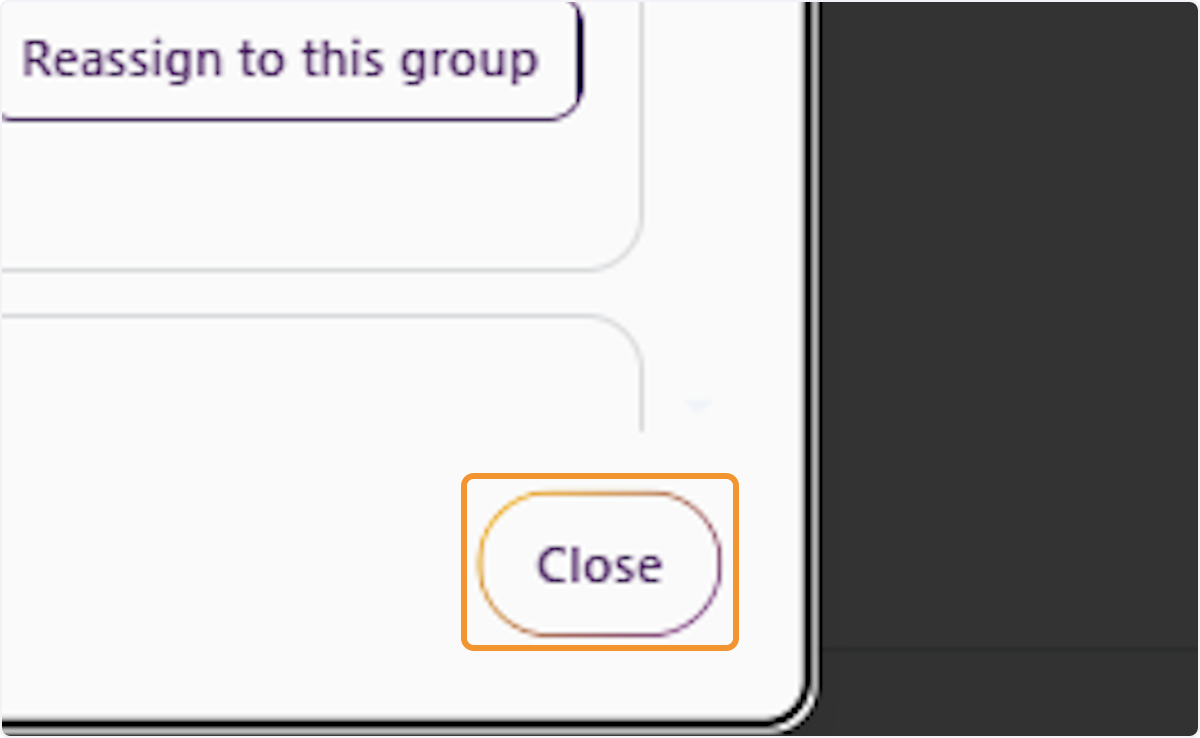
Close the Dialog
After completing assignments, click the Close button to dismiss the assignment dialog.
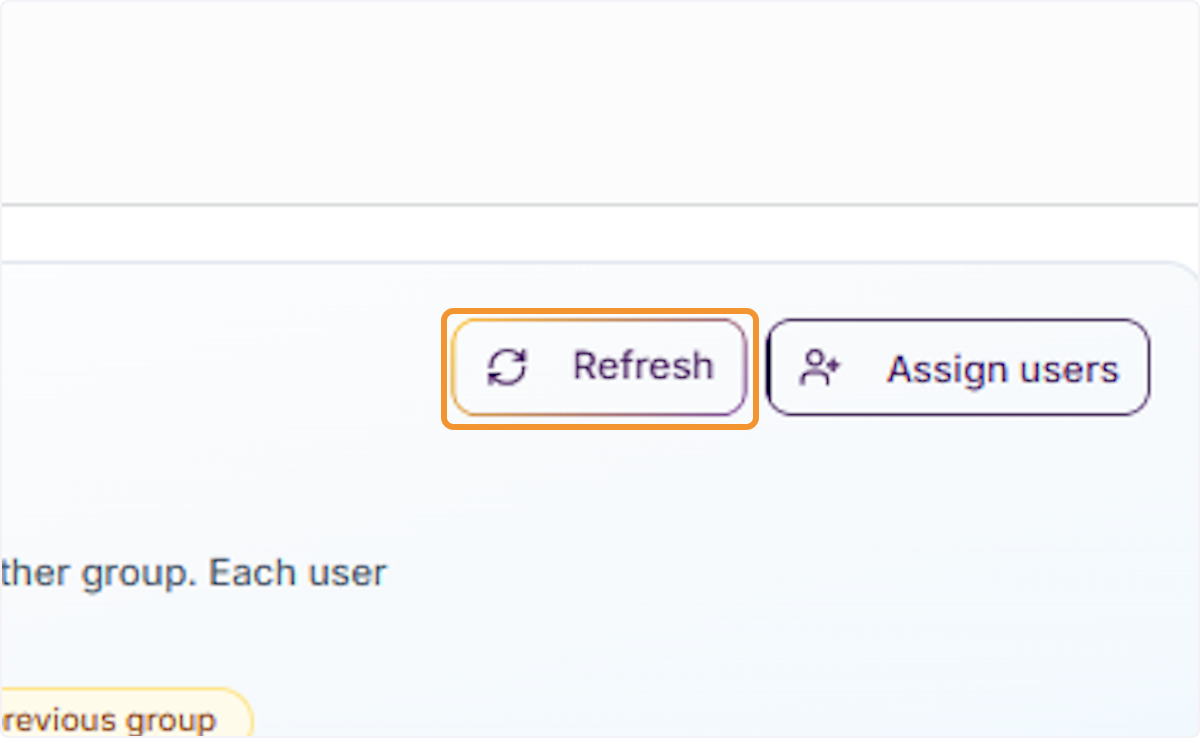
Click on Refresh button see selceted user on new group
Click the Refresh button to reload the member list and see the newly assigned user.
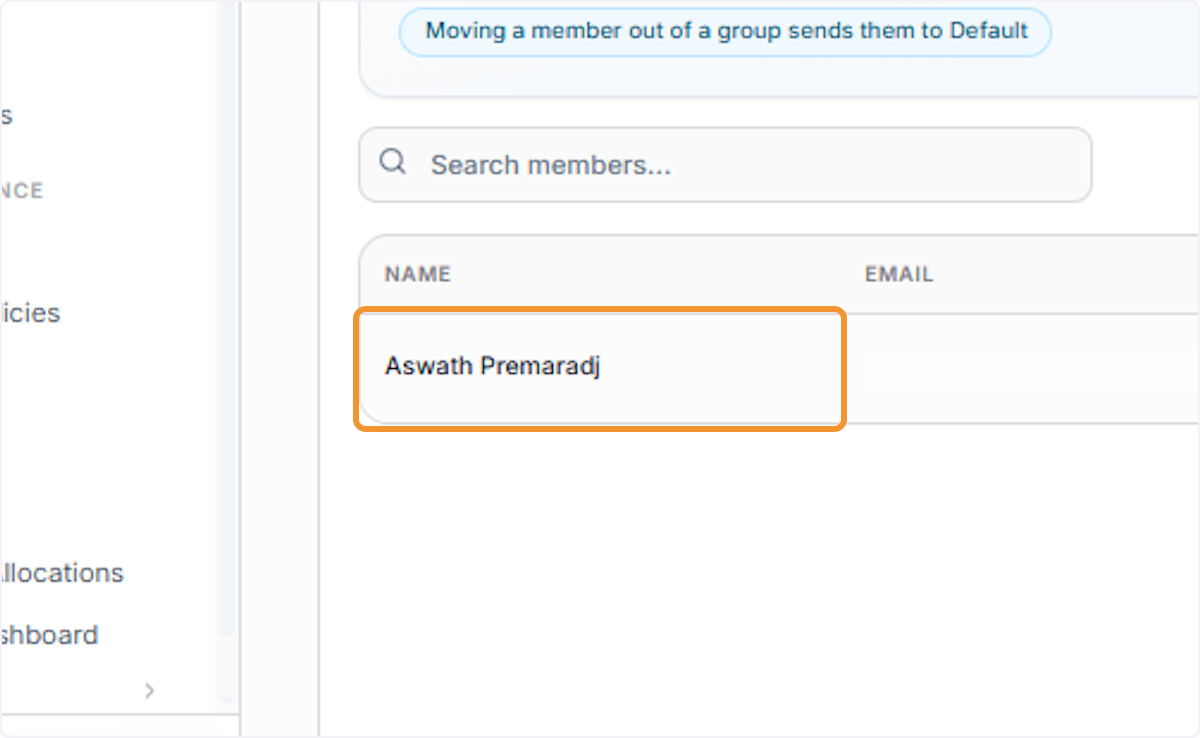
Verify the Assigned Member
Confirm the user’s name and email appear in the group member list.
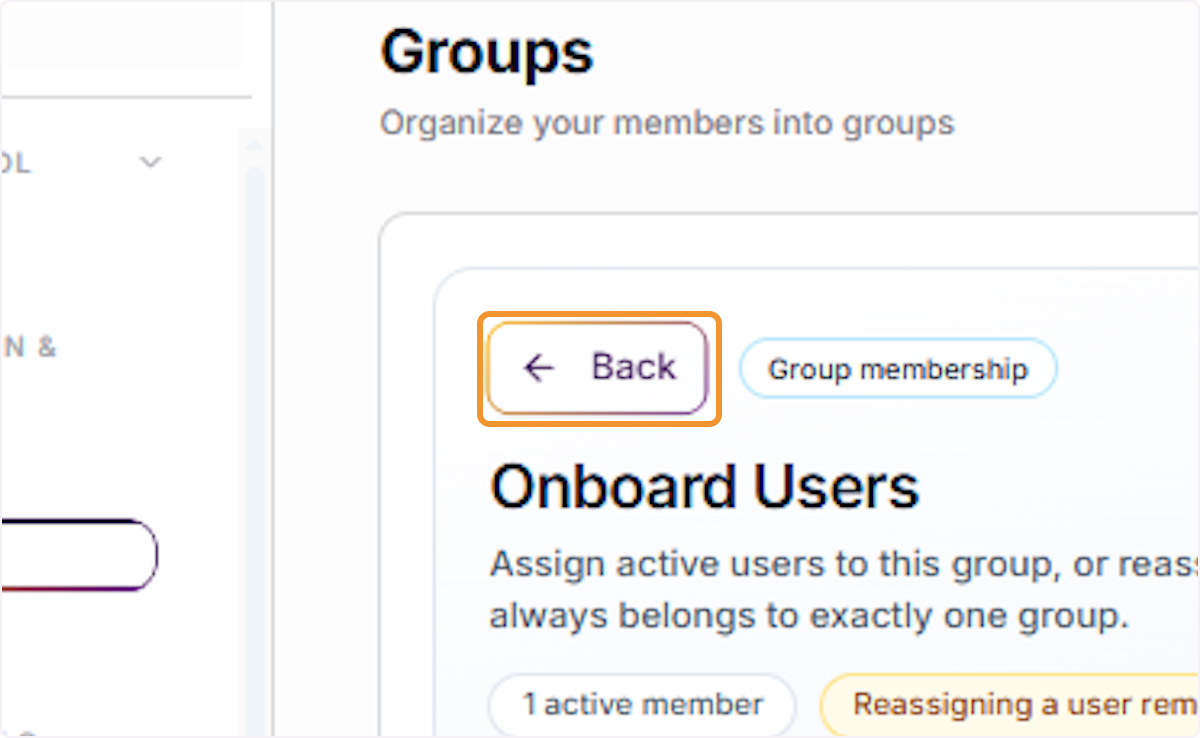
Click on Back to see all groups
Click the ← Back button to exit the group detail view and return to the full groups listing.
Reassign User from Group to Default Group
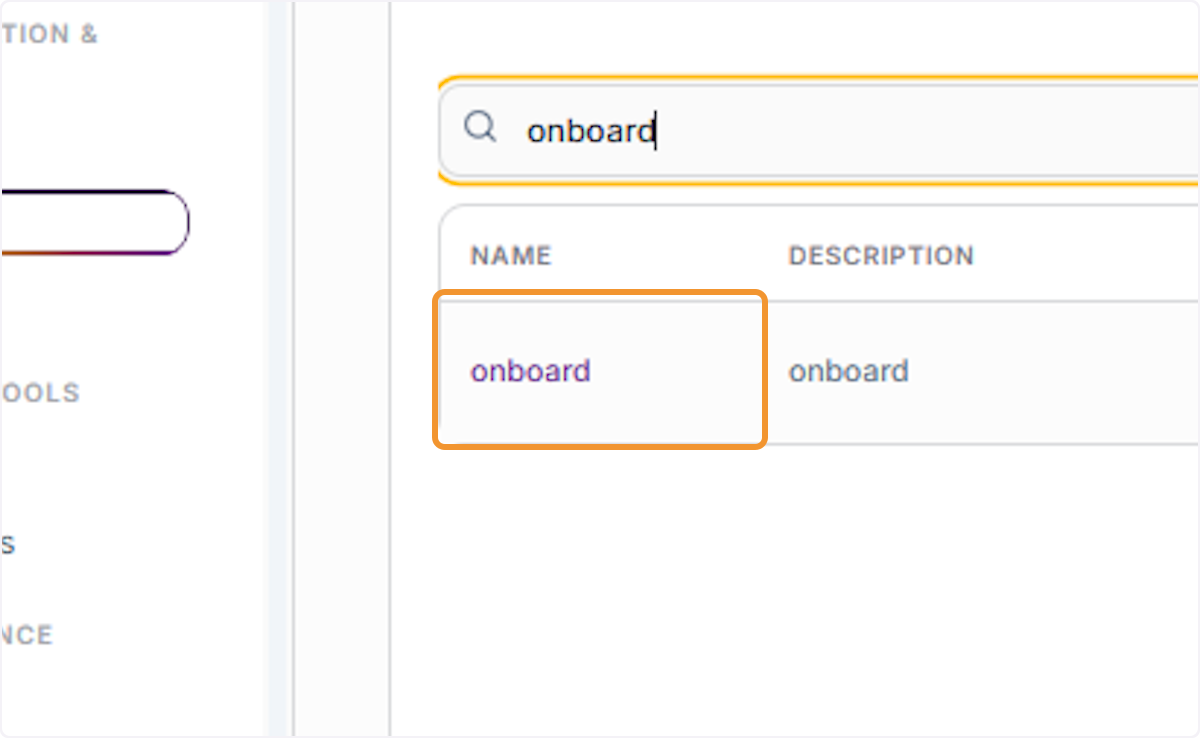
Search for the Group
Use the Search groups bar in the Groups panel to locate the group you want to edit.
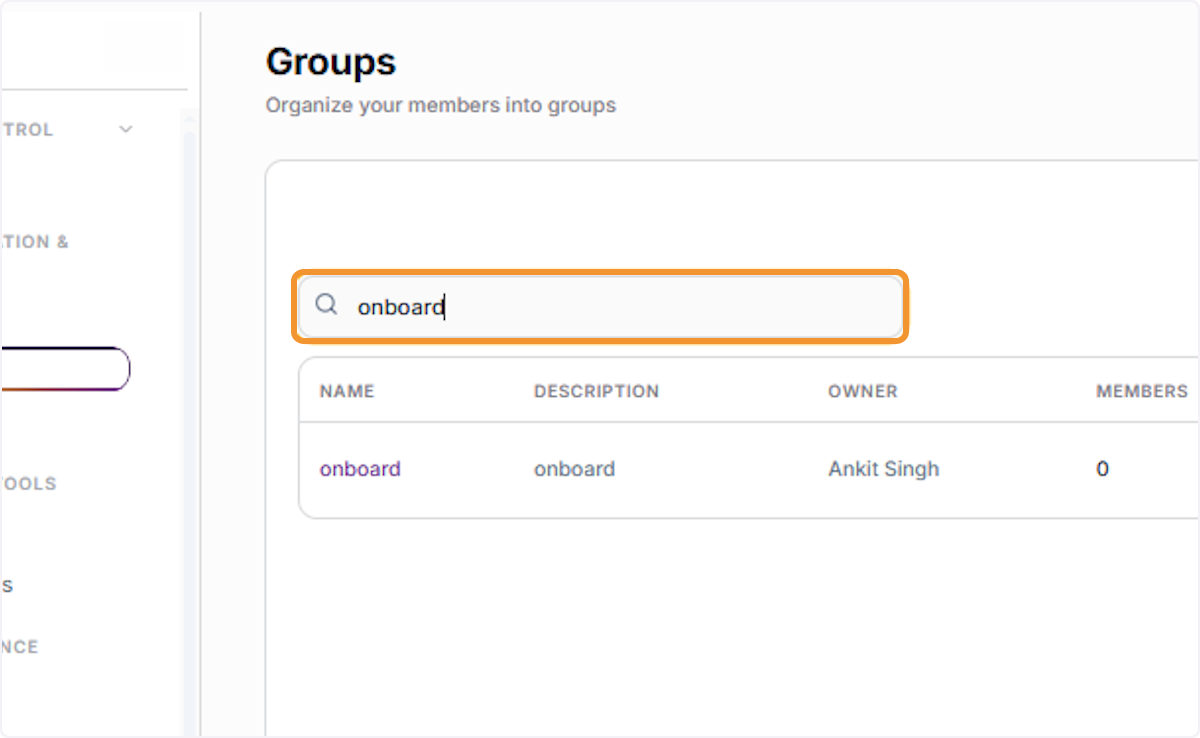
Locate the Group in Results
Confirm the correct group appears in the filtered list before proceeding.
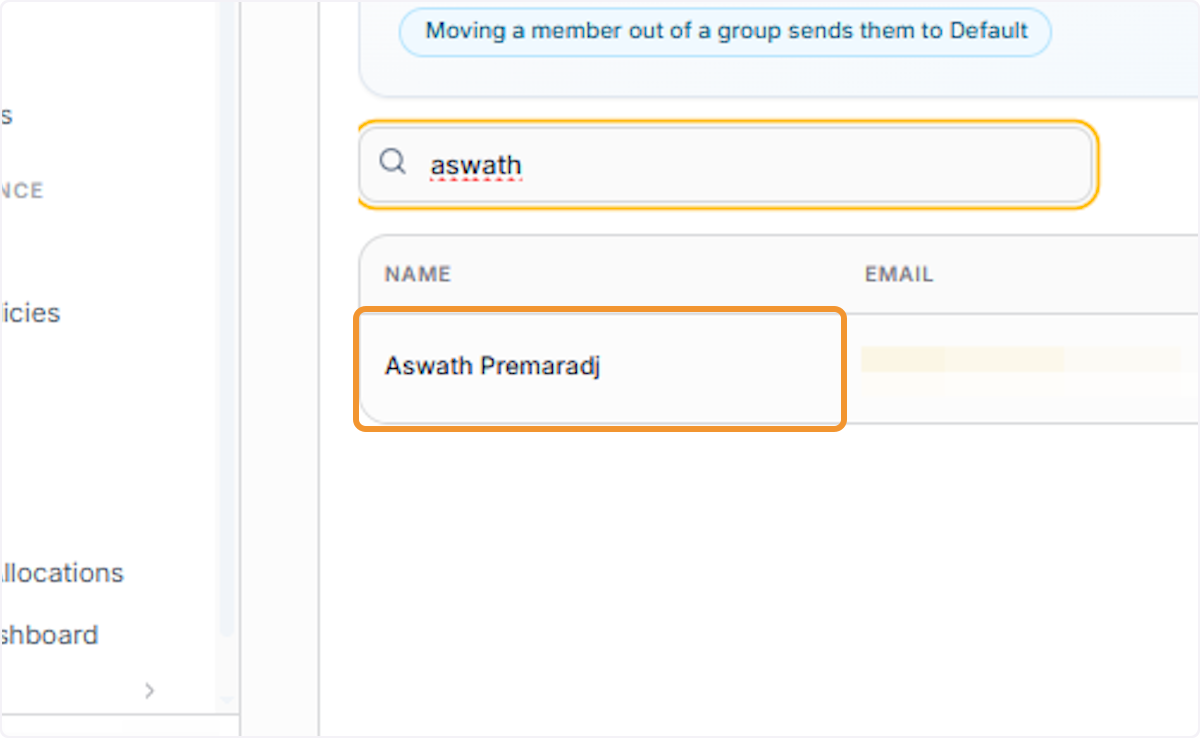
Confirm the User Is Found
Verify the correct user appears in the filtered member list before proceeding.
Click anywhere on the user’s row, then click the icon in the Actions column to reveal available options.
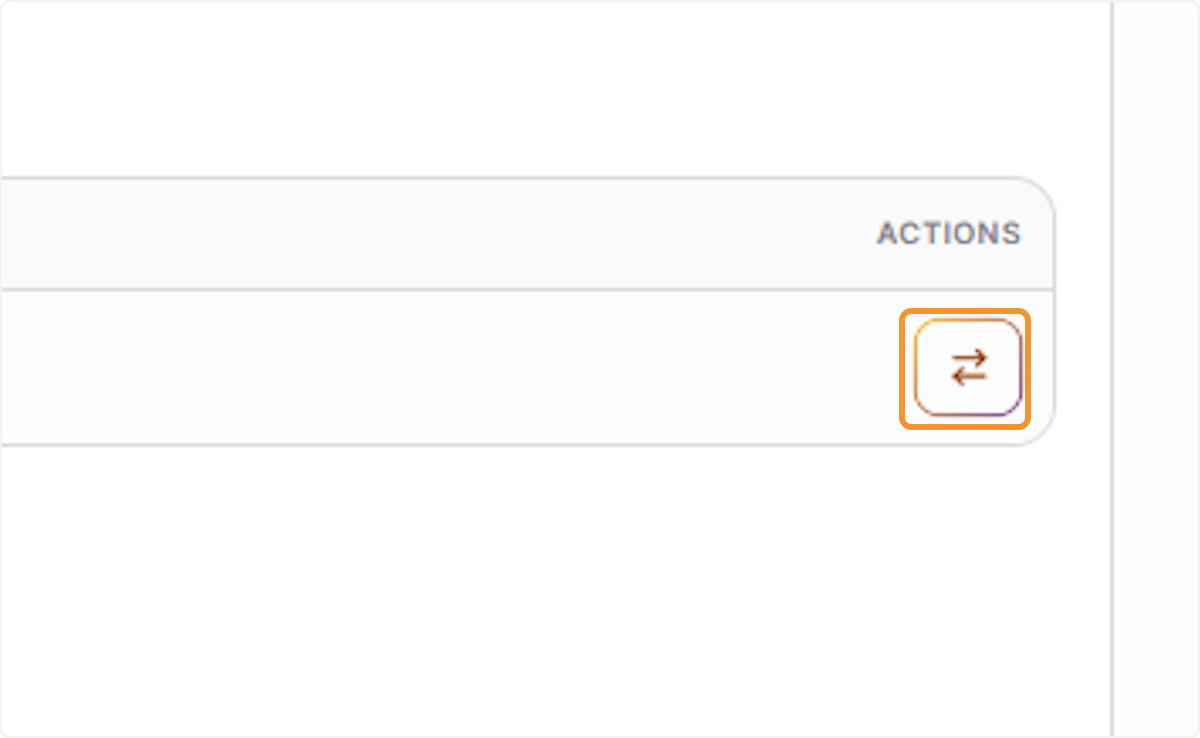
A. it will open Move Member To Default dialogbox
B. Confirm the Move to Default A Move Member to Default dialog will appear. Click Move to Default to reassign the user to the Default group.
Verify User Was Removed
Confirm the user no longer appears in the current group’s member list.
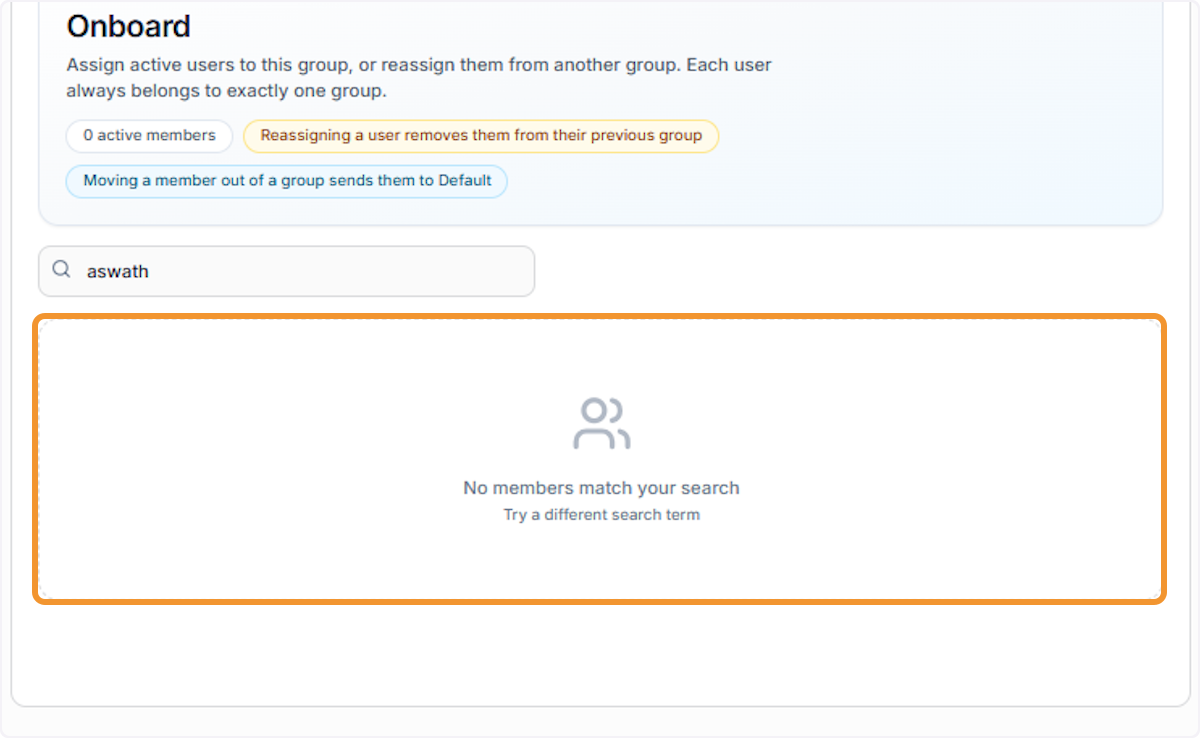
Edit Group Details
Search for the Group
Use the Search groups bar in the Groups panel to locate the group you want to edit.
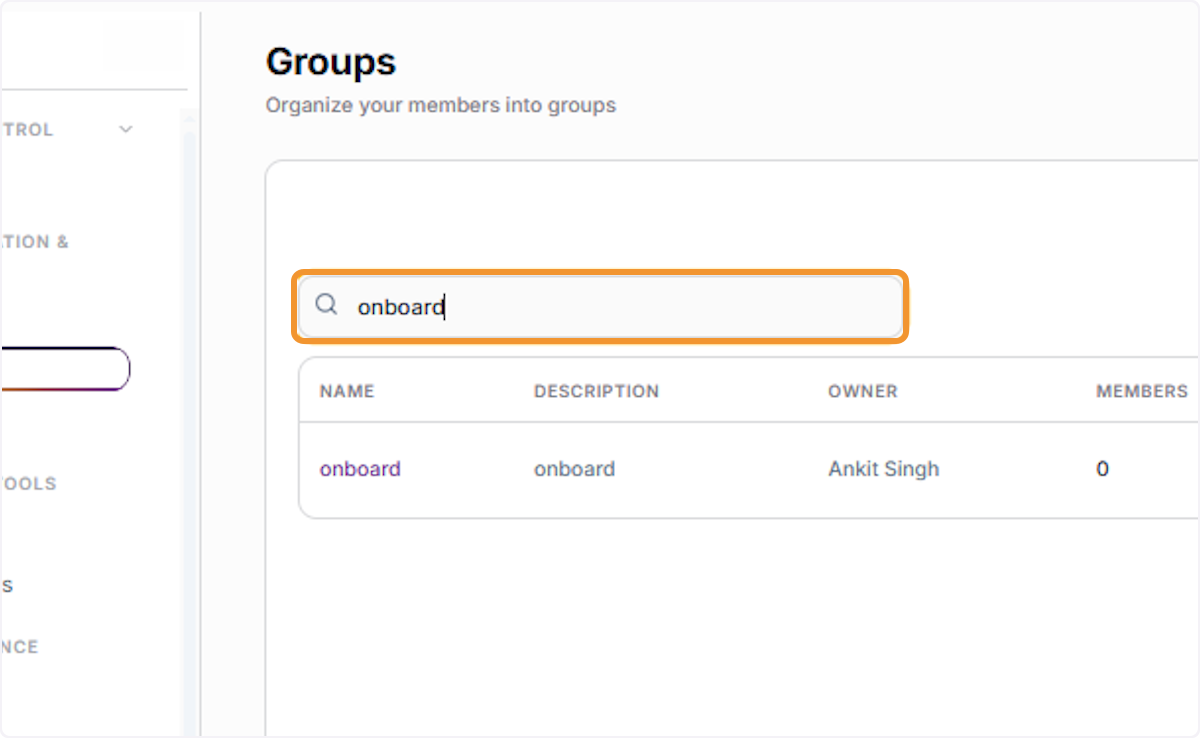
Locate the Group in Results
Confirm the correct group appears in the filtered list before proceeding.
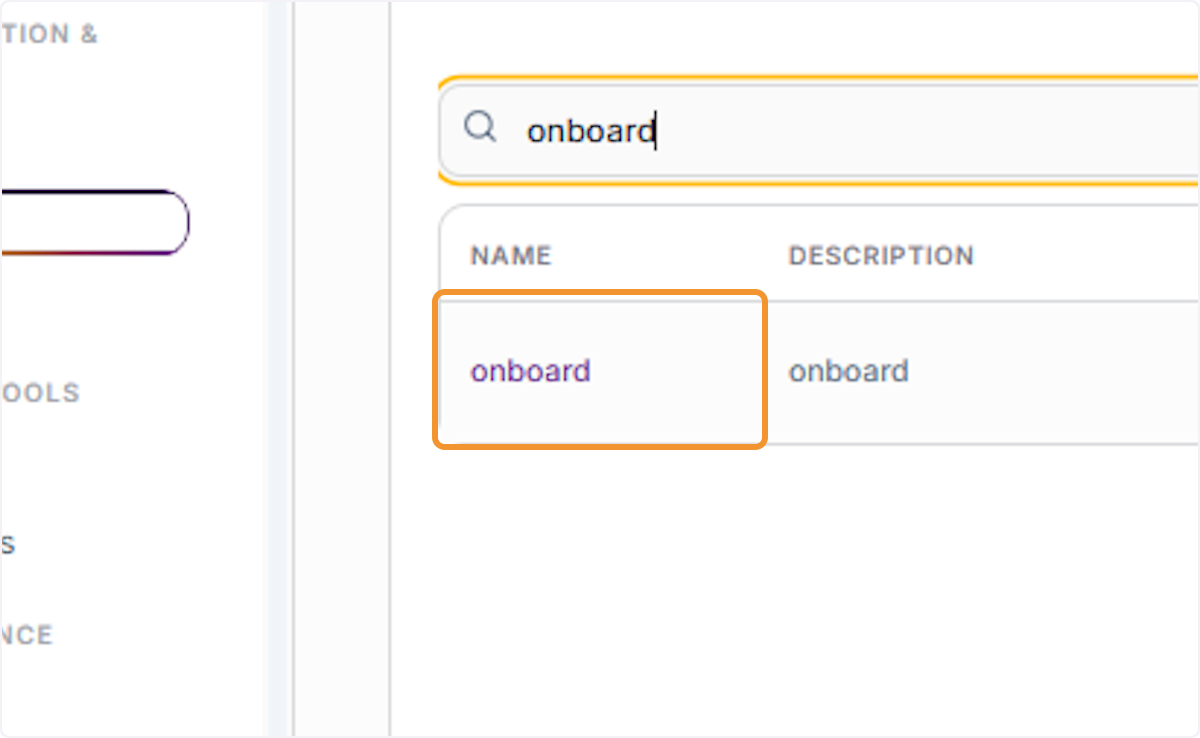
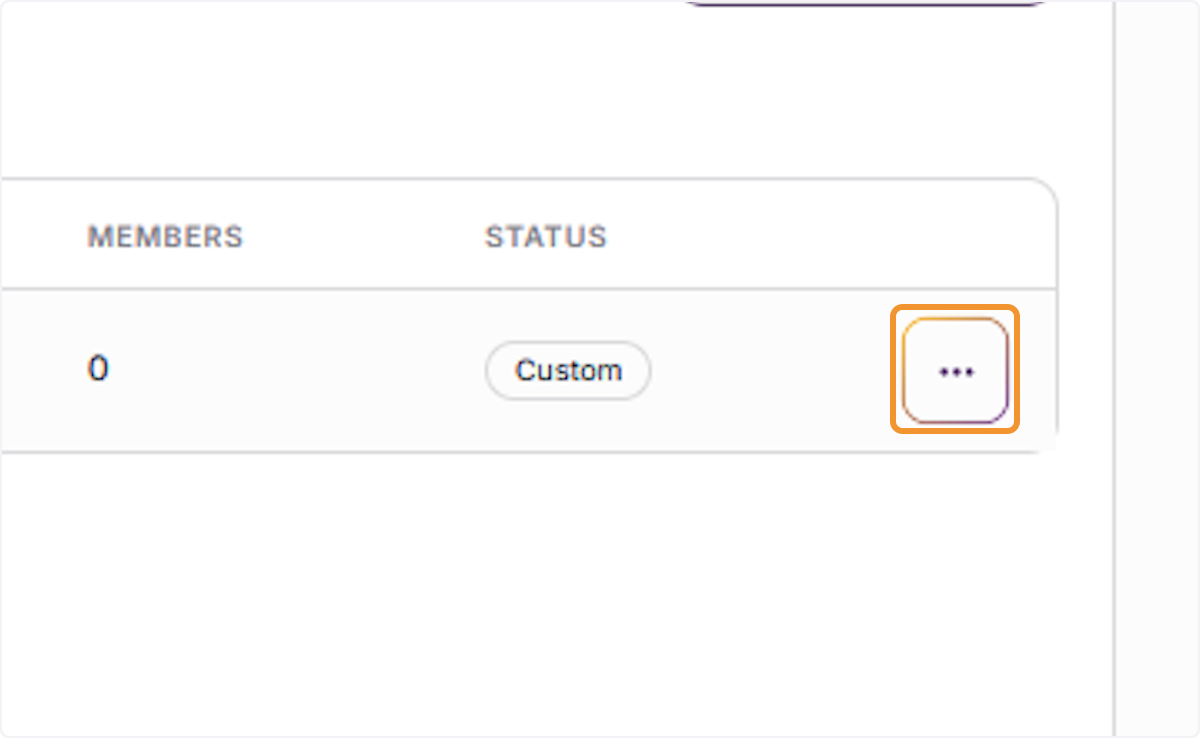
Click the ··· (three-dot) button in the group’s row to open the available actions menu.
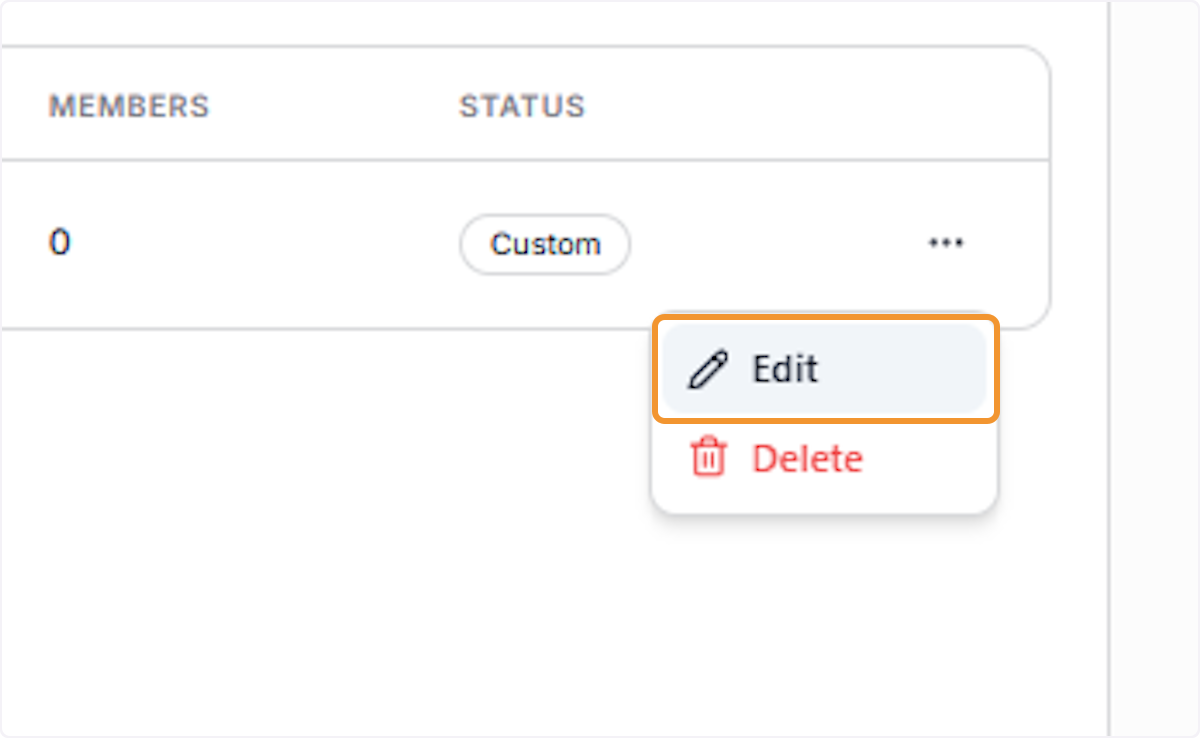
Click Edit
Select Edit from the dropdown menu to open the Edit Group dialog with the current group details pre-filled.
A. Modify Group Fields
B. Click on Description ### C. Click on Search owner Update any of the available fields — Name, Description, Owner, or Contact Email — as needed.
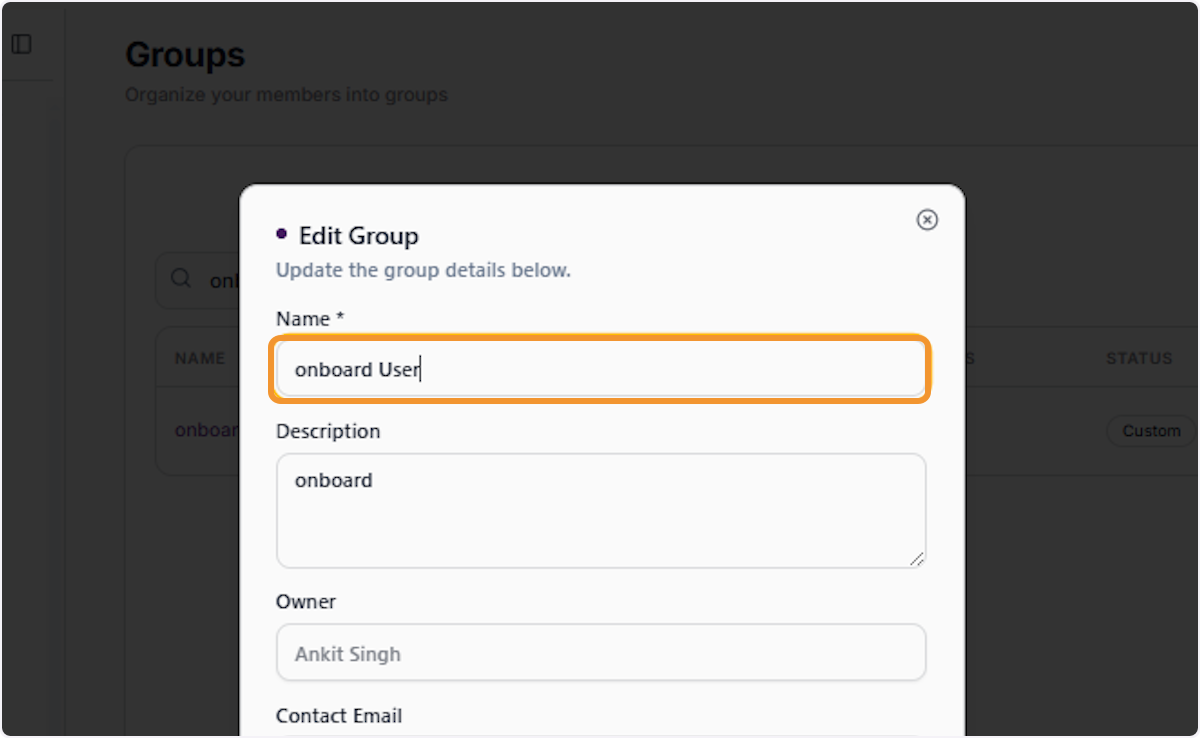
Enter the Updated Name
Click the Name field, clear the existing value, and type the new group name.
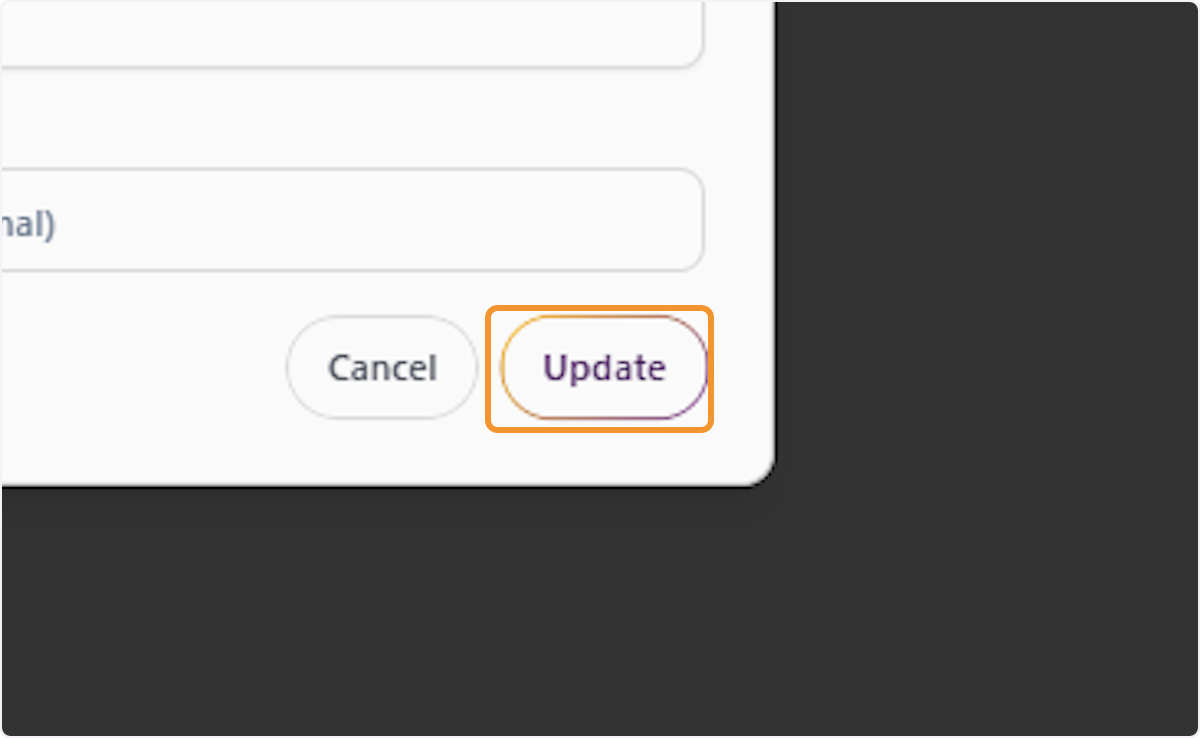
Save the Changes
Click the Update button to save all edits made to the group.
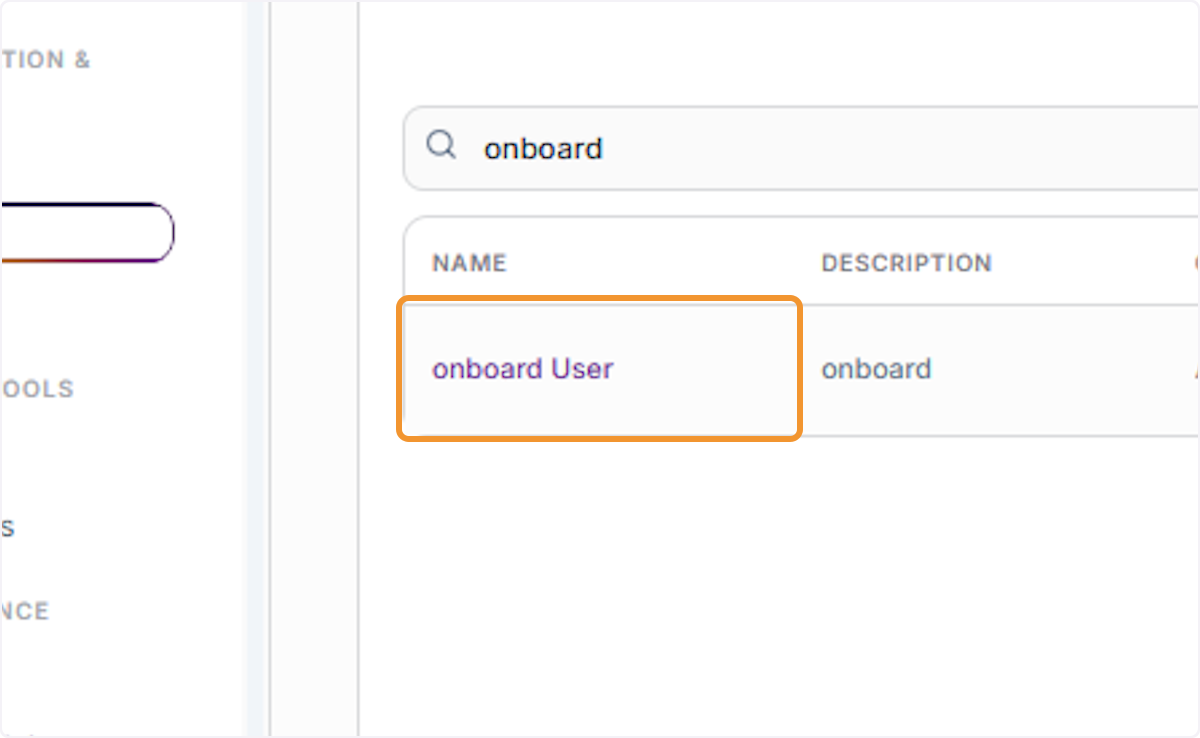
Verify the Updated Name
Confirm the group now appears in the list with the new name you entered.
Delete the Group
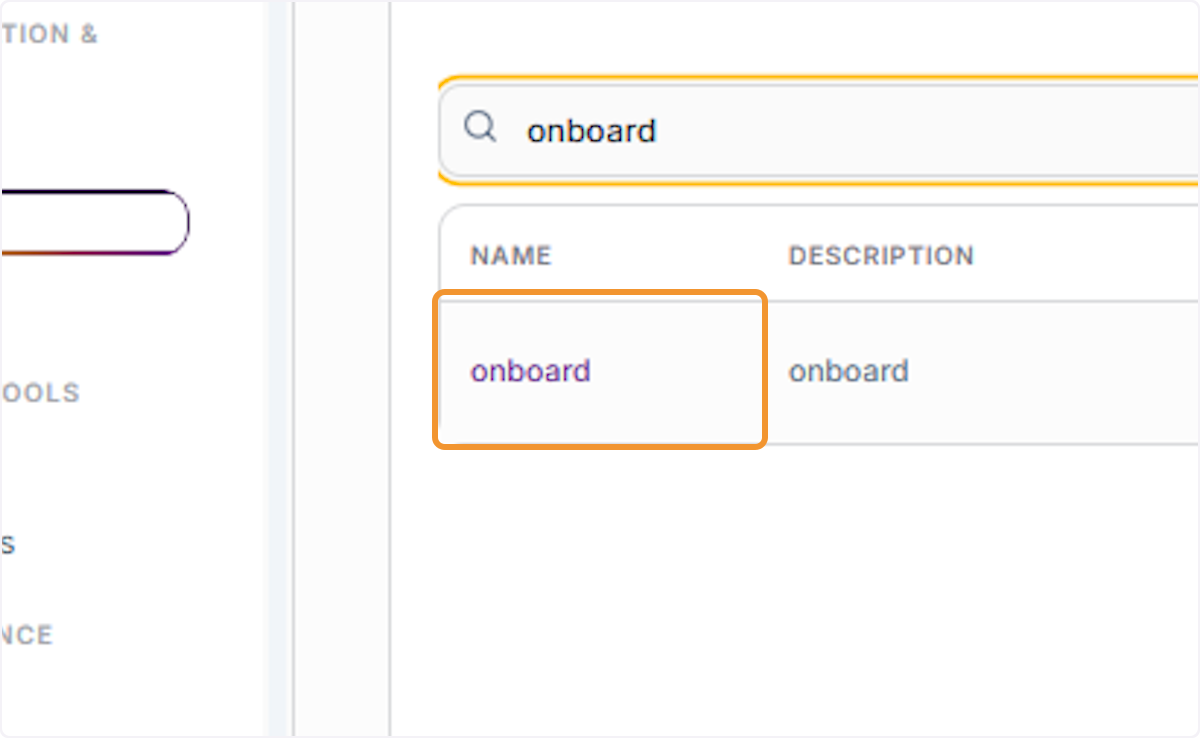
Search for the Group
Use the Search groups bar to find the group you intend to delete.
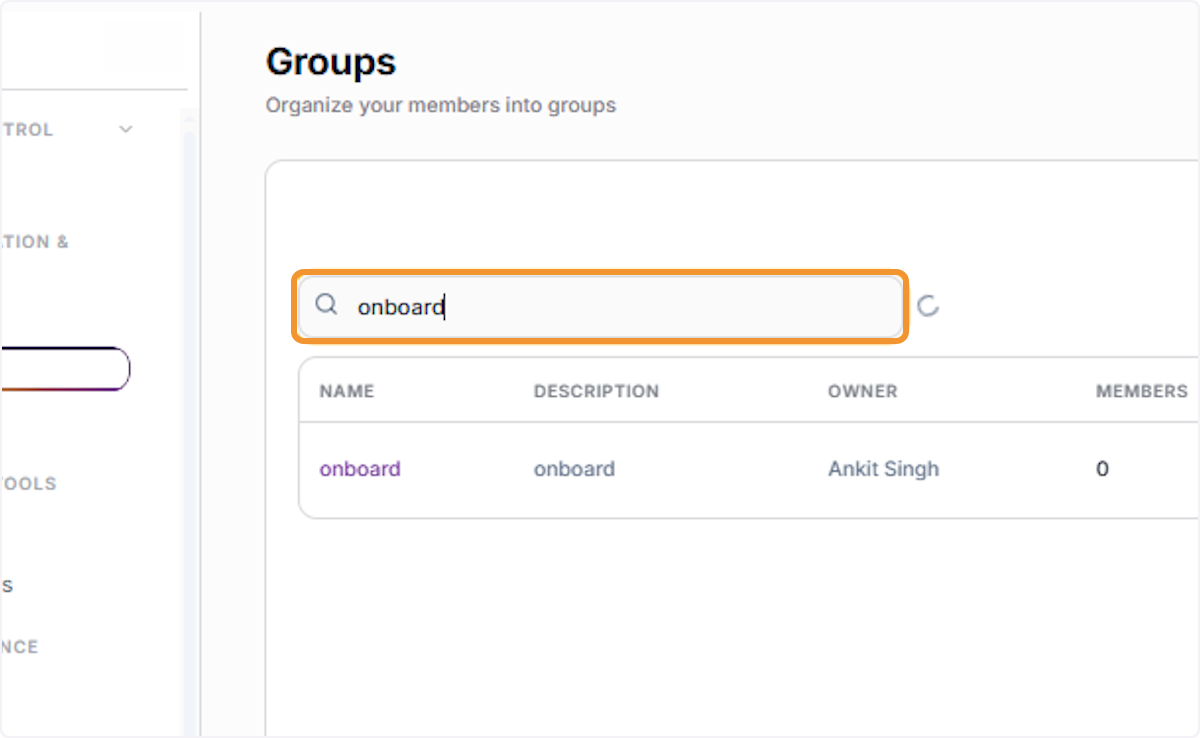
Confirm the Group Is Found
Verify the correct group name appears in the results before proceeding with deletion.
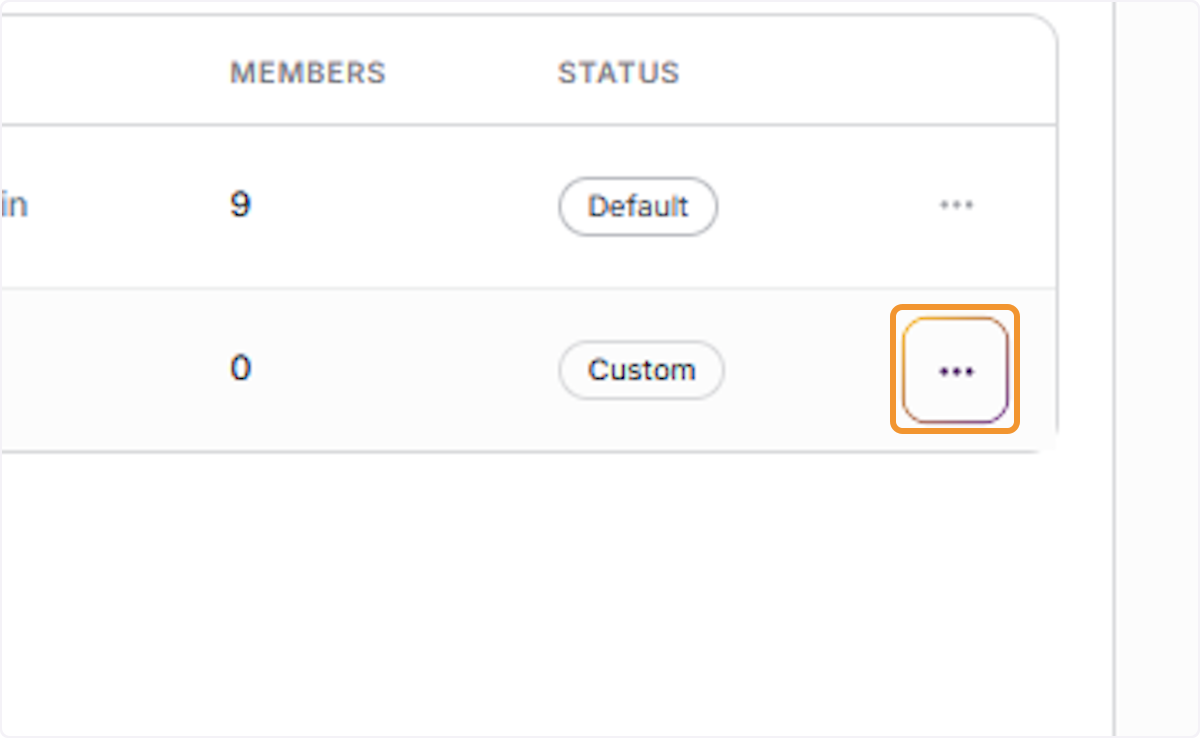
Click the ··· (three-dot) button in the group’s row to reveal the actions dropdown.
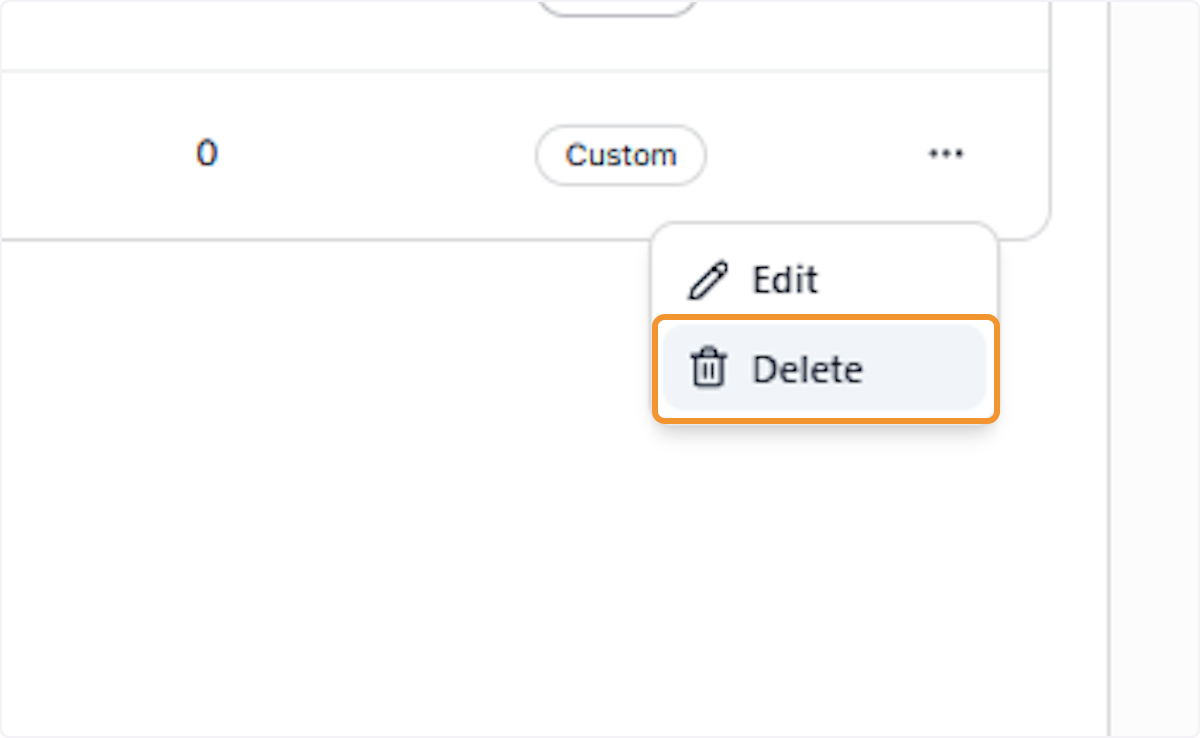
Click Delete
Select Delete from the actions dropdown to initiate the group deletion process
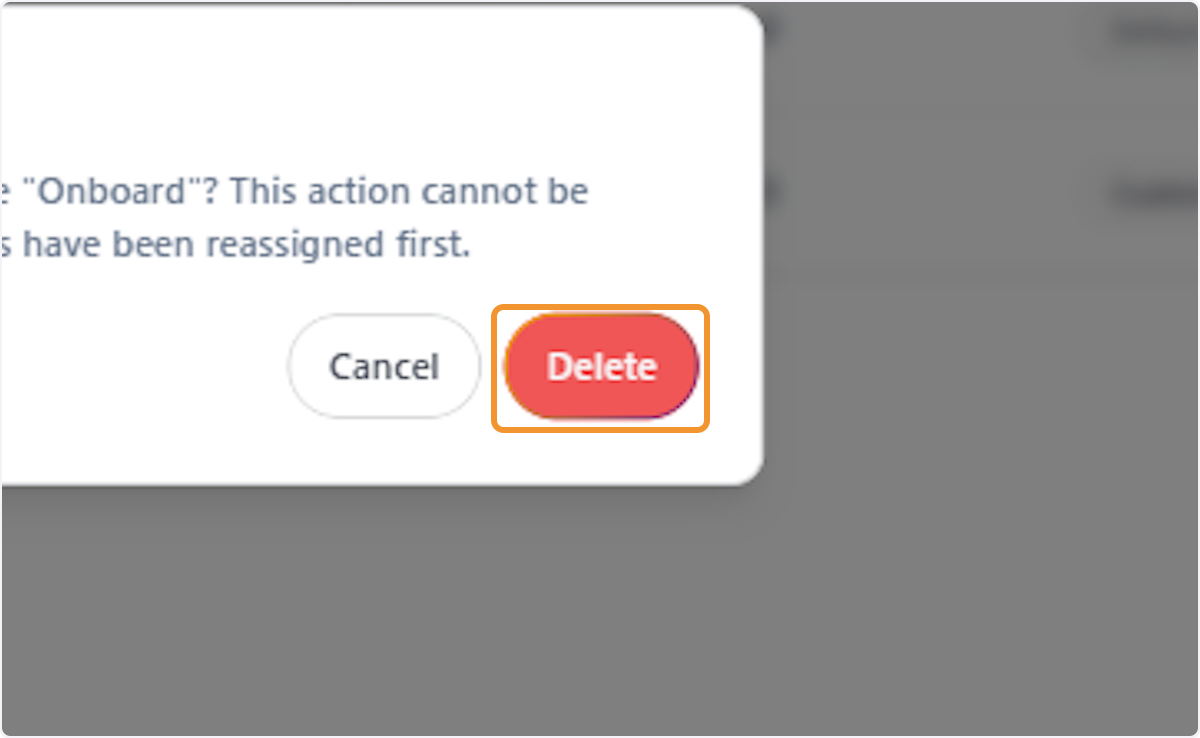
Confirm Deletion in Dialog
A Delete Group confirmation dialog will appear. Click the Delete button to permanently remove the group. Note: this action cannot be undone.
Verify Group Was Deleted
Confirm that the group no longer appears in the Groups list. Only the Default group should remain if no other groups exist.