Notification Management
Managing Notification Templates
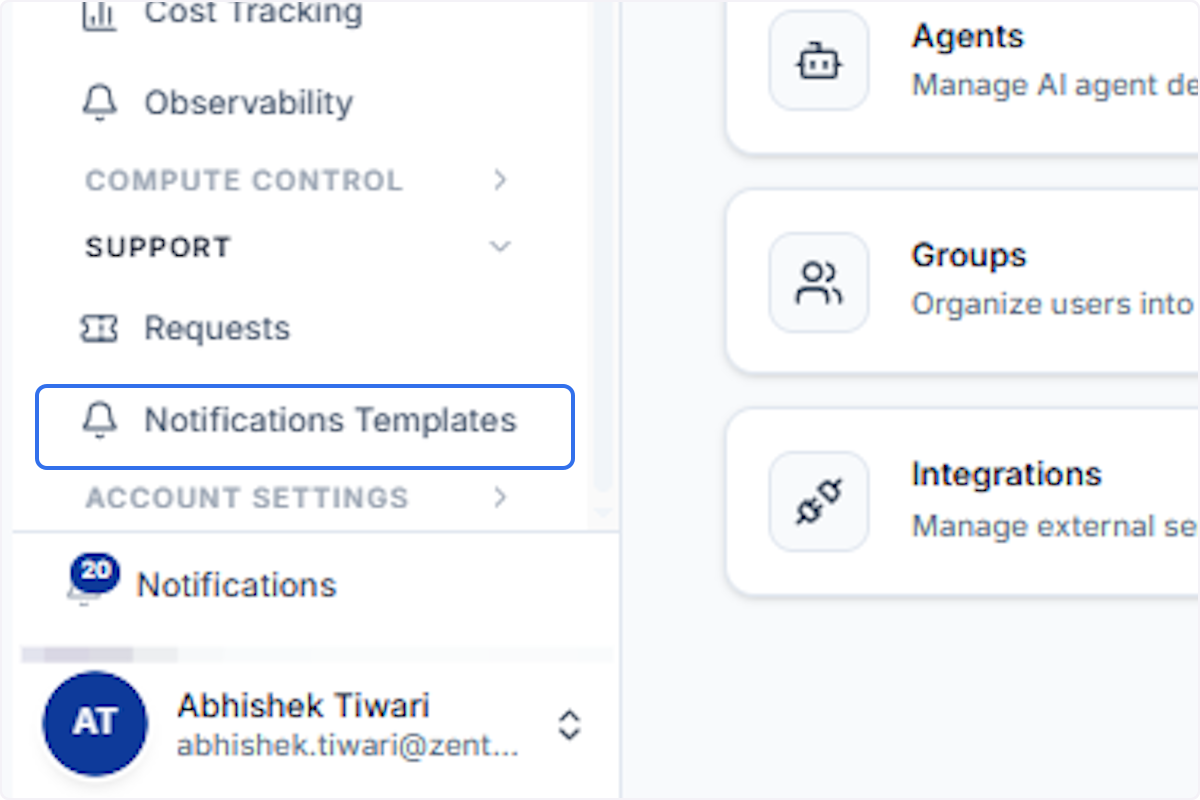
From the left-hand navigation menu, locate the Support section and click on ‘Notifications Templates’. This will open the Notification Template Management interface where you can view, search, and edit all system notification templates.
Search for a Specific Template
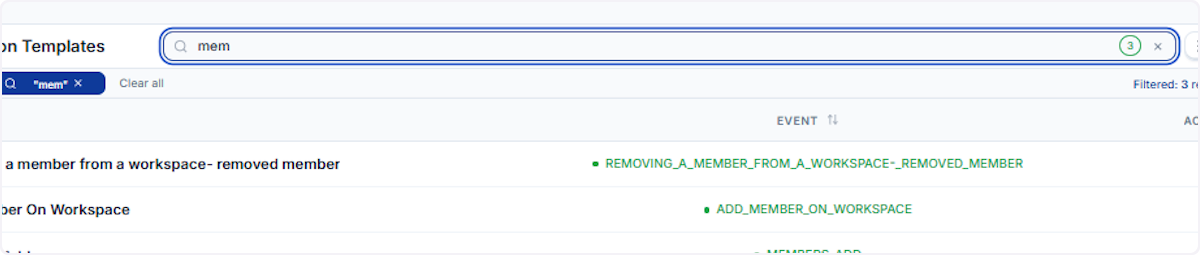
Use the search bar at the top of the Notification Templates table to filter results. Type a keyword related to the template you are looking for (e.g., ‘mem’ to find member-related templates). The table will automatically filter and display matching results, showing the associated event names.
Select a Template from the Filtered Results
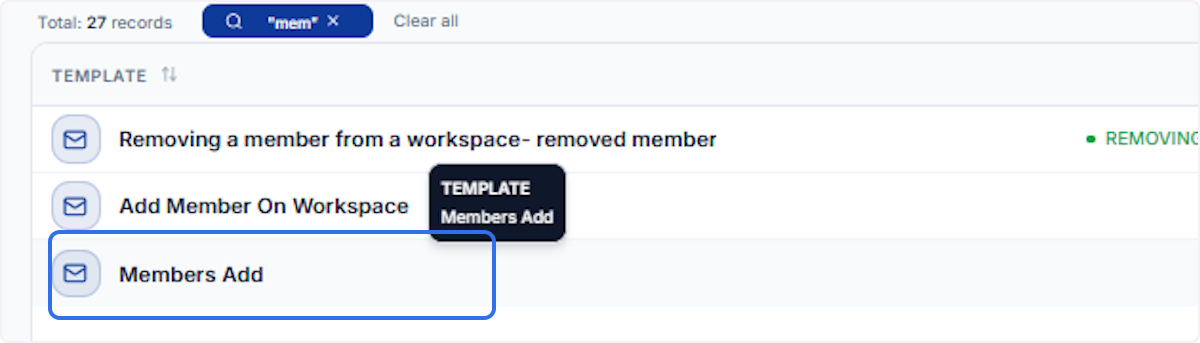
From the filtered search results, click on the desired template entry — in this example, ‘Members Add’. This will highlight the template and open it for further review or editing. The list also shows related templates such as ‘Add Member On Workspace’ and ‘Removing a member from a workspace’.
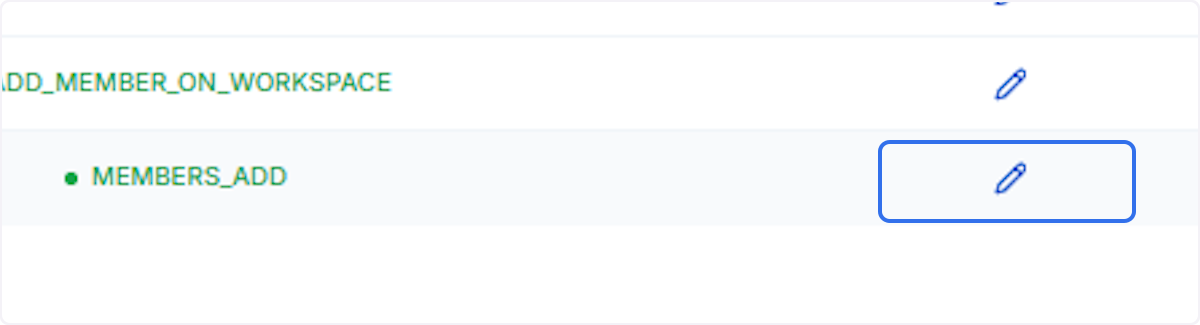
Review the Template List and Actions Column
The filtered results will display each matching template along with its notification trigger (NT) identifier and an ‘Actions’ column. The pencil icon in the Actions column allows you to edit the corresponding template directly. Review the list to identify the correct template before proceeding.
Open the Template Preview
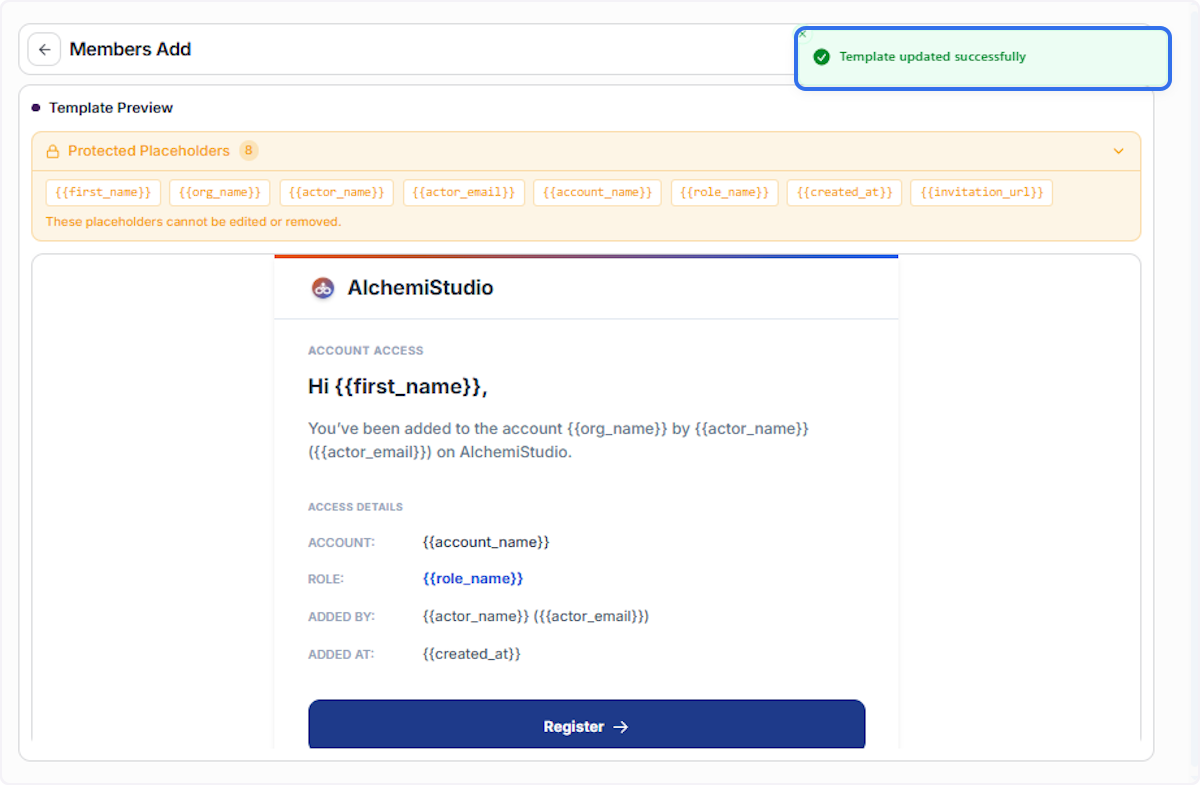
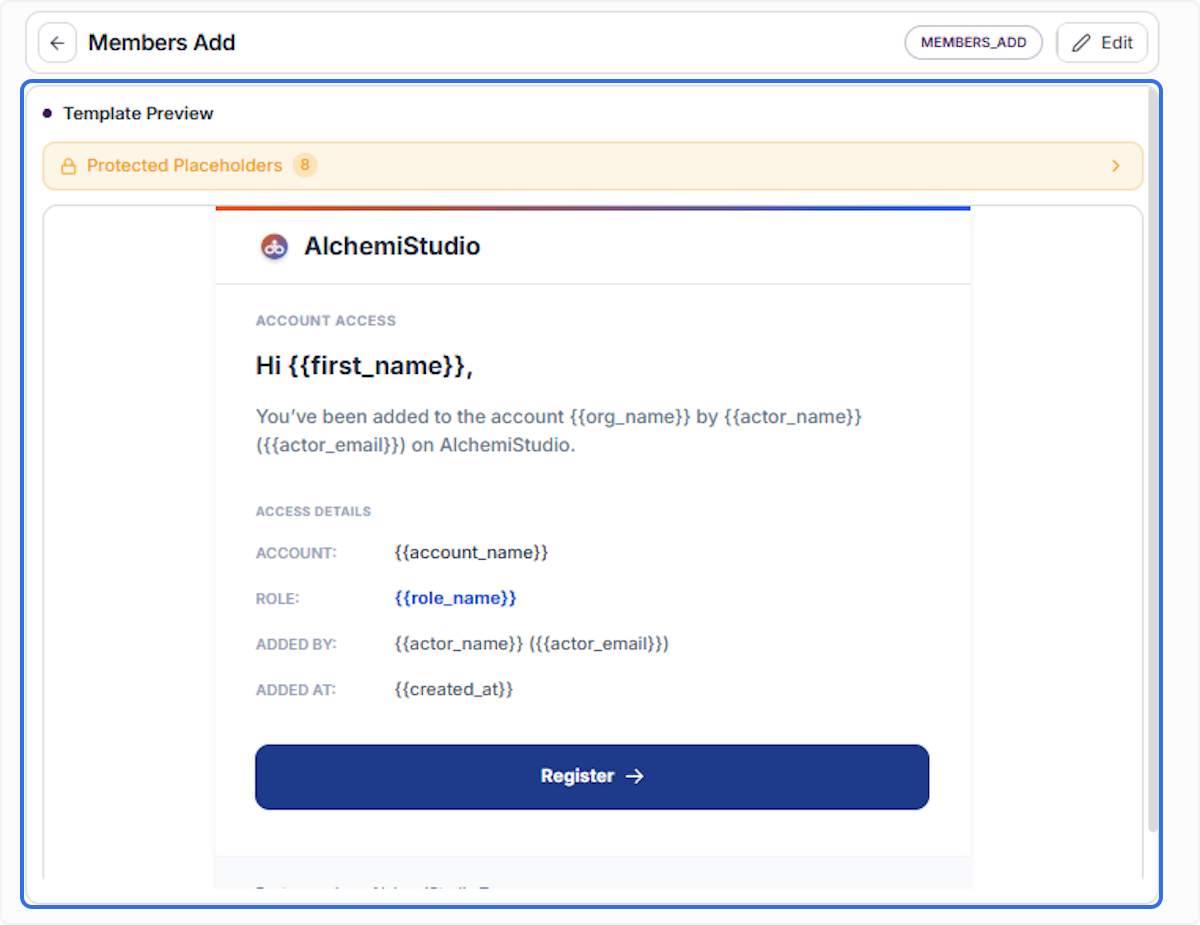
Click on the template entry to open the ‘Template Preview’ panel on the right-hand side. This preview displays how the notification email will appear to the recipient, including dynamic placeholders such as {{first_name}}, {{org_name}}, and {{actor_email}}, along with the layout and call-to-action button.
Click Edit to Modify the Template
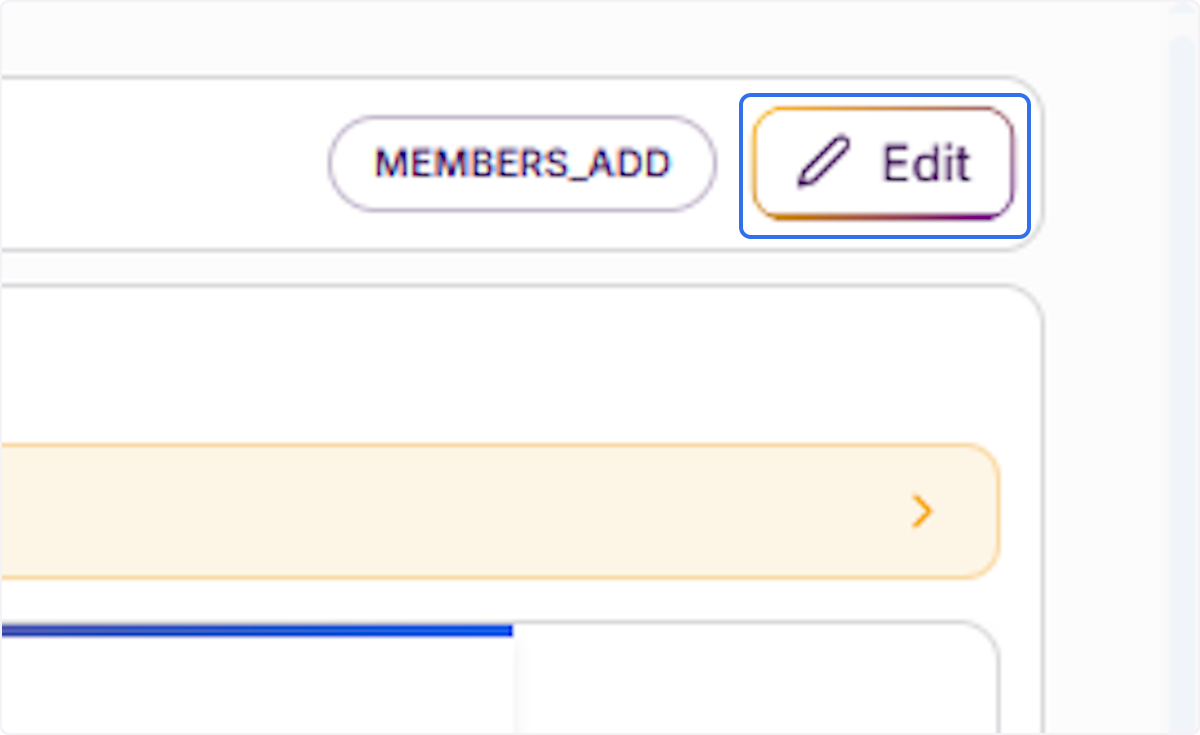
To make changes to the selected template, click the ‘Edit’ button (pencil icon) displayed next to the template name. This will open the full template editor where you can modify the HTML content, review the live preview, and manage protected placeholders
Review the HTML Editor and Live Preview
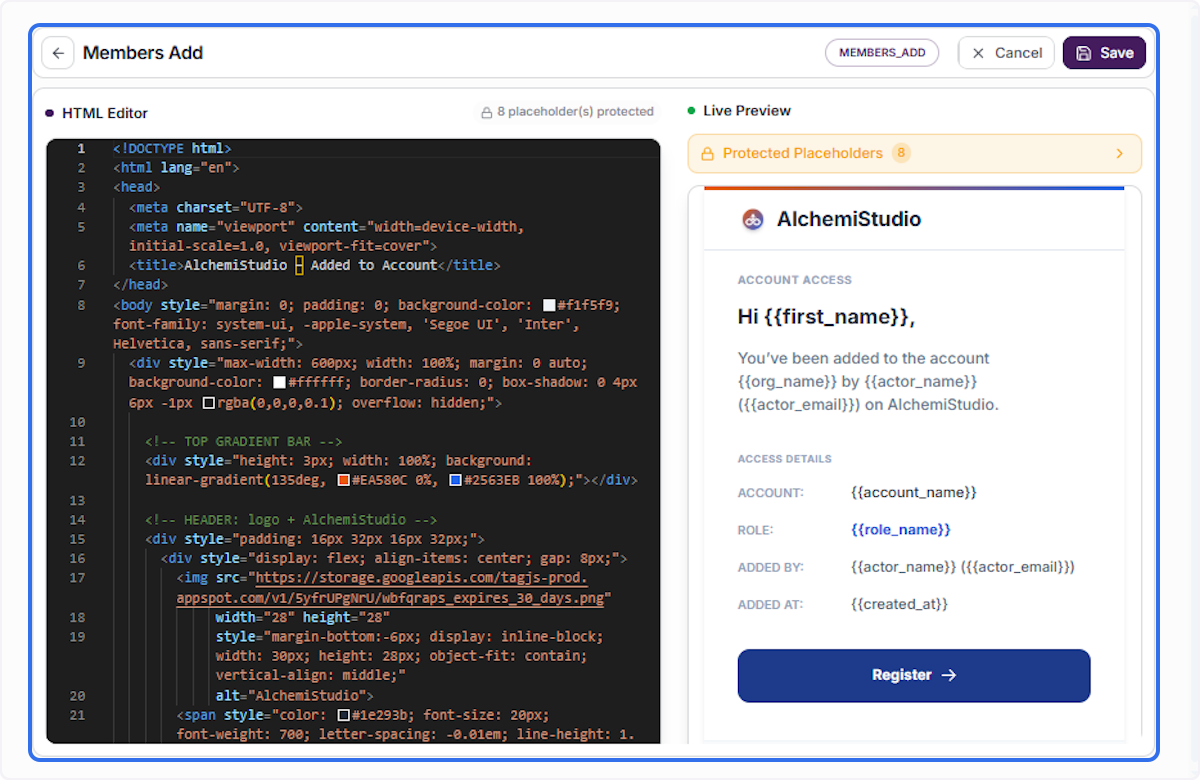
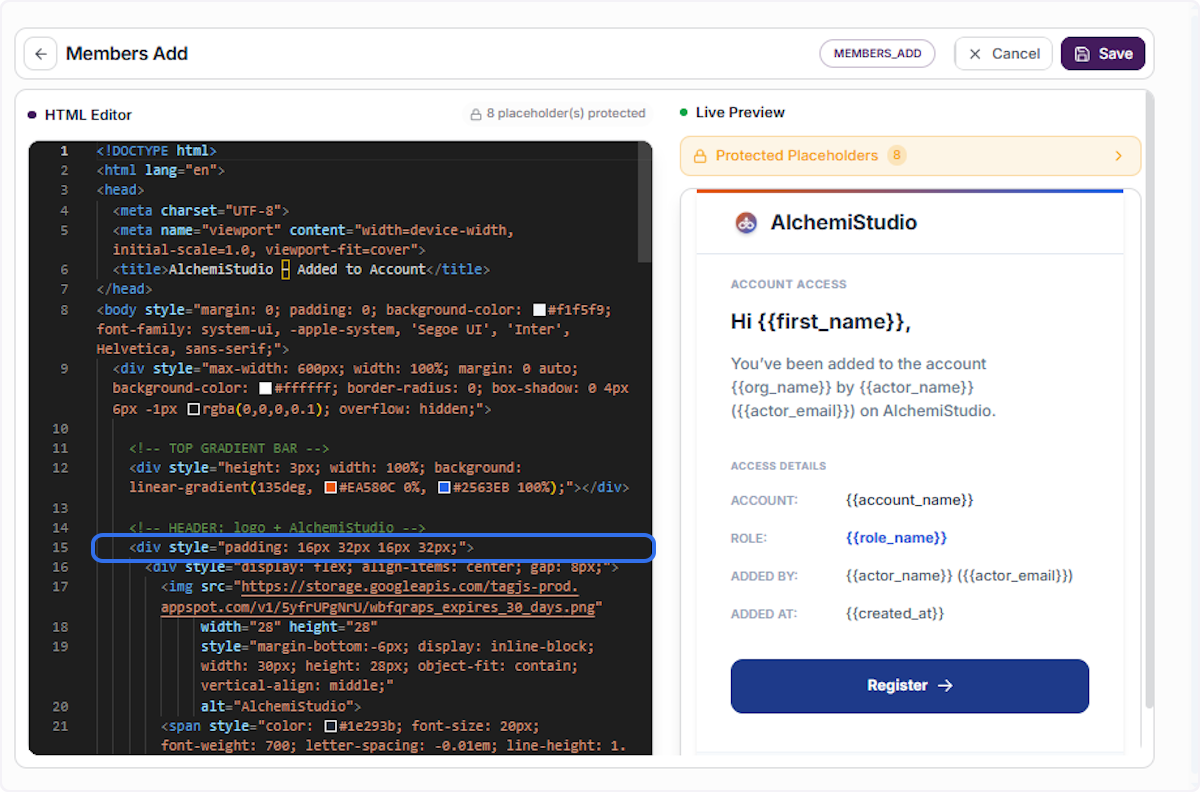
The template editor opens in a split-screen view: the left panel contains the raw HTML source code of the notification email, and the right panel displays a live preview of how the email will render. Use this view to carefully review the template structure before making any edits.
Review the Protected Placeholders
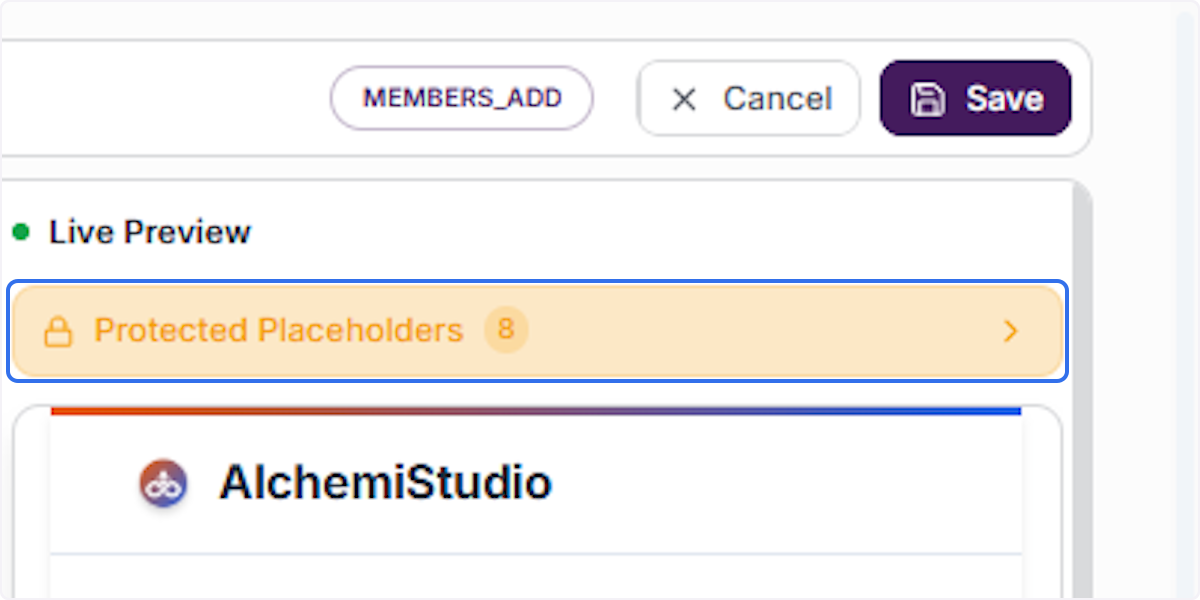
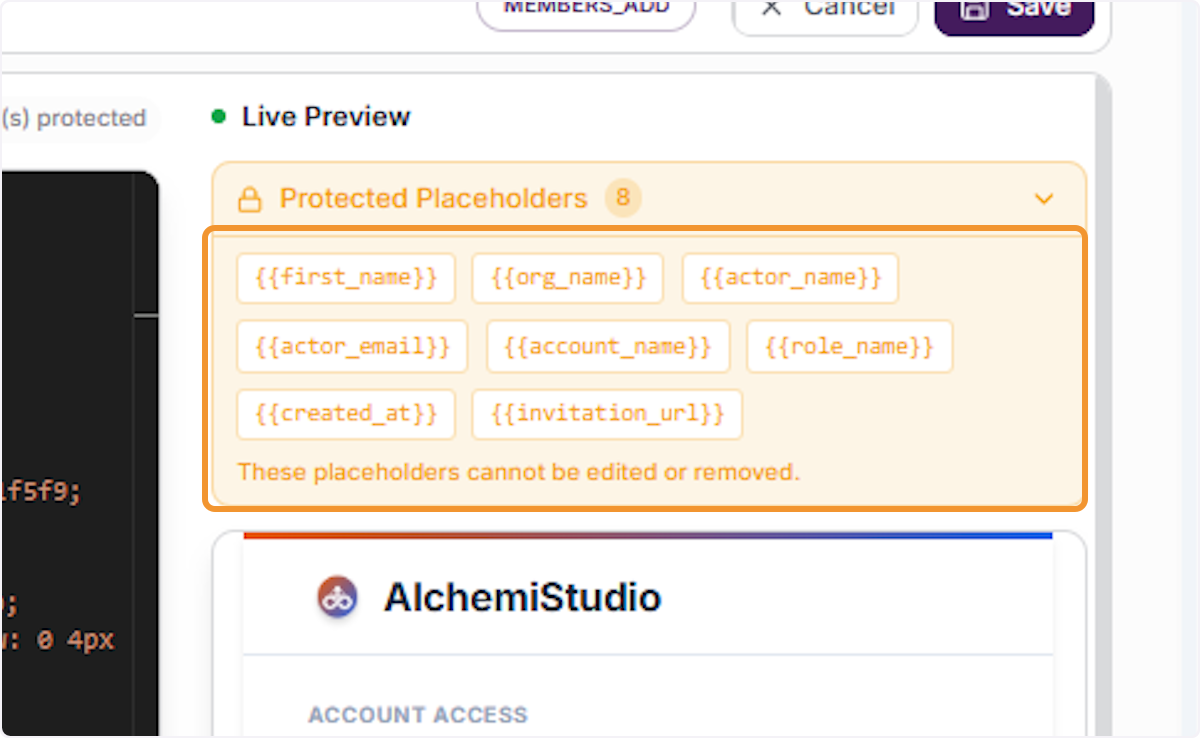
In the Live Preview panel, click on the ‘Protected Placeholders’ section (indicated by the orange lock icon) to expand it. This section lists all dynamic variables used in the template that cannot be edited or removed, such as {{first_name}}, {{org_name}}, {{actor_name}}, {{actor_email}}, {{account_name}}, {{role_name}}, {{created_at}}, and {{invitation_url}}.
Understand Available Dynamic Placeholders
Once the Protected Placeholders section is expanded, review all available variables displayed as tags. These placeholders are automatically populated with real data when the notification is sent. They are read-only and cannot be modified, ensuring critical dynamic content is always delivered correctly to recipients.
Edit the HTML Content of the Template
In the HTML editor on the left panel, locate the section of the template you wish to modify — for example, a <div> block with padding and layout styling. Make your desired changes to the HTML content carefully, ensuring that all protected placeholders remain intact and the overall email structure is preserved.
Save the Updated Template
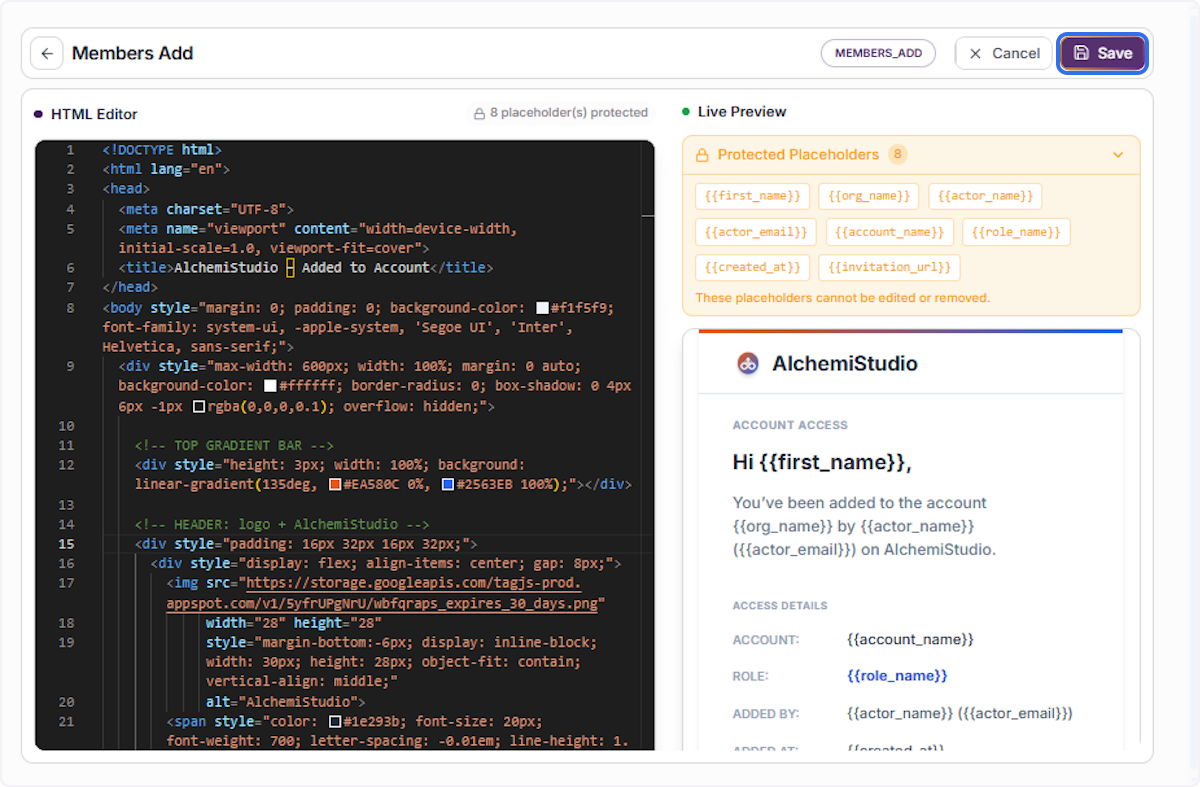
Once you have completed your edits, click the ‘Save’ button (floppy disk icon) in the top-right corner of the editor. This will submit your changes and update the template in the system. You can click ‘Cancel’ at any time before saving to discard all changes and revert to the original template.
Confirm the Template Was Updated Successfully
After saving, a green confirmation banner will appear at the top of the screen displaying ‘Template updated successfully’. This confirms that your changes have been saved and the notification template is now active with the updated content.