Support Ticket Management
Managing Support Tickets
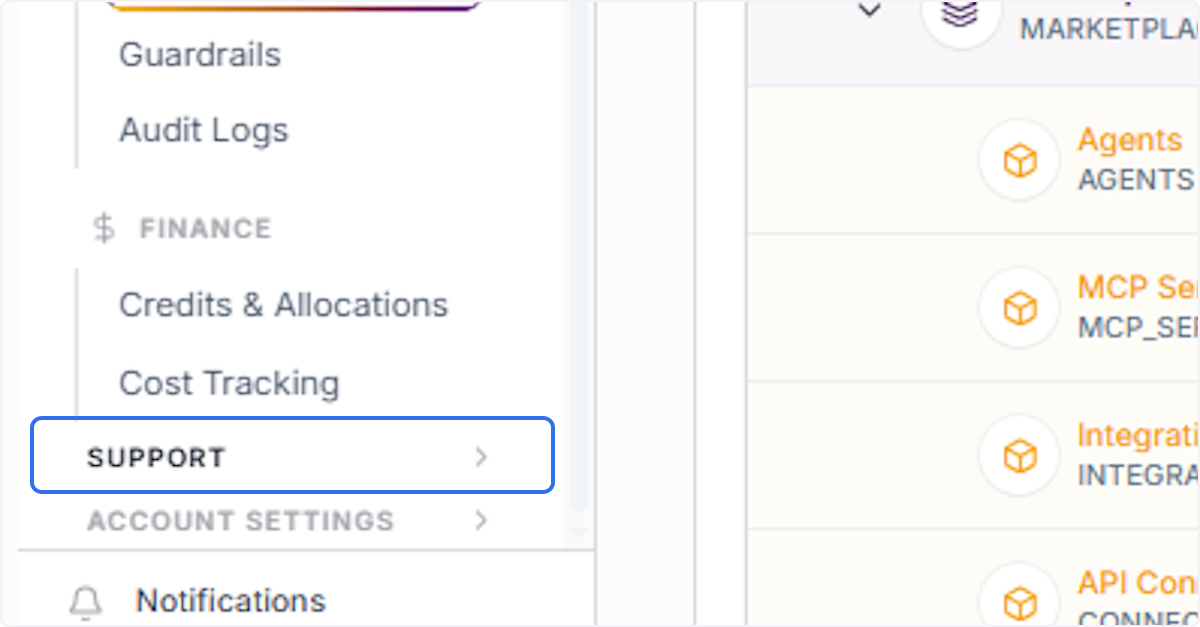
From the main navigation menu on the left sidebar, locate and click on the ‘SUPPORT’ option. This will expand the support module and reveal all available support-related features, including Requests and Notification Templates.
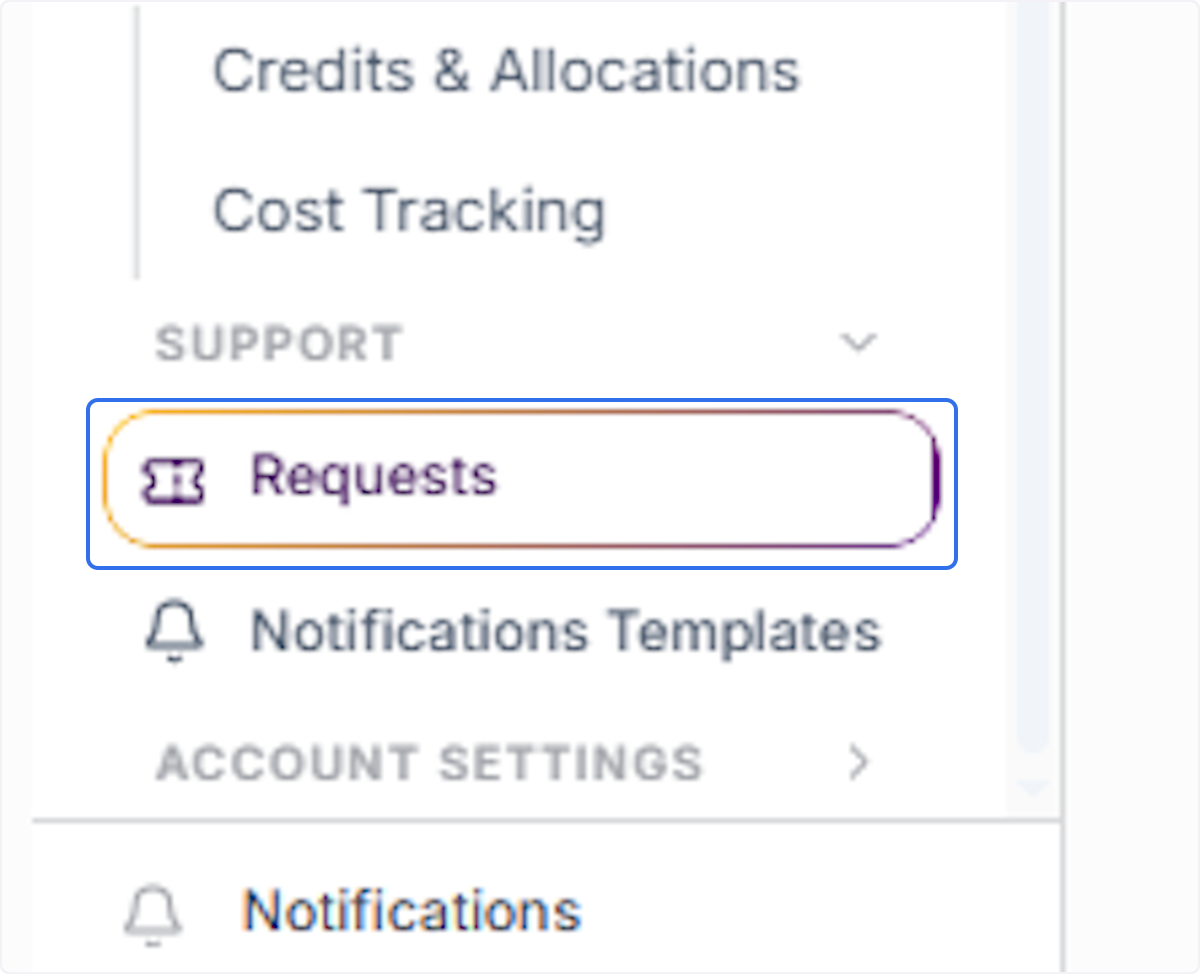
Once the Support section is expanded, click on ‘Requests’ from the sub-menu. This takes you to the support ticket management interface where all submitted requests are tracked and managed.
Access the Requests Dashboard
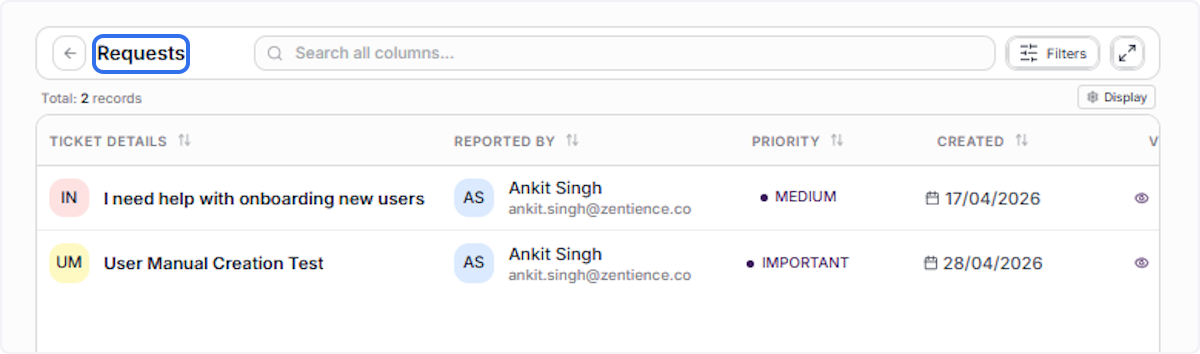
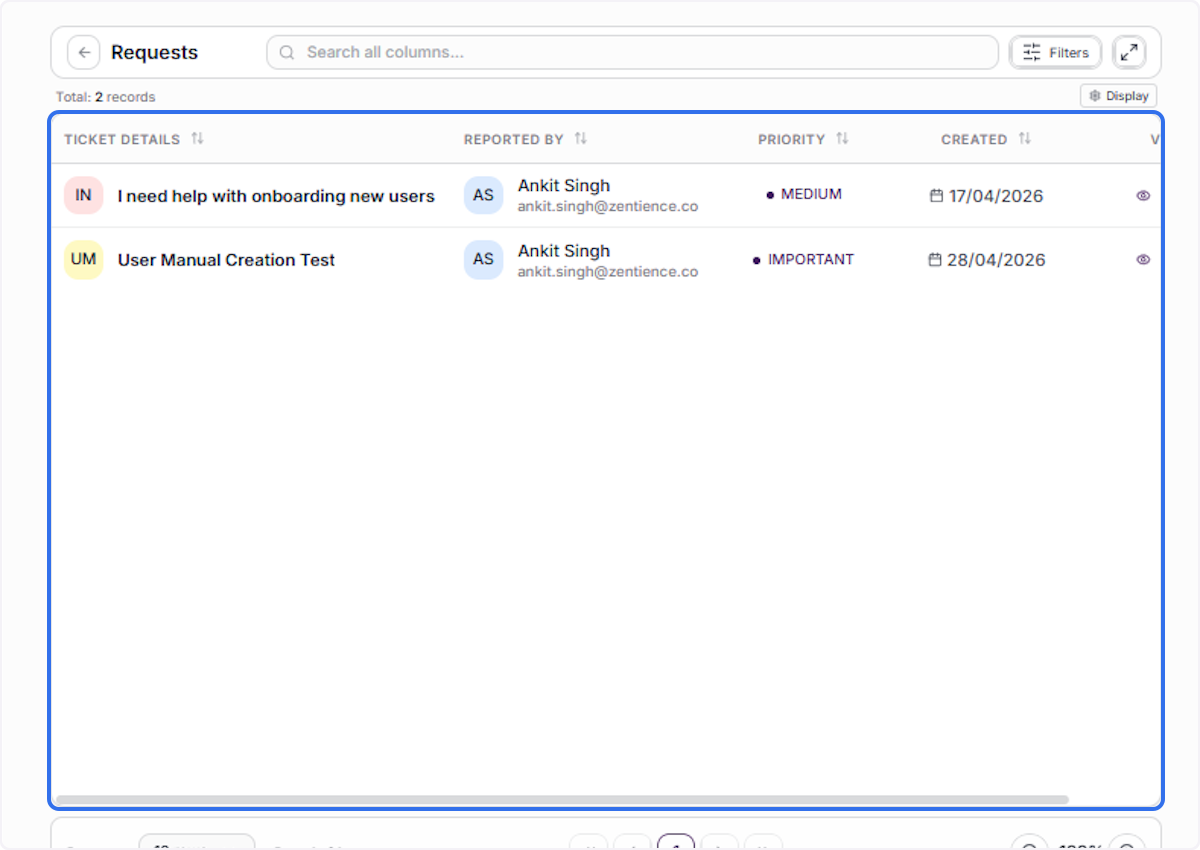
You will be directed to the Requests dashboard. This view displays all support tickets submitted across your organization. The panel shows a total record count along with ticket details for quick reference.
View the Ticket Details Column
On the Requests dashboard, click on the ‘TICKET DETAILS’ column header to sort or expand ticket information. The list displays all open and resolved tickets along with the reporter, priority level, and creation date for each entry.
Select a Specific Support Ticket
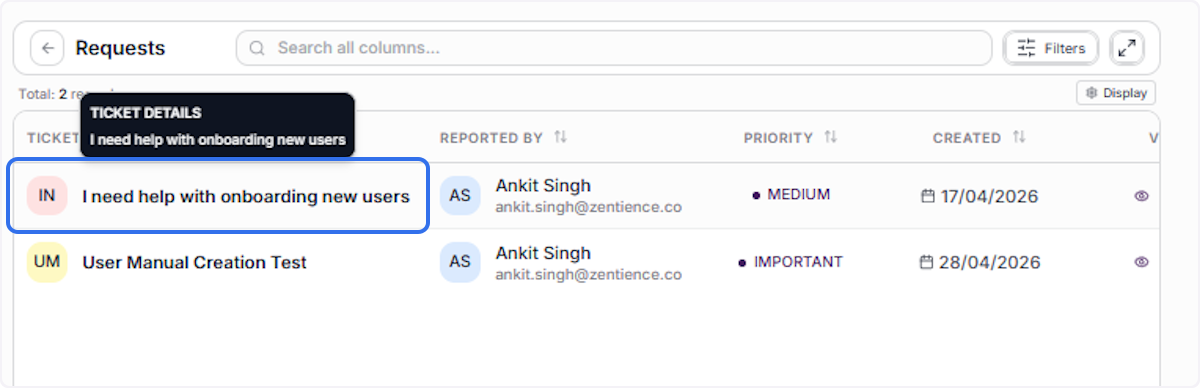
Click on the desired ticket from the list. This opens the ticket thread, displaying the full conversation history, ticket description, current status, and priority details.
Review the Reporter Information
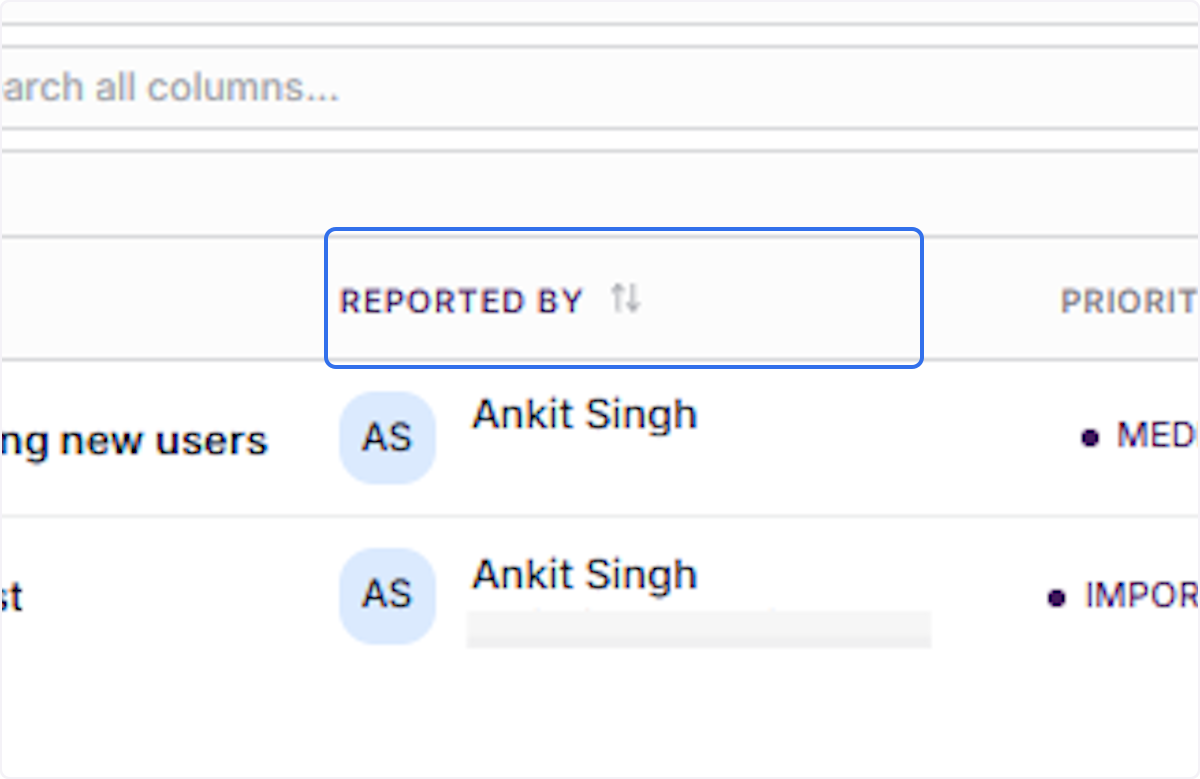
Once inside the ticket, locate the ‘REPORTED BY’ column to identify who submitted the ticket. This section displays the reporter’s name and email address, helping support agents verify the source and context of the request.
Open the Ticket in Full View
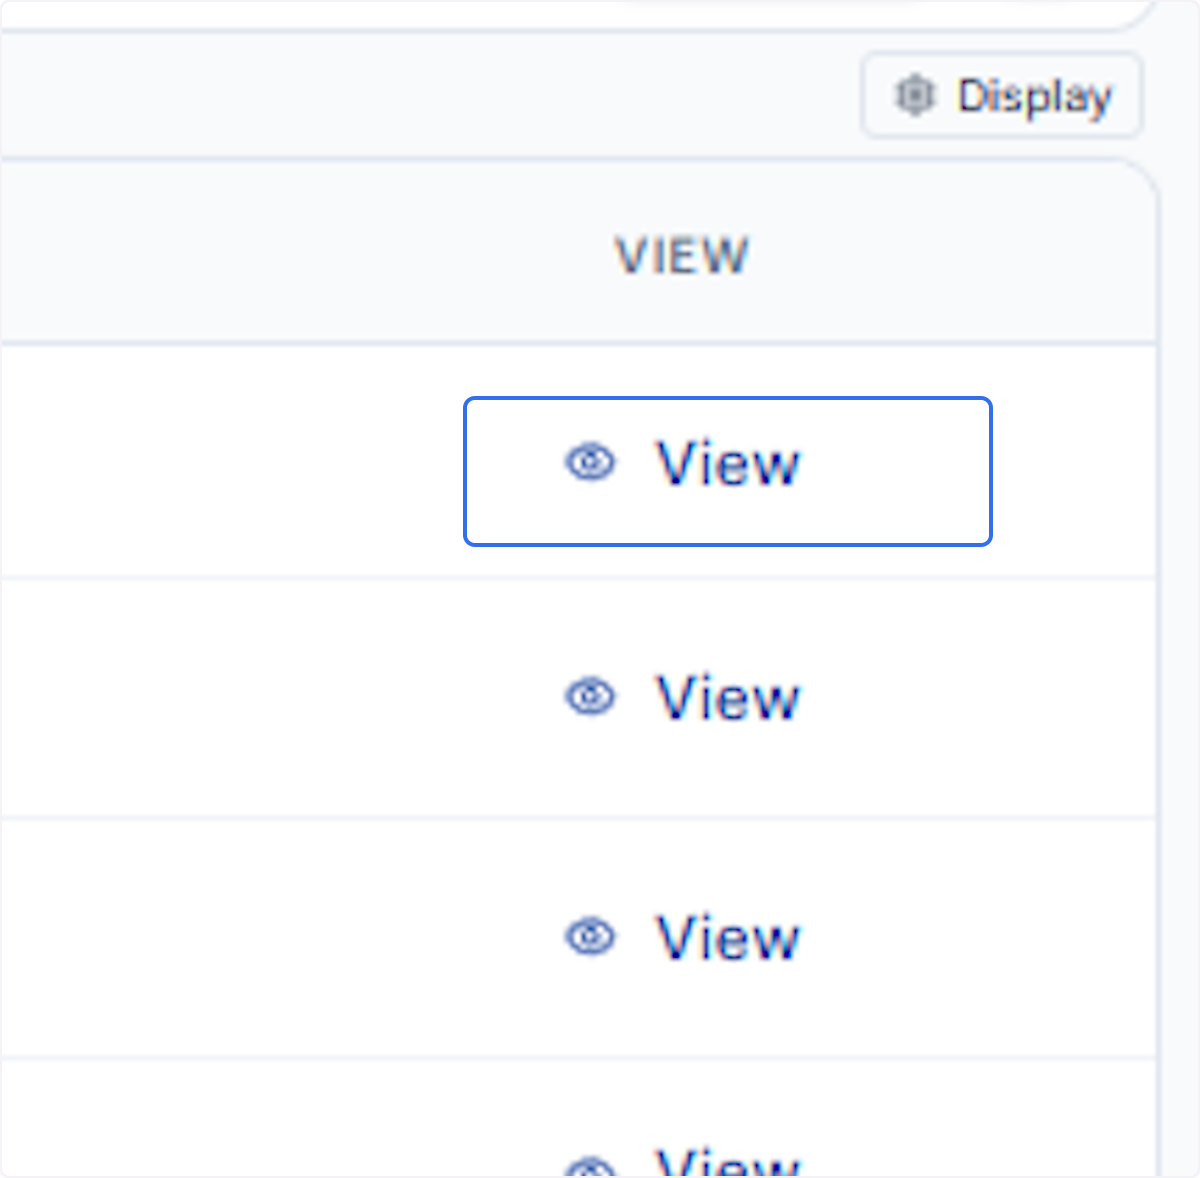
Click the ‘View’ button corresponding to the ticket you wish to manage. This launches the complete ticket detail page, showing all associated metadata including priority, creation date, and the full discussion thread.
Inspect the Ticket Description
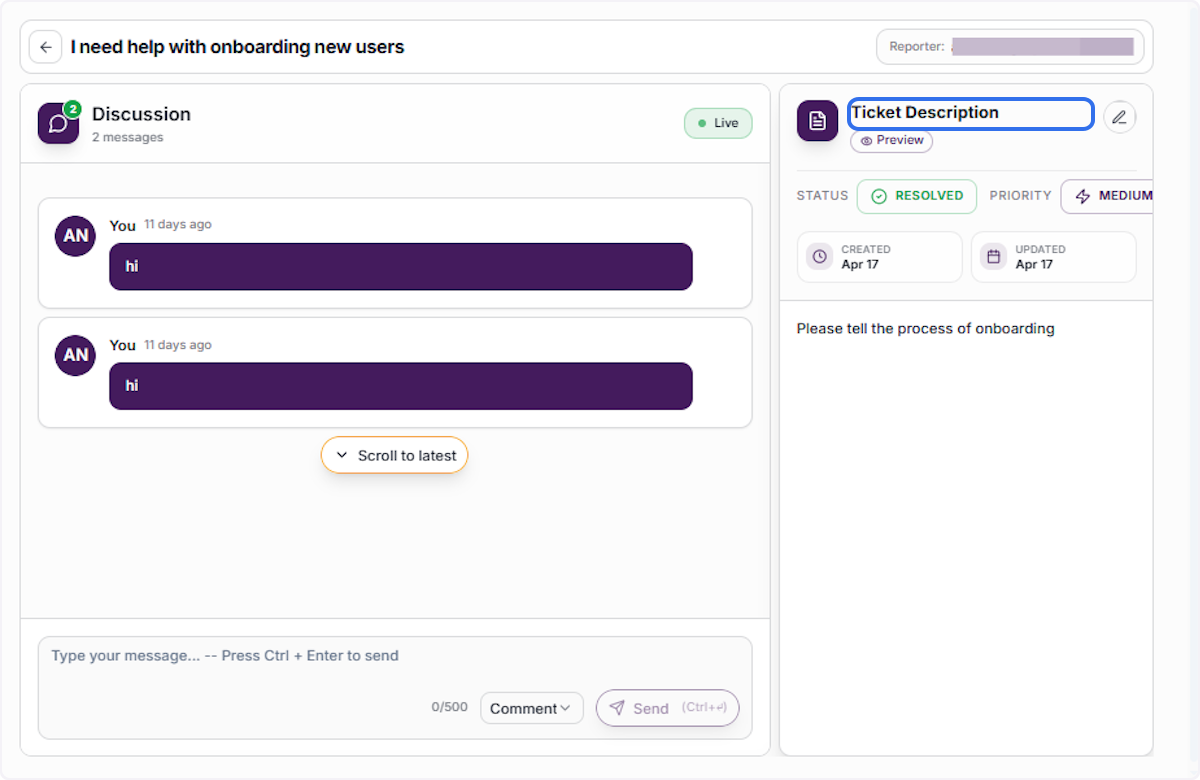
Within the ticket detail page, click on ‘Ticket Description’ to expand and review the full details of the support request. This section also displays the current status, priority, and timestamps for when the ticket was created and last updated.
Read the User’s Request Message
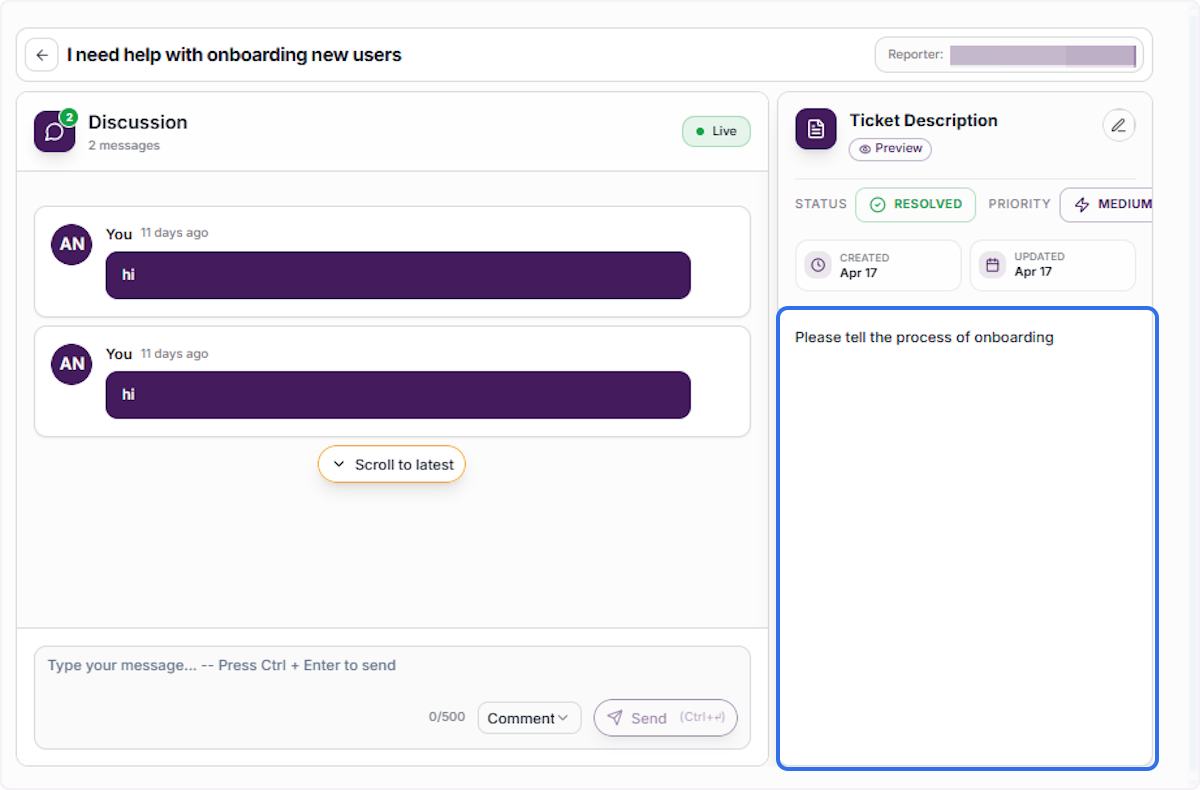
The ticket description panel displays the end user’s original message or query. Review this message carefully before responding to ensure your reply is accurate and fully addresses the concern raised.
View the Discussion Thread
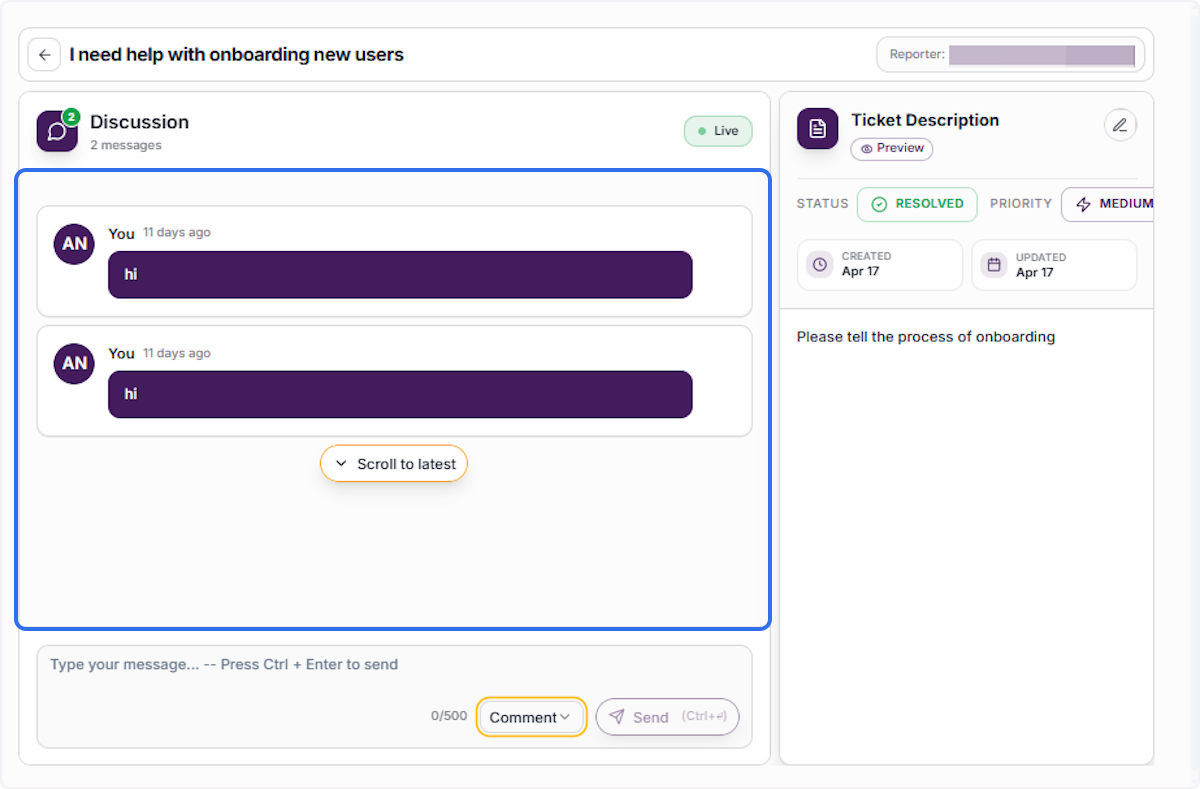
Scroll through the ‘Discussion’ section to review all prior messages exchanged in this ticket. The thread shows timestamped messages from both the user and support agents, helping you understand the full context before composing your reply.
Compose Your Reply
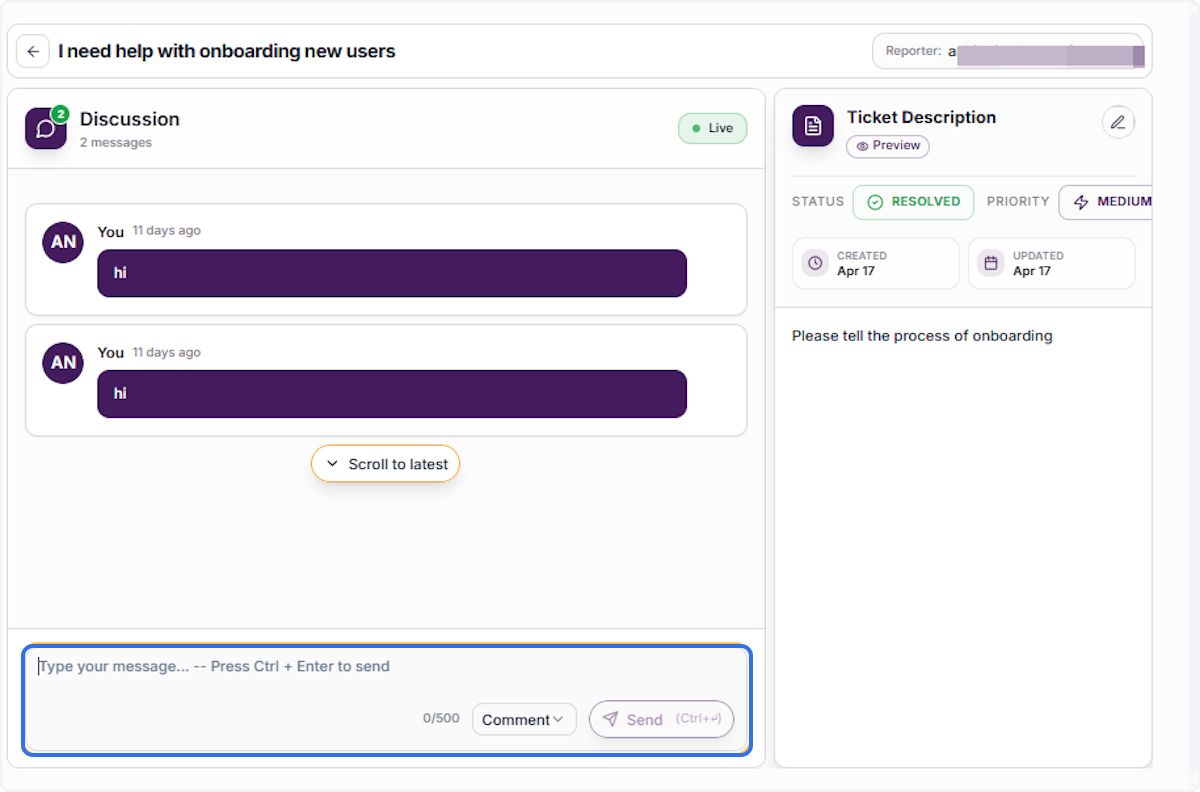
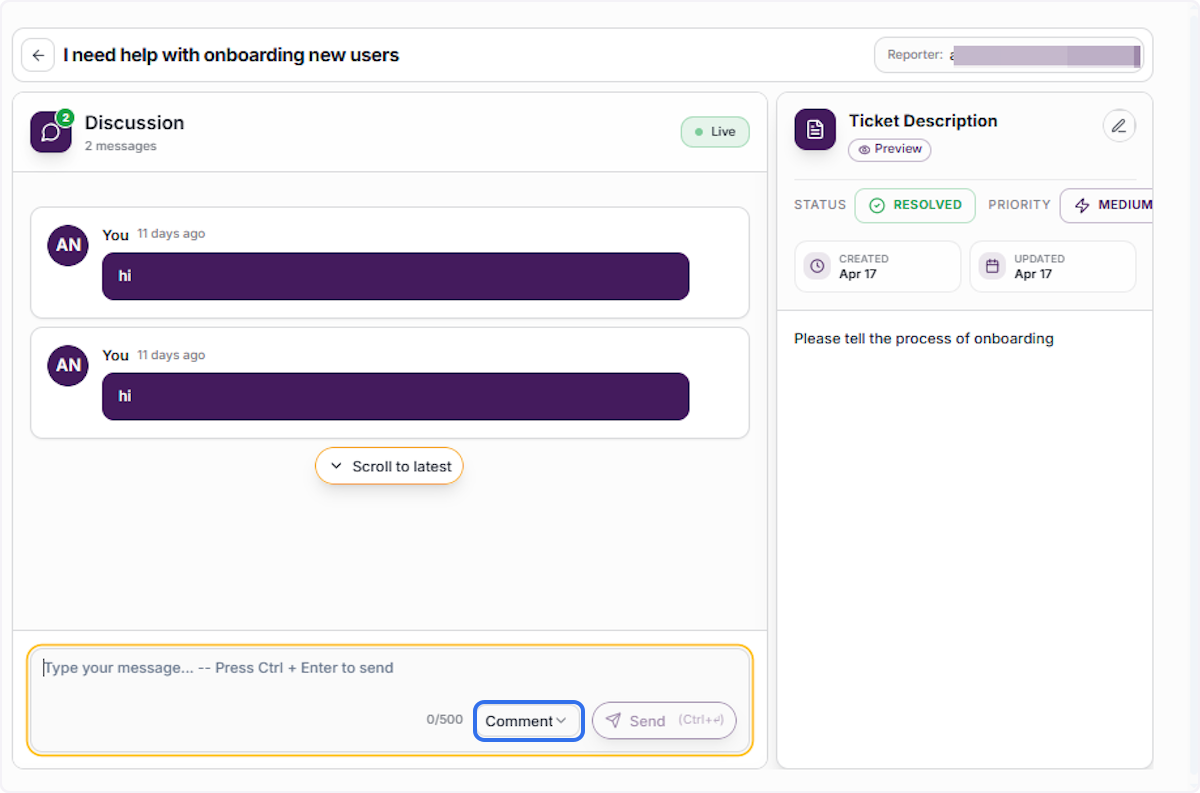
Click on the message input box labeled ‘Type your message…’ at the bottom of the discussion panel. Enter your response to the user’s query. Once your message is ready, press Ctrl + Enter or click the ‘Send’ button to submit your reply.
Select the Message Type
Comment Before sending, choose the appropriate message type by clicking the dropdown next to the ‘Send’ button. Select ‘Comment’ if your message is a public-facing reply intended for the ticket reporter to see.
Choose Between Comment and Internal Note
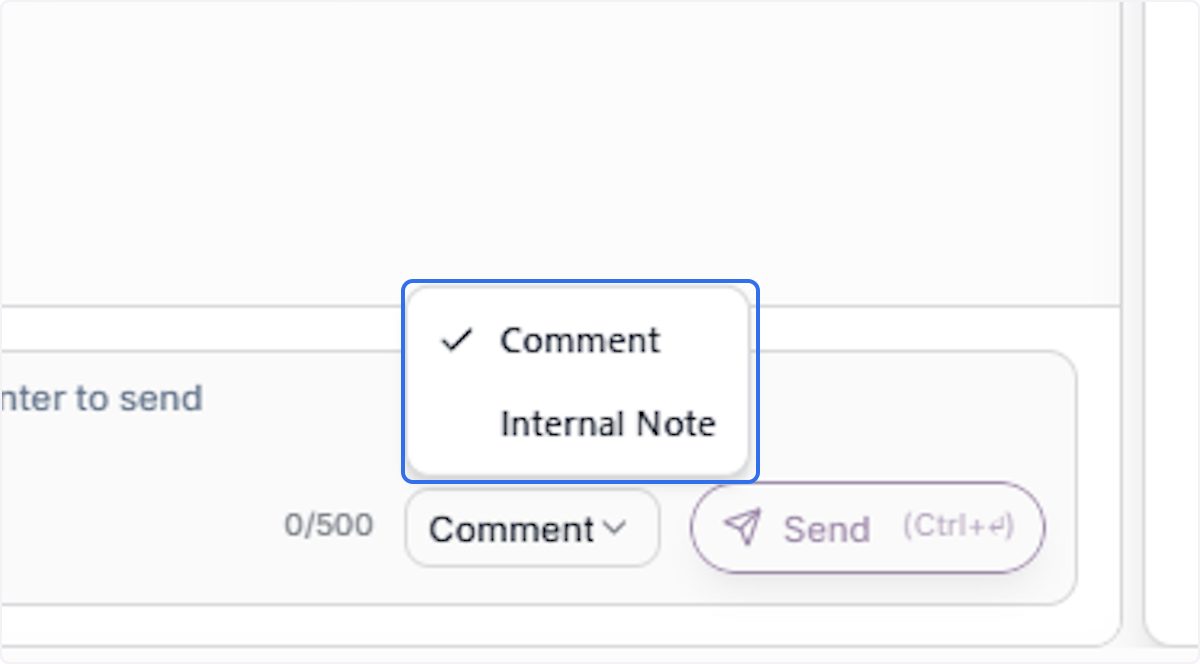
The message type dropdown provides two options: ‘Comment’ (visible to the reporter) and ‘Internal Note’ (visible only to your team). Select the appropriate type based on whether the message is for the user or for internal team collaboration.
Review the Current Ticket Status
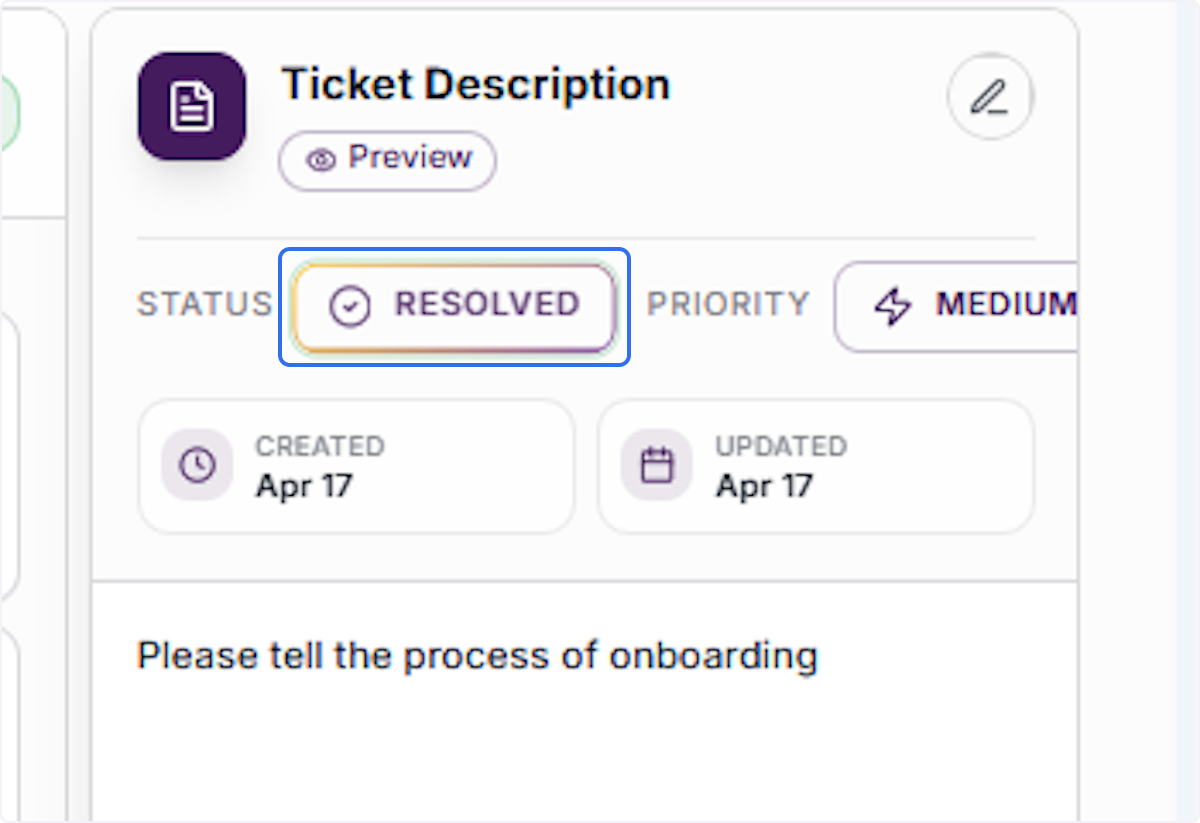
On the right-hand panel of the ticket detail page, review the current status badge. Verifying the status ensures you are aware of the ticket’s current state before making any changes.
Open the Status Change Dropdown
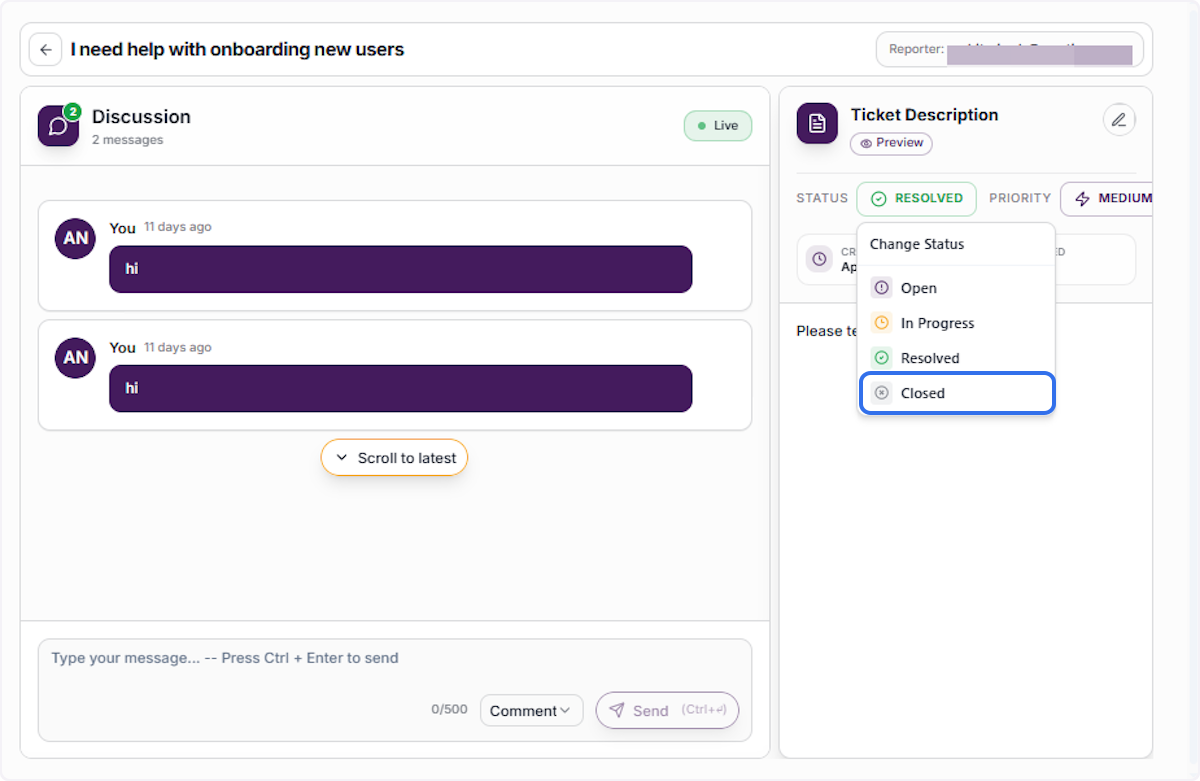
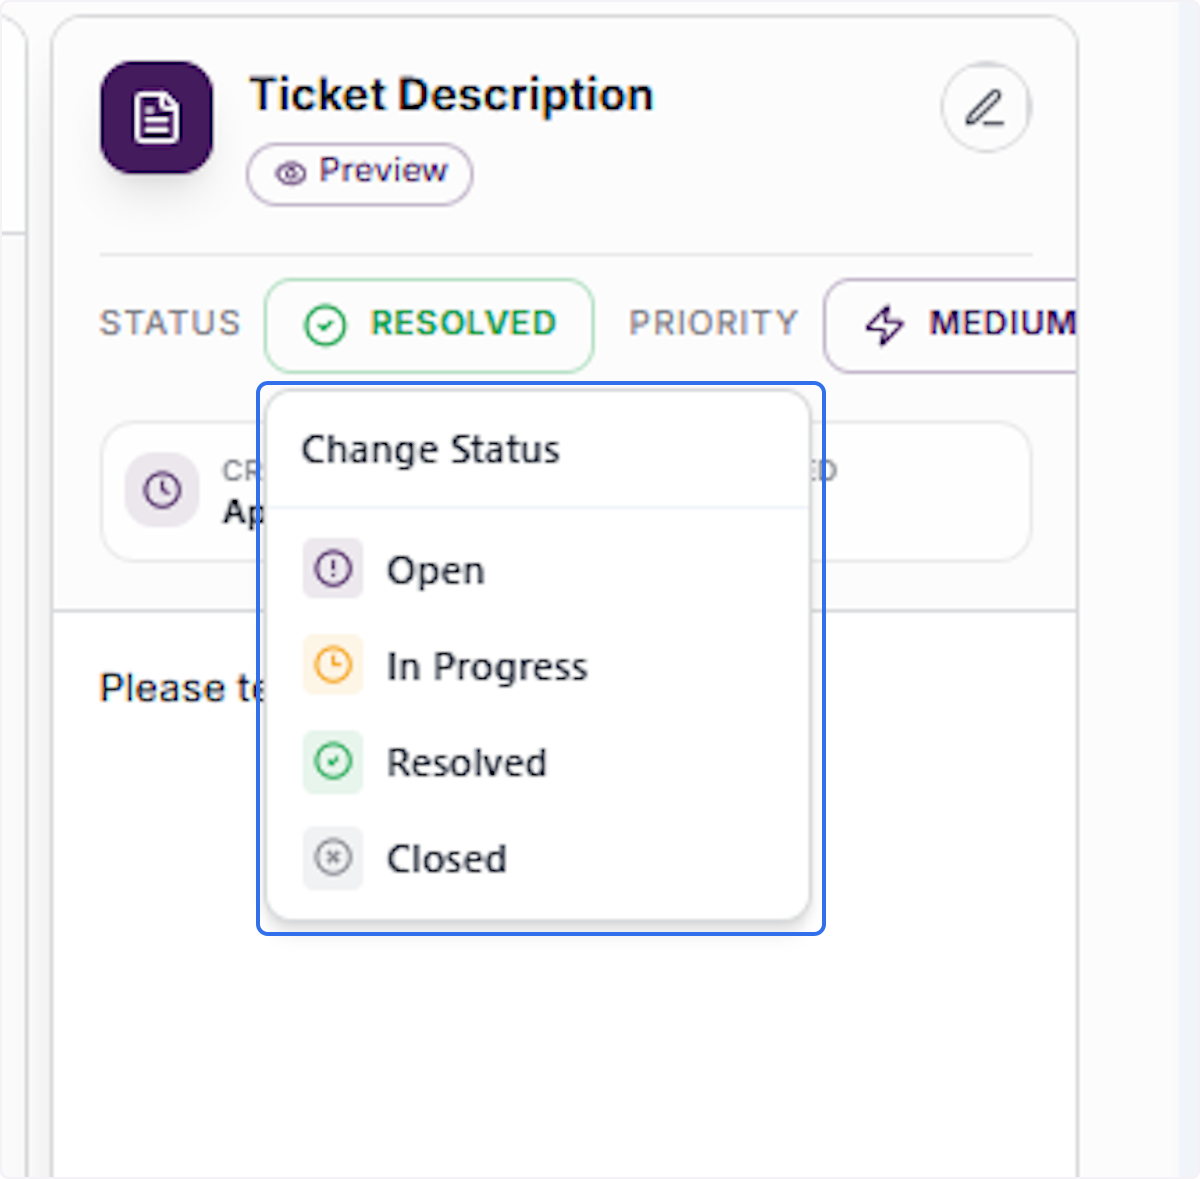
Click the dropdown trigger next to the current status field to reveal the available status options. The dropdown displays four choices: Open, In Progress, Resolved, and Closed — allowing you to update the ticket lifecycle stage accordingly.
Set the Ticket Status to Closed
From the status dropdown, select ‘Closed’ to mark the ticket as fully resolved and no longer requiring action. This indicates the issue has been addressed and the case is officially concluded, updating the ticket record and notifying relevant stakeholders.