Copilot — Marketplace Access
Marketplace Access
Access the Marketplace
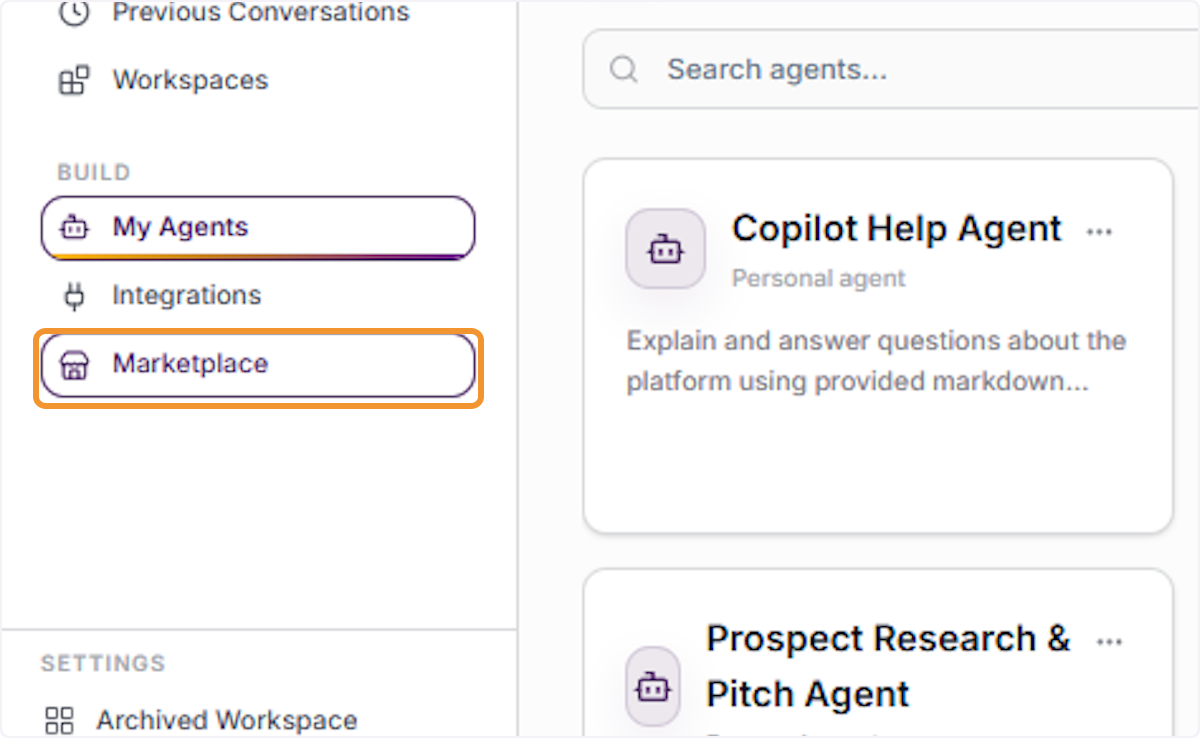
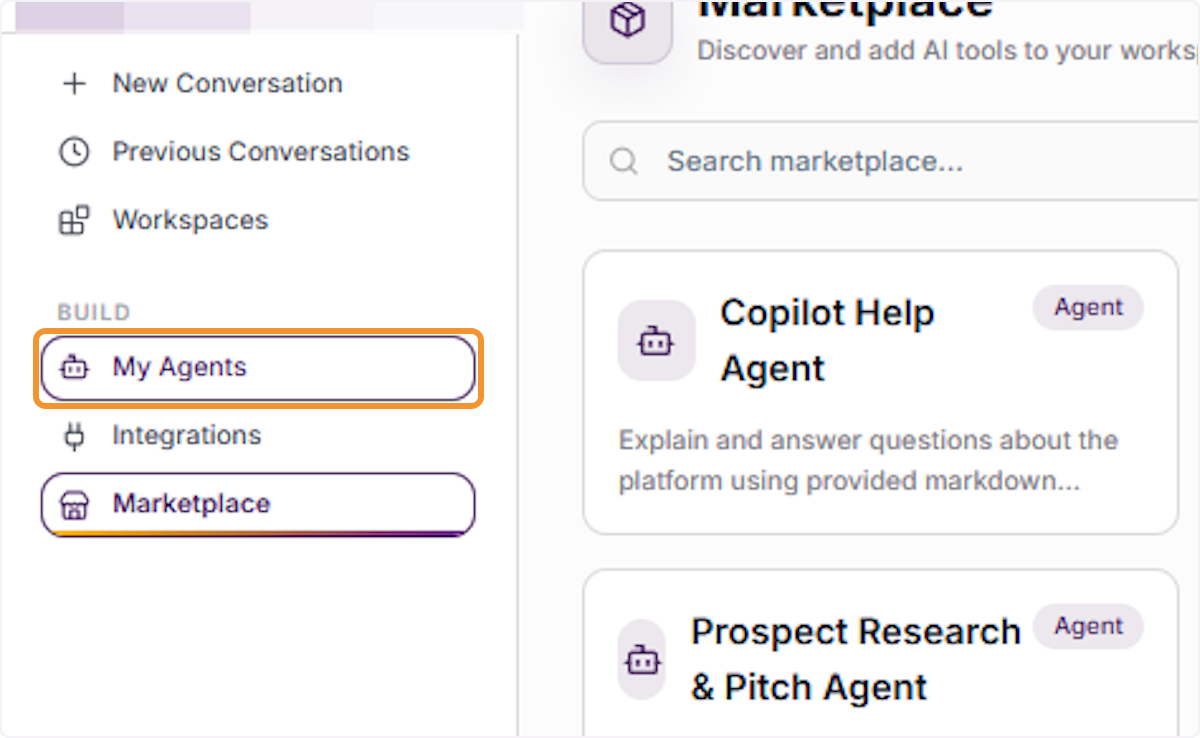
Locate and click “Marketplace” under the BUILD section in the left-hand navigation panel of the Orchestra AI interface. The Marketplace is your central hub for discovering and adding pre-built AI tools — including agents — directly to your workspaces, expanding your team’s capabilities beyond custom-built agents.
Explore the Marketplace Dashboard
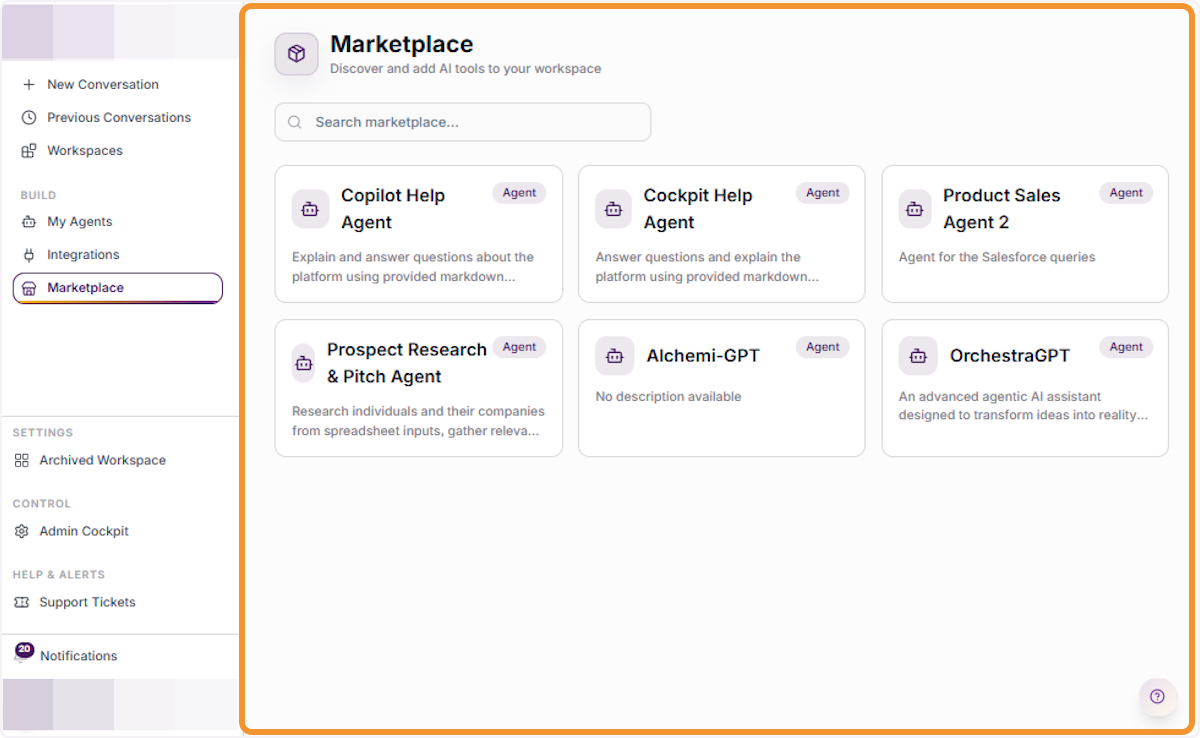
The Marketplace dashboard opens with the heading “Discover and add AI tools to your workspace.” All available agents are displayed as cards, each showing the agent’s name, type badge (Agent), and a short description of its capabilities. Browse the full catalog or use the search field to find a specific agent to add to your personal library.
Search the Marketplace Catalog
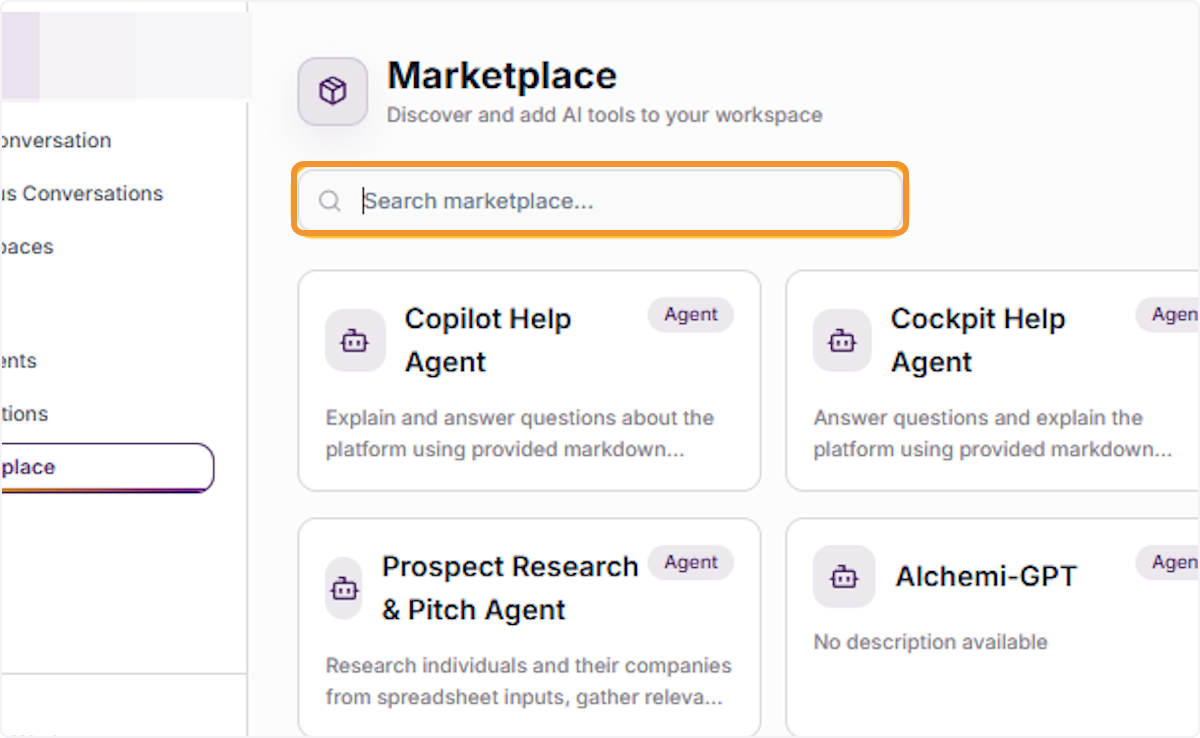
Click on the “Search marketplace…” field at the top of the Marketplace dashboard to filter the available agents by name or keyword. This helps you quickly locate a specific agent from the catalog without manually scrolling through all available listings. Type any relevant term to narrow the results in real time.
Select an Agent from the Marketplace
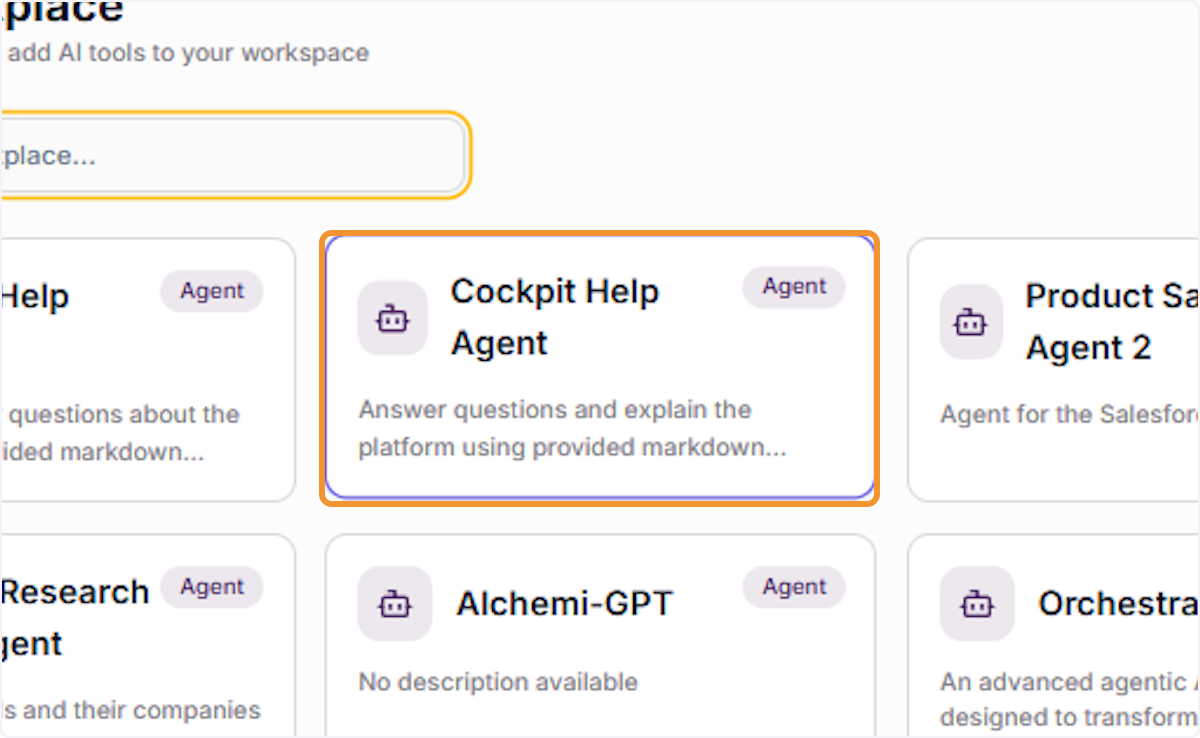
Click on any agent card in the Marketplace — such as “Cockpit Help Agent” — to view its full details before adding it to your library. Each card displays the agent name, its type badge, and a brief description of what the agent does, helping you evaluate whether it suits your workflow needs before committing to adding it.
Review Agent Details Before Adding
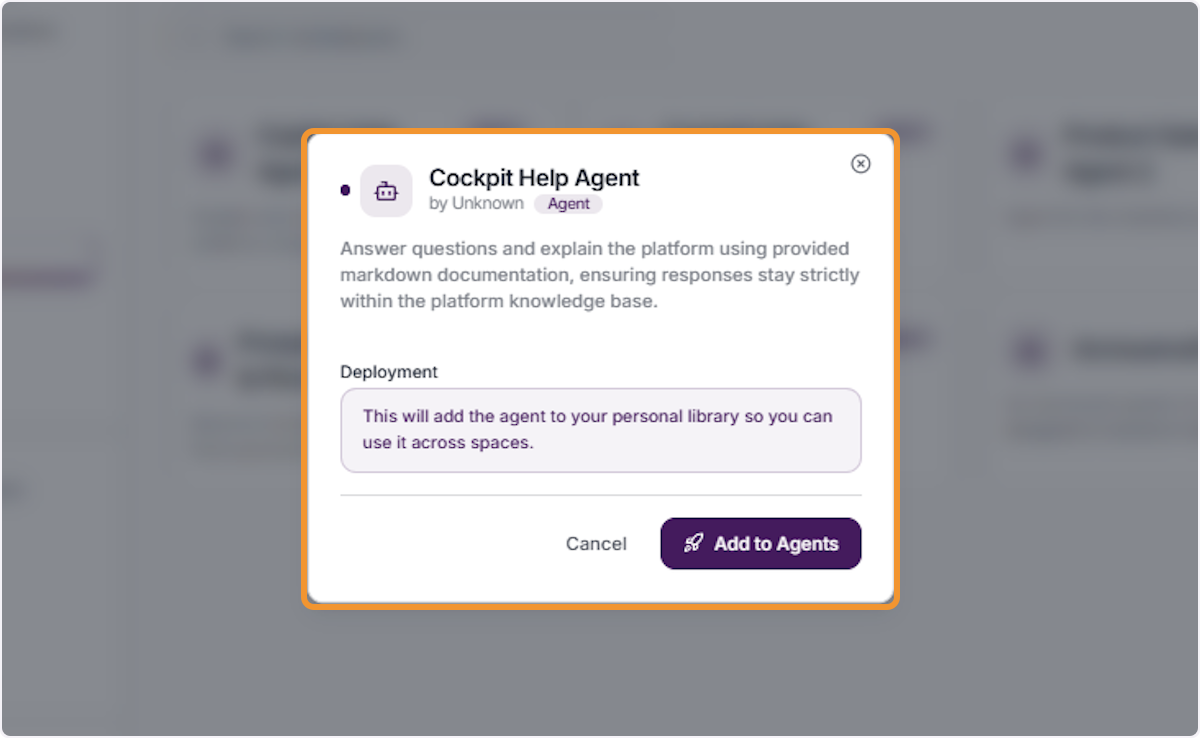
Clicking an agent card opens its detail modal, displaying the agent’s full name, creator, and a complete description of its functionality. A “Deployment” note reads: “This will add the agent to your personal library so you can use it across spaces.” Review this information carefully, then click “Add to Agents” to proceed or “Cancel” to go back.
Add the Agent to Your Personal Library
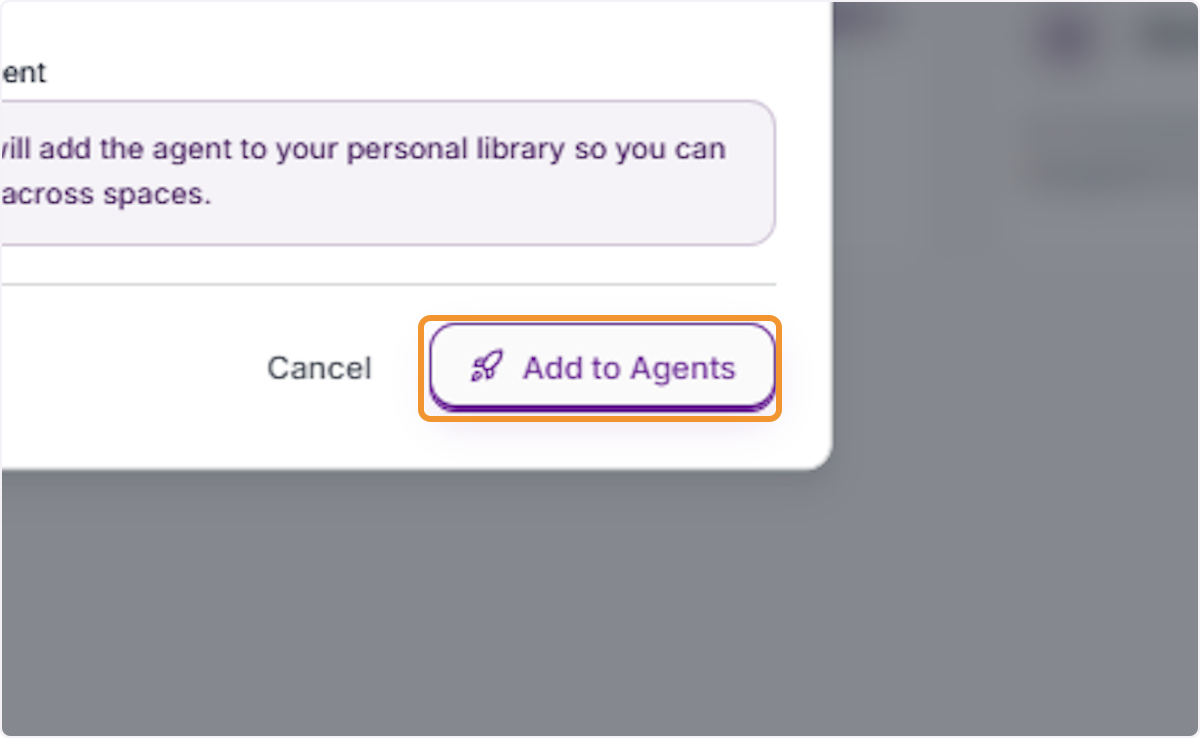
Click the “Add to Agents” button in the agent detail modal to add the selected Marketplace agent to your personal agent library. Once added, the agent becomes available across all your workspaces and can be selected when starting new conversation threads. This action does not modify the original agent — you receive your own copy in your personal library.
Agent Successfully Added to Your Library
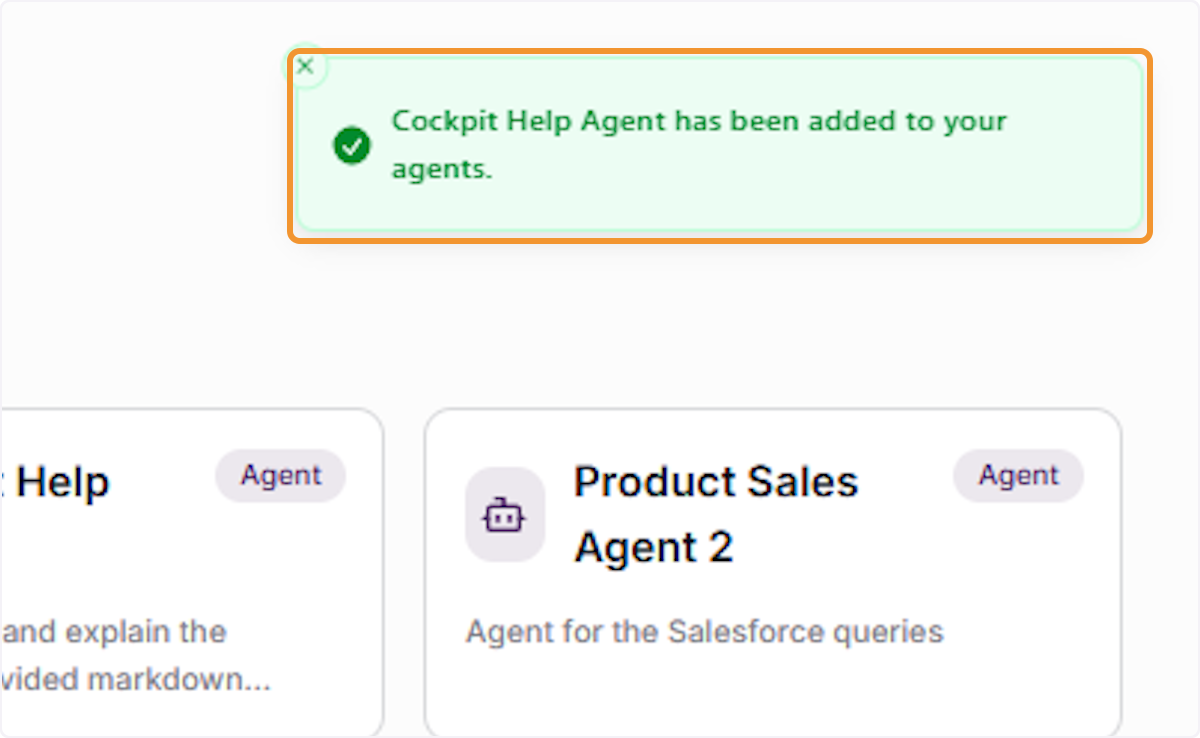
A green confirmation banner will appear at the top of the screen with the message “[Agent Name] has been added to your agents.” This confirms the agent has been successfully added to your personal library and is now ready to use across your workspaces. You can navigate to My Agents to verify the addition or start using the agent immediately in a new thread.
Click “My Agents” under the BUILD section in the left navigation panel to open your personal agent library. After adding an agent from the Marketplace, navigating here allows you to confirm the agent now appears in your library alongside any previously created or added agents, and verify it is ready for use in your workspaces.
Verify the Newly Added Agent in Your Library
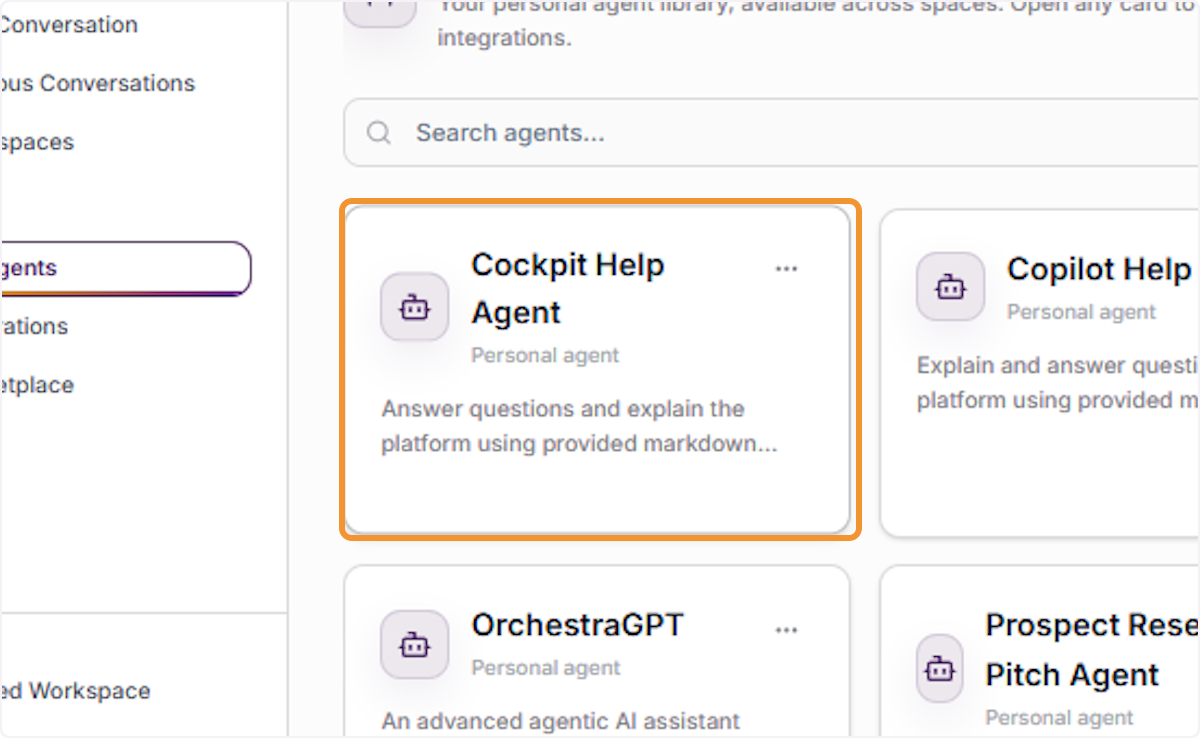
In the My Agents library, locate and click the newly added agent card — such as “Cockpit Help Agent” — to confirm it has been successfully imported from the Marketplace. The agent will appear with its name, “Personal agent” classification, description, and any pre-configured capability tags. From here you can also open the agent for editing or start using it in a conversation thread.
Navigate to Cockpit
Access the Control Panel
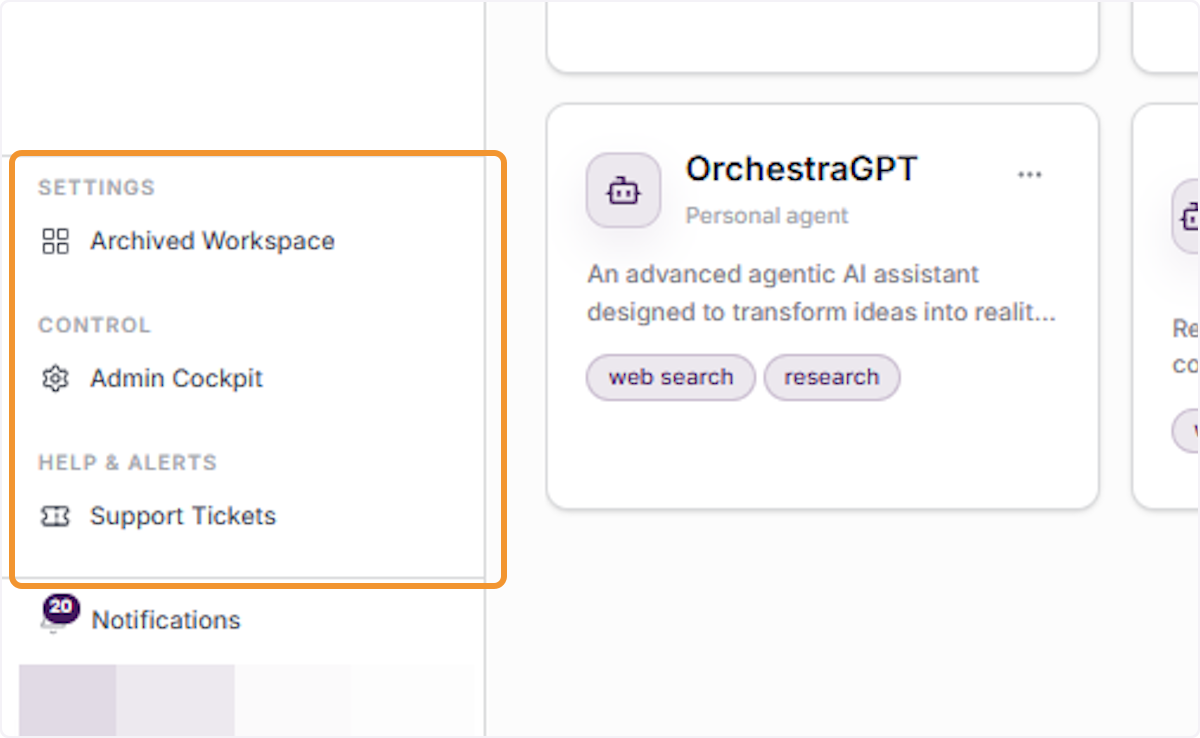
Scroll down the left navigation panel to locate the SETTINGS, CONTROL, and HELP & ALERTS sections. These sections provide access to advanced administrative and management options including Archived Workspace, Admin Cockpit, Support Tickets, Notifications, and your account profile. Click on the relevant option to navigate to that configuration area.
Open the Admin Cockpit
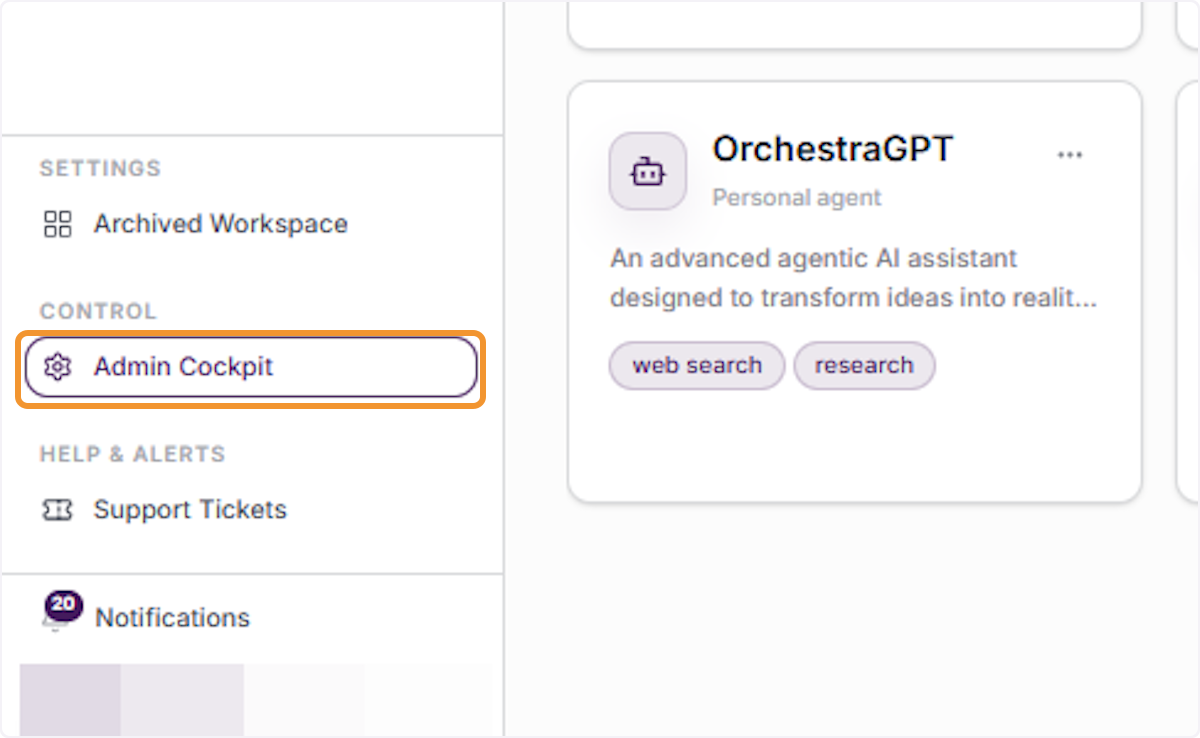
Click “Admin Cockpit” under the CONTROL section in the left navigation panel to access the organization-level administrative console. The Admin Cockpit provides platform administrators with centralized control over AI agents, workspaces, users, groups, access policies, integrations, audit logs, and billing — all from a single management interface.
View the Copilot Overview Dashboard
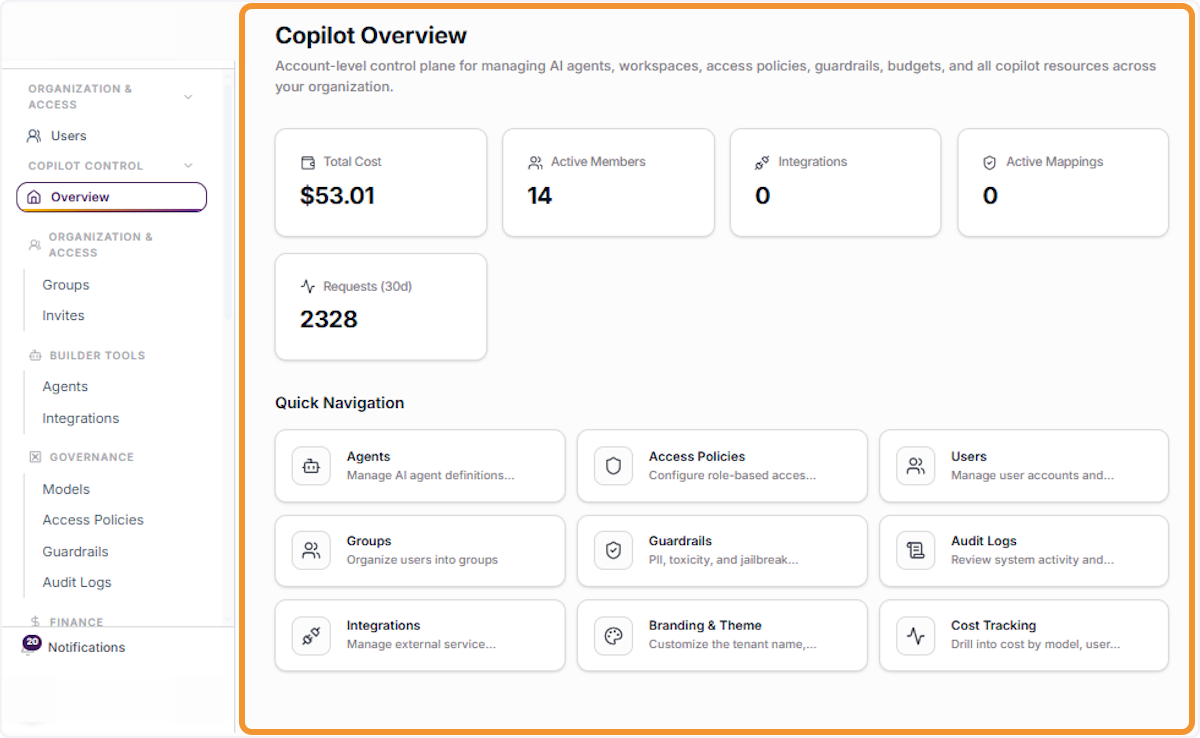
The Copilot Overview is the main summary dashboard within the Admin Cockpit. It provides a high-level snapshot of your organization’s usage and resources, displaying key metrics including Total Cost, Active Members, Integrations count, and Active Mappings. Quick Navigation tiles at the bottom provide direct links to Agents, Access Policies, Users, Groups, Guardrails, Audit Logs, Integrations, Branding, and more.