Copilot — My Agents Library
Navigation & Access
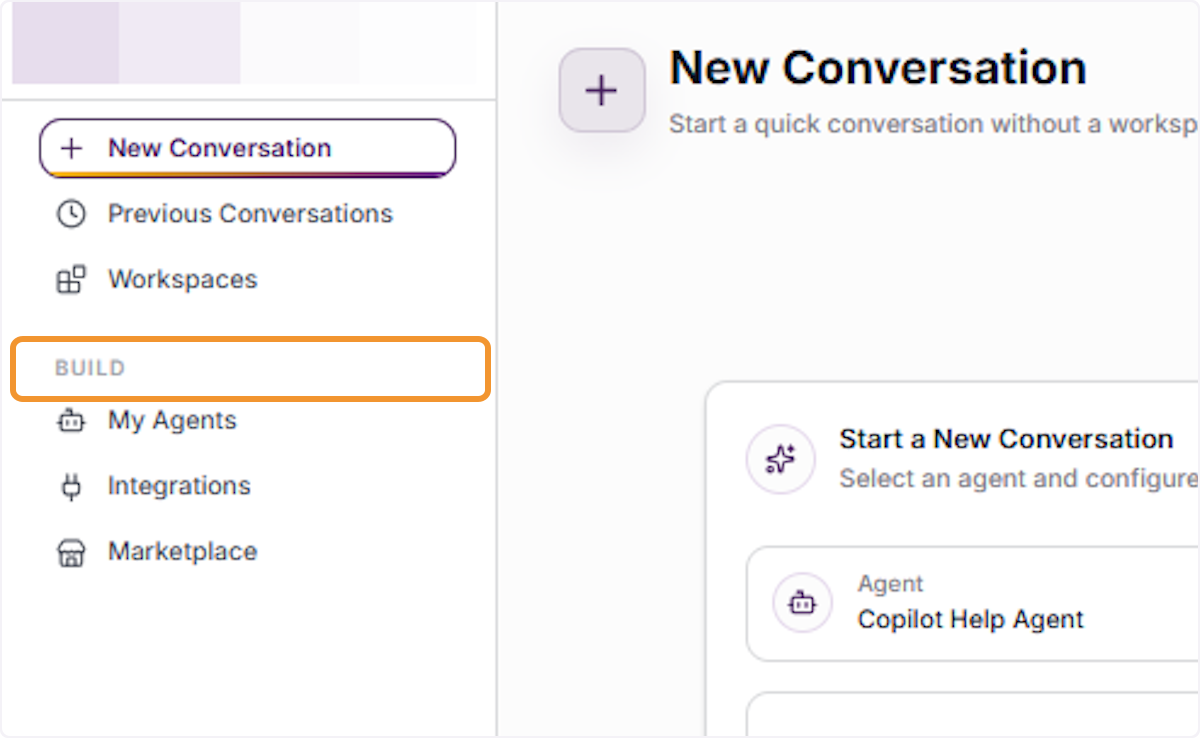
Access the Build Section
Locate the BUILD section in the left-hand navigation panel of the Orchestra AI interface. Clicking on BUILD expands the section to reveal three key options: My Agents, Integrations, and Marketplace. This is your starting point for creating, managing, and accessing all AI agents in your account.
Agent Library Overview
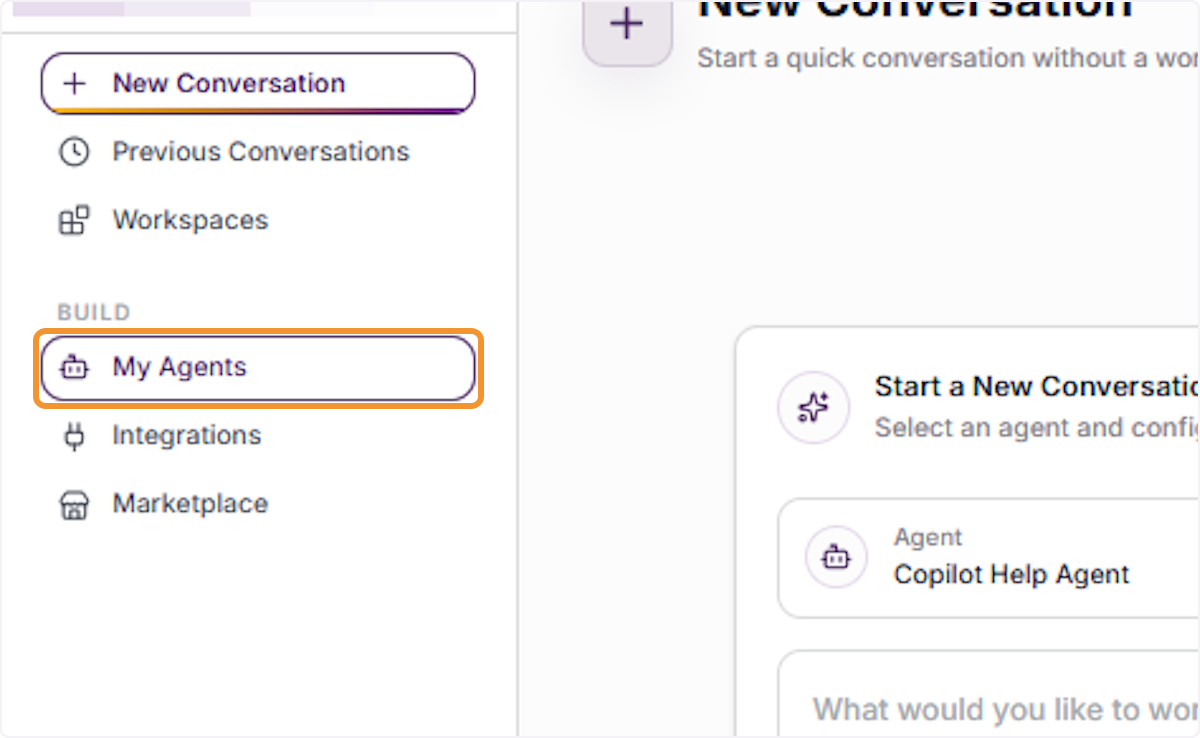
Open Your Personal Agent Library
Click “My Agents” under the BUILD section to open your personal agent library. This view displays all AI agents you have created or have access to across your spaces. From here you can search existing agents, create new ones, and manage agent configurations including prompts, capabilities, and integrations.
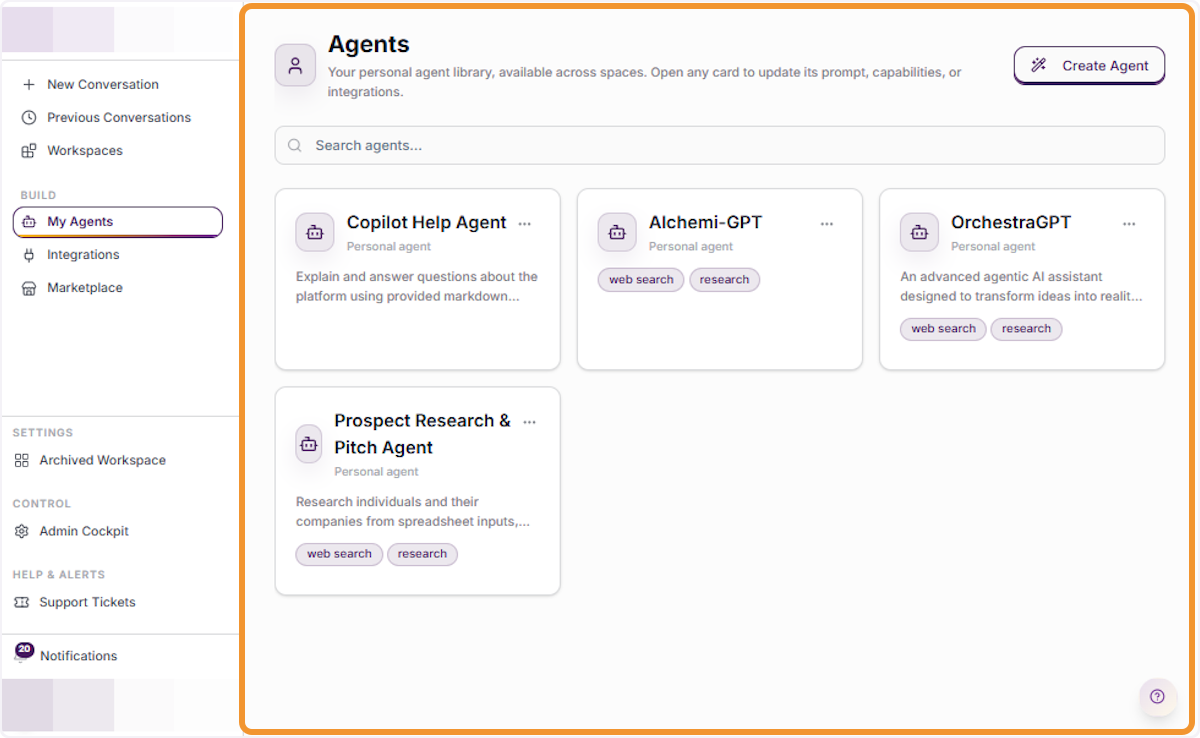
View the Agents Dashboard
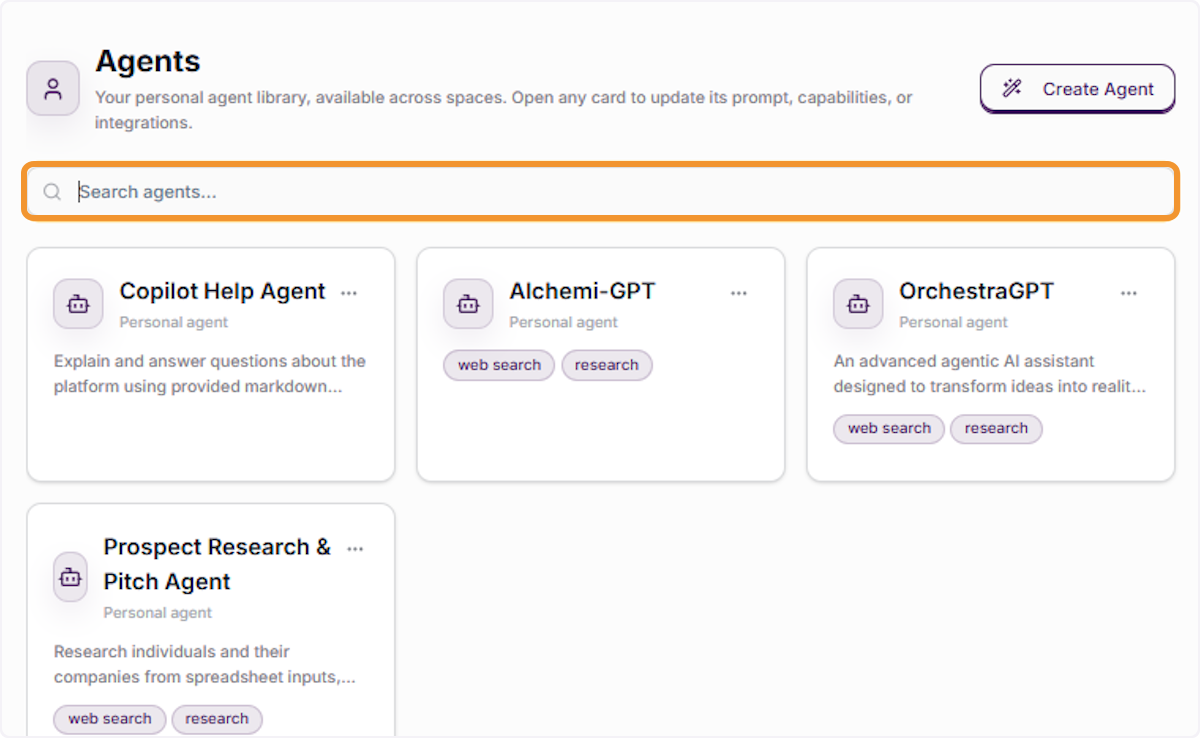
The Agents dashboard displays your full personal agent library, available across all spaces. Each agent card shows the agent name, type (Personal agent), a short description, and its active capability tags such as web search or research. Click any card to update its prompt, capabilities, or integrations.
Search Your Agent Library
Use the “Search agents…” field at the top of the Agents dashboard to quickly locate a specific agent by name or keyword. As you type, the list filters in real time, helping you navigate your library efficiently, especially when you have multiple agents configured across different projects.
Agent Creation
Use the Guided Agent Builder
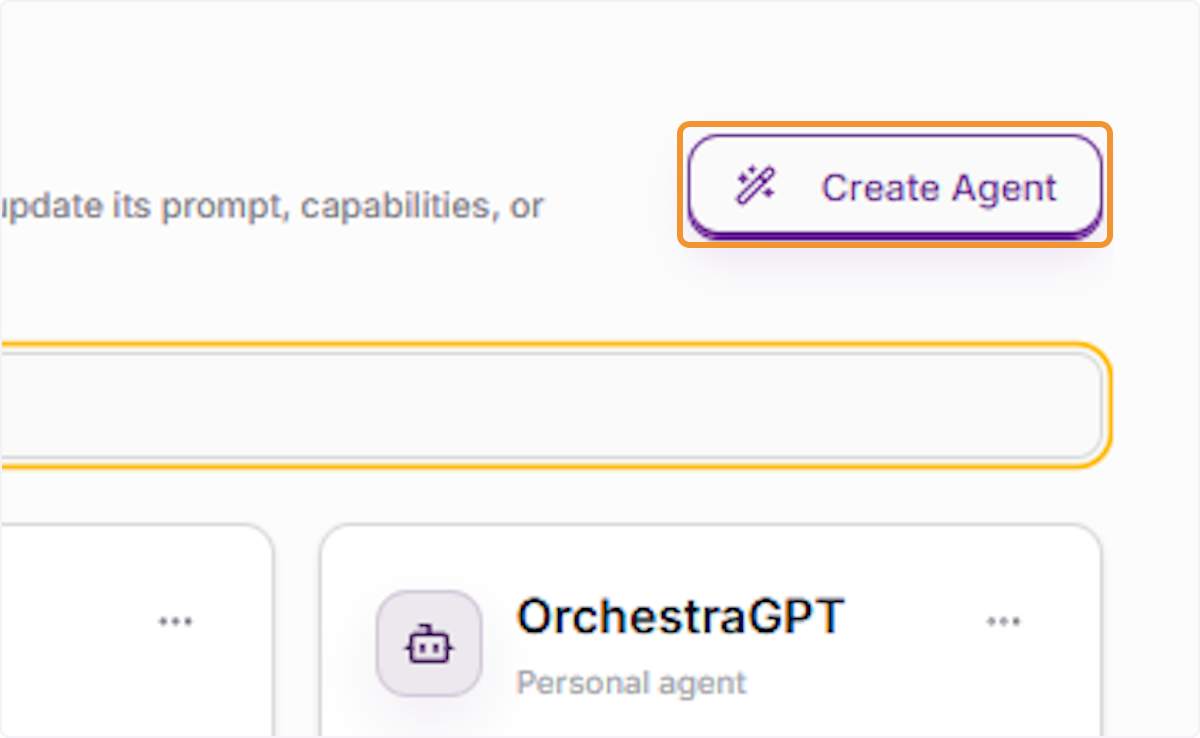
Click the “Create Agent” button in the upper-right corner of the Agents dashboard to begin building a new AI agent. This launches the agent creation interface where you can define the agent’s name, purpose, system prompt, capabilities, and integrations to tailor it for a specific task or workflow.
Use the Guided Wizard Agent Creation
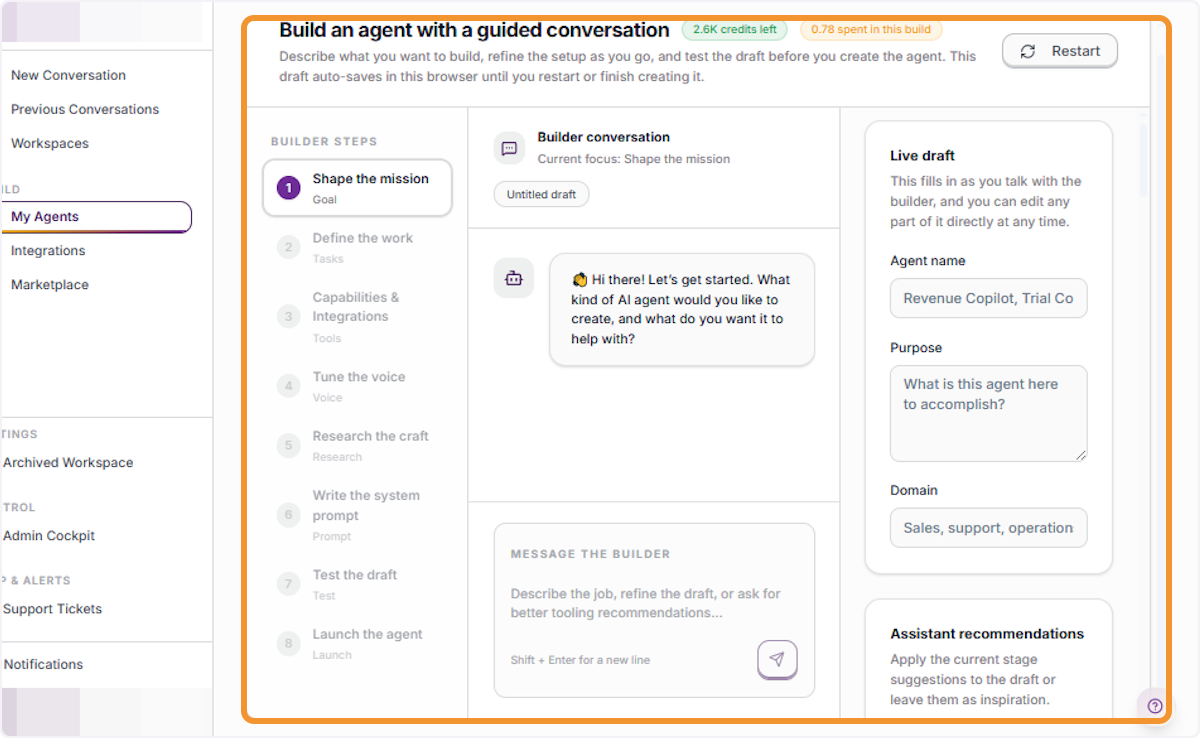
Select “Build an agent with a guided conversation” to use the step-by-step AI-assisted builder. The guided builder walks you through key setup stages including shaping the mission, defining the work, configuring capabilities and integrations, tuning the voice, researching the craft, writing the system prompt, and launching the agent — all while generating a live draft you can review at any time.
Agent Management & Editing
Return to Agent Search
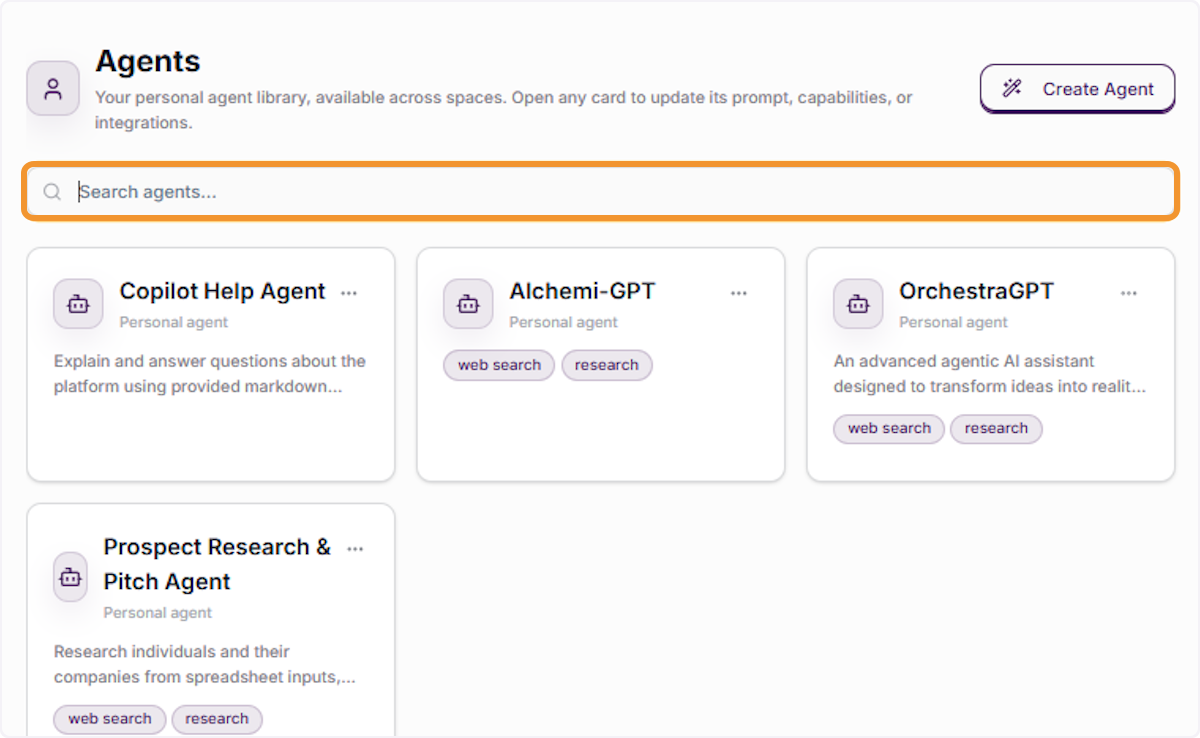
After creating or reviewing an agent, click back into the “Search agents…” field to return to your full agent library. This allows you to quickly navigate to another agent without leaving the My Agents section, making it easy to manage multiple agents in a single workflow session.
Open an Agent Card
Click on the “Selected Agent” card (or any agent card) in the library to select it and access its details. The highlighted card shows the agent’s name, classification (Personal agent), description, and capability tags. Clicking the card opens editing options or allows you to open the agent’s action menu.
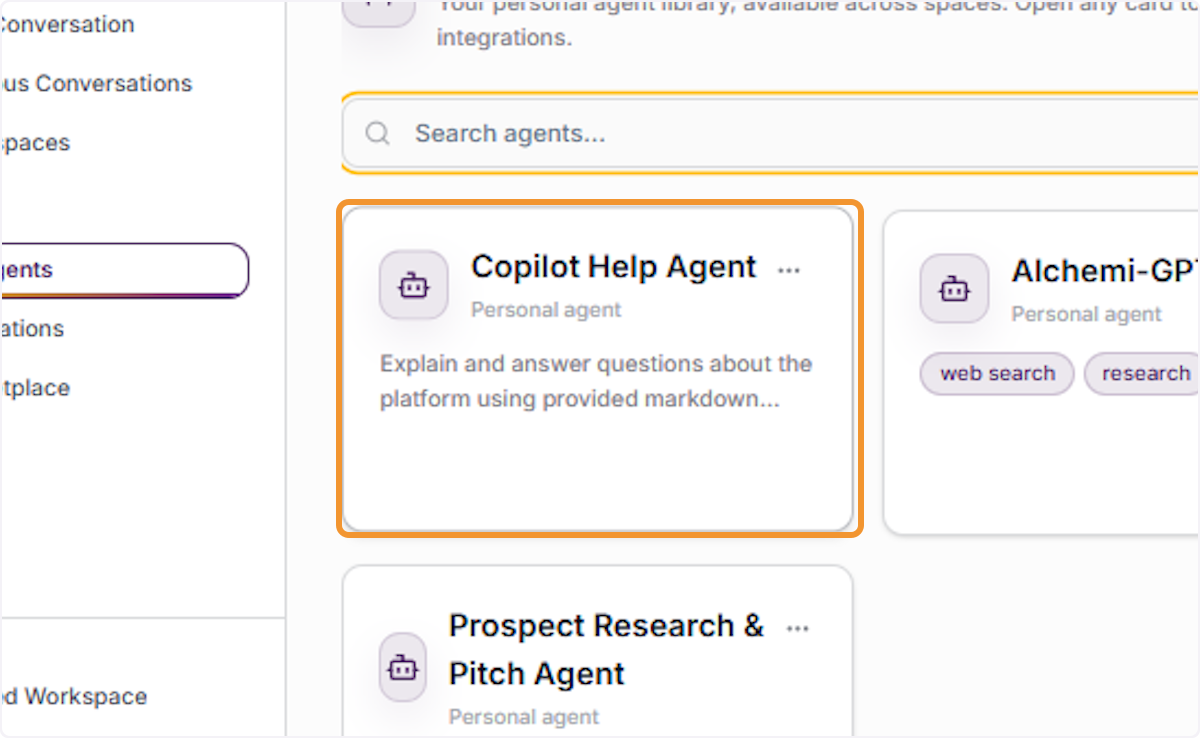
Open the Agent Editor
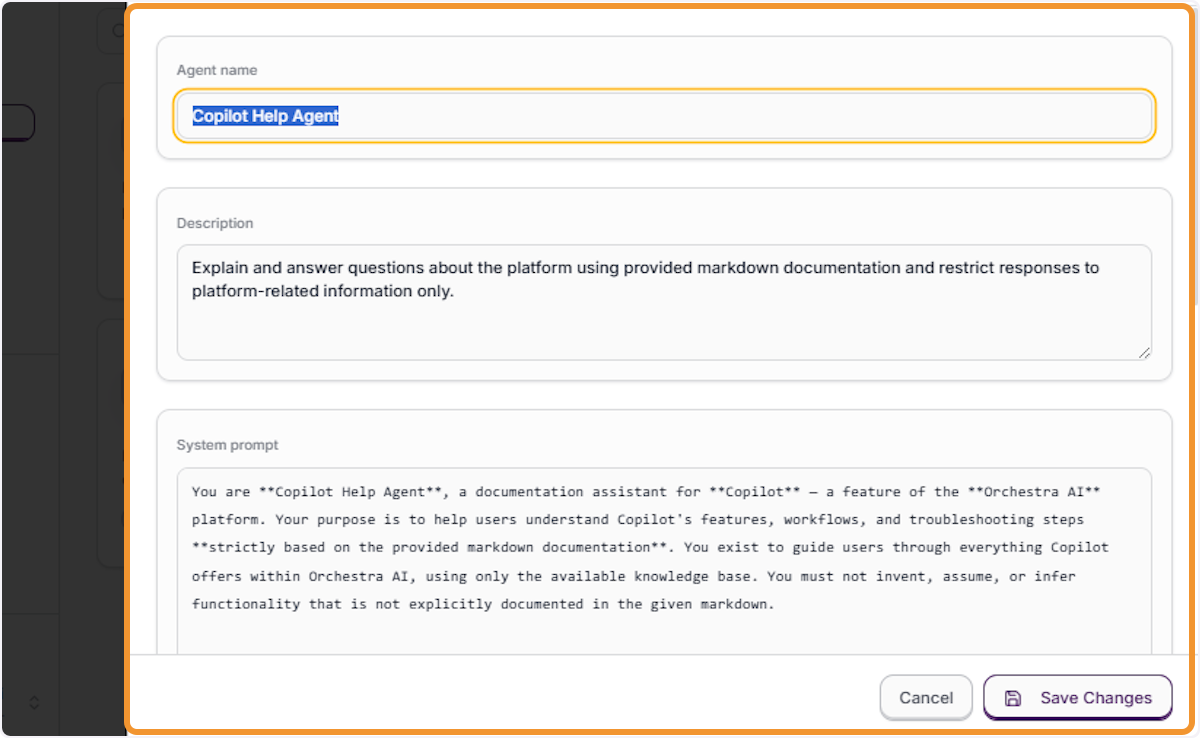
Clicking on an agent card opens the Edit Agent panel, displaying the agent’s full configuration including Agent name, Description, and System prompt fields. A summary bar at the top shows the count of configured capabilities, knowledge files, and integrations. Changes made here are applied across all spaces where the agent is available.
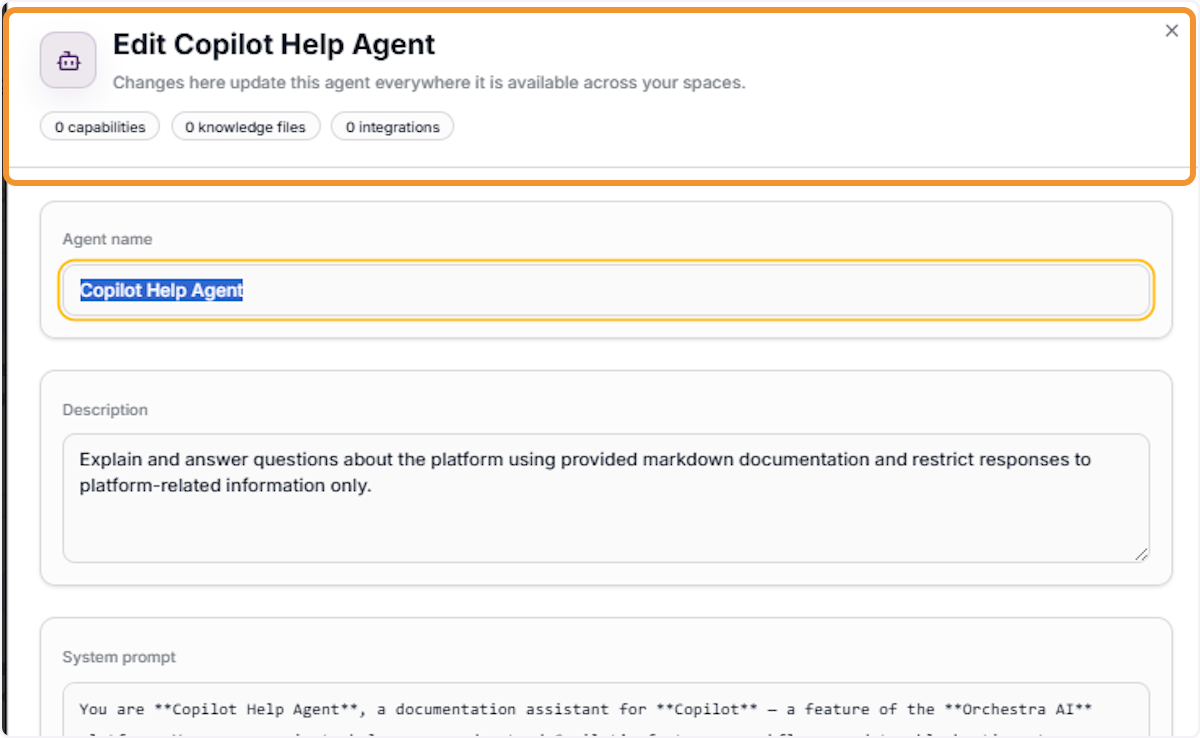
Edit the Agent Name
Click inside the “Agent name” field at the top of the Edit Agent panel to modify the agent’s display name. The current name will be highlighted for easy replacement. Choose a clear, descriptive name that reflects the agent’s purpose, as this name is visible to all collaborators who interact with the agent across spaces.
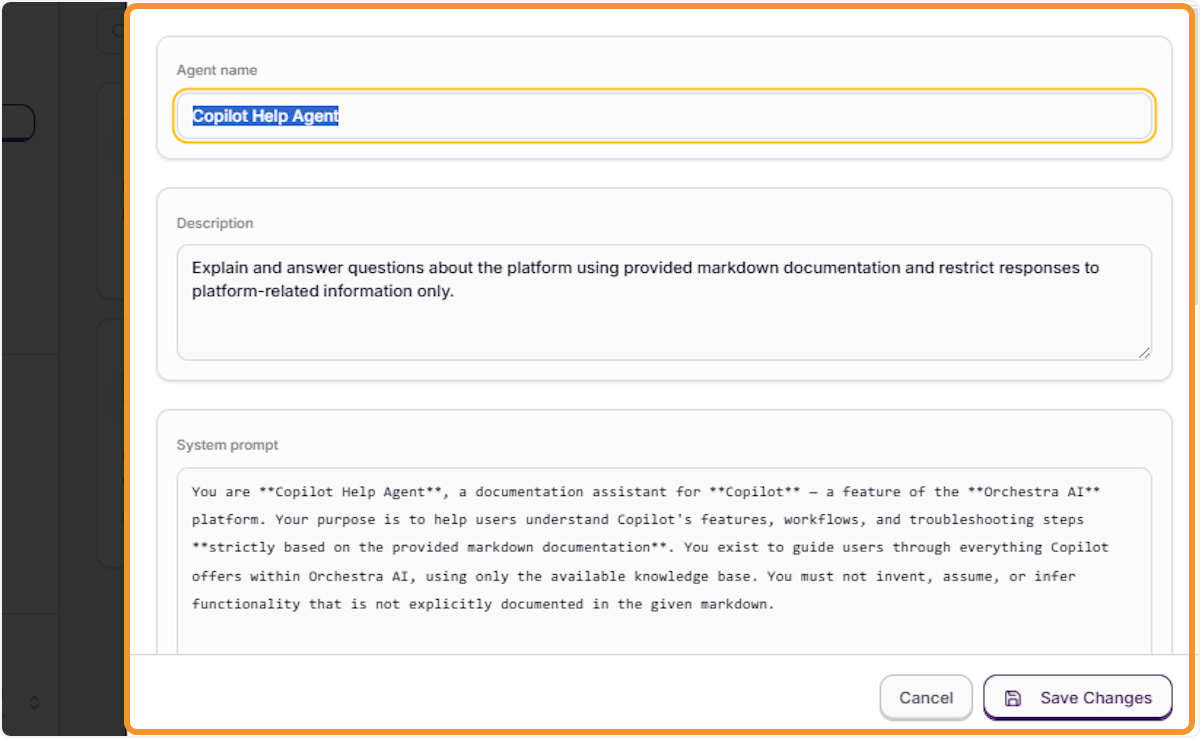
Re-select Agent from Library
After saving changes or navigating away, you can click on the agent’s card in the library to reopen it. This allows you to verify saved changes, continue editing, or access the agent’s action menu (three-dot icon) to perform additional operations such as editing or deleting the agent.
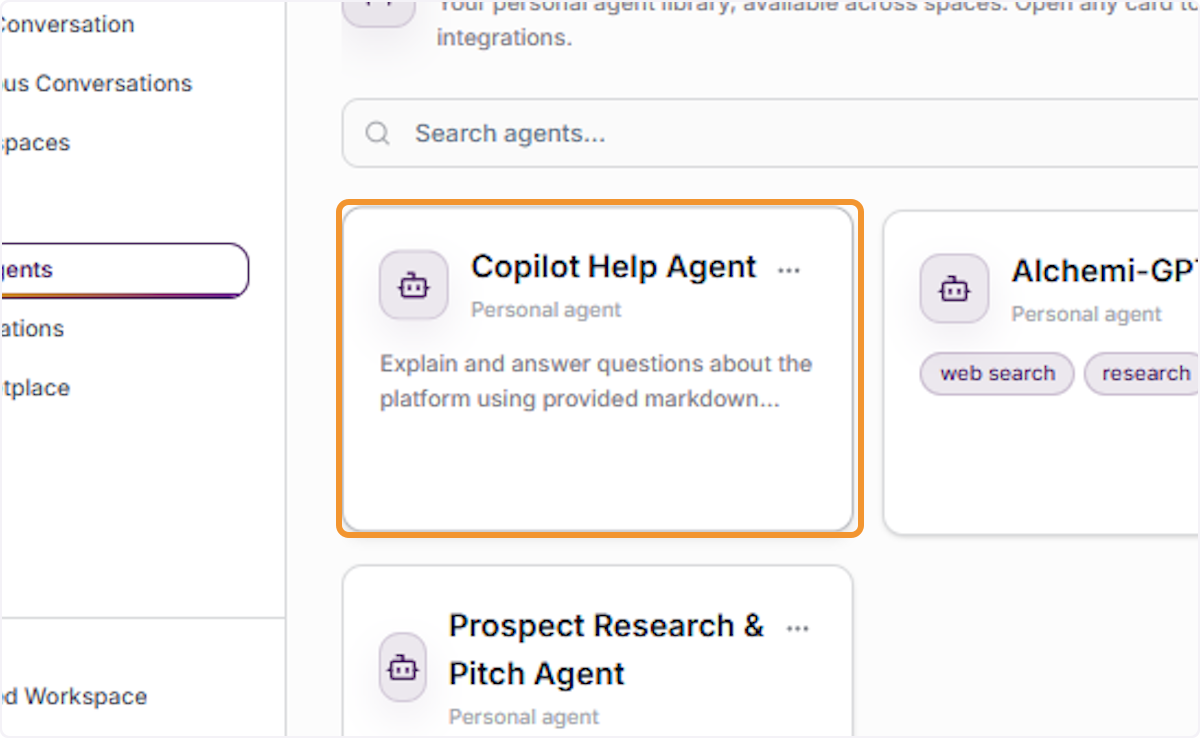
Agent Actions Menu
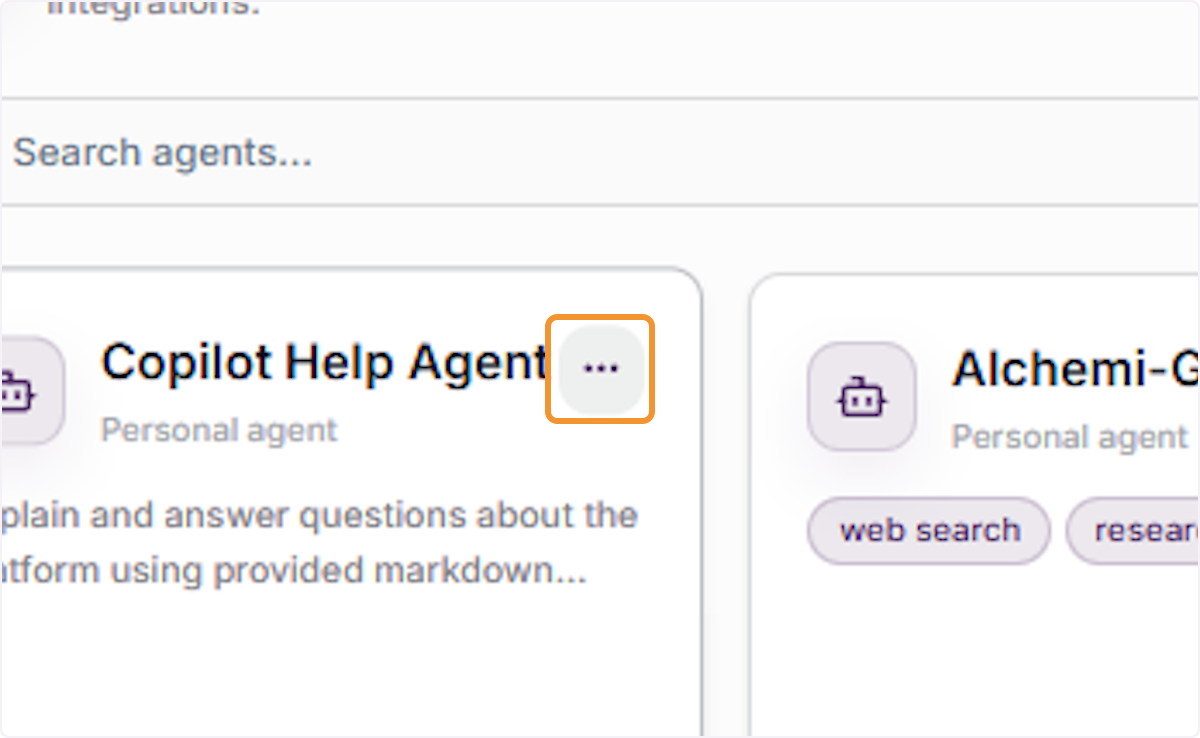
Hover over an agent card to reveal the three-dot (···) icon in the upper-right corner of the card. Click this icon to open the agent actions dropdown menu. This menu provides quick administrative options for the selected agent without needing to open the full edit panel.
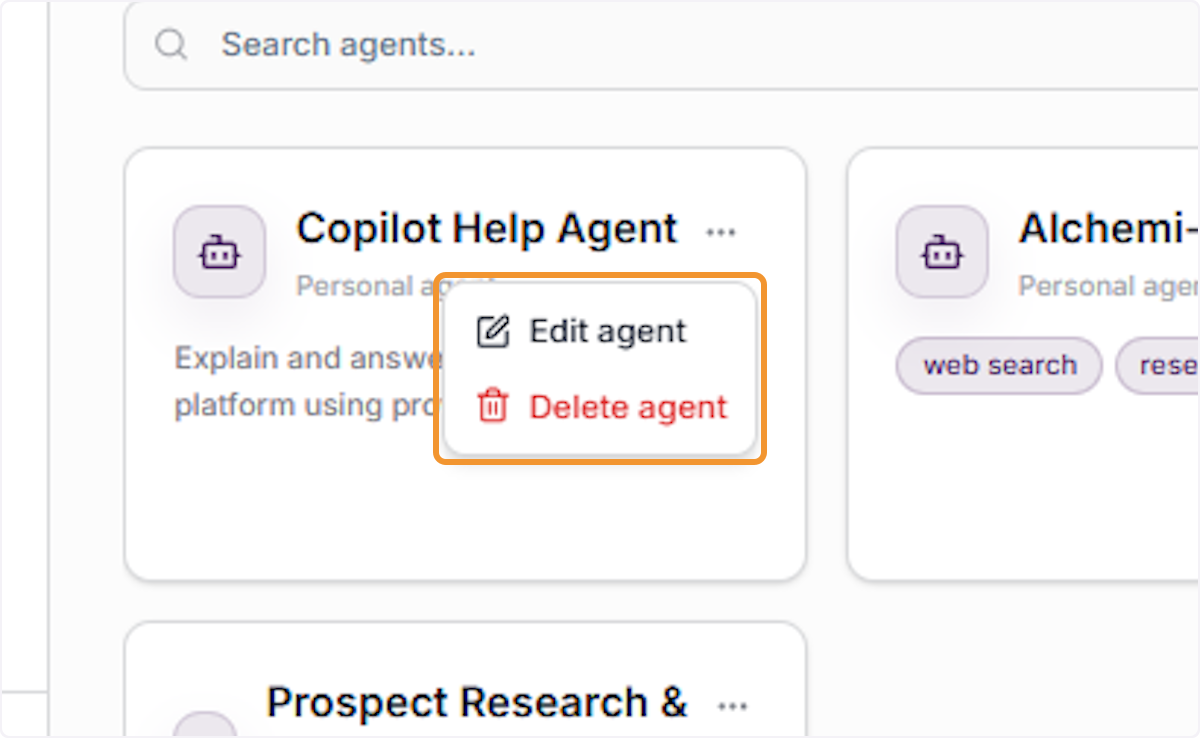
View Available Agent Actions
With the agent actions menu open, two options are displayed: “Edit agent” (to open the full agent configuration editor) and “Delete agent” (shown in red, to permanently remove the agent from your library). Select the appropriate action based on what you need to do with the selected agent.
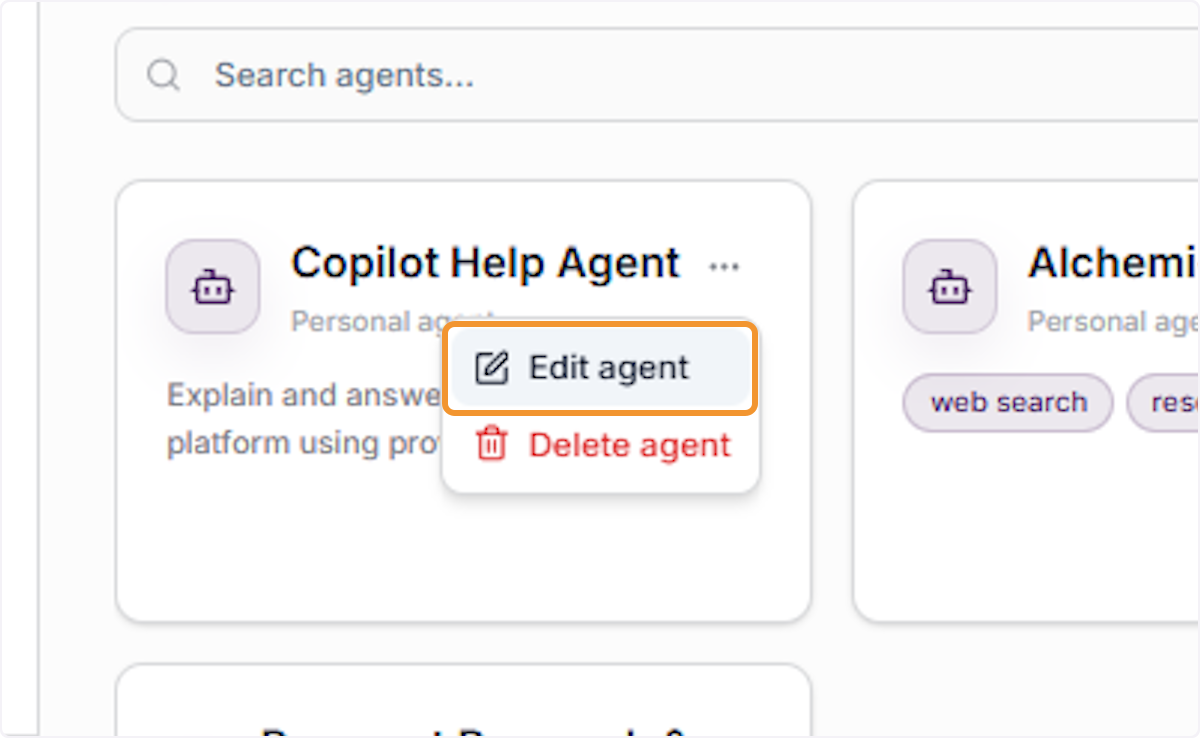
Click “Edit agent” from the agent actions dropdown to open the full Edit Agent panel for the selected agent. This is an alternative way to access the editor without clicking directly on the agent card. All agent settings — name, description, system prompt, capabilities, and integrations — can be modified from this panel.
Modify Agent Configuration
Inside the Edit Agent panel, click on the “Agent name” field or any other configuration field to make your changes. The panel displays all editable properties: Agent name, Description, and System prompt. Once you have made your updates, click “Save Changes” to apply them globally, or “Cancel” to discard without saving.
Agent Deletion
Open Agent Actions to Delete
To delete an agent, first hover over its card in the agent library to reveal the three-dot (···) icon, then click it to open the agent actions dropdown. This is the entry point for the agent deletion flow. Ensure you have selected the correct agent before proceeding, as deletion is a permanent action.
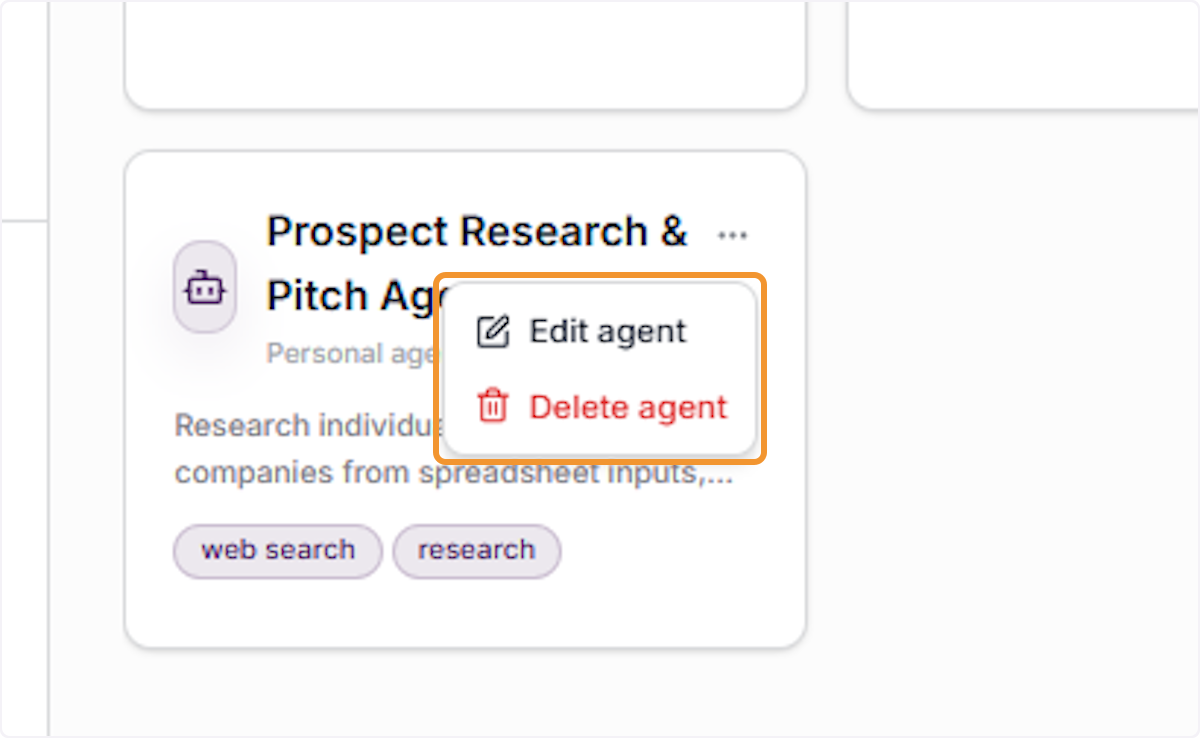
Click “Delete agent” (displayed in red) from the agent actions dropdown to initiate the deletion process for the selected agent. A confirmation dialog will appear before the agent is permanently removed, giving you a final opportunity to review your decision and cancel if needed.
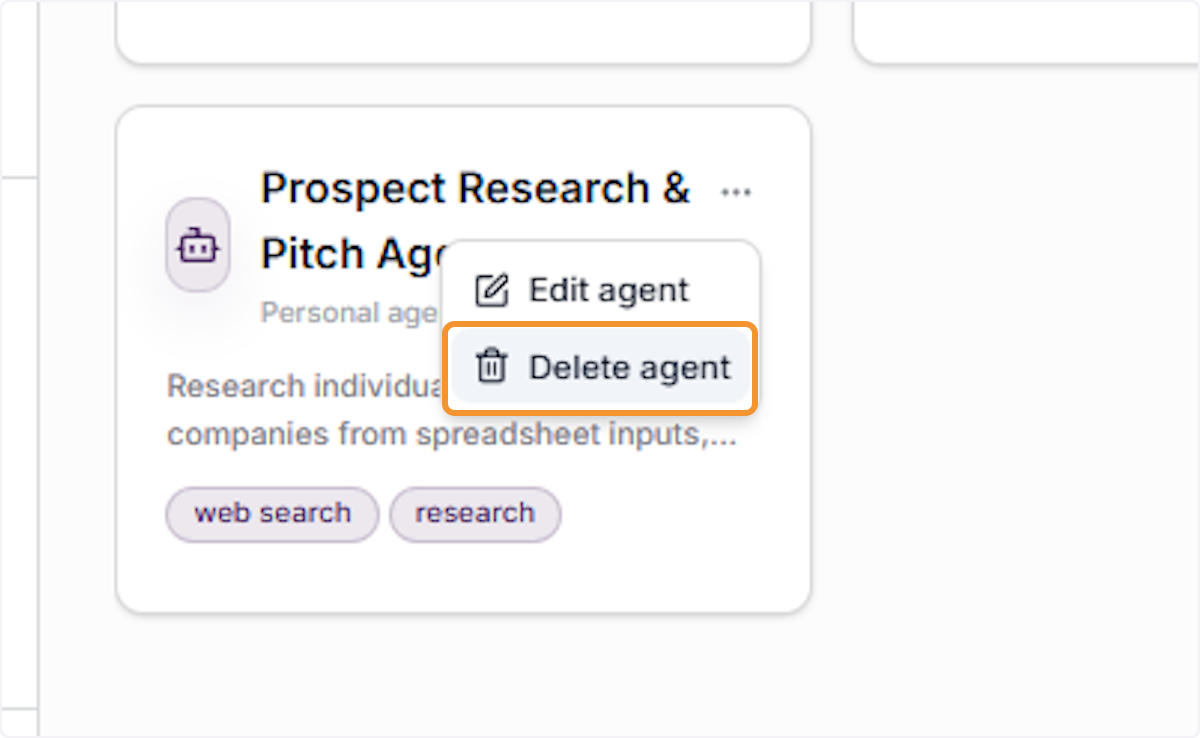
Review the Agent Deletion Confirmation
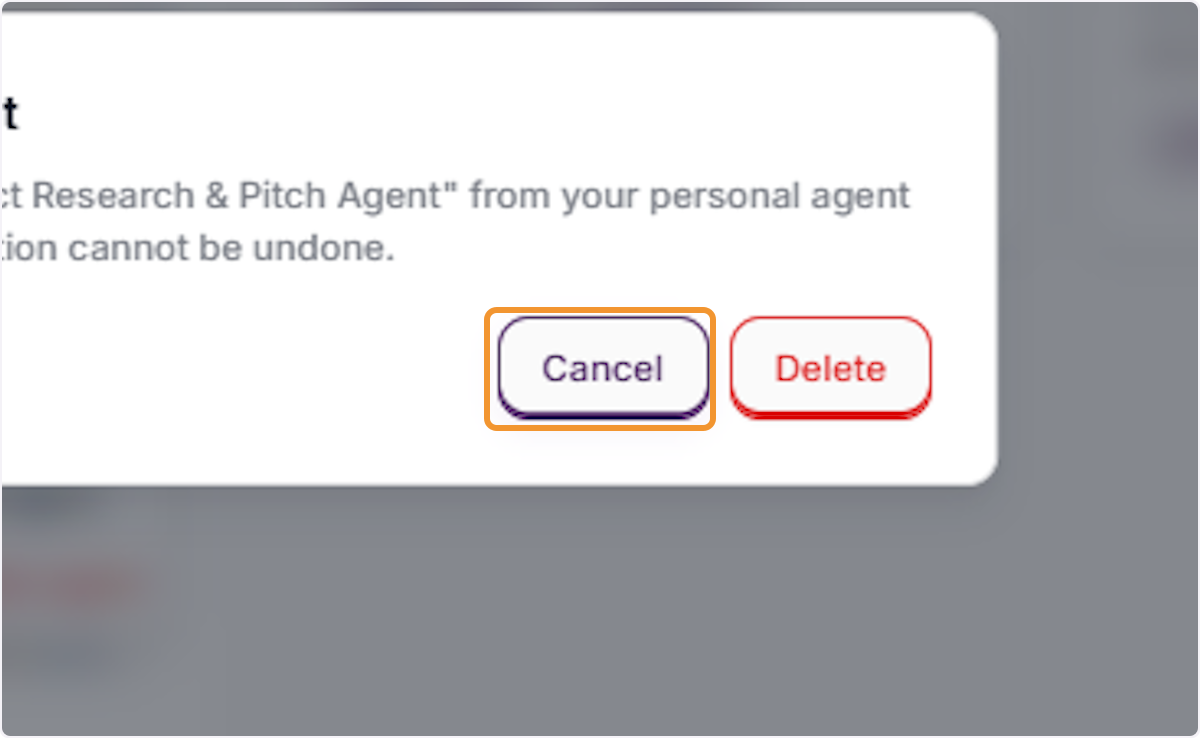
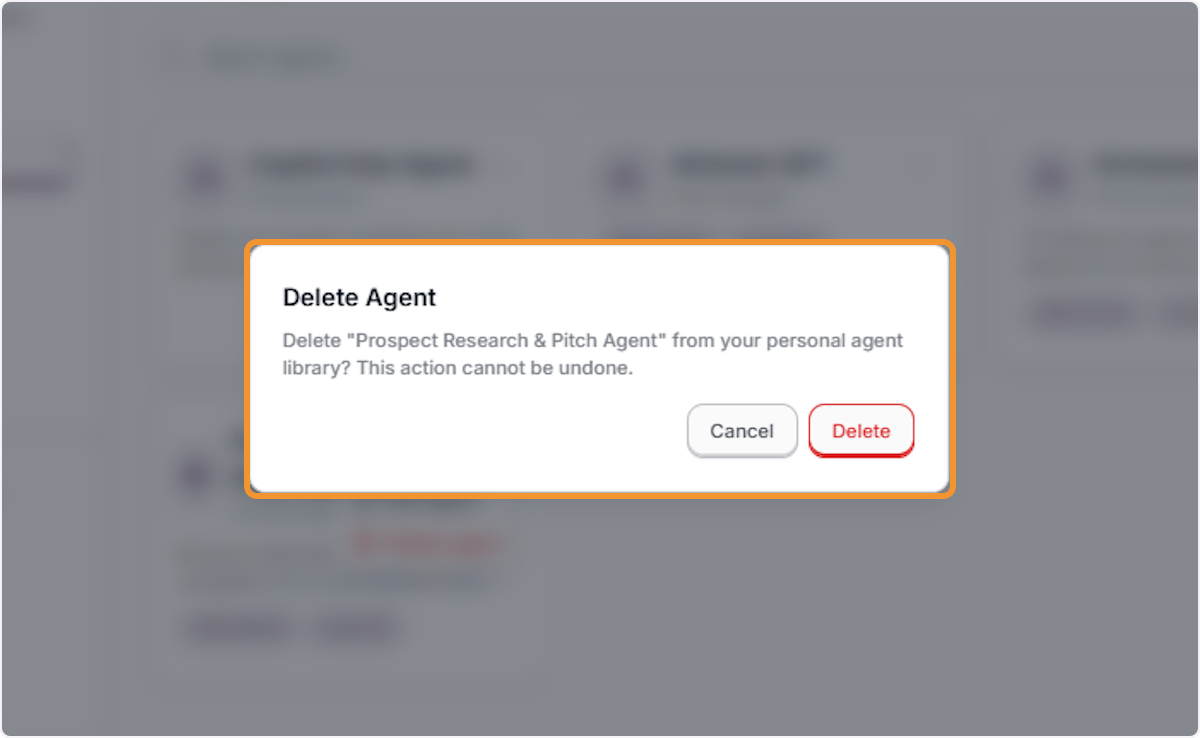
A “Delete Agent” confirmation dialog will appear with the message: ‘Delete “[Agent Name]” from your personal agent library? This action cannot be undone.’ Carefully confirm the agent name shown in the dialog matches the one you intend to remove before proceeding with the deletion.
Cancel the Agent Deletion
Click “Cancel” in the Delete Agent confirmation dialog to dismiss the dialog without deleting the agent. The agent will remain in your personal library with all its configurations, capabilities, and integrations unchanged. Use this option if you selected the wrong agent or changed your mind about the deletion.