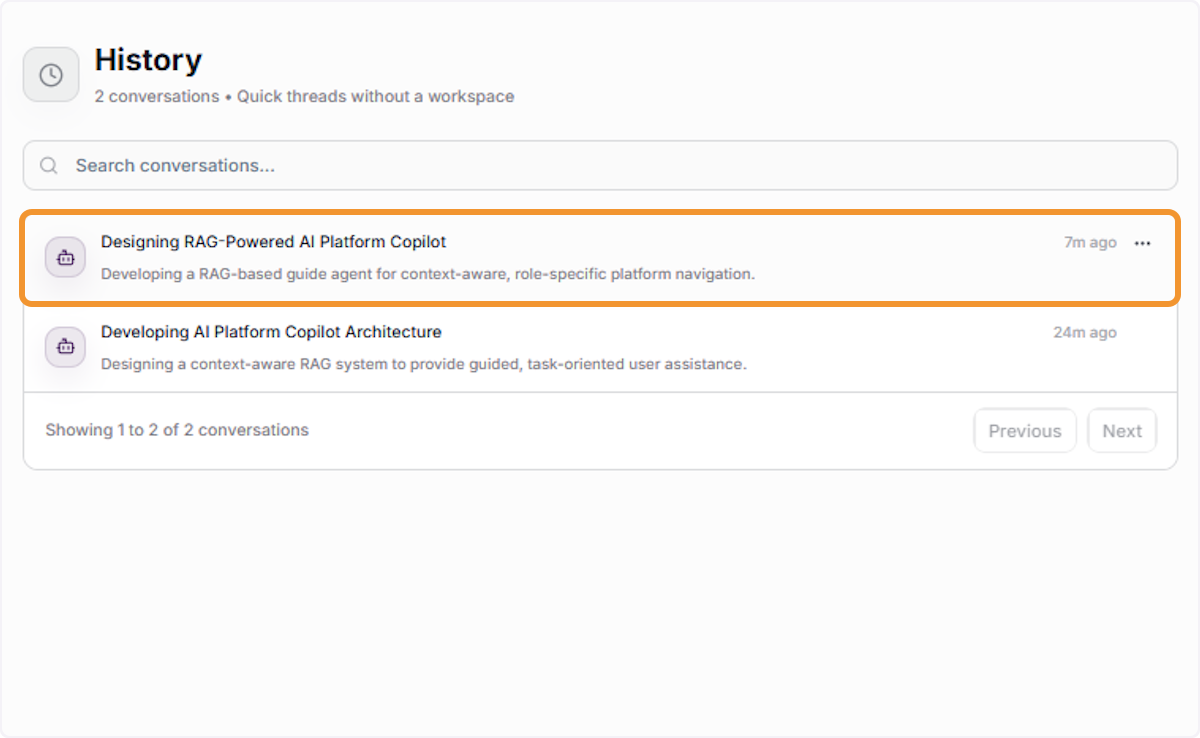
New Conversation & Independent Thread
Managing Connections and Credits
Start a New Conversation
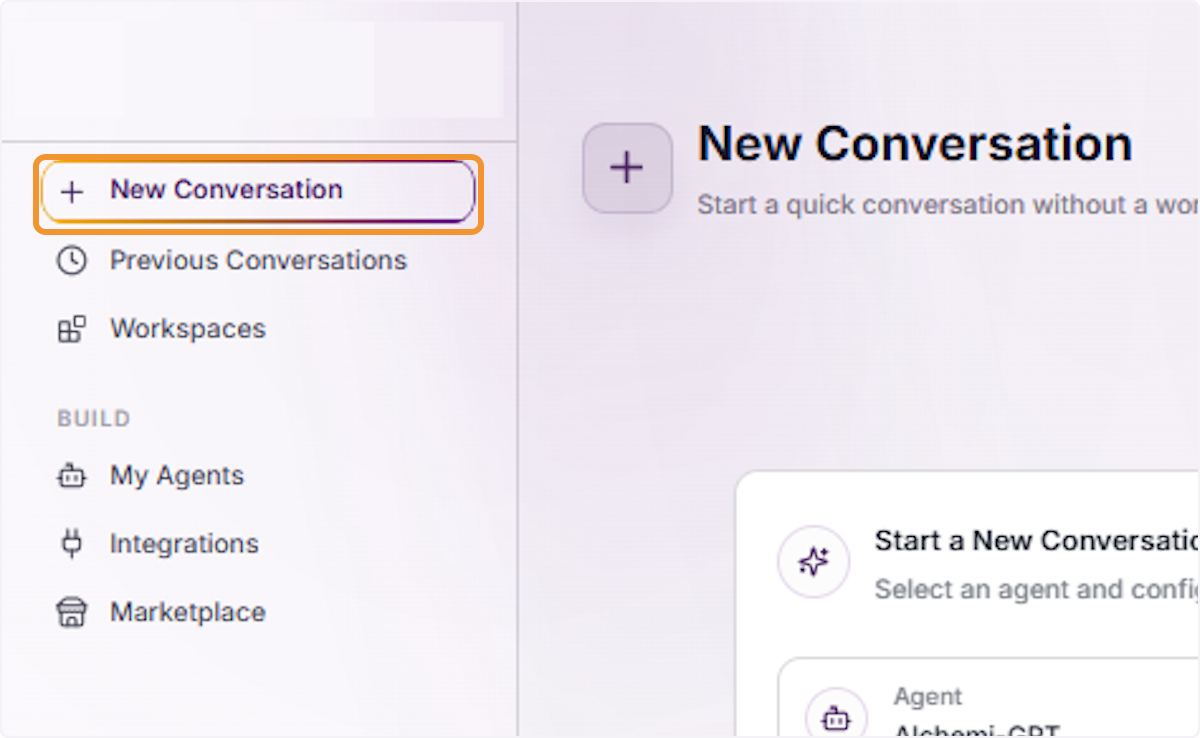
Launch a fresh AI session by clicking “New Conversation” from the main navigation panel to begin interacting with your preferred agent.
Initiate a New Thread
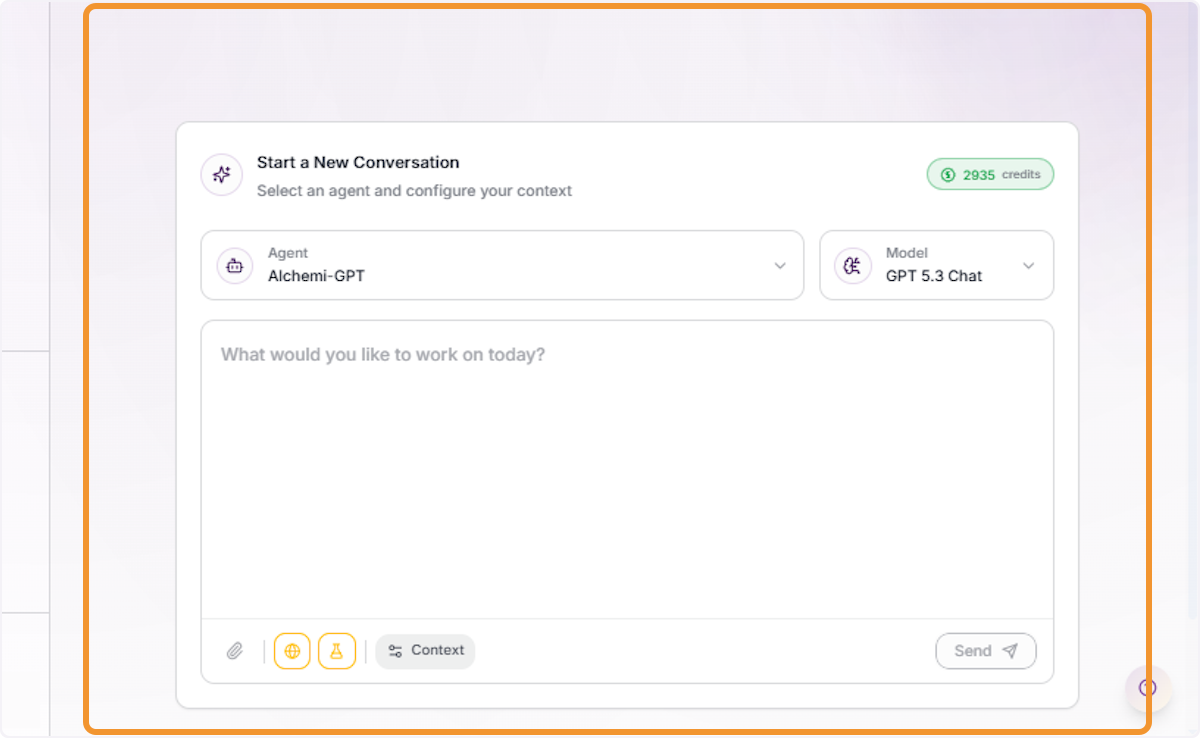
Select “Start a New Conversation” to configure a new independent thread with a specific agent and model of your choice.
Open the Agent Selector
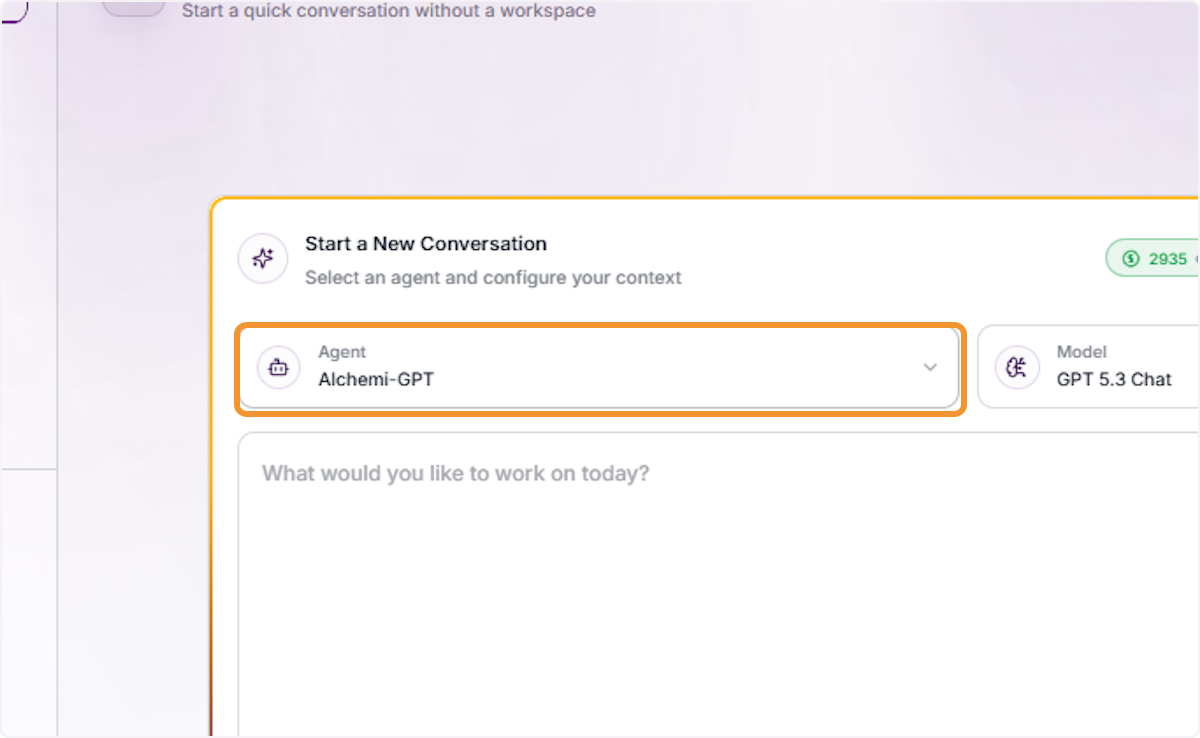
Click the Agent dropdown in the new conversation panel to view and select from the list of available agents configured for your account.
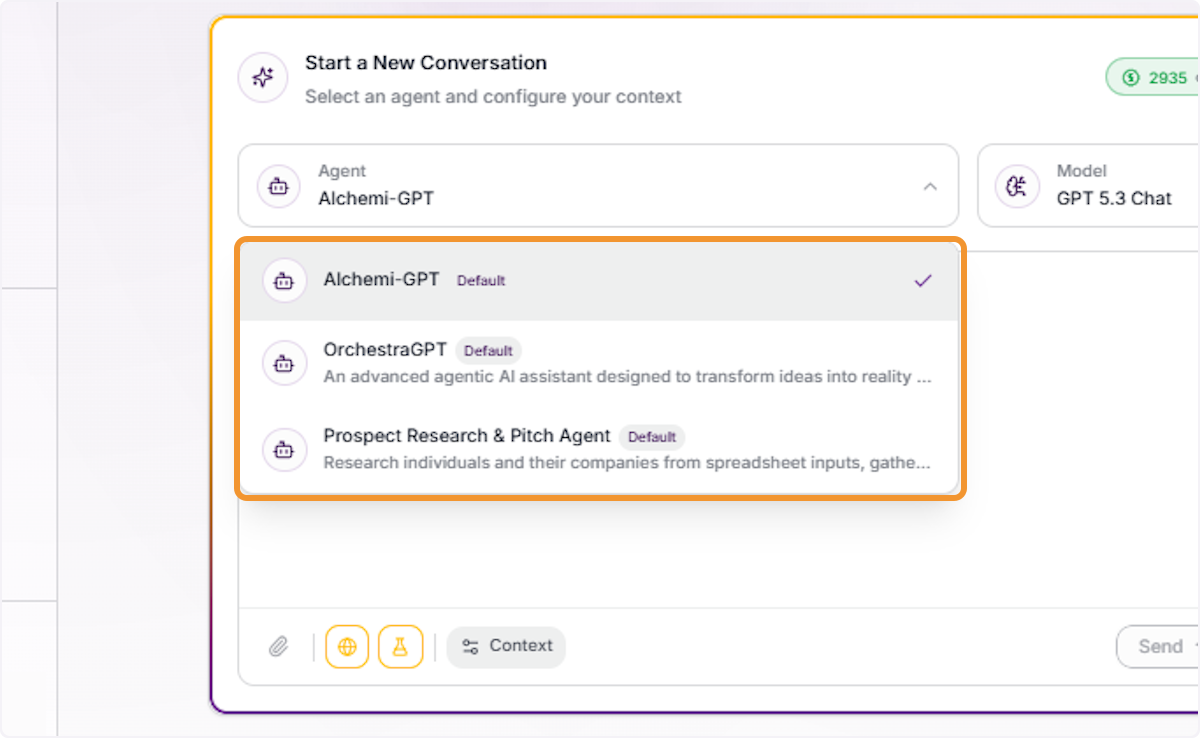
Browse Available Agents
The agent dropdown displays all available agents, like Alchemi-GPT, OrchestraGPT, and Prospect Research & Pitch Agent. Select the agent best suited for your current task.
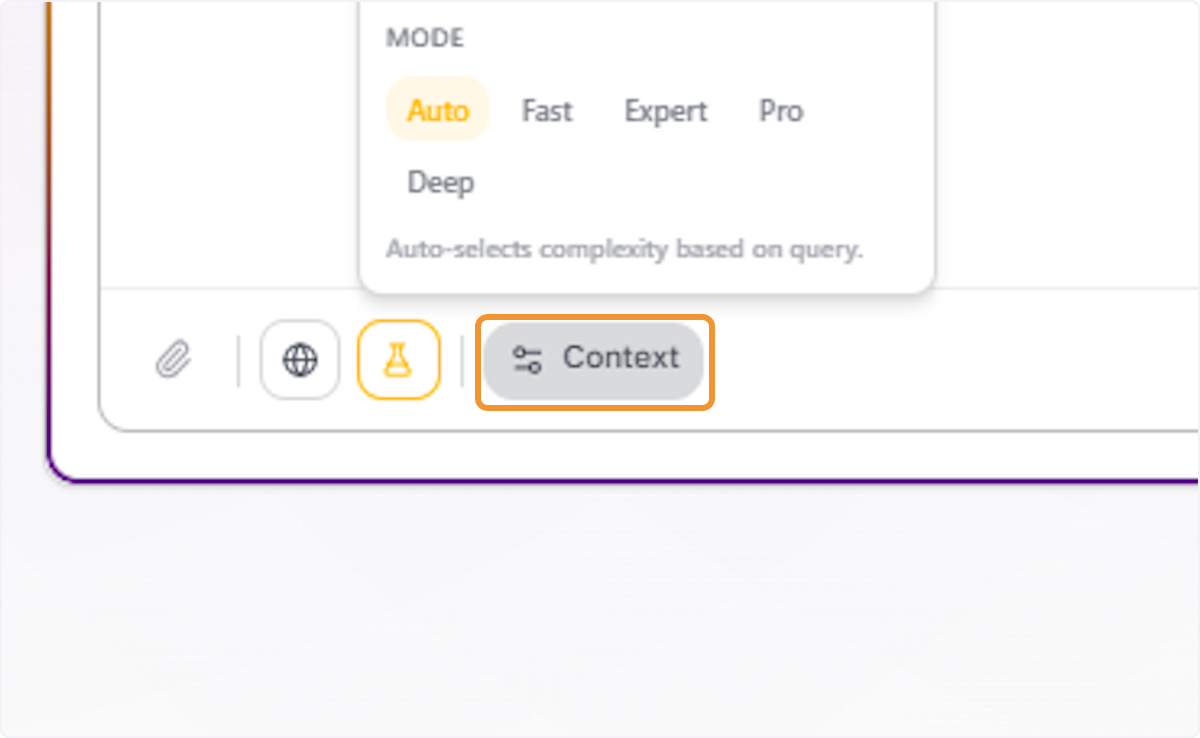
View Research Mode Options
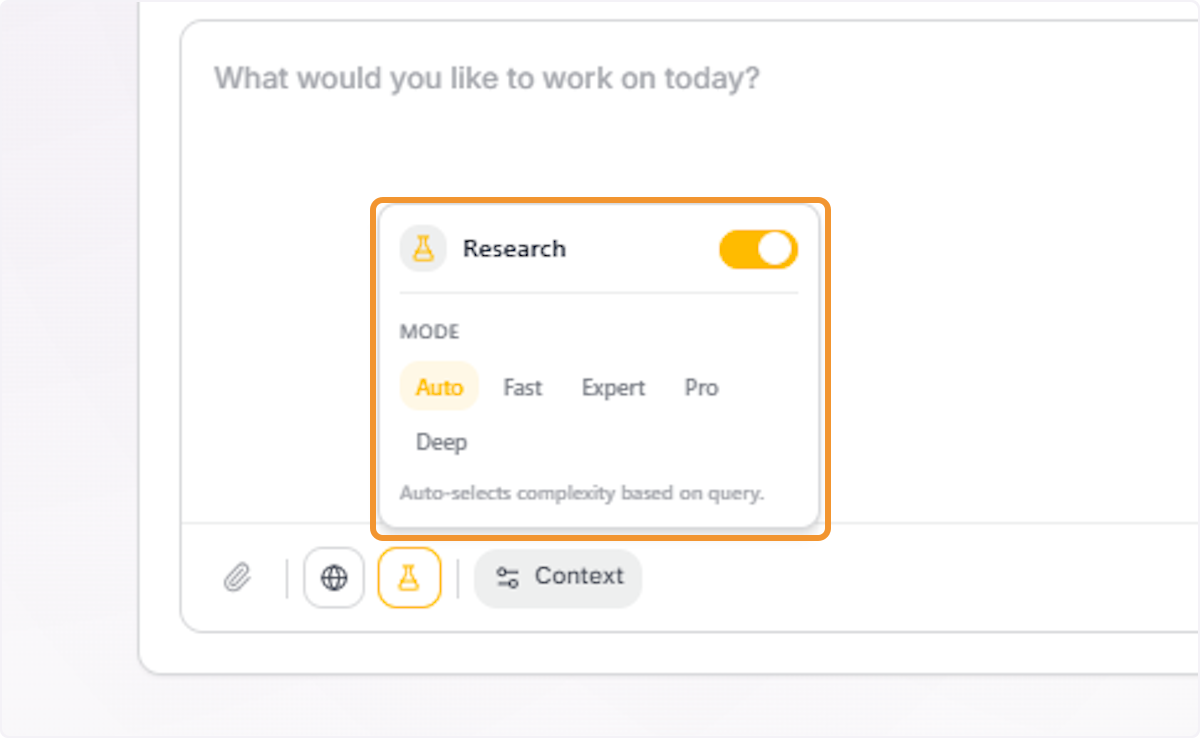
Click on the Research toggle to view the available research mode options — Auto, Fast, Expert, Pro, and Deep — which control how the agent approaches query complexity.
Open the Model Selector
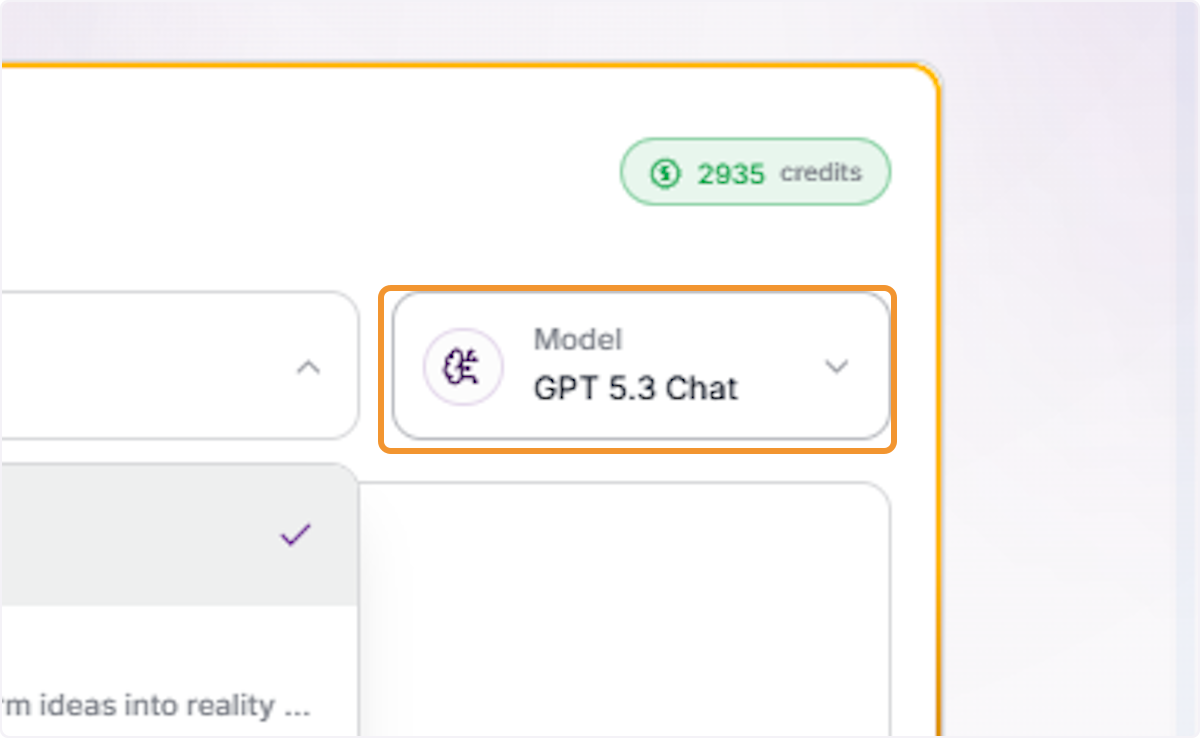
Click the Model dropdown to view and change the AI model assigned to this conversation thread before sending your first message.
Browse Available Models by Provider
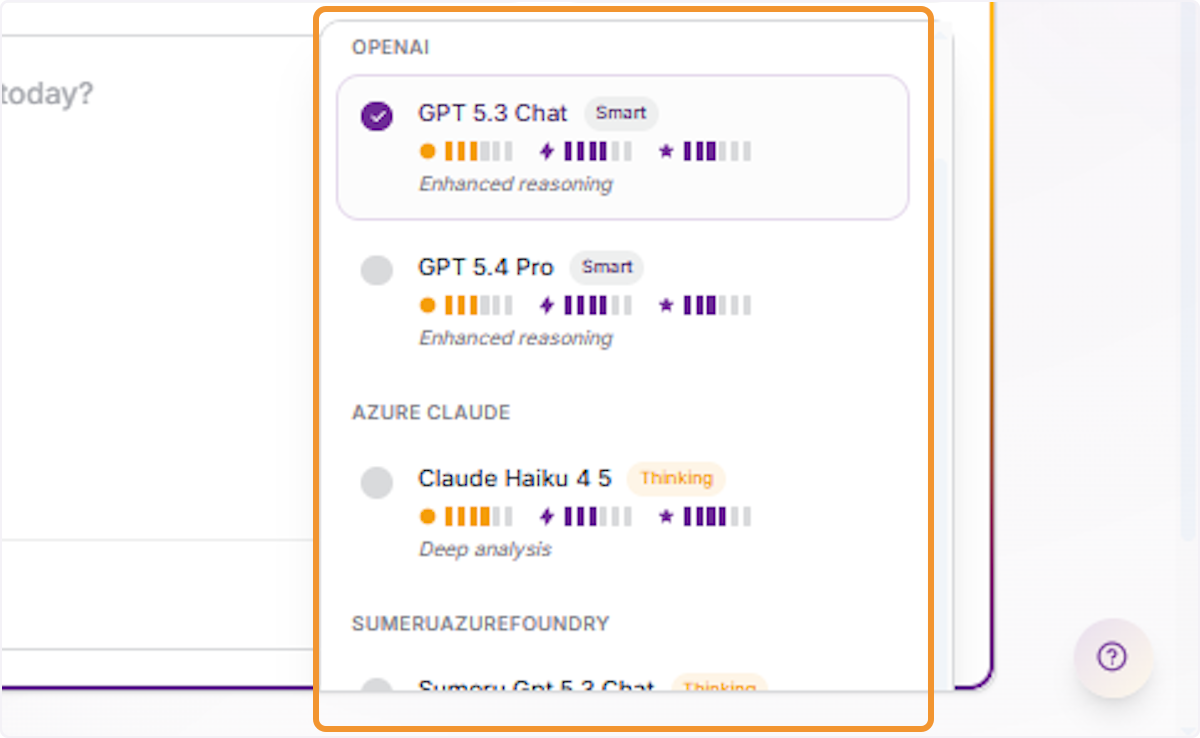
The model dropdown displays available models grouped by provider, like OpenAI, Azure Claude etc. Select the model that best fits your use case.
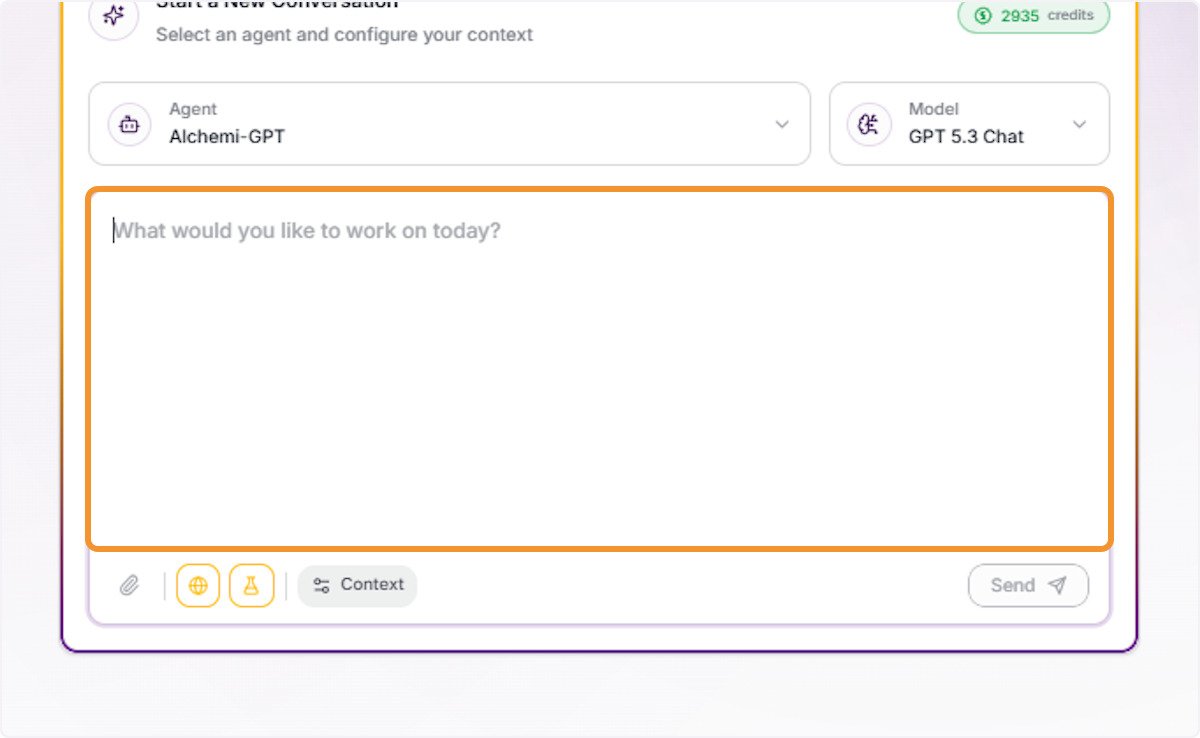
Enter Your Prompt
Click inside the “What would you like to work on today?” text area to focus the input field and begin typing your query or task description.
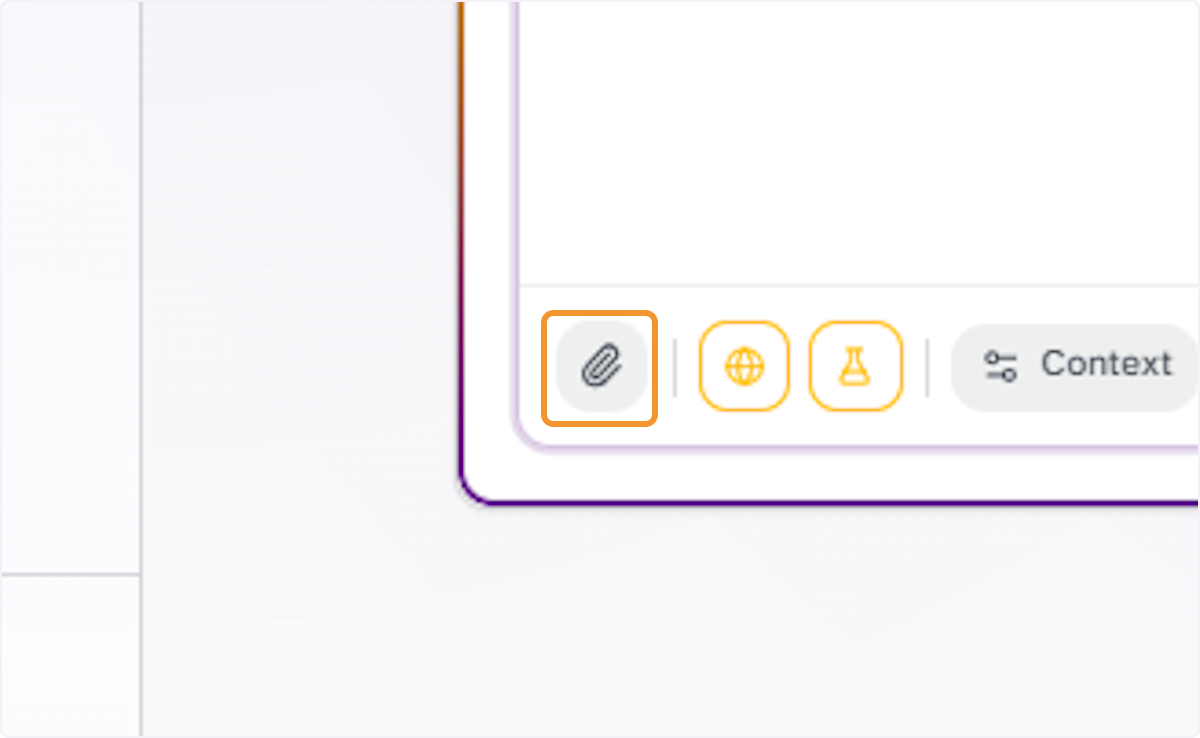
Attach Files to the Conversation
Click the Attach Files (paperclip) icon in the conversation toolbar to upload documents or files that the agent should reference or process during the conversation.
Open the Context Panel
Click the Context button in the toolbar to open the context configuration panel, where you can set the research mode and review active context settings for the current thread.
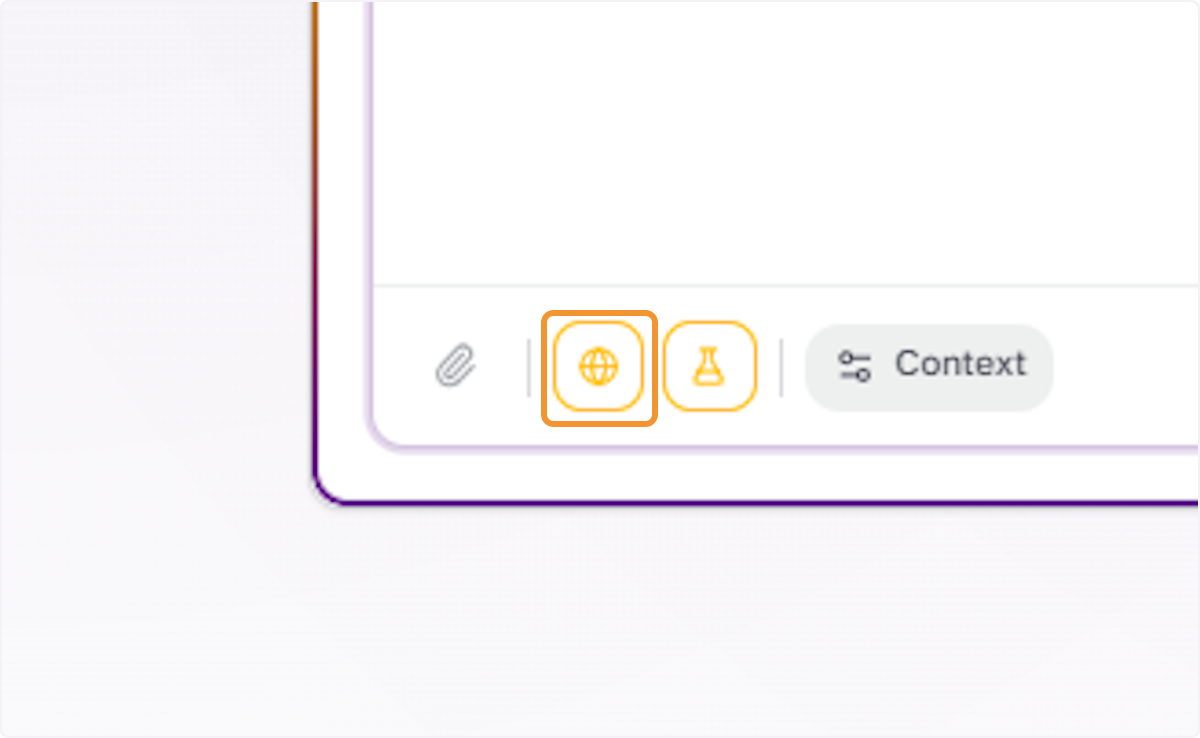
Enable Web Search
Click the Web Search (globe) icon in the toolbar to toggle live web search on or off for the current conversation, allowing the agent to retrieve up-to-date information from the internet.
Set Research Mode to Auto
Click Research (Auto) to set the agent’s research mode to Auto, which automatically selects the appropriate complexity level based on the nature of your query.
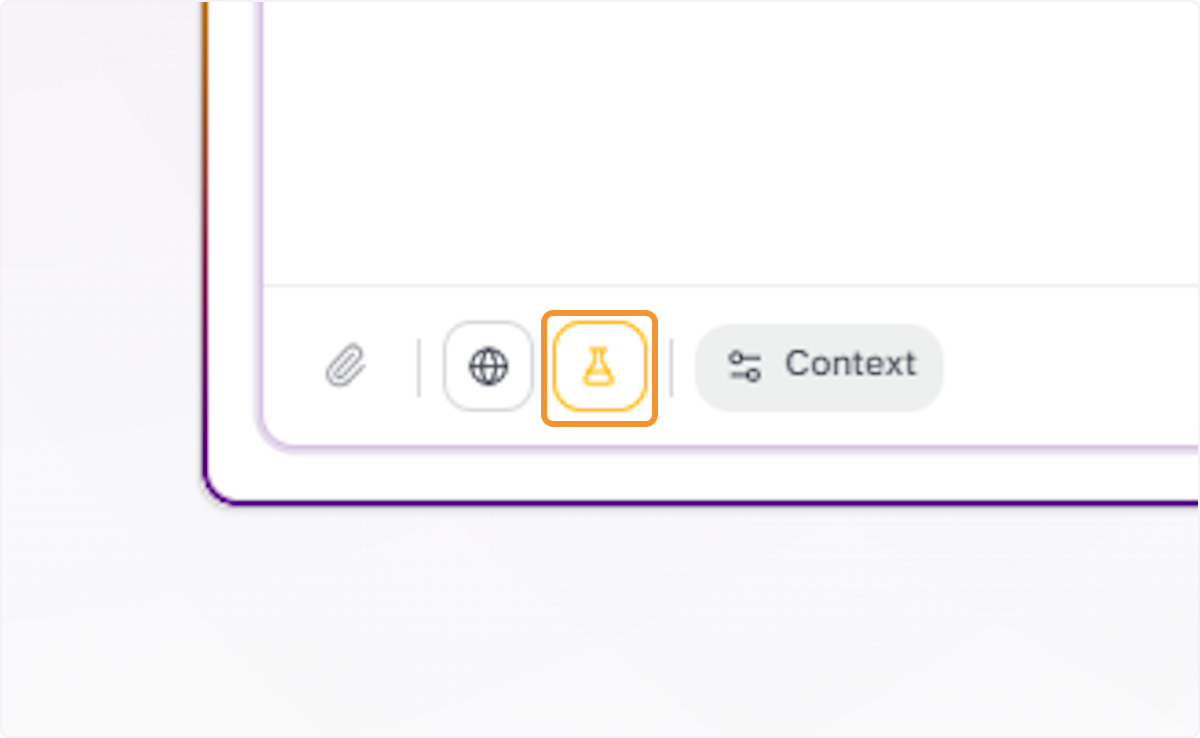
Open the Connections Panel
Click the Connections icon in the toolbar to open the panel showing all connected apps this agent can access, including Knowledge, Artifacts, and Integrations tabs.
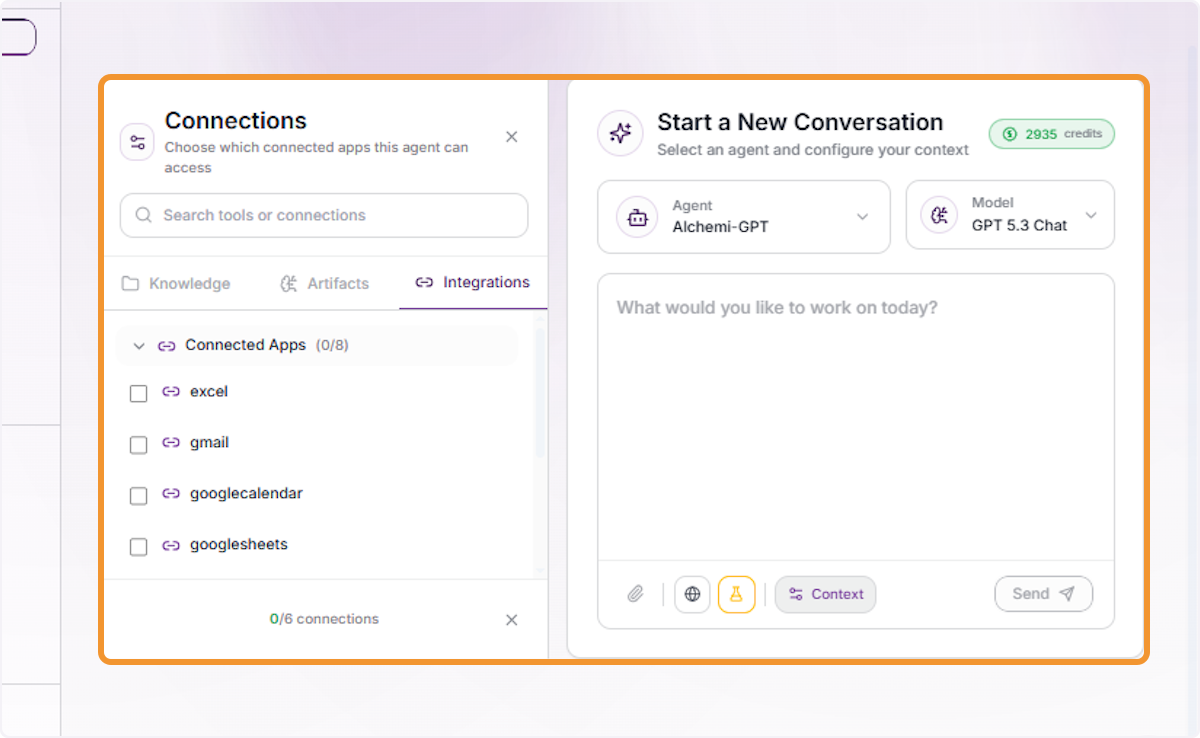
Close the Connections Sidebar
Click the x button to close the Connections sidebar and return to the main conversation interface.
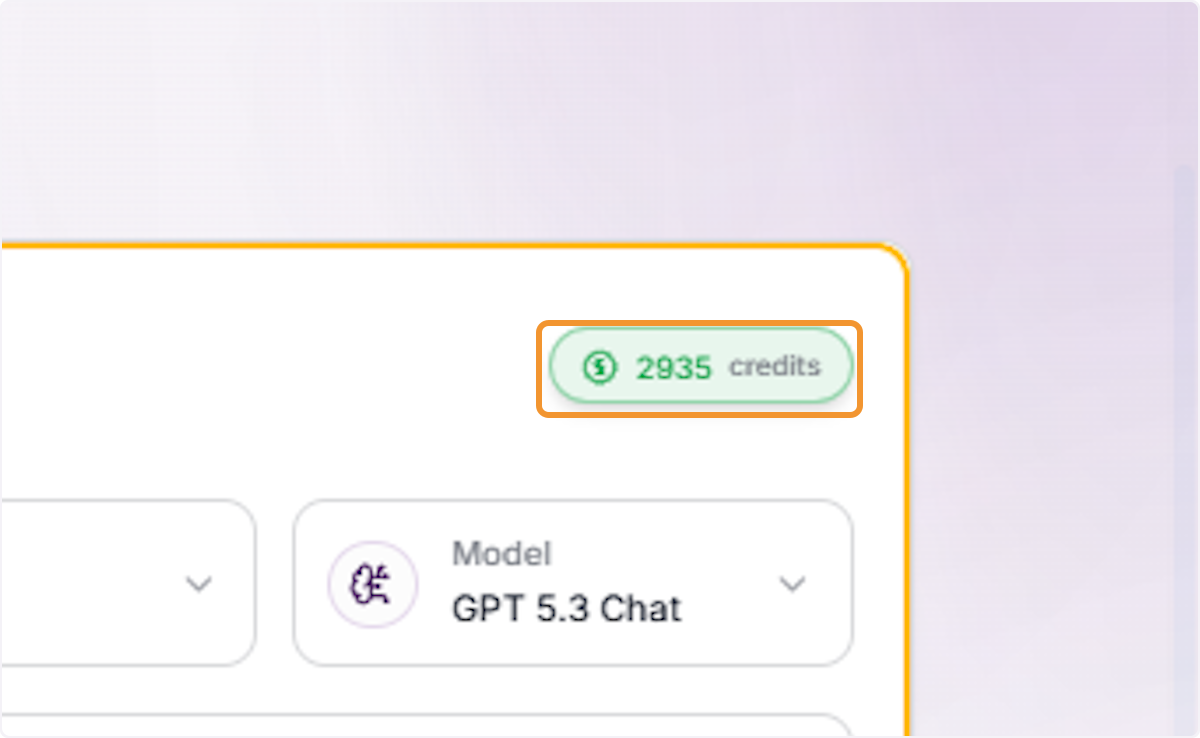
View Available Credits
Click the Credits indicator in the top-right corner of the conversation panel to open the Available Credits popup showing your current credit balance, usage, limit, and expiry.
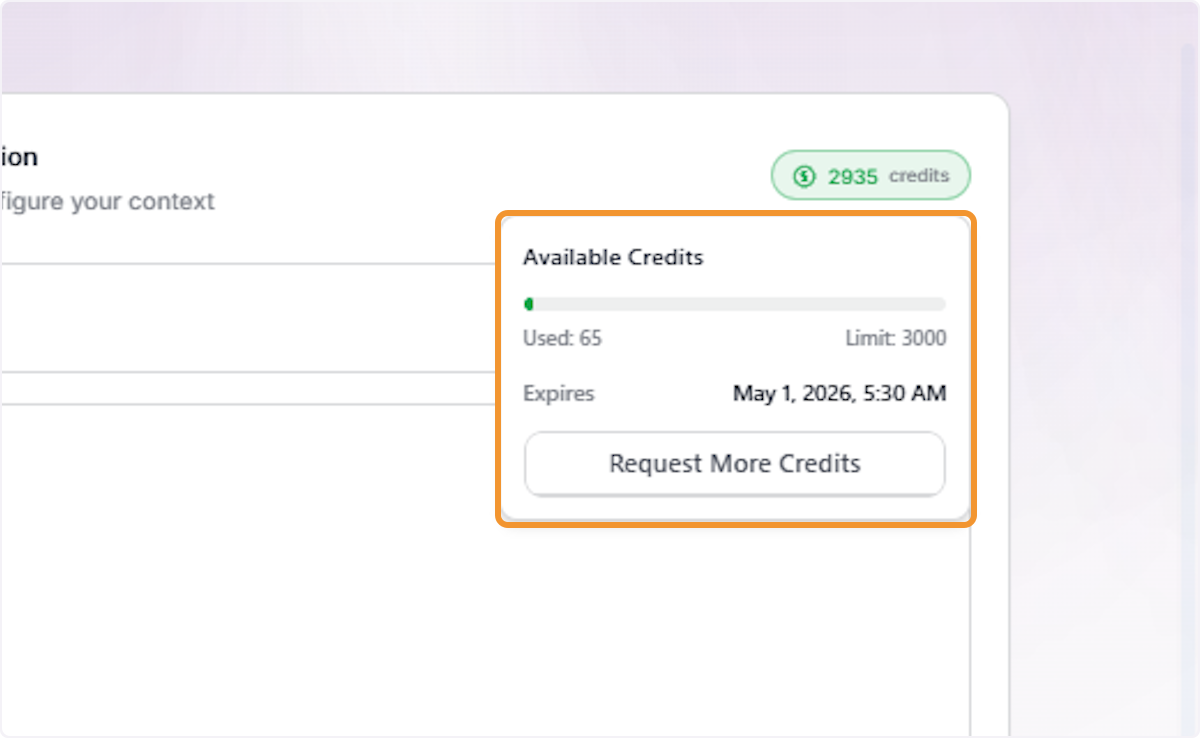
Review Credit Balance Details
The Available Credits popup displays your credit usage progress bar, current credits used, total credit limit, expiry date and time, and a Request More Credits button.
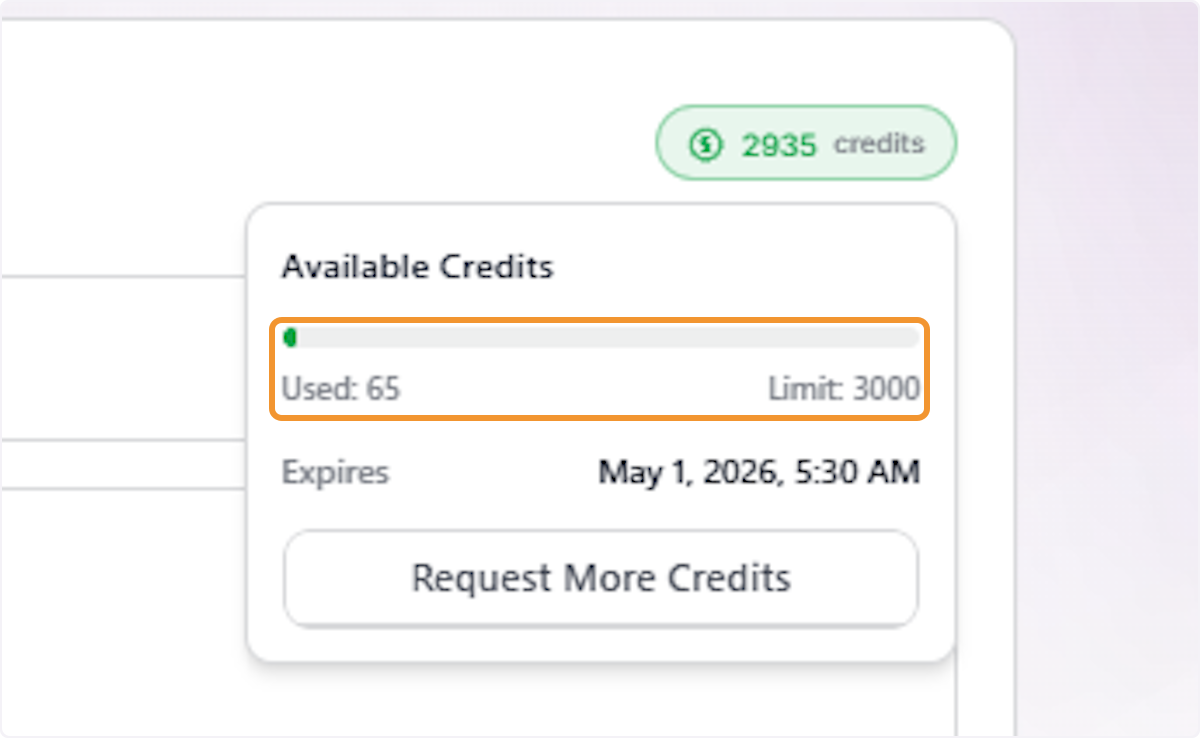
Review Credit Usage Progress
Review the credit usage bar showing credits used against the total limit, helping you assess how much of your allocation has been consumed before requesting additional credits.
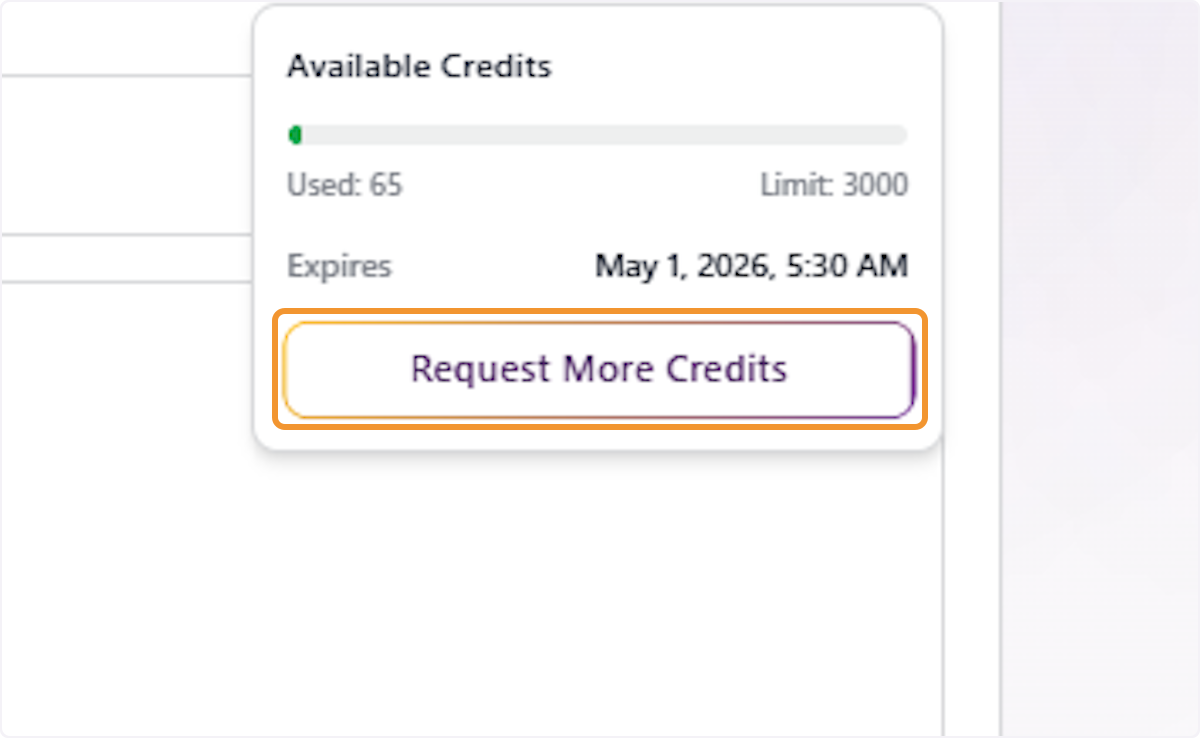
Click Request More Credits
Click the Request More Credits button in the Available Credits popup to open the credit request form for submitting a request for additional credits.
Review the Request More Credits Form
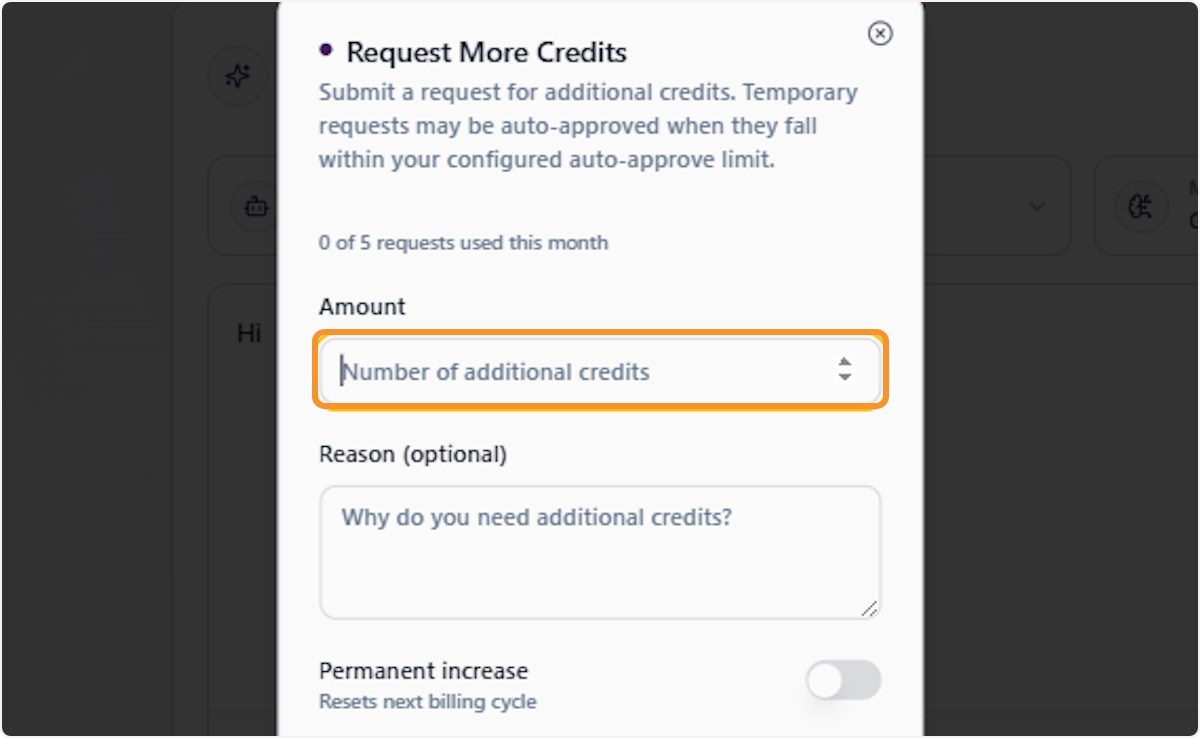
The Request More Credits dialog opens, allowing you to submit a request for additional temporary credits. Temporary requests may be auto-approved when they fall within your configured auto-approve limit.
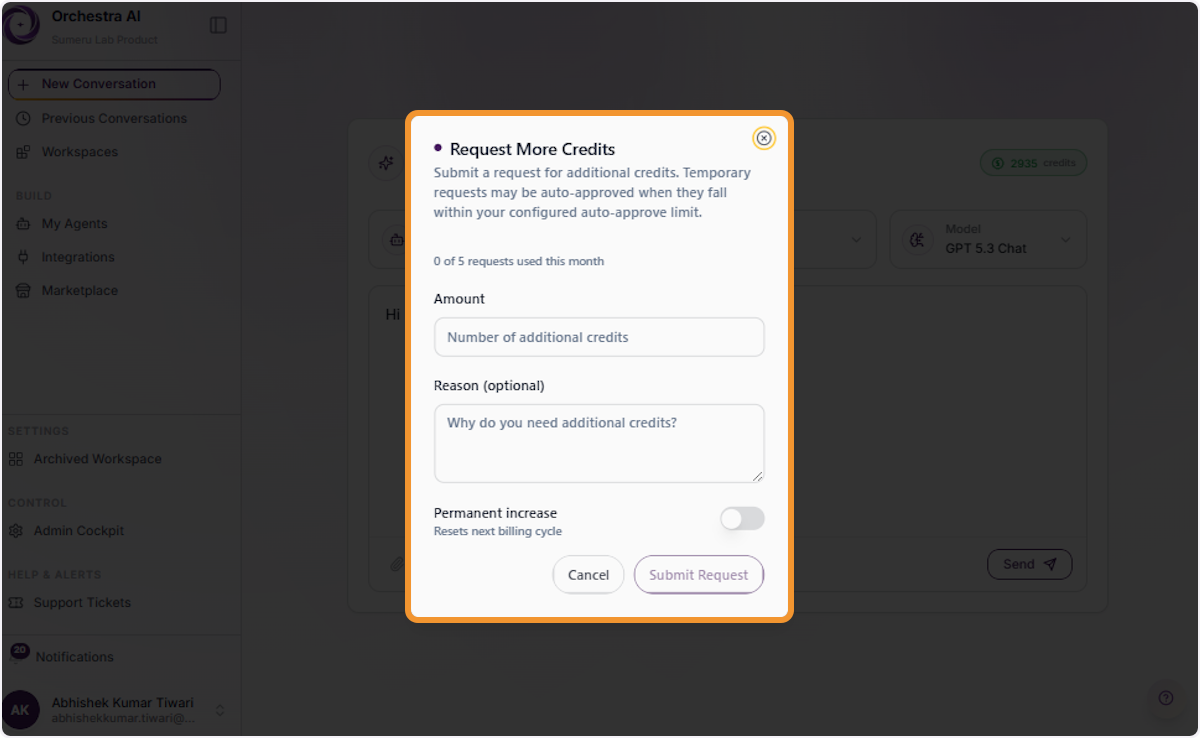
Enter the Credit Amount
Click the Amount field and enter the number of additional credits you are requesting for your account.
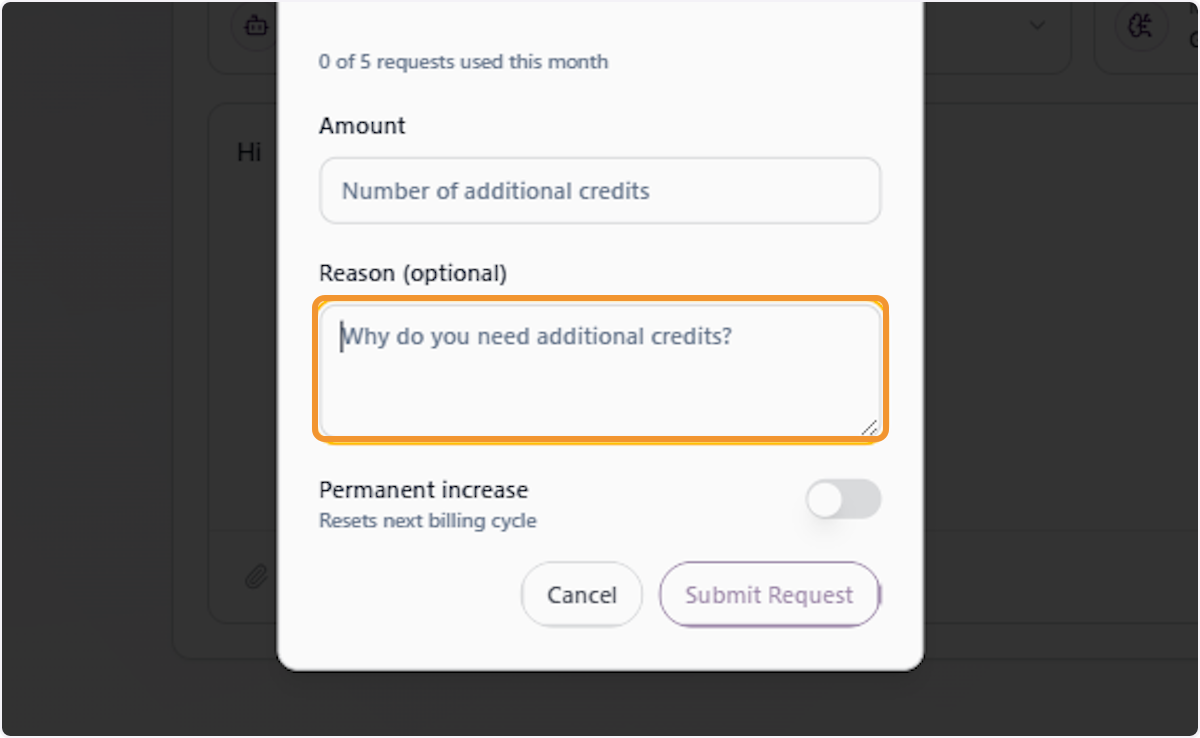
Enter a Reason (Optional)
Click the Reason field and optionally type a brief explanation for why additional credits are needed to support your request.
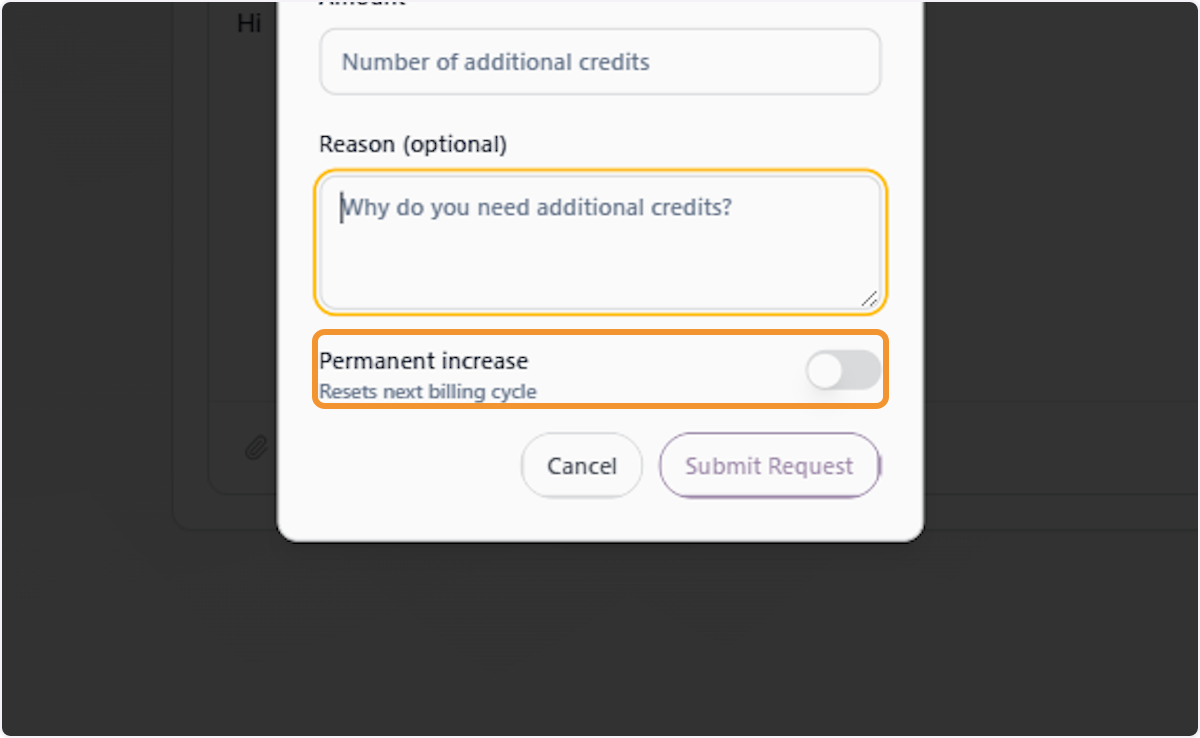
Toggle Permanent Increase
Click the Permanent Increase toggle to switch between requesting a temporary credit top-up or a permanent increase that resets at the next billing cycle.
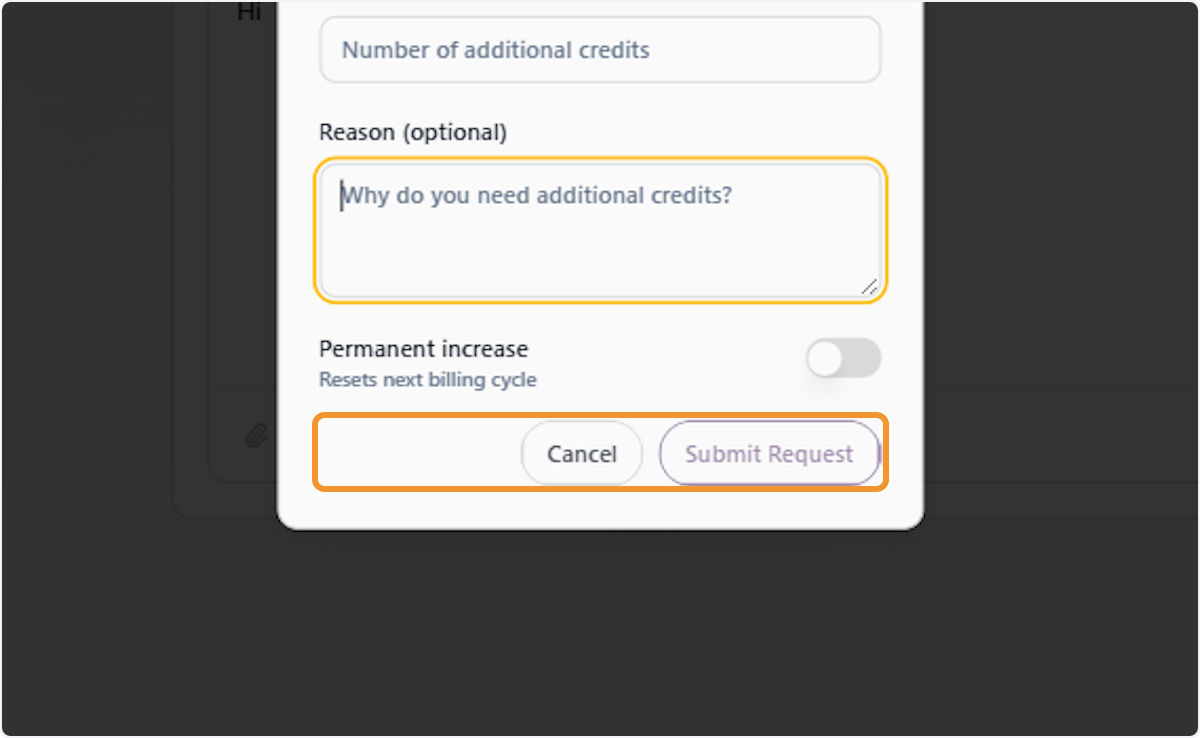
Cancel or Submit the Credit Request
Click the Cancel/Submit button to dismiss or create the Request More Credits dialog without or with submitting a request, then return to the conversation interface.
Having a Conversation
Return to the New Conversation Setup
Click Start a New Conversation to go back to the agent and model configuration screen to begin a fresh independent thread.
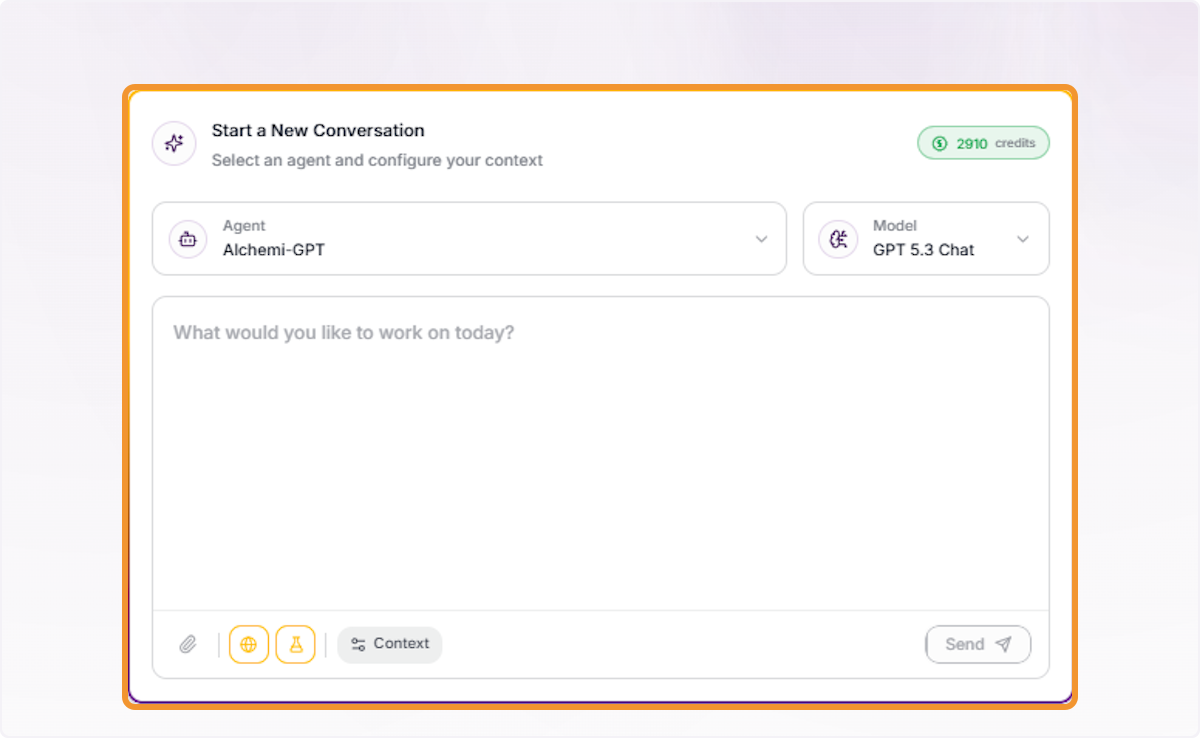
Type a Message in the Text Field
Click inside the message text area and type your query, idea, or task description to begin the conversation with the selected agent.
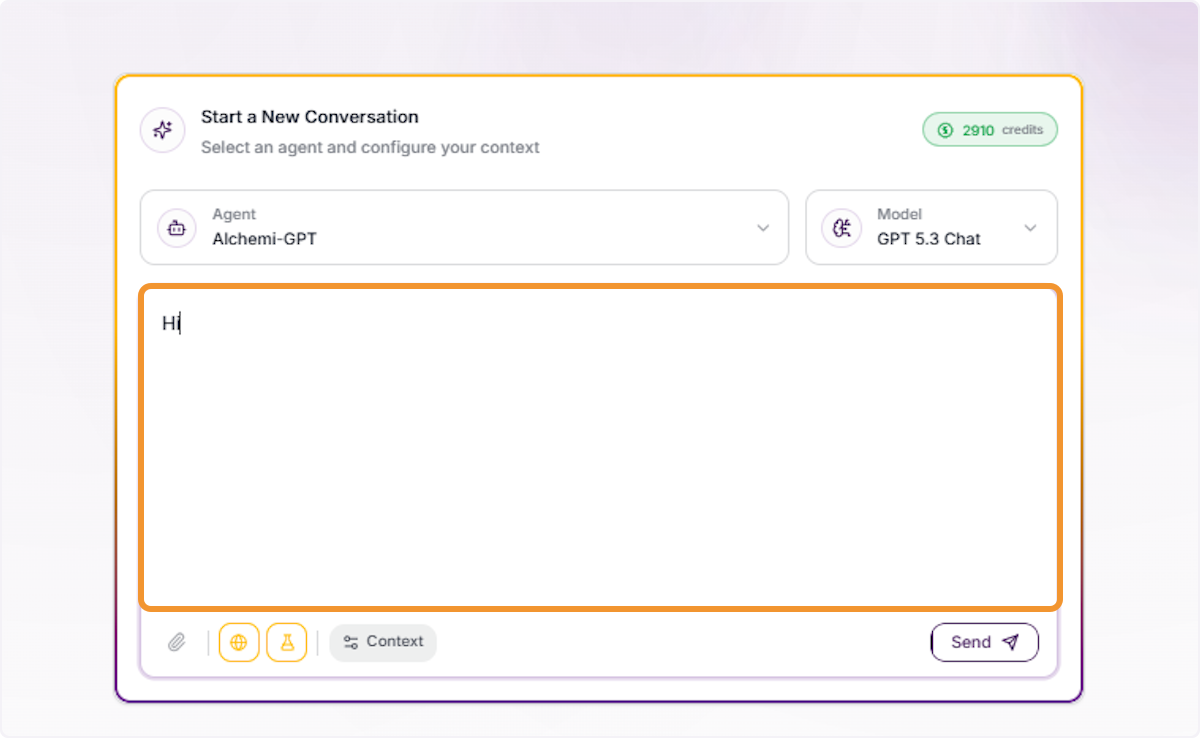
Check the AI Response
Review the agent’s response in the conversation panel and continue engaging through the chat interface based on the reply.
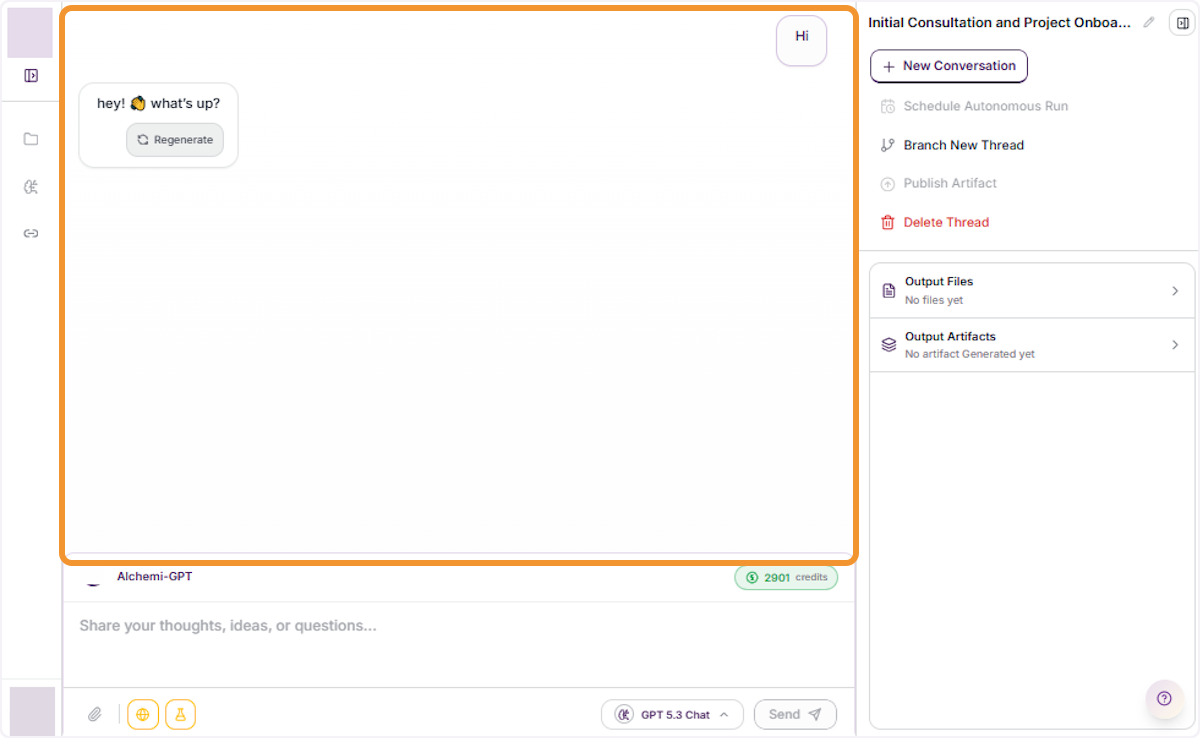
Add Text Into the Message Field
Add text directly into the message input area to send a longer or pre-written prompt to the agent.
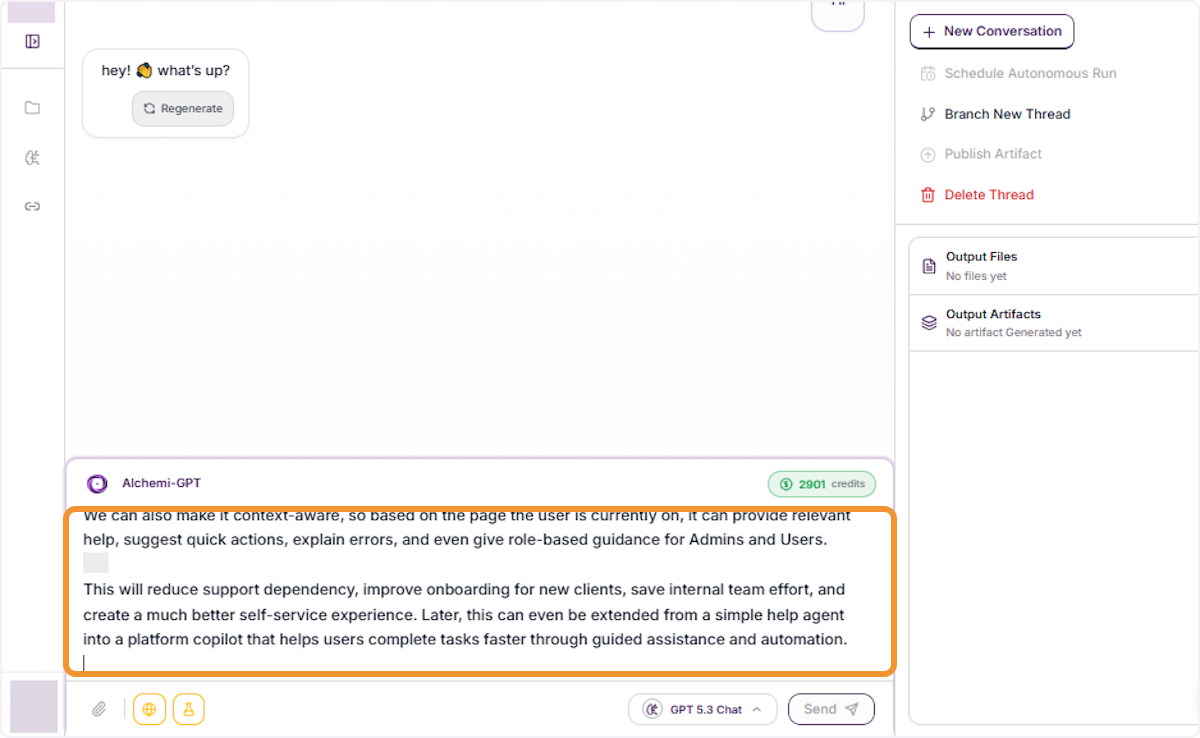
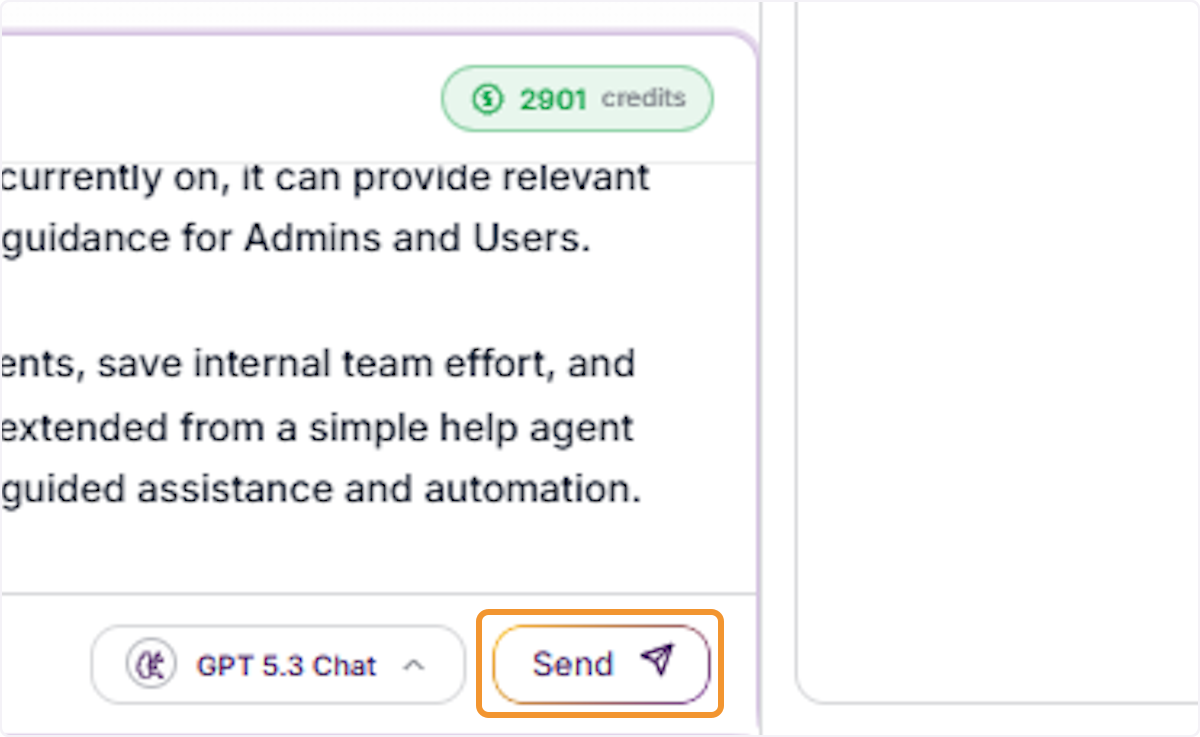
Send the Message
Click the Send button to submit your message and begin processing by the selected agent and model.
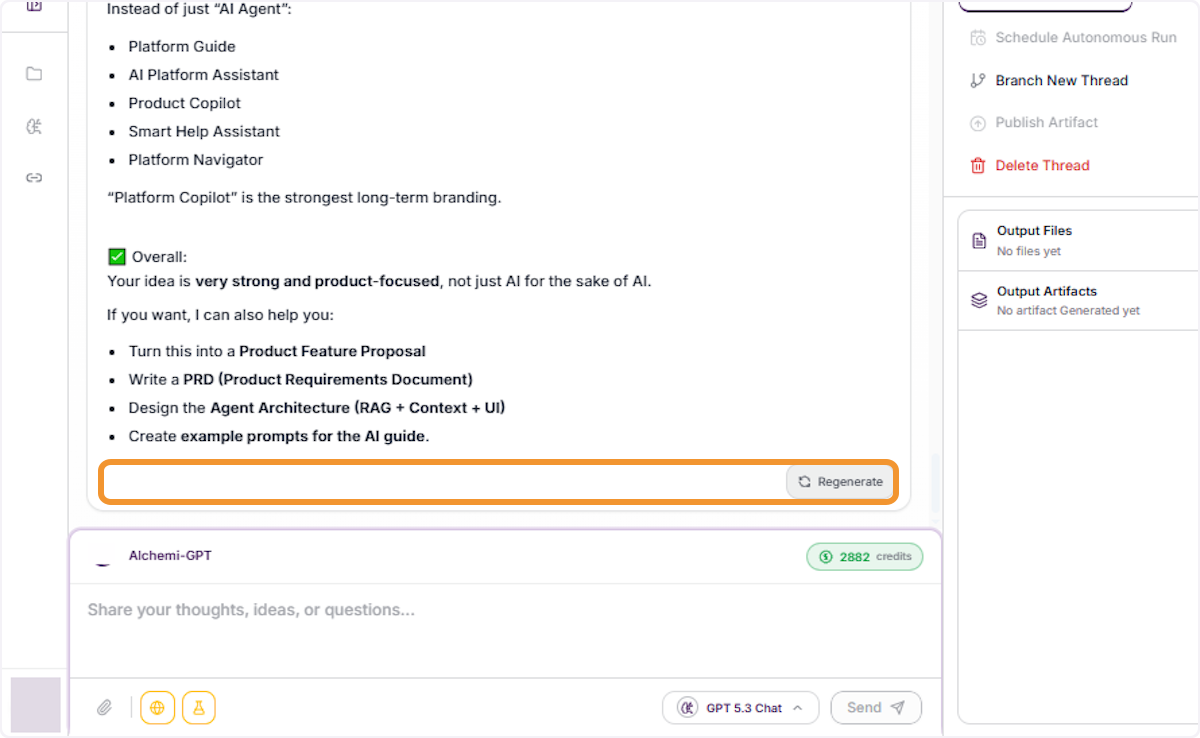
Regenerate the Response
Click the Regenerate button below an agent response to request a new version of the reply using the same prompt and context if you want.
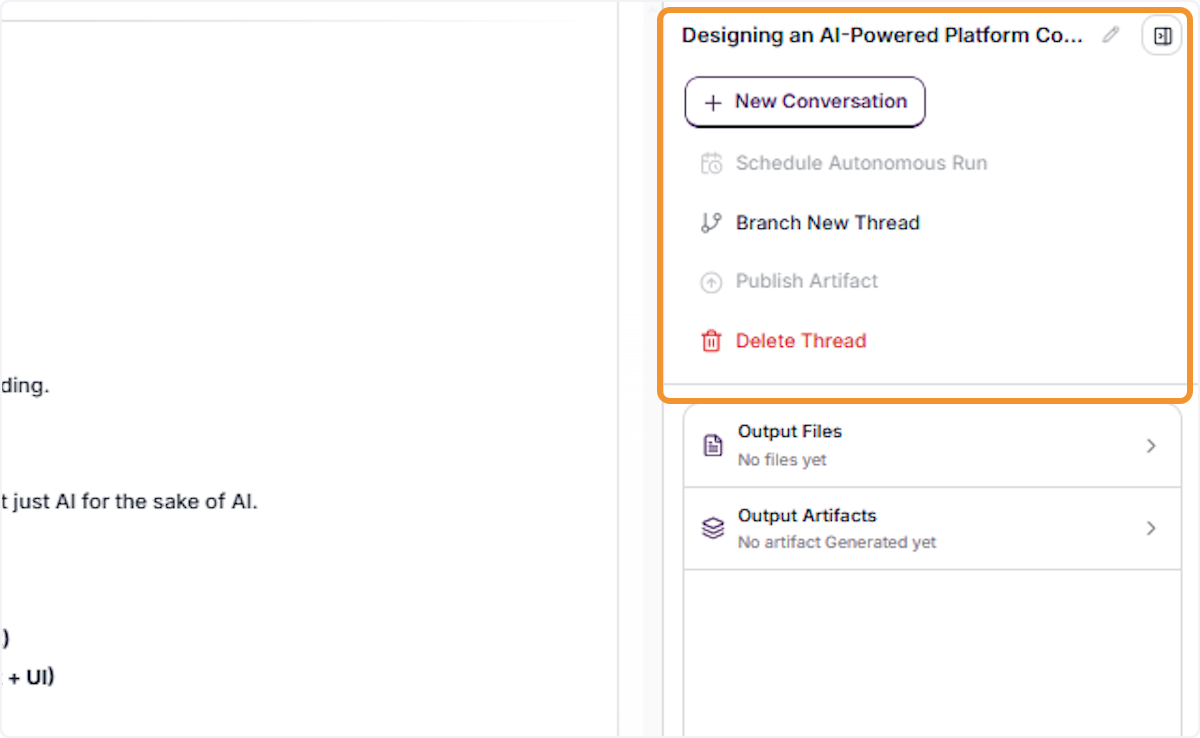
Review the Thread Title
The conversation thread is automatically named based on the context of the discussion. Click on the thread title in the output pane header to view or edit it.
Using the Output Pane
Expand the Output Pane
Click the Expand output pane icon in the top-right corner to widen the output panel and view the full range of thread actions and output sections.

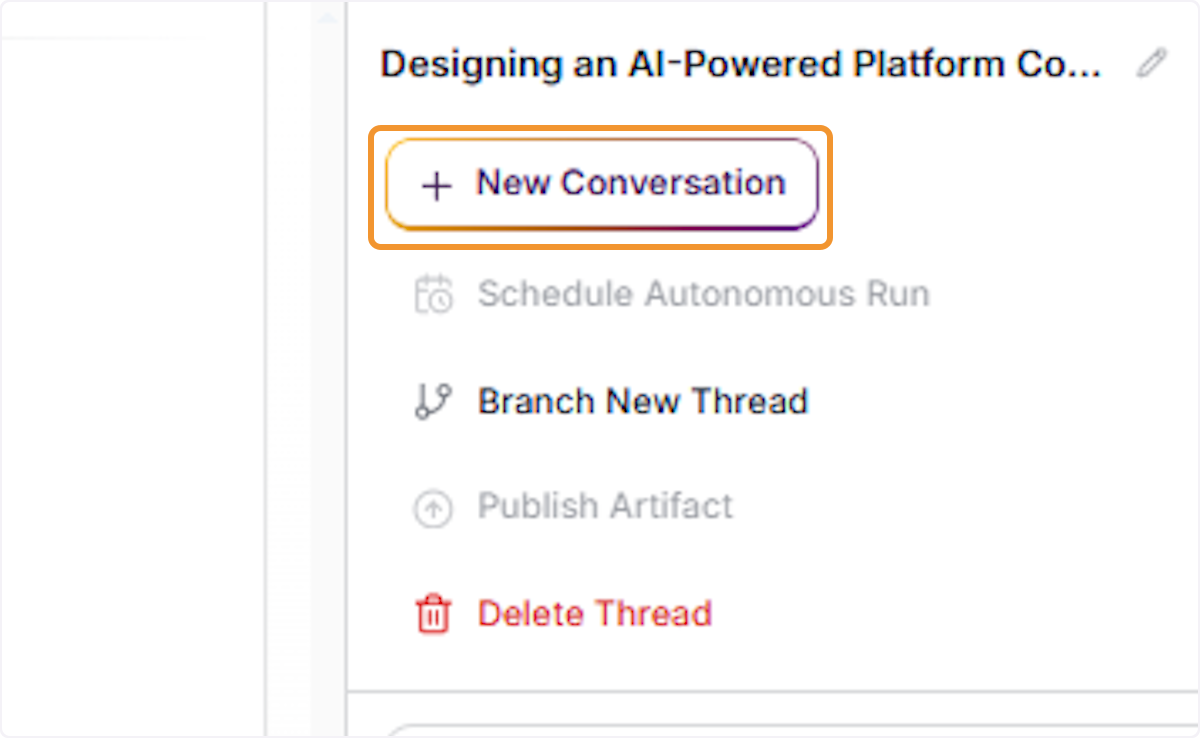
Start a New Conversation from the Output Pane
Click + New Conversation from the expanded output pane menu to begin a fresh conversation thread without leaving the current view.
Configure the New Conversation
The new conversation setup screen appears with the previously selected agent and model pre-populated. Adjust settings as needed before typing your message.
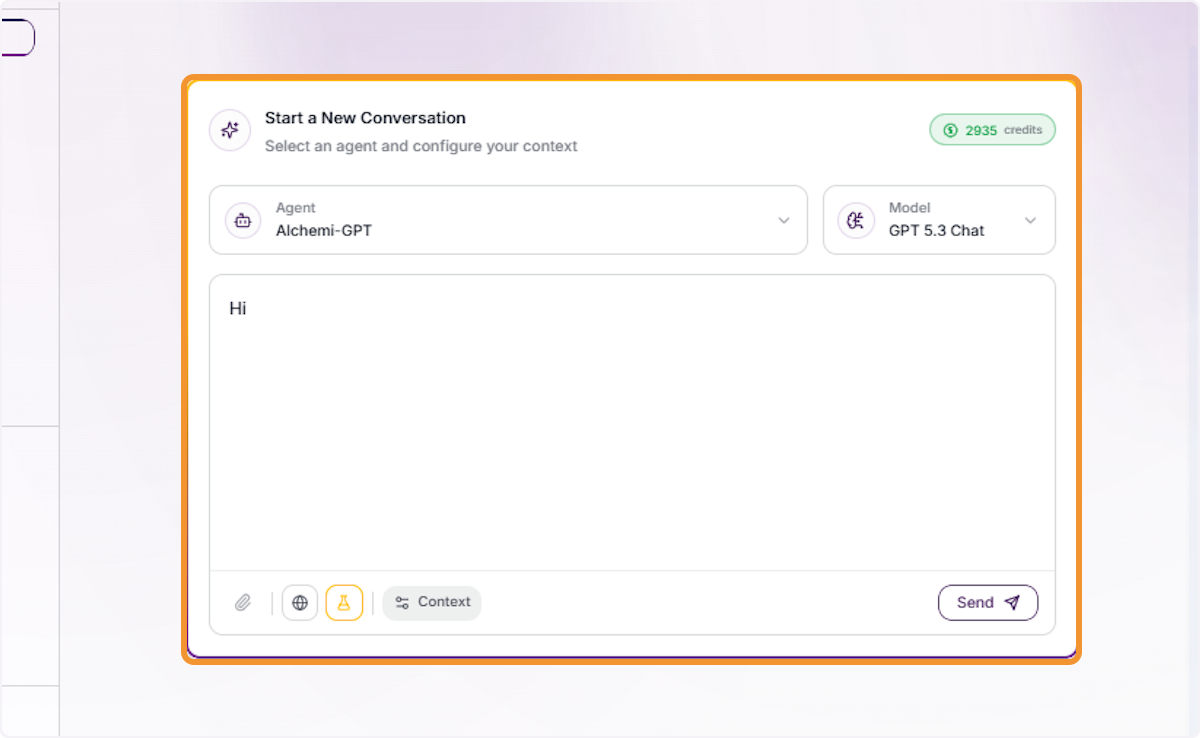
Type a Message in the New Thread
Click inside the message text area of the new thread and type your query to begin interacting with the configured agent.
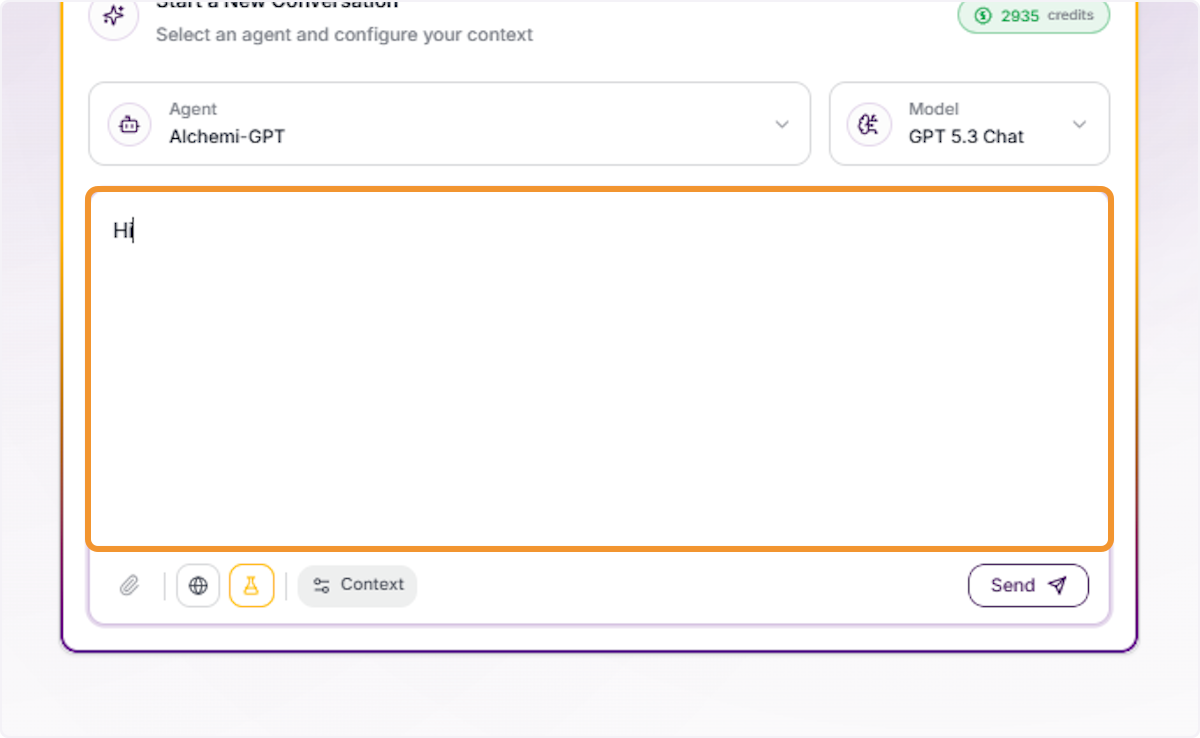
Send the Message
Click the Send button to submit your message to the agent and start the conversation in the new independent thread.
View Agent Name in Active Thread
Confirm the active agent displayed at the bottom of the conversation panel matches your selected agent for the current thread.
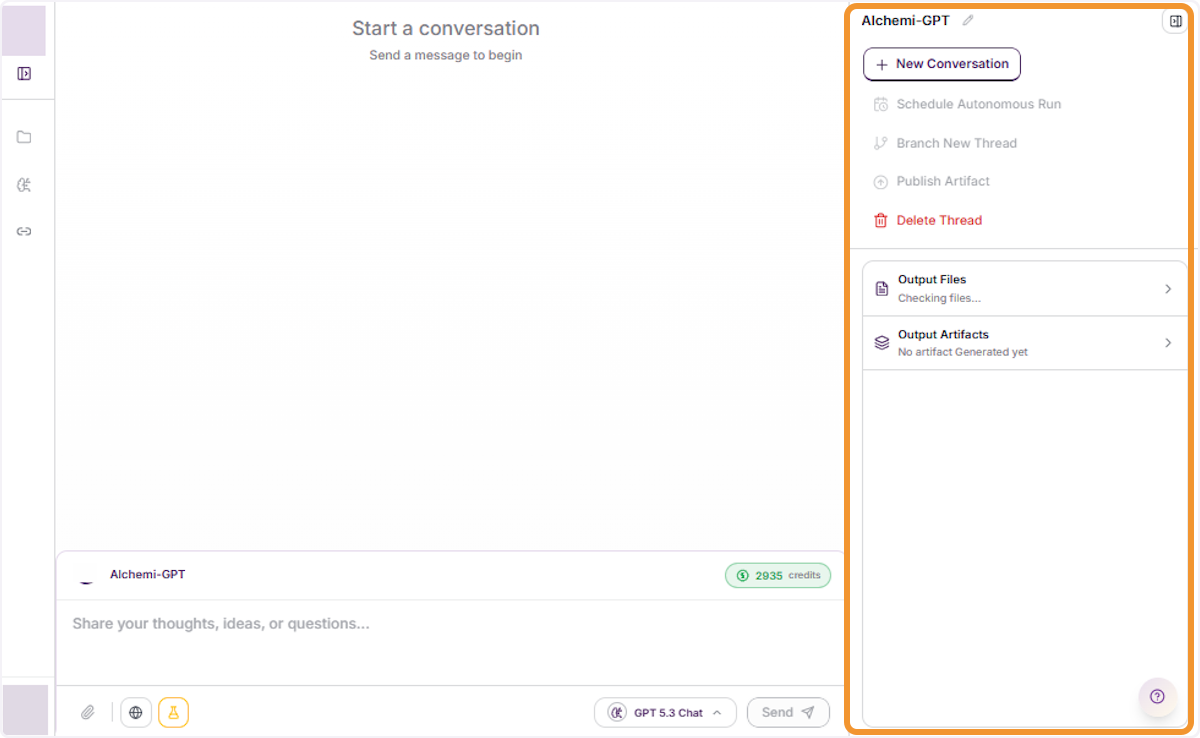
Expand the Output Pane
Click the Expand output pane icon again to open the full output panel and access thread management options alongside the conversation.

Copy an Agent Response
Click the Copy icon on the desired response to copy the agent’s reply to your clipboard for use in other documents or applications.
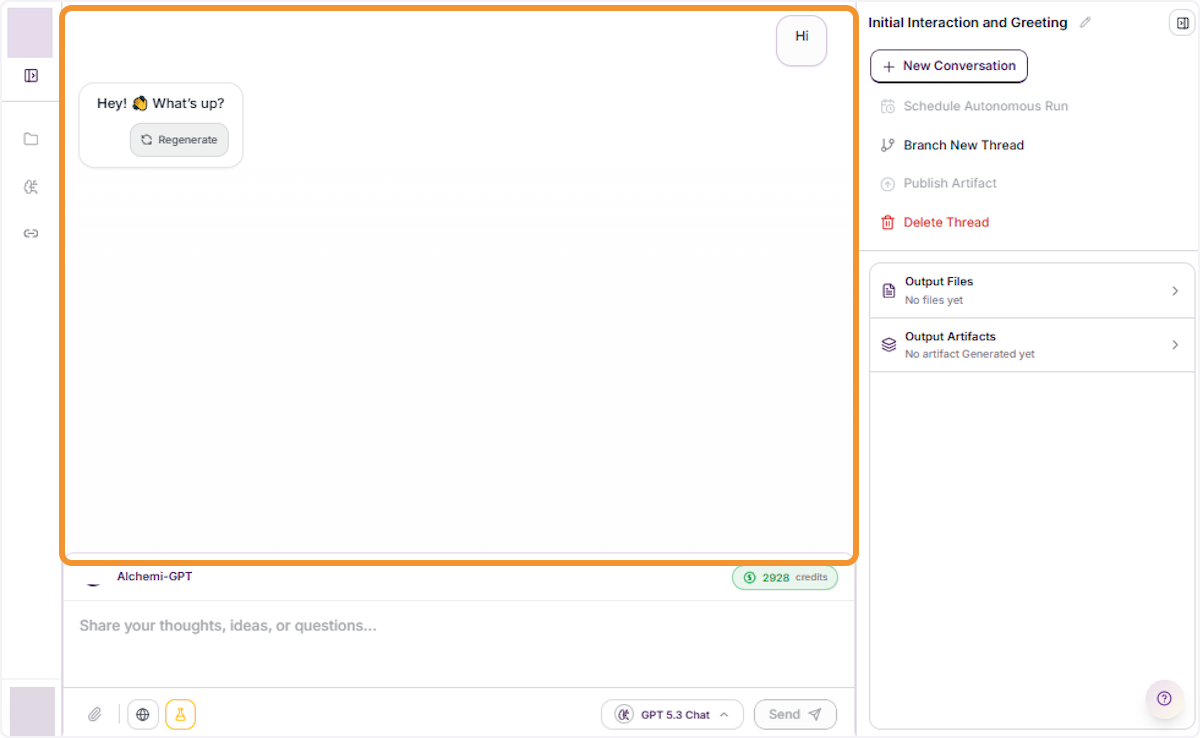
Open the Model Selector
Click the Model selector in the bottom toolbar to open the model dropdown and change the AI model used for the current conversation thread.
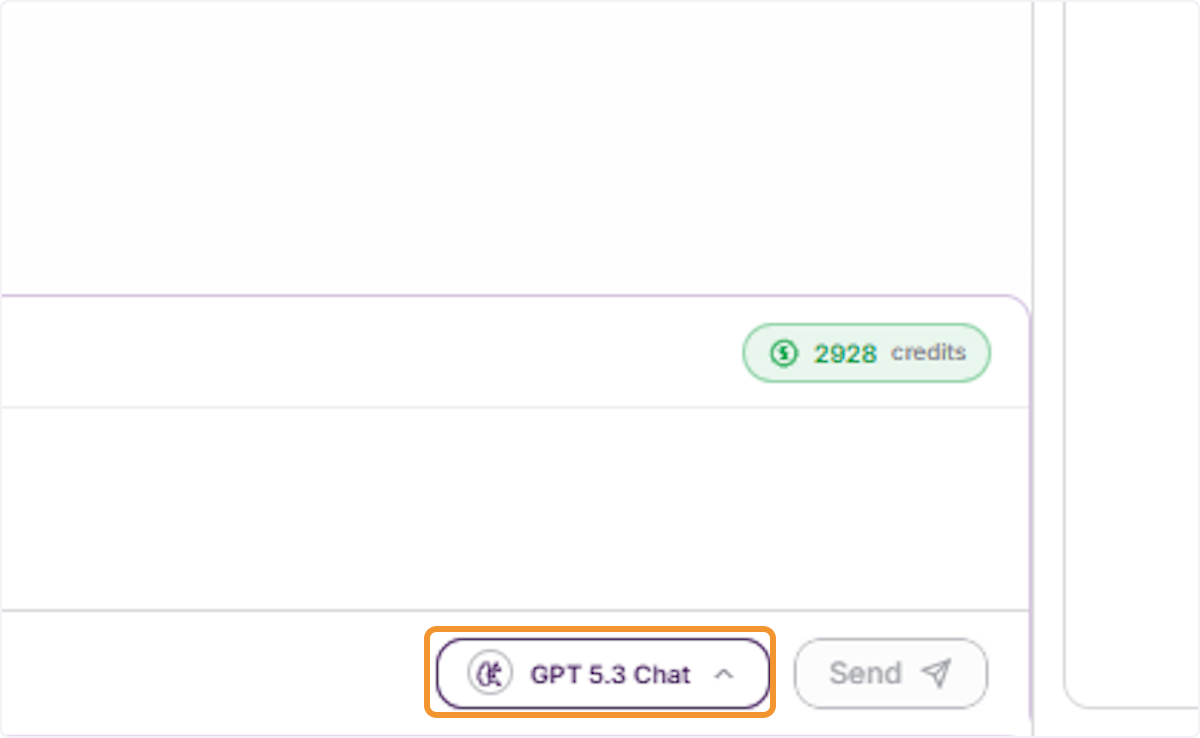
Browse Models by Provider
Review the available models grouped by provider — including OpenAI, Azure Claude etc — and select the model you want to use for subsequent messages.
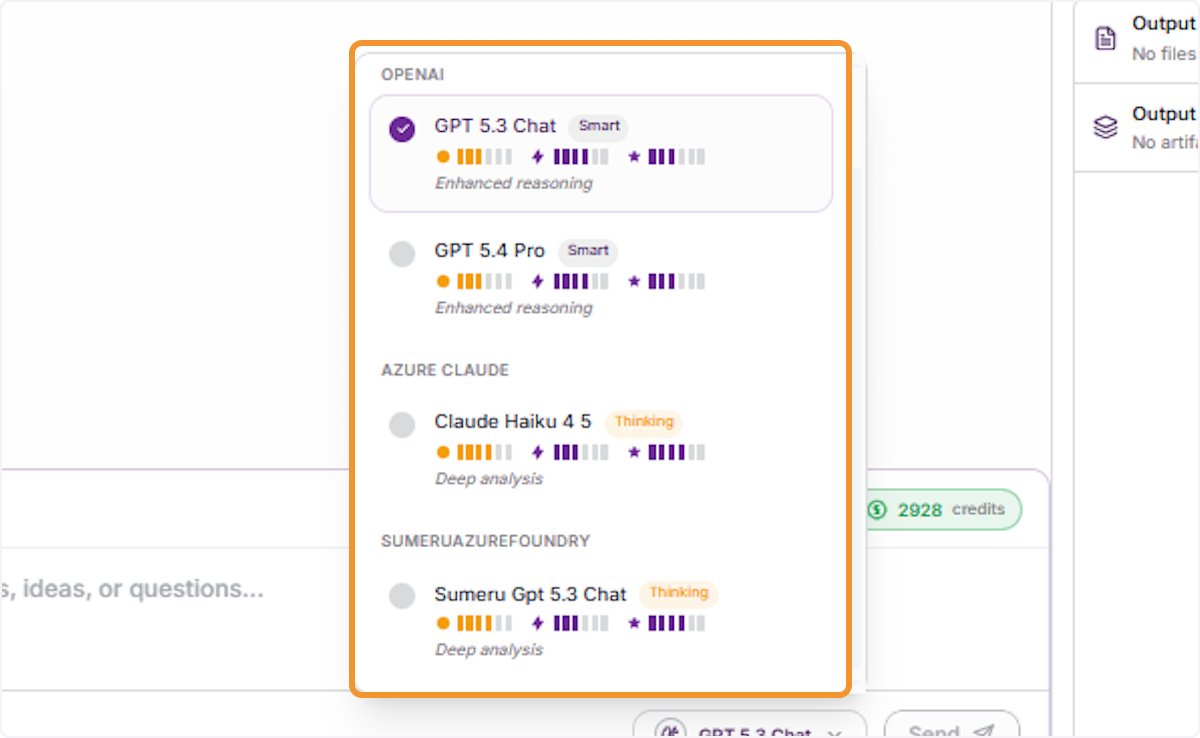
Click the Message Input Field
Click inside the “Share your thoughts, ideas, or questions…” text area to focus the input and prepare to type your next message.
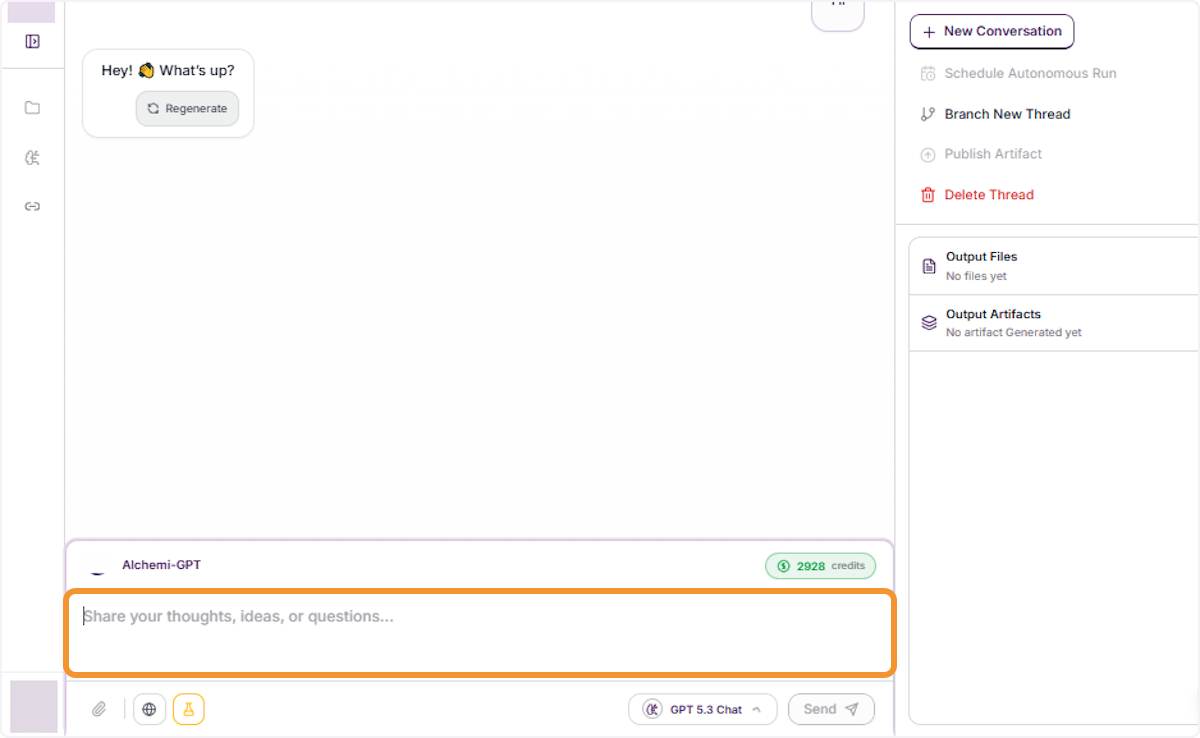
Review the Thread Title
Observe the auto-generated thread title displayed at the top of the output pane, which reflects the topic of the conversation based on the messages exchanged.
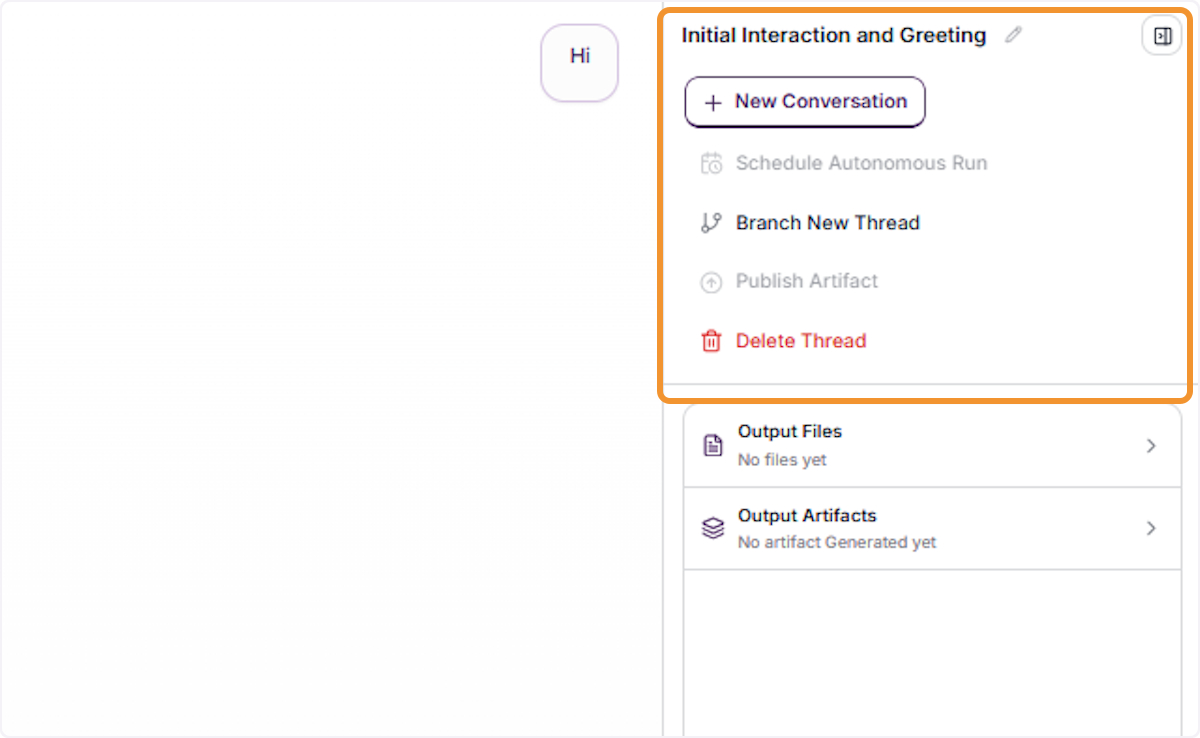
Managing Output Files and Artifacts
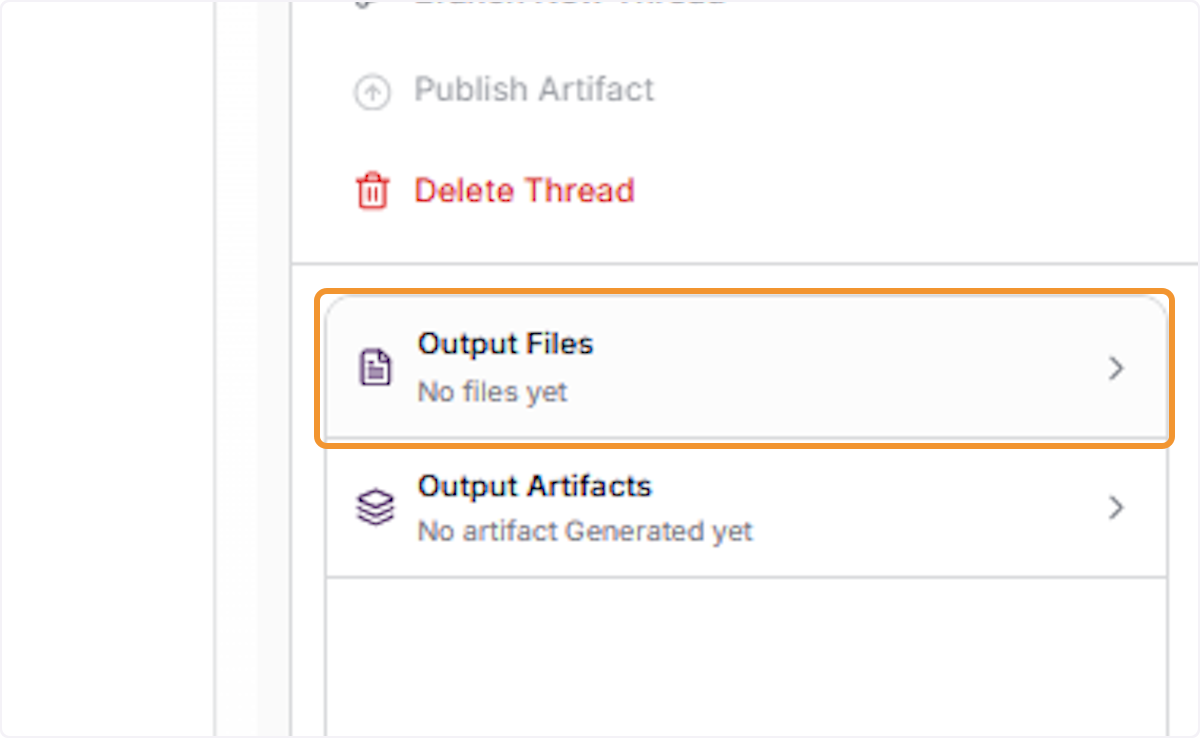
Open the Output Files Panel
Click Output Files in the right output pane to expand the section and view any files generated by the agent during the current conversation thread.
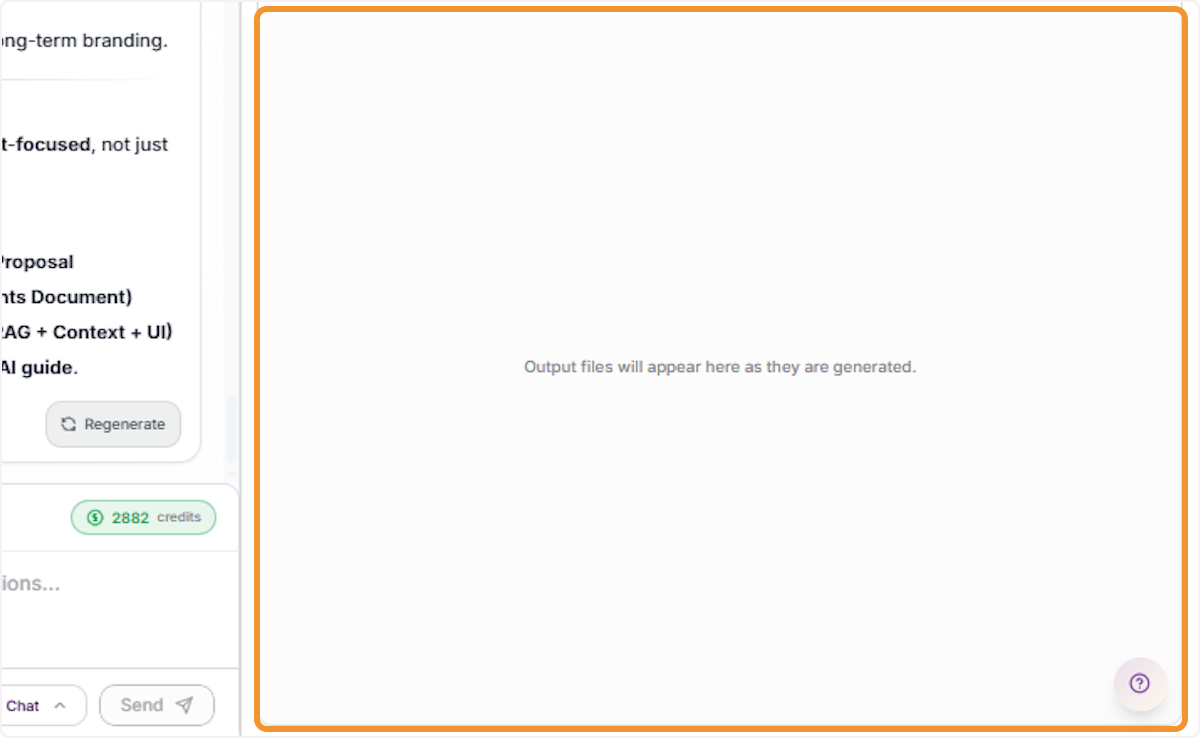
View the Empty Output Files Area
The Output Files panel shows a placeholder message indicating that output files will appear here as they are generated by the agent during the session.
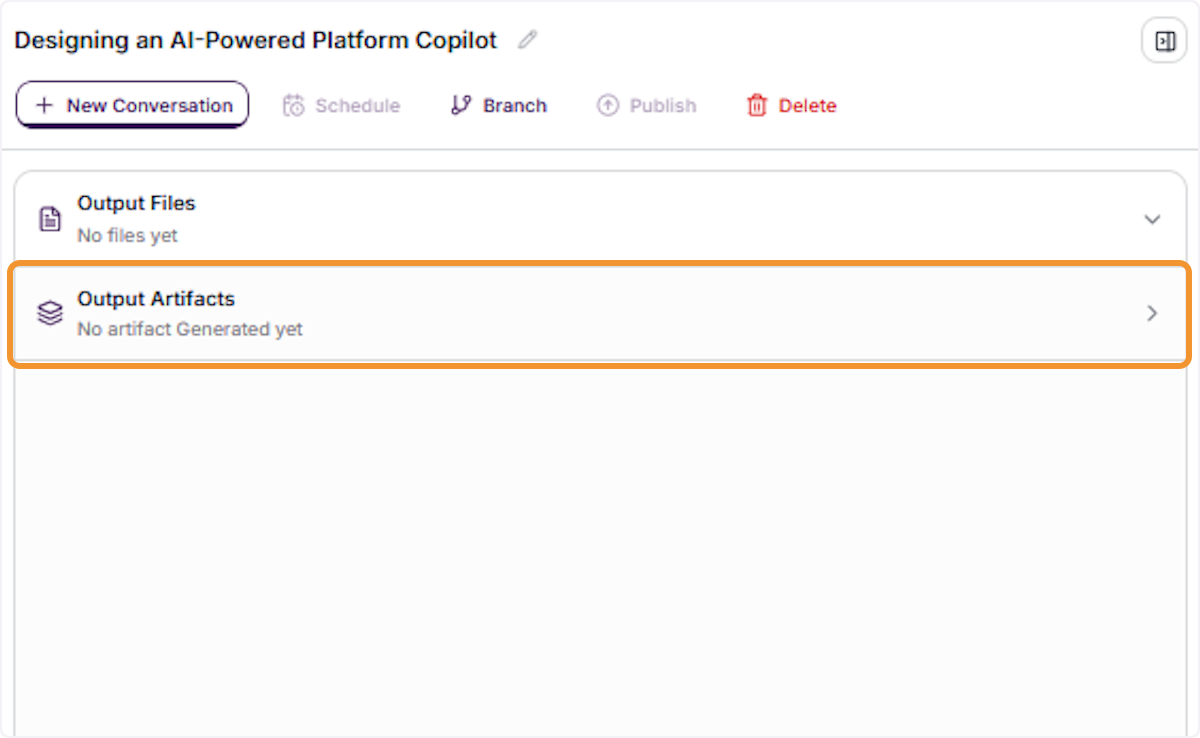
Open the Output Artifacts Panel
Click Output Artifacts in the right output pane to expand the section and view any structured documents or artifacts generated by the agent.
View the Artifact Canvas Placeholder
The Output Artifacts canvas shows a placeholder indicating that the artifact canvas will appear once the agent begins generating structured content.
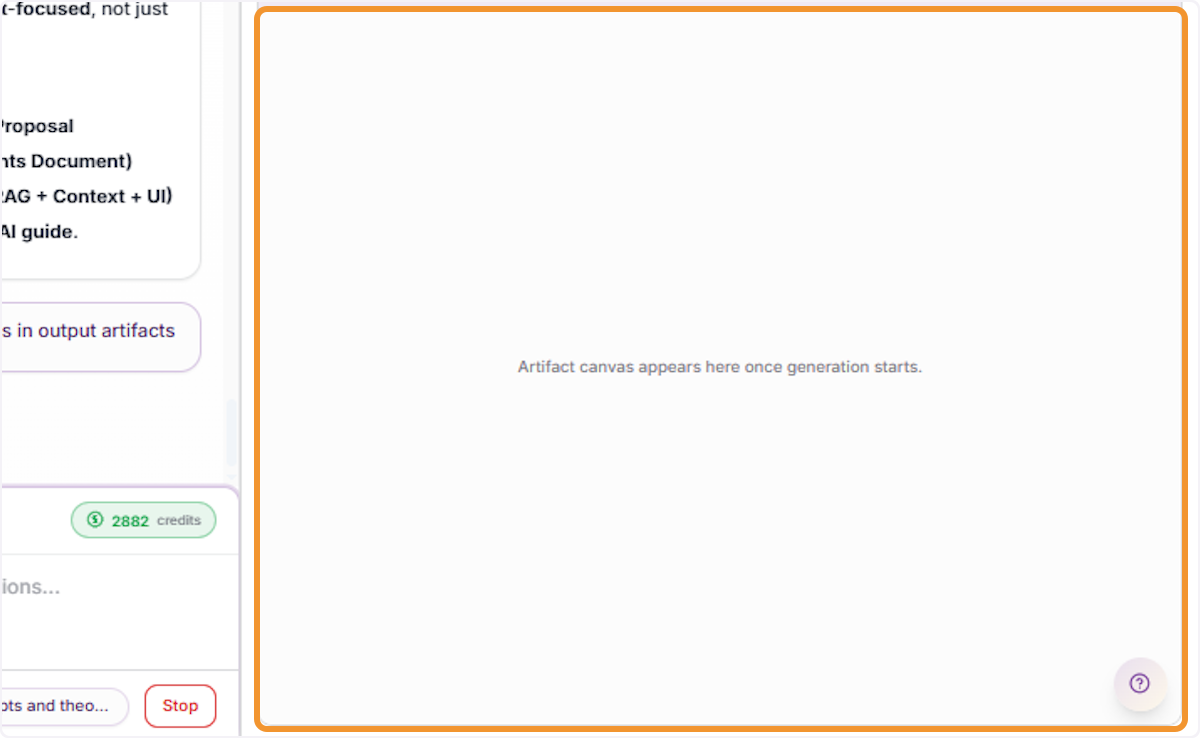
Request Output to Artifact
Send a “put this in output artifacts” text message to instruct the agent to write the generated content into the Output Artifacts canvas.
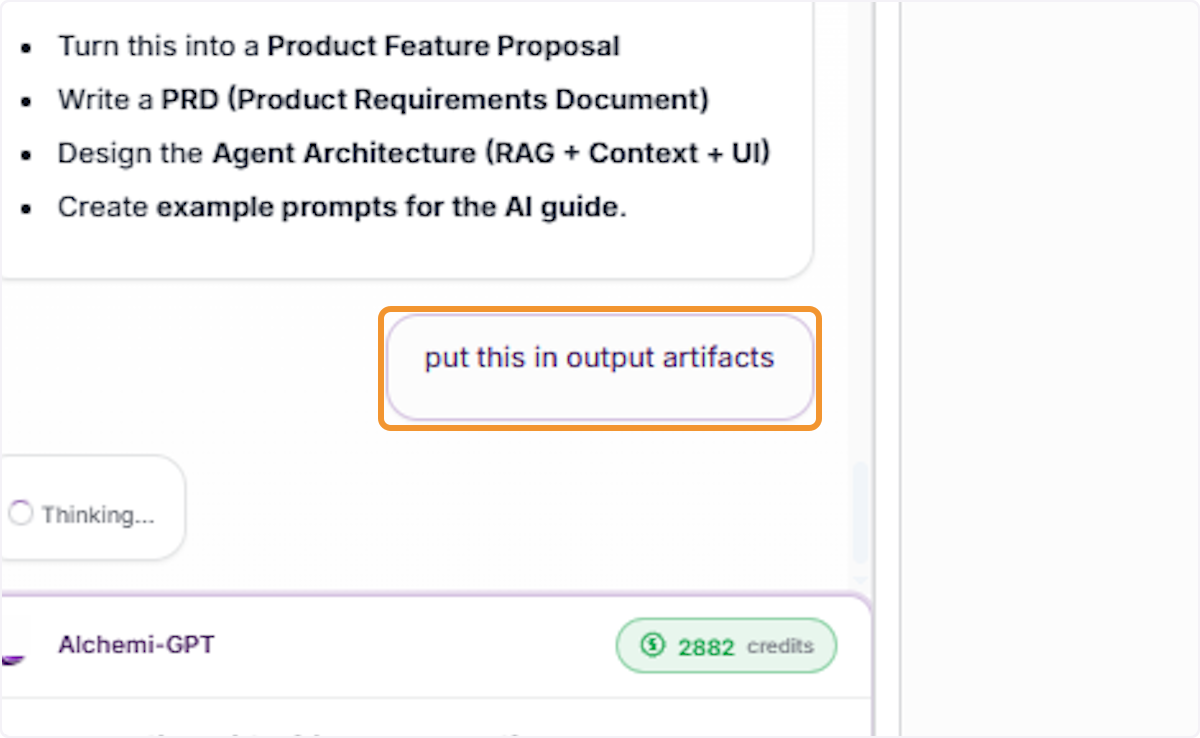
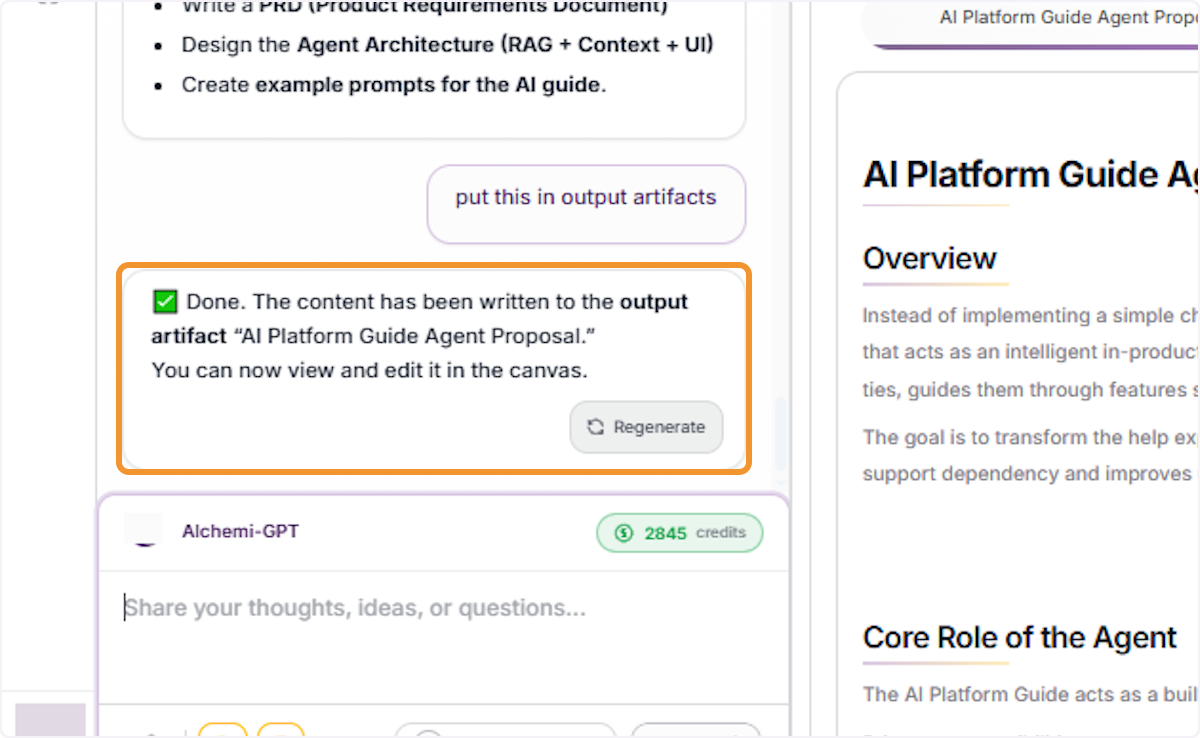
Confirm Artifact Generation is Complete
A green confirmation message appears indicating the content has been successfully written to the output artifact. The artifact canvas on the right is now populated with the generated document.
Open the Generated Artifact
Click on the artifact title in the Output Artifacts panel to open and view the full content of the generated document in the artifact canvas.
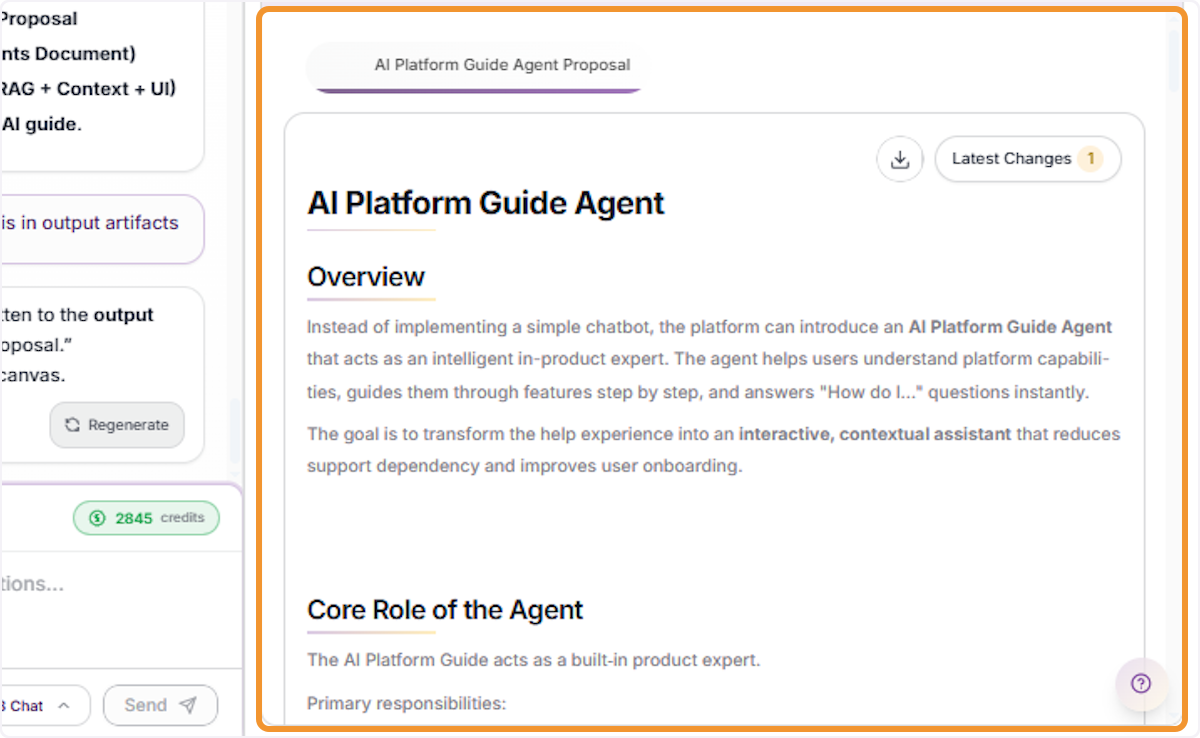
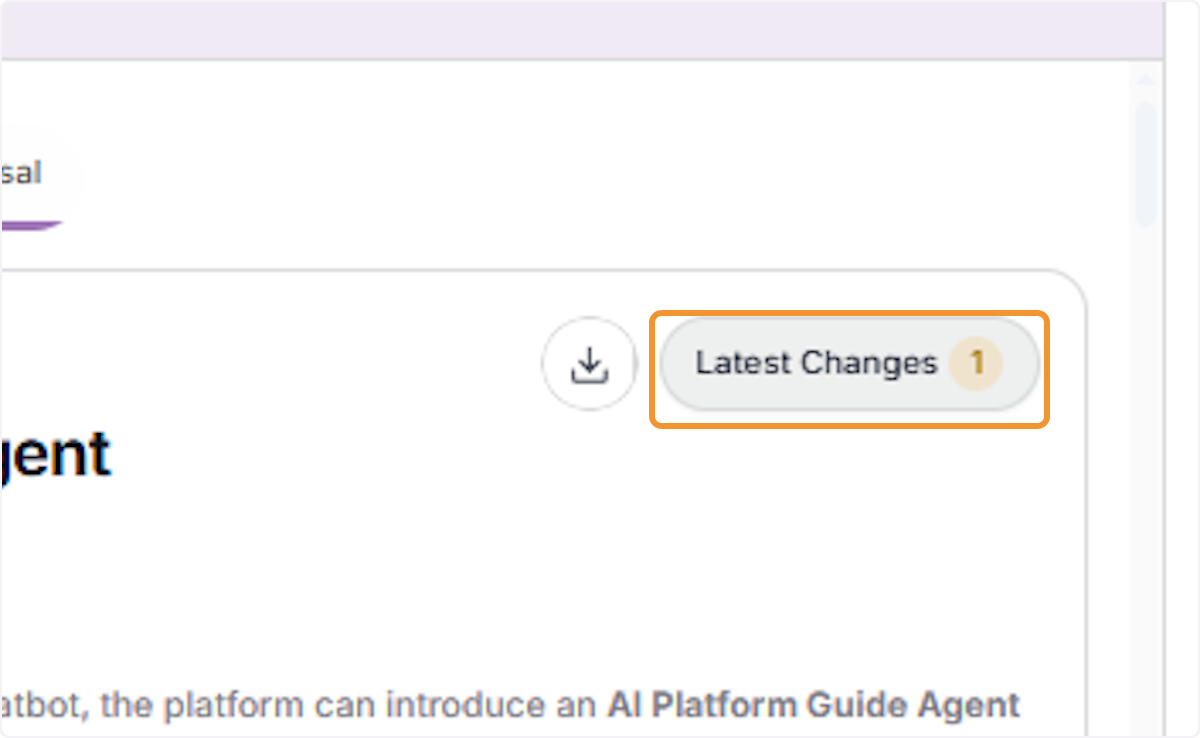
View Latest Changes Indicator
Click the Latest Changes button in the artifact canvas toolbar to see a summary of the most recent modifications made to the artifact document.
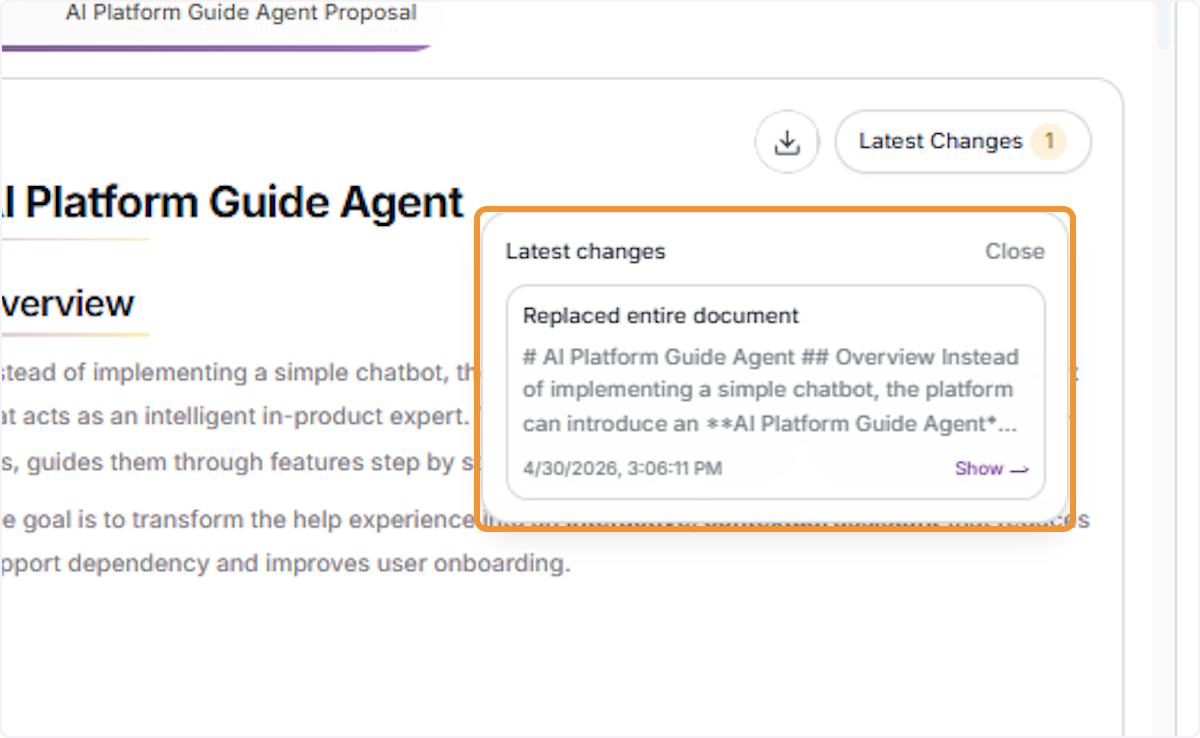
Review the Latest Changes Panel
The Latest Changes panel opens showing a summary of what was changed, including a description of the update and a timestamp of when it occurred.
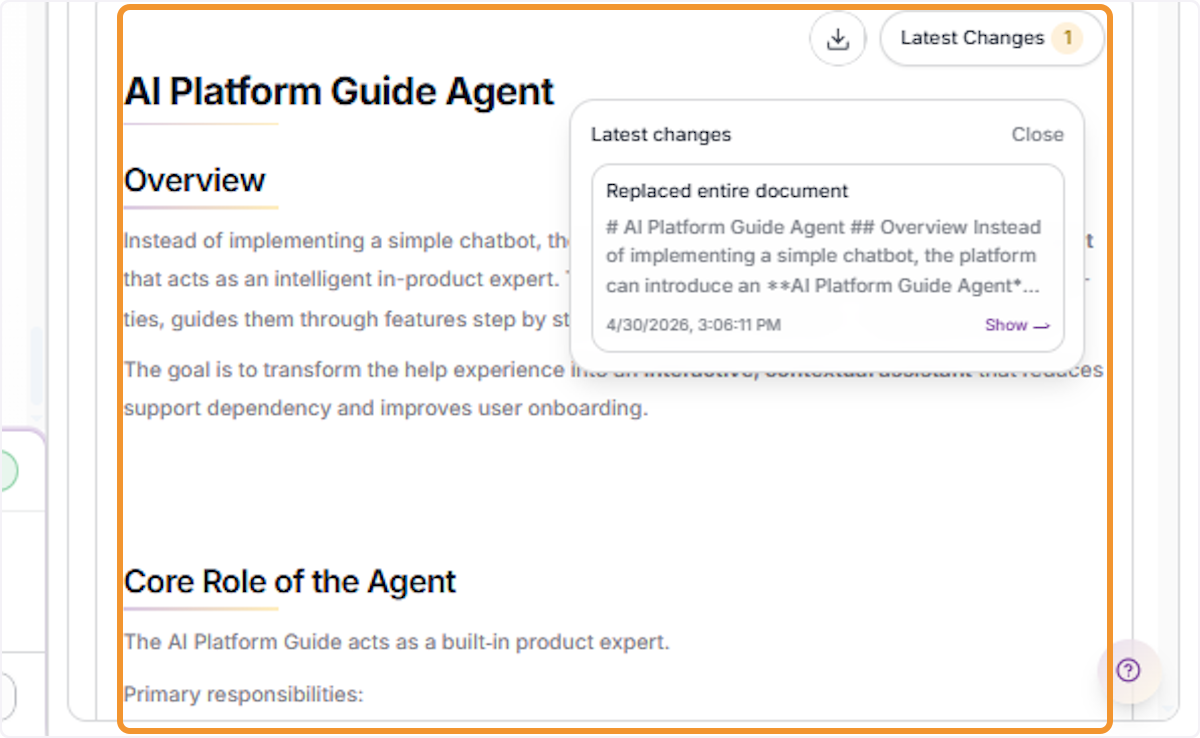
Review the Full Artifact Document
Scroll through the artifact canvas to review the complete generated document, including all sections, headings, and content produced by the agent.
Download the Artifact as PDF
Click the Download icon in the artifact canvas toolbar to download the current artifact document as a PDF file directly to your device.
Open the Export Document Dialog
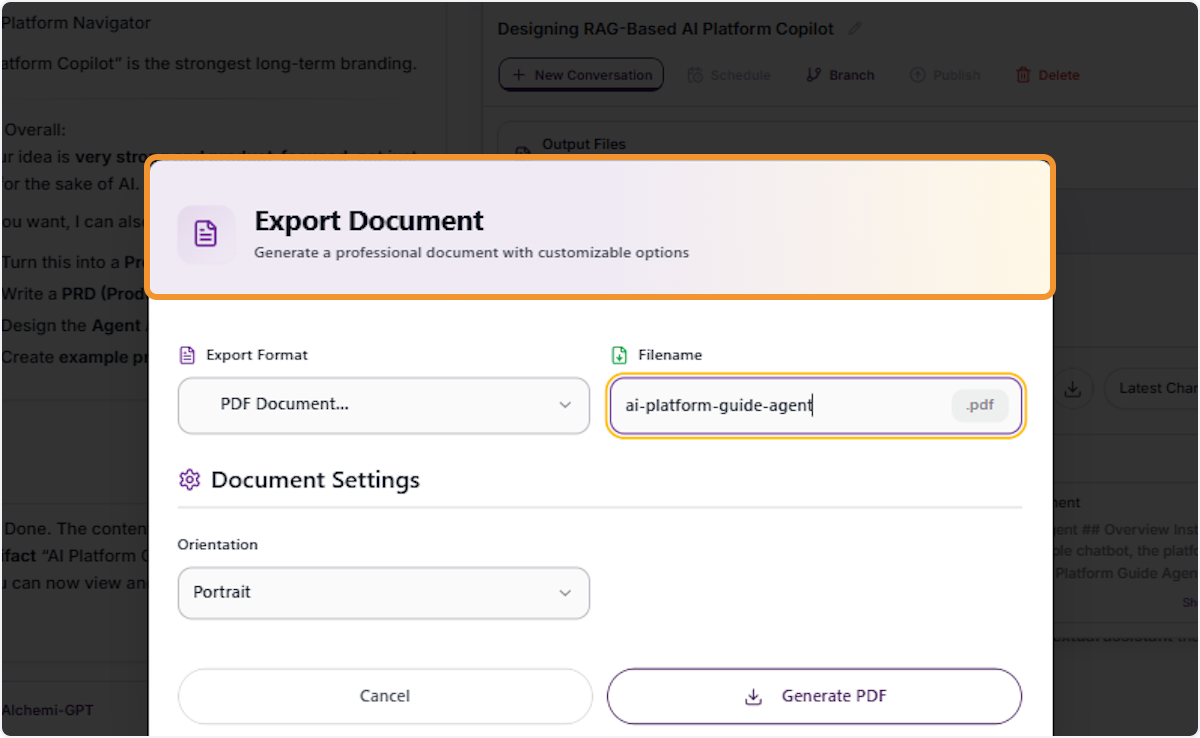
Click the Export Document option to open the export dialog, which allows you to generate a professional downloadable document with customizable format and layout options.
Exporting Documents
Review Export Format Options
The Export Document dialog displays the Export Format dropdown and Filename field. Review the available format options before proceeding.
Select the Export Format
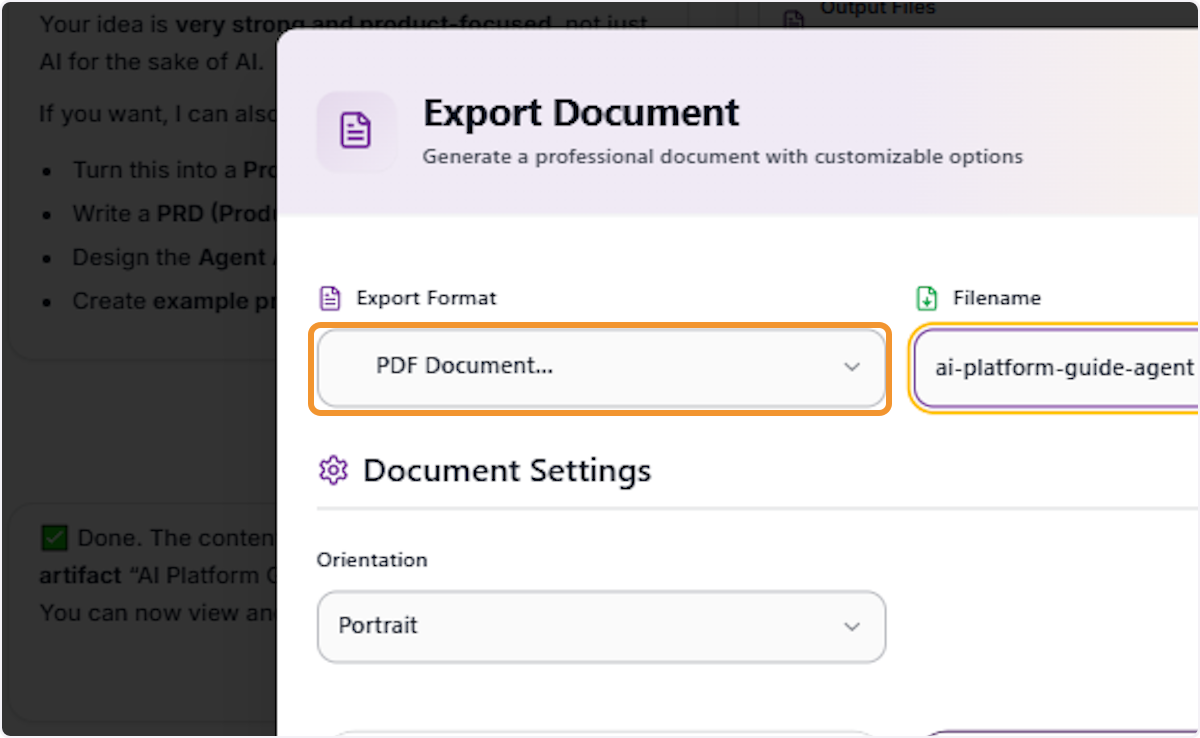
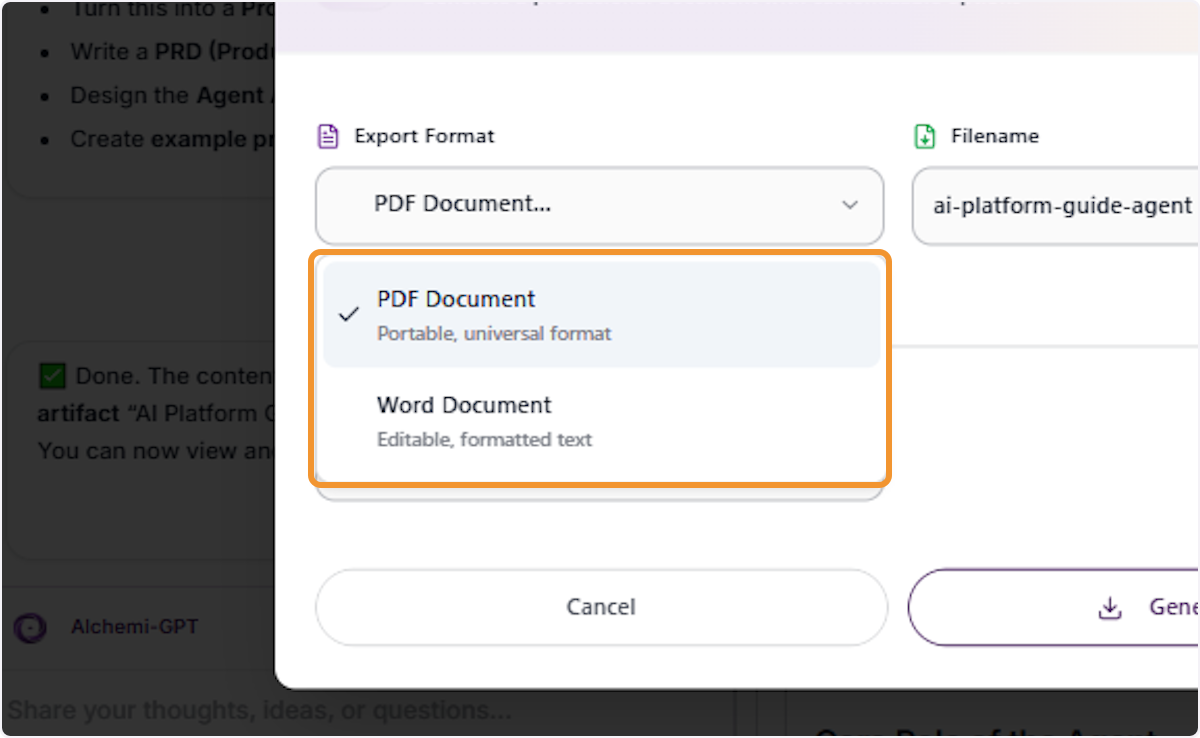
Click the Export Format dropdown to view the available export options — PDF Document (portable, universal format) and Word Document (editable, formatted text) — and select your preferred format.
Review Document Settings
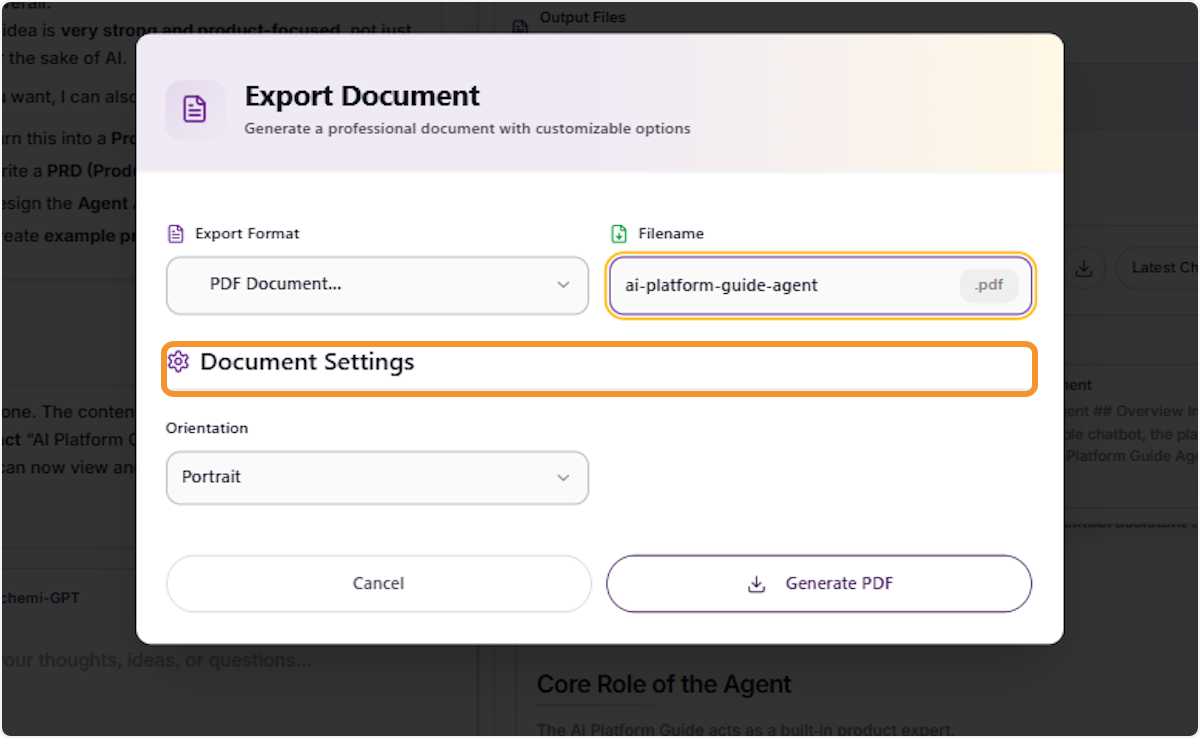
Click the Document Settings section to expand layout options such as page orientation before generating the export.
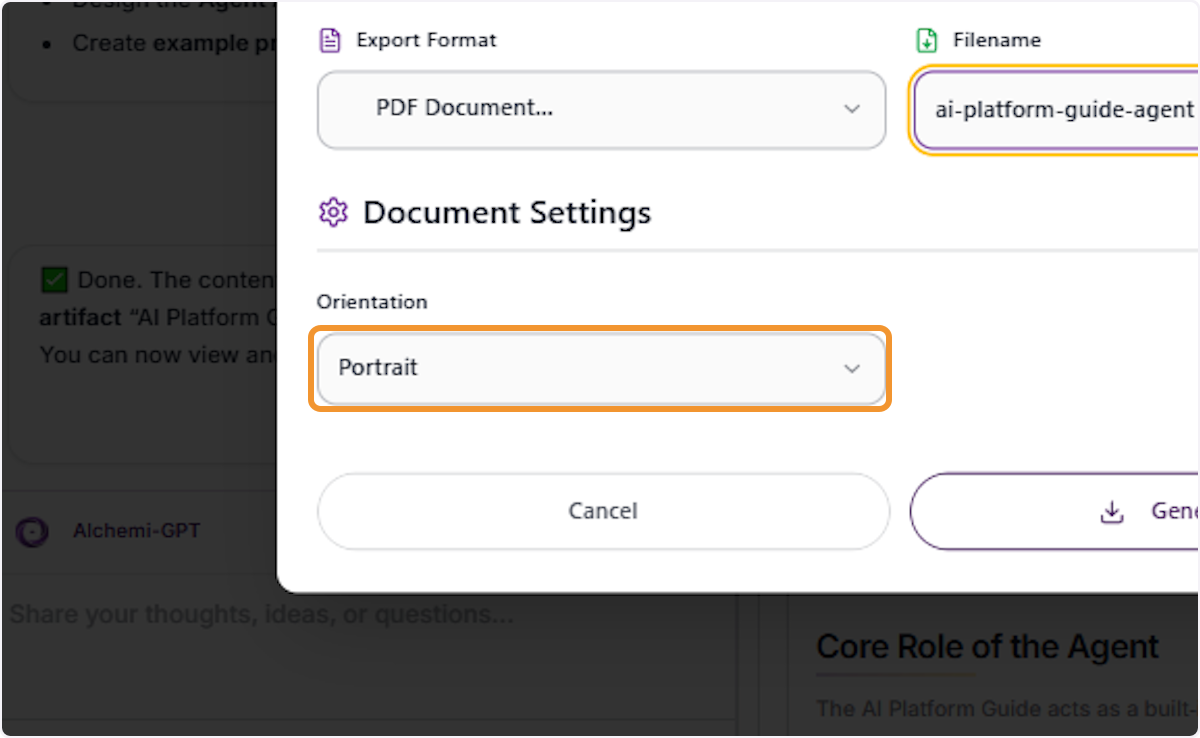
Open the Orientation Selector
Click the Orientation dropdown in the Document Settings section to choose between Portrait and Landscape page layouts for the exported document.
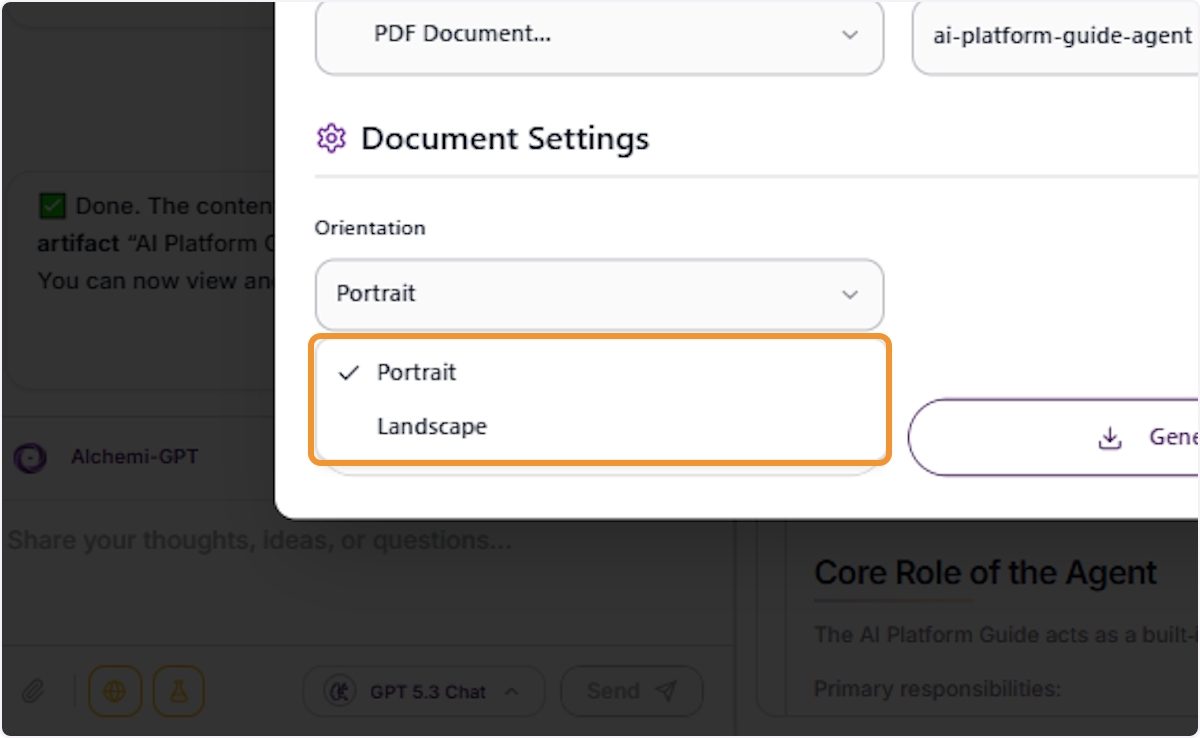
Select Page Orientation
The orientation dropdown displays two options — Portrait and Landscape. Select the layout that best suits the content and intended use of the exported document.
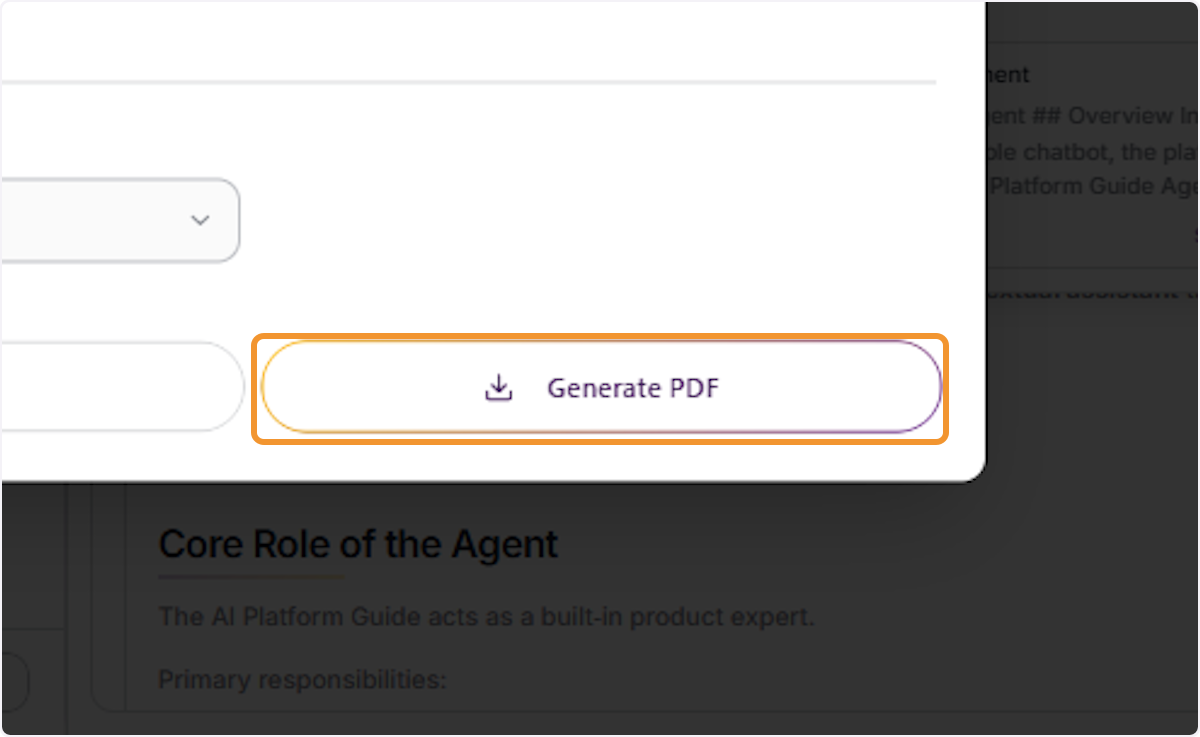
Generate the PDF
Click the Generate PDF button to create and download the document in the selected format and orientation to your device.
Branching and Managing Threads
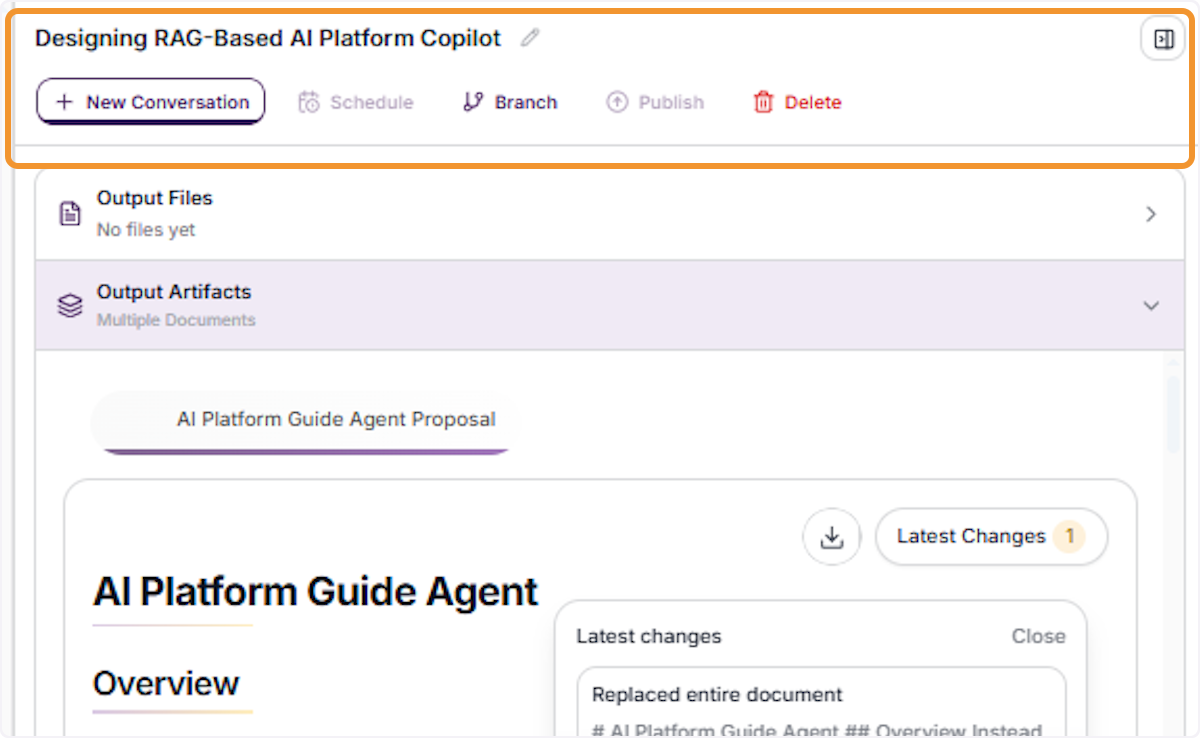
View the Current Thread
Review the active thread including its title, output files, output artifacts, and the generated artifact document displayed in the canvas.
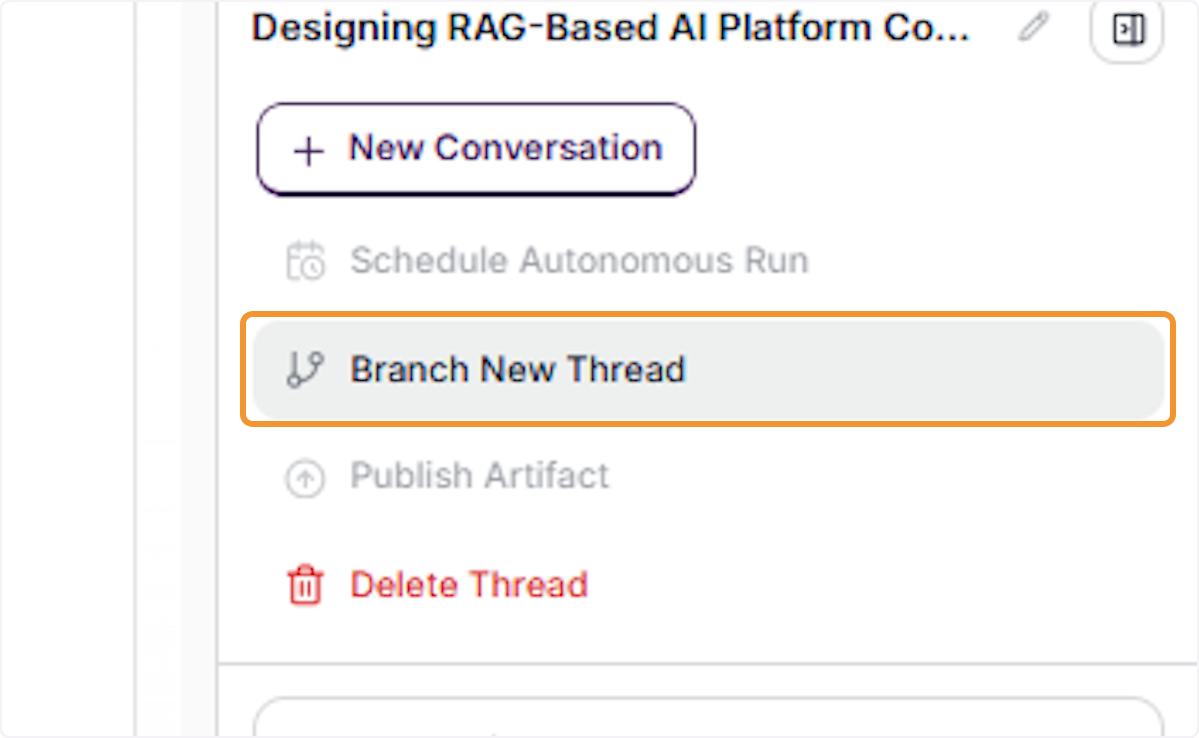
Branch the Current Thread
Click Branch New Thread from the thread actions menu to create a new independent thread that inherits the full context and history of the current conversation.
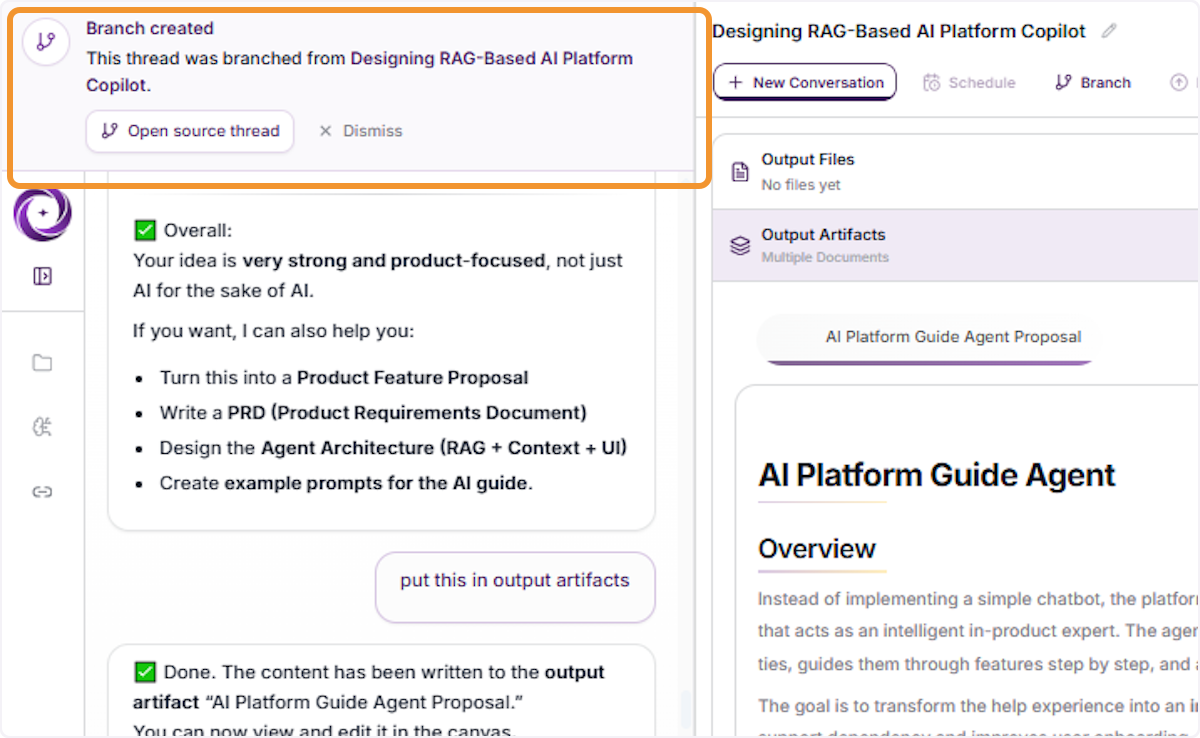
Confirm Branch Creation
A Branch Created notification banner appears confirming the new thread was successfully branched from the source thread, with an option to open the source thread.
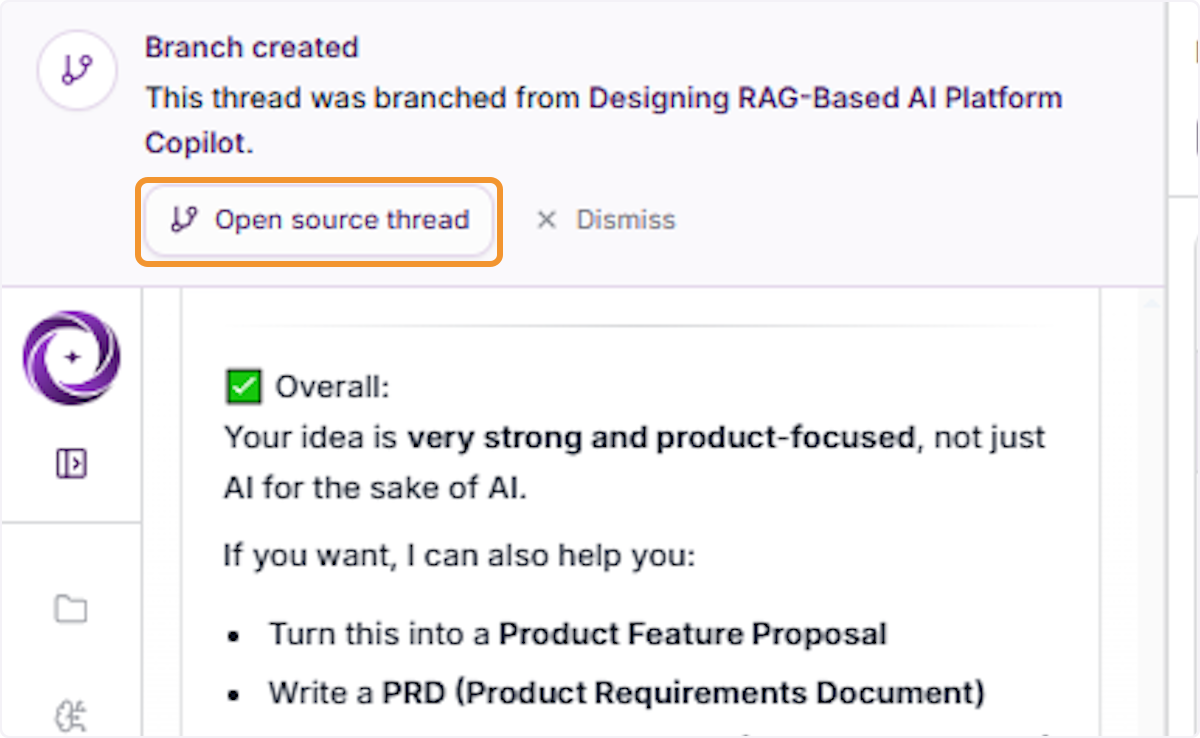
Open the Source Thread
Click the Open Source Thread link in the branch notification to navigate back to the original thread from which the current branch was created.
Highlight Content in the Thread
Click on a specific section of the agent’s response to highlight and focus on relevant content within the conversation for reference or further action.
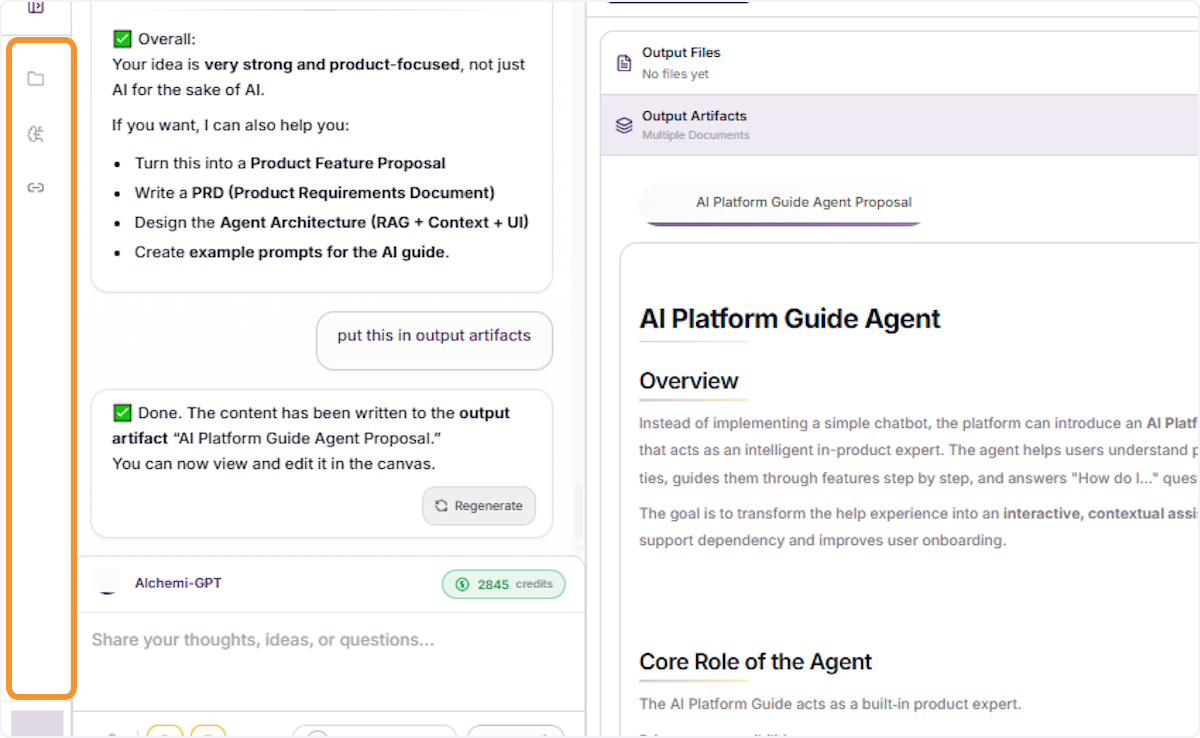
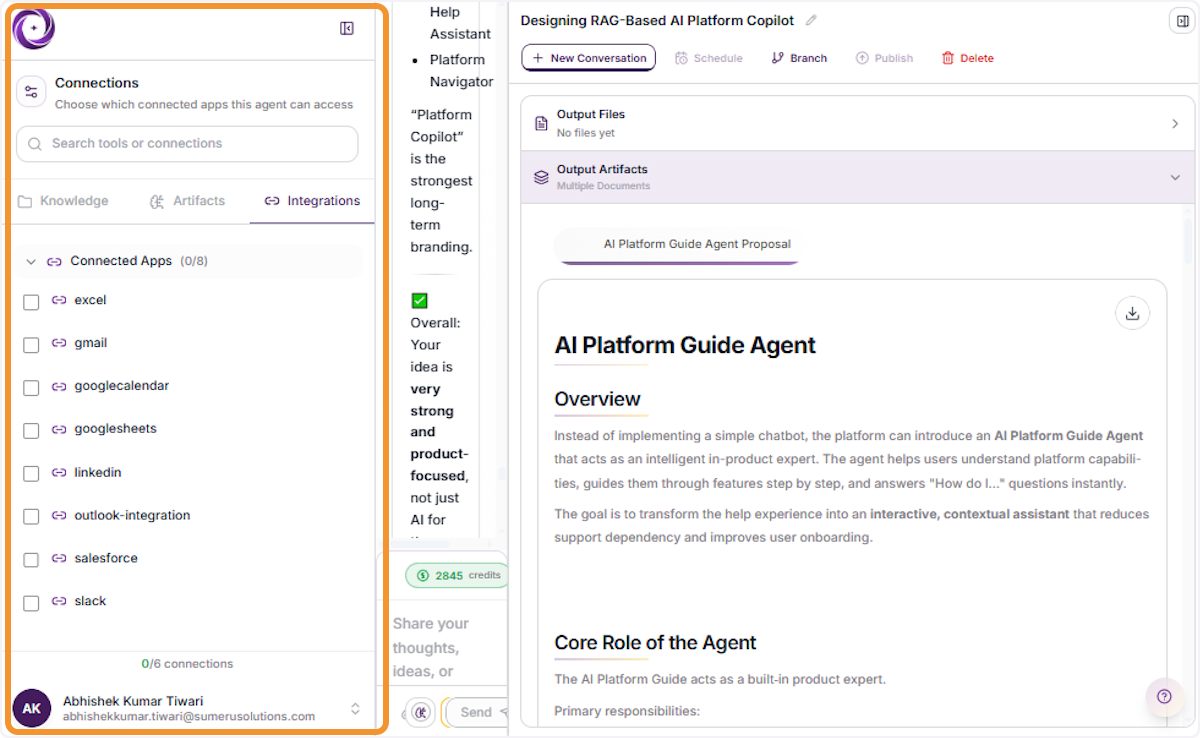
Open Connections from the Thread
Click the Connections icon in the active thread’s toolbar to open the Connections panel and manage which apps and integrations the agent can access during this session.
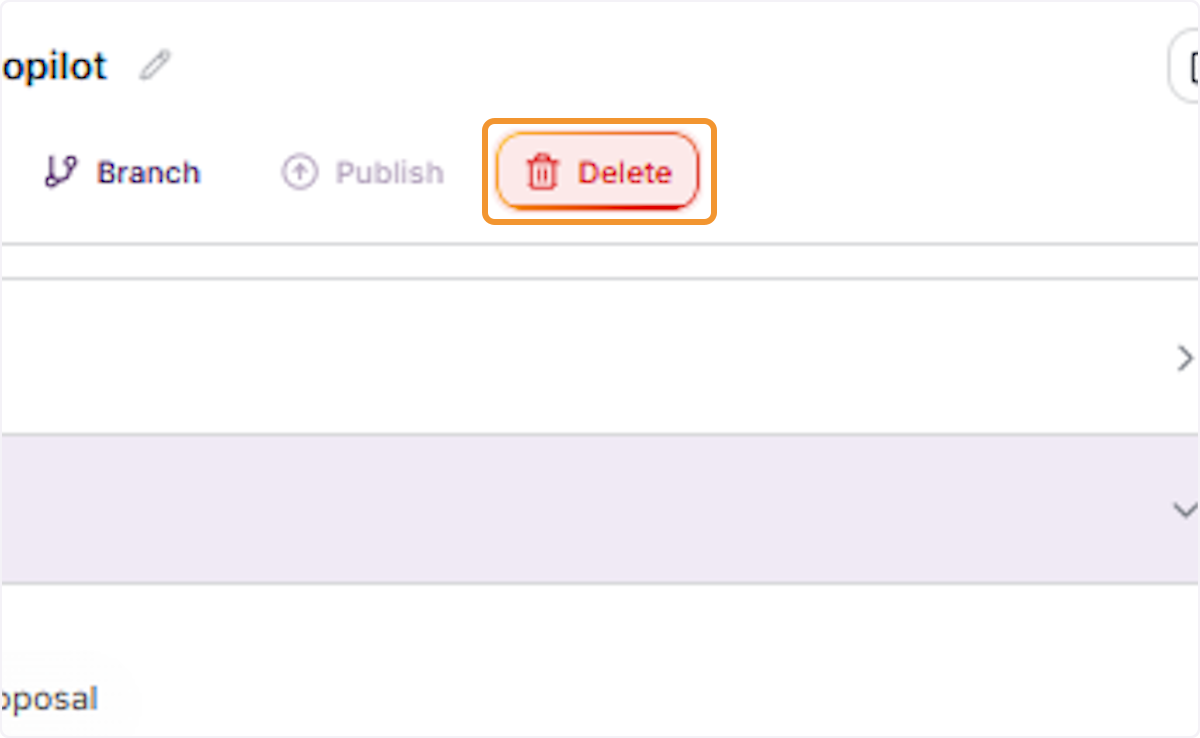
Click the Delete Button
Click the Delete button in the thread’s top action bar to initiate the process of permanently removing the current thread.
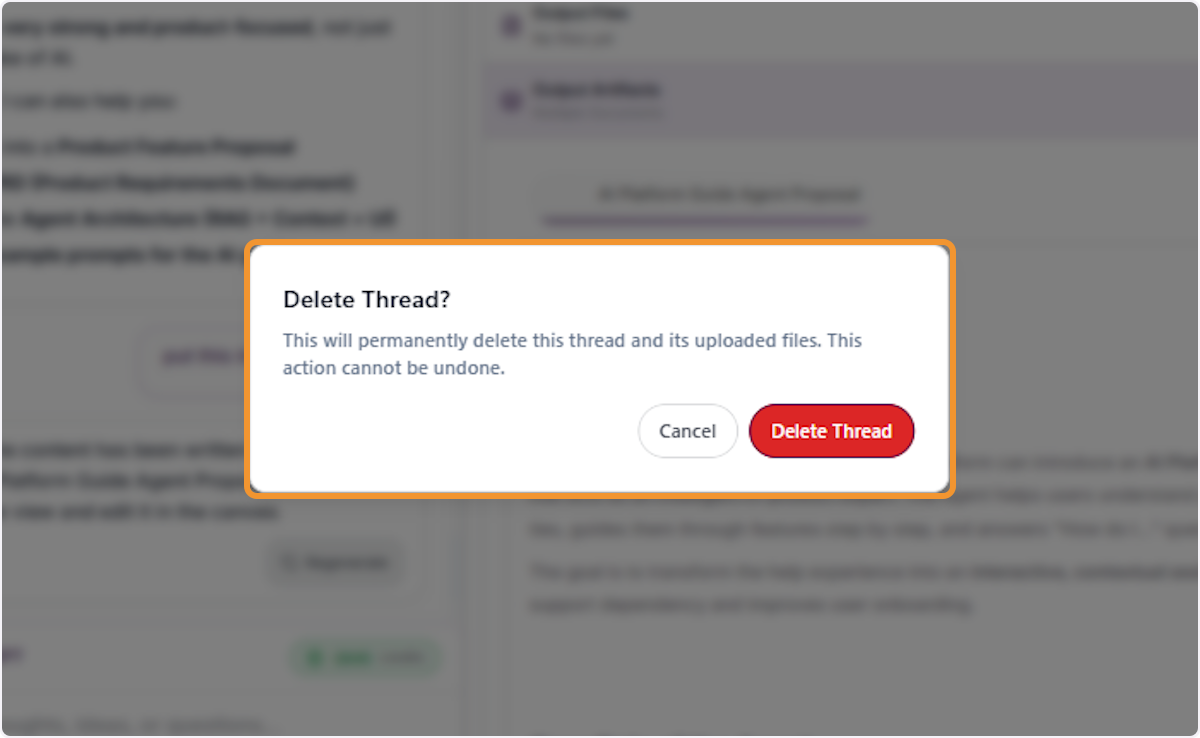
Review the Delete Confirmation Dialog
A Delete Thread? confirmation dialog appears warning that this action will permanently delete the thread and all uploaded files. Read the warning carefully before proceeding.
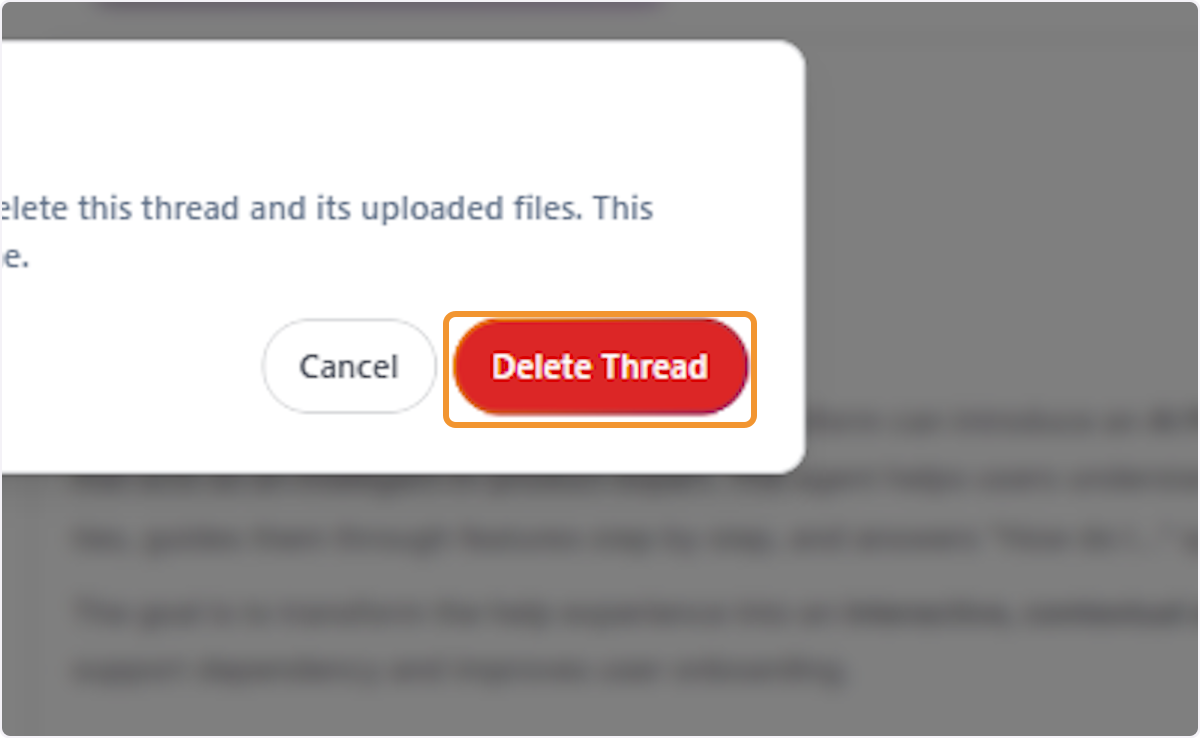
Confirm Thread Deletion
Click the Delete Thread button in the confirmation dialog to permanently remove the thread and all its associated files. This action cannot be undone.
Generating Files and Additional Requests
Open the Output Files Panel
Click Output Files in the right output pane of the branched thread to check whether any files have been generated by the agent during this session.
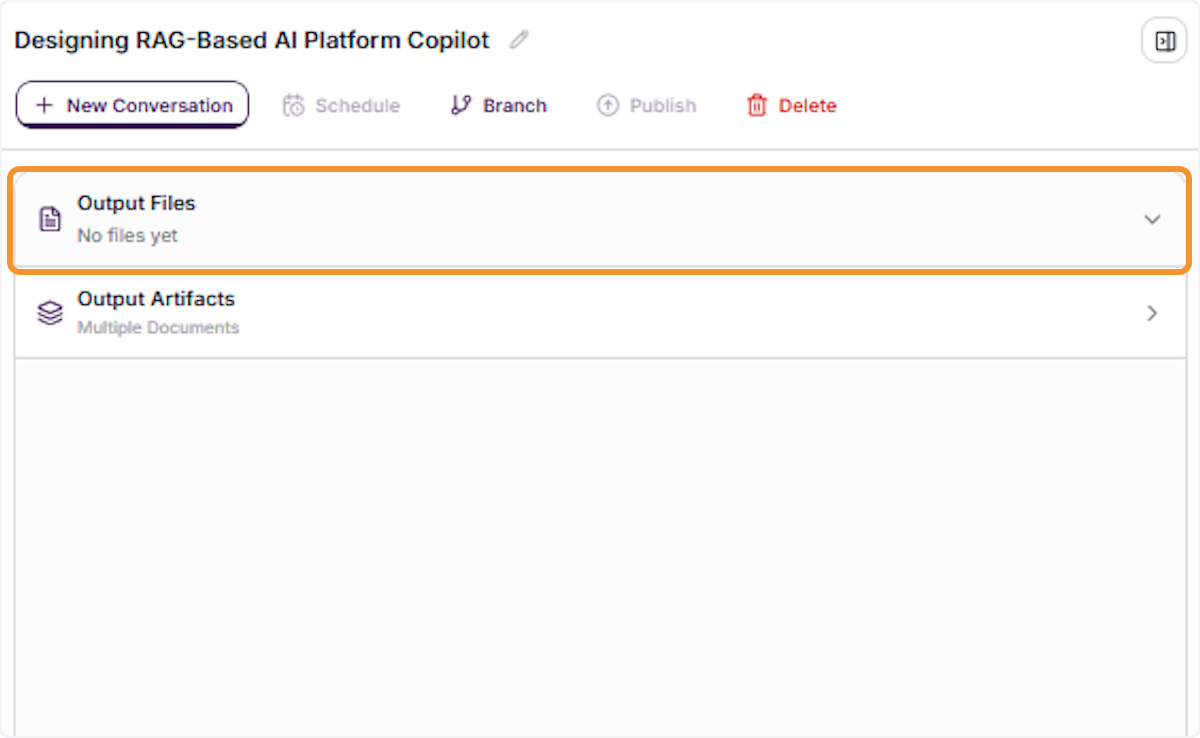
View the Empty Output Files Area
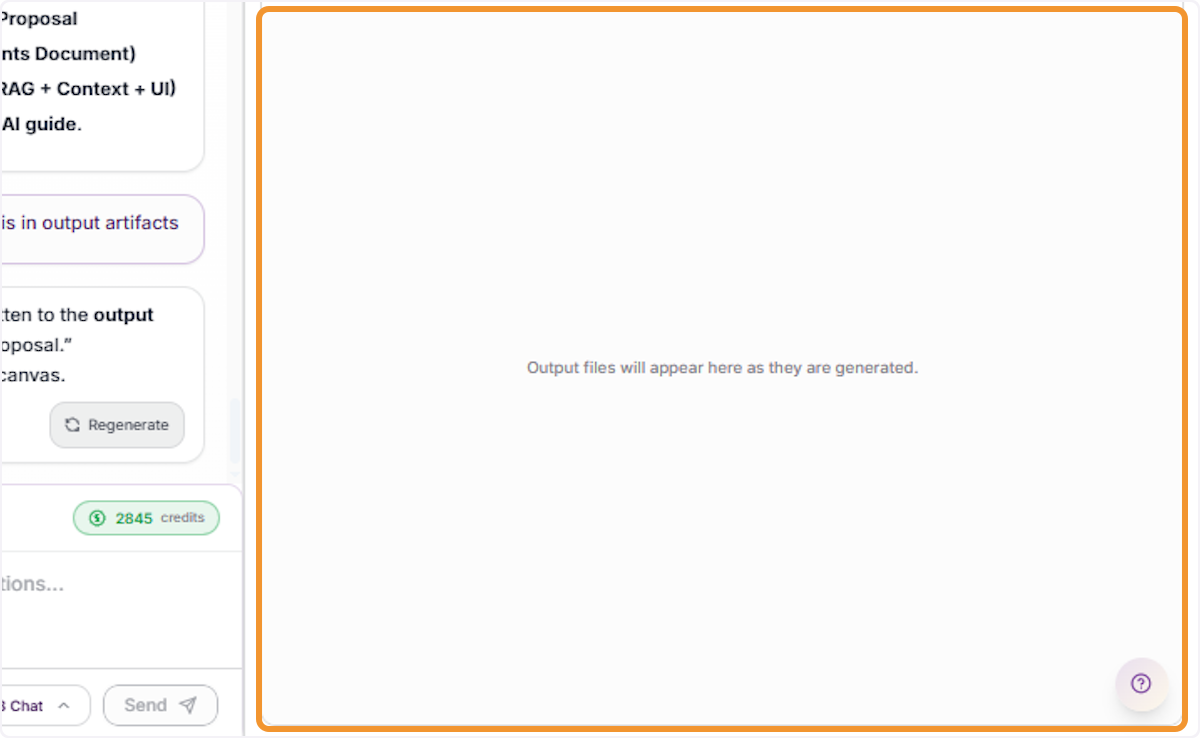
The Output Files panel shows a placeholder indicating that output files will appear here as they are generated — confirming no files have been produced yet.
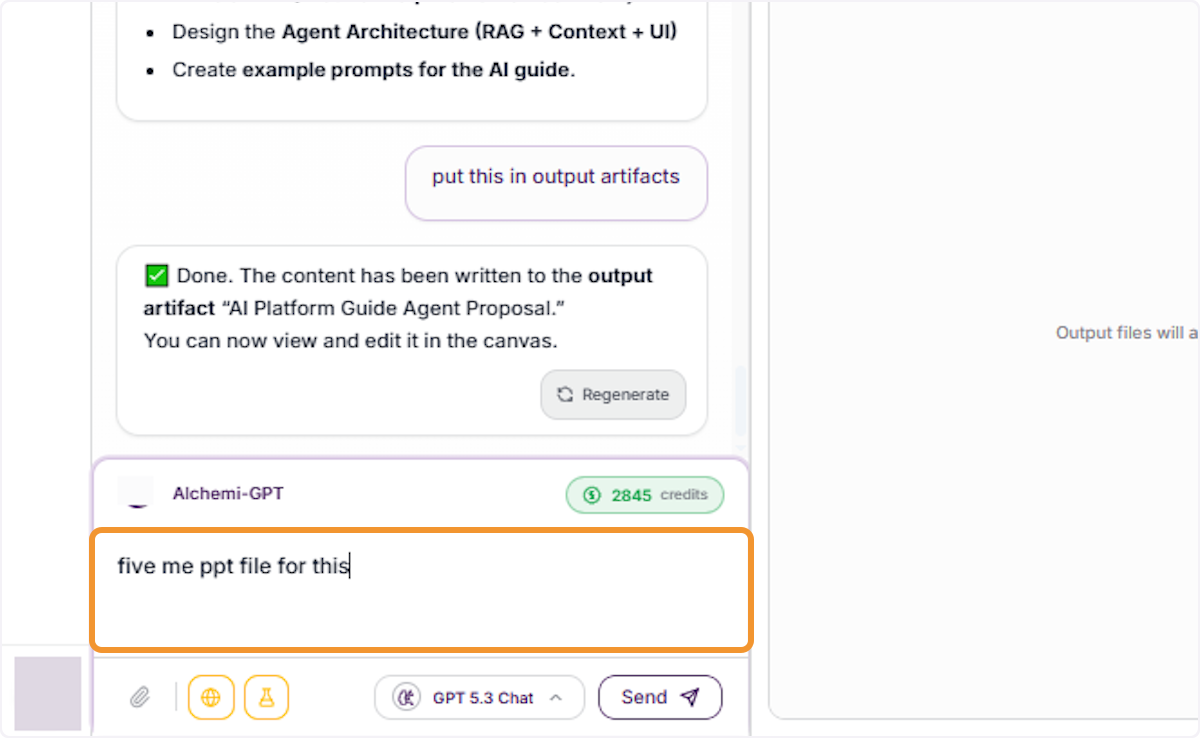
Type a File Generation Request
Click inside the message text area and type a specific request asking the agent to generate a file, such as requesting a PowerPoint presentation based on the current artifact content.
Monitor Agent Activity
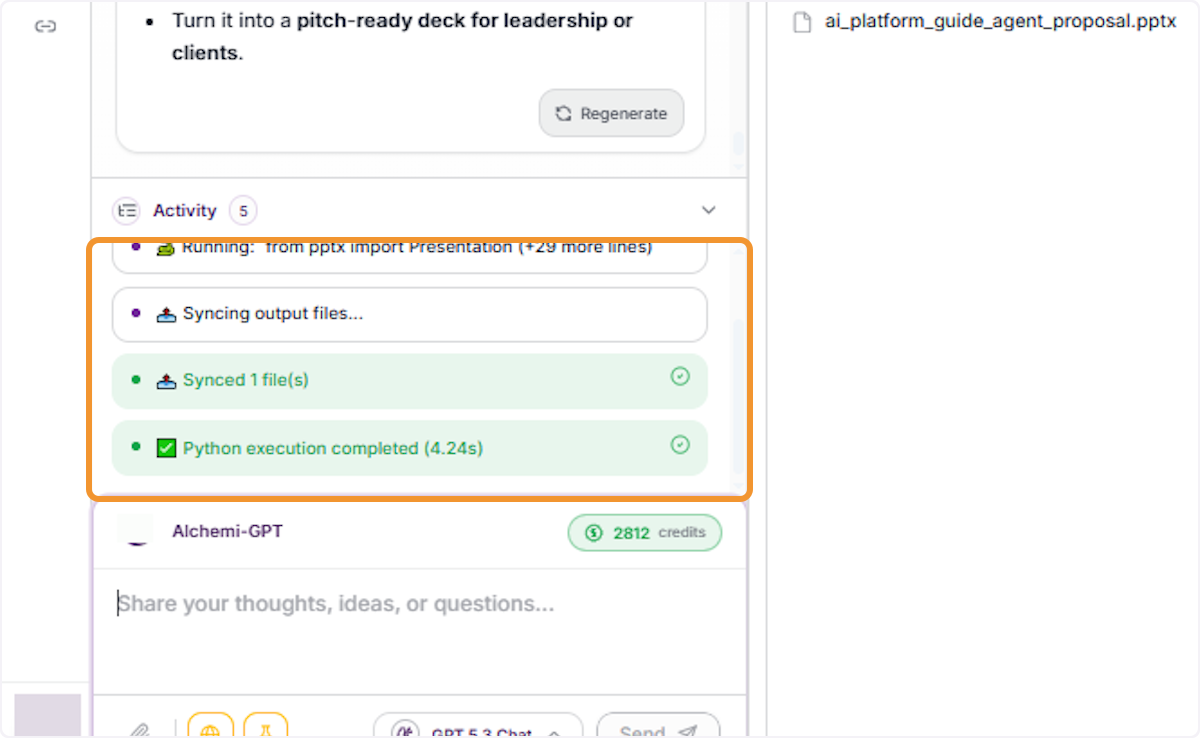
The Activity indicator in the message toolbar shows the agent is actively processing your request, including real-time steps such as preparing the sandbox environment and syncing output files.
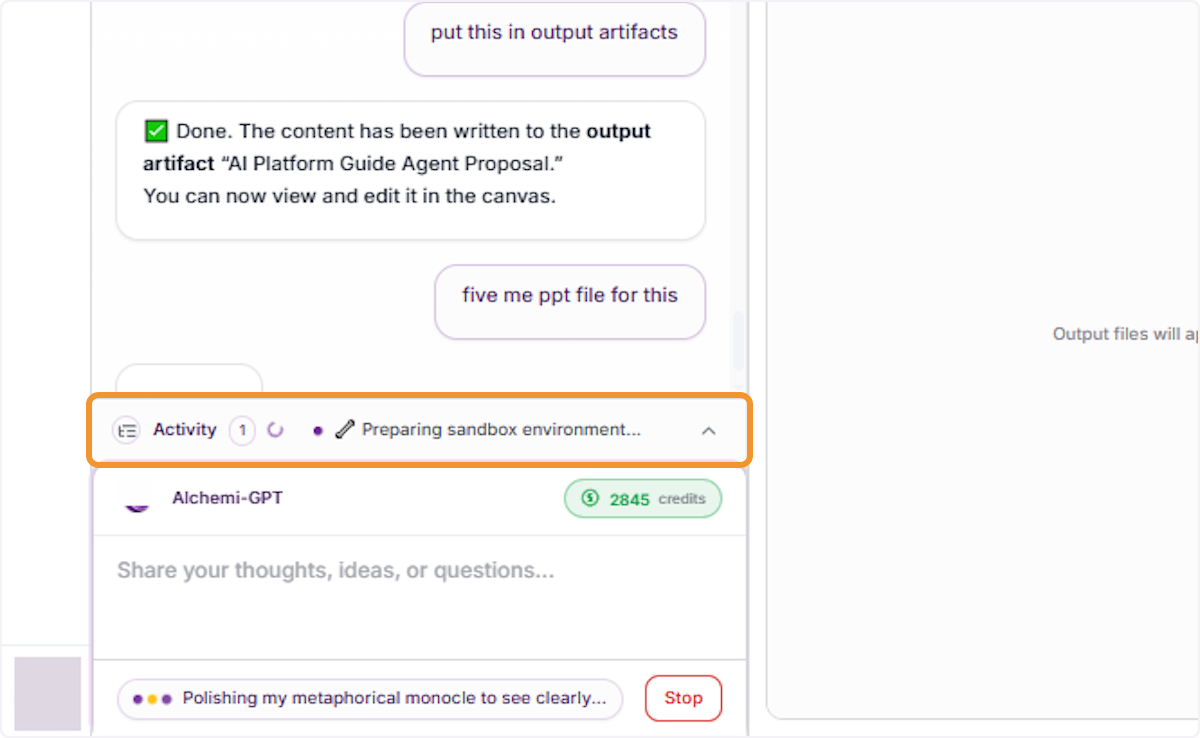
Review Sandbox Execution Progress
Expand the Activity panel to view detailed execution steps, including sandbox preparation, file output syncing, and Python execution completion with the time taken.
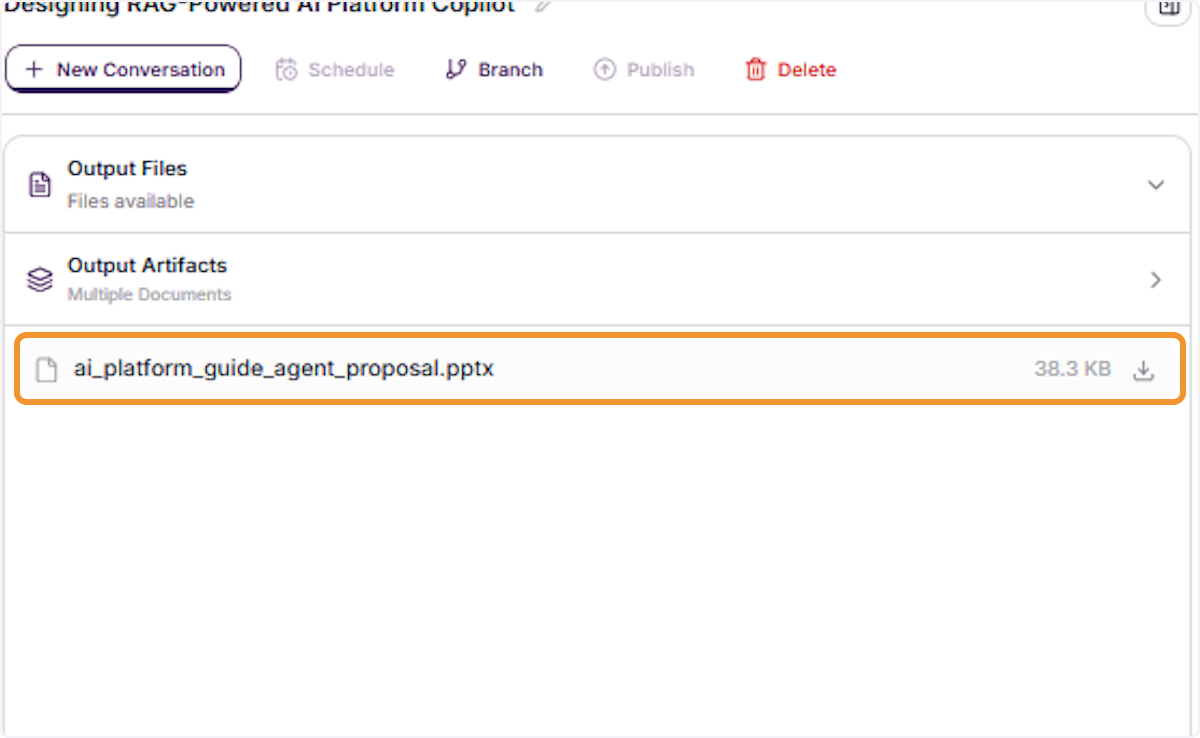
Confirm Generated File in Output Files
The generated file appears in the Output Files panel with its filename and file size, confirming that the agent successfully created and saved the requested file.
Downloading and Thread Management
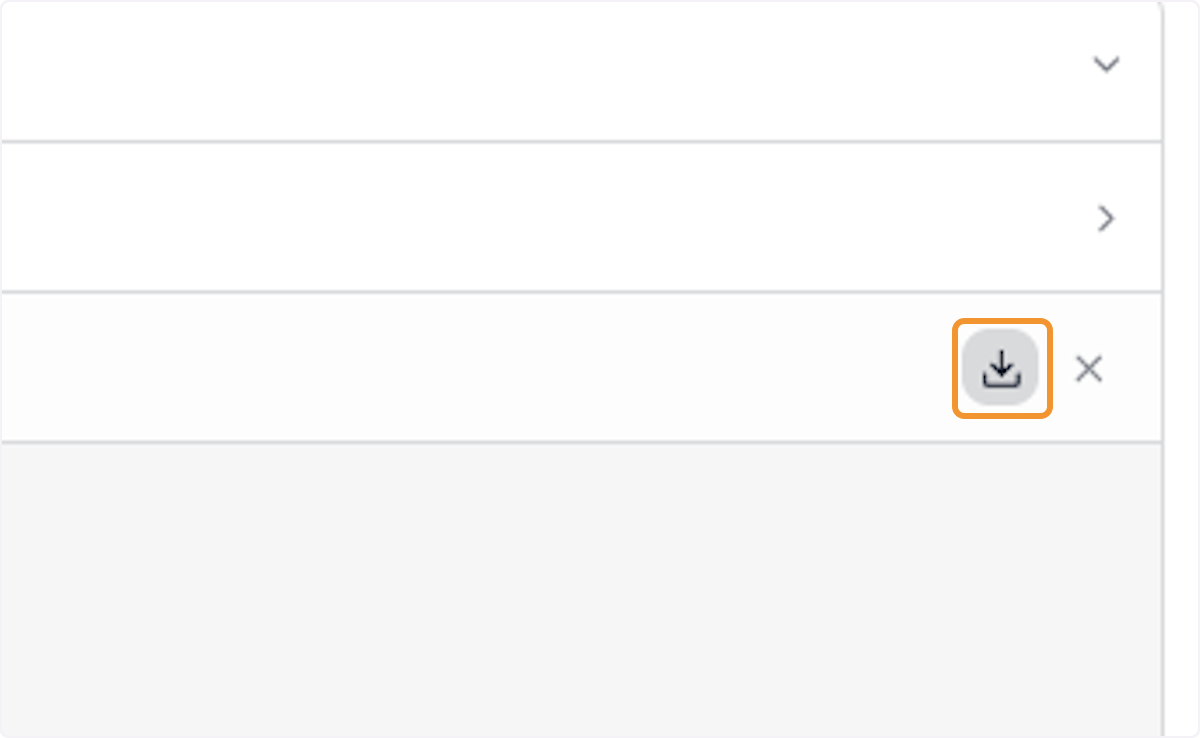
Download the Generated File
Click the Download icon next to the generated file in the Output Files panel to save it directly to your device.
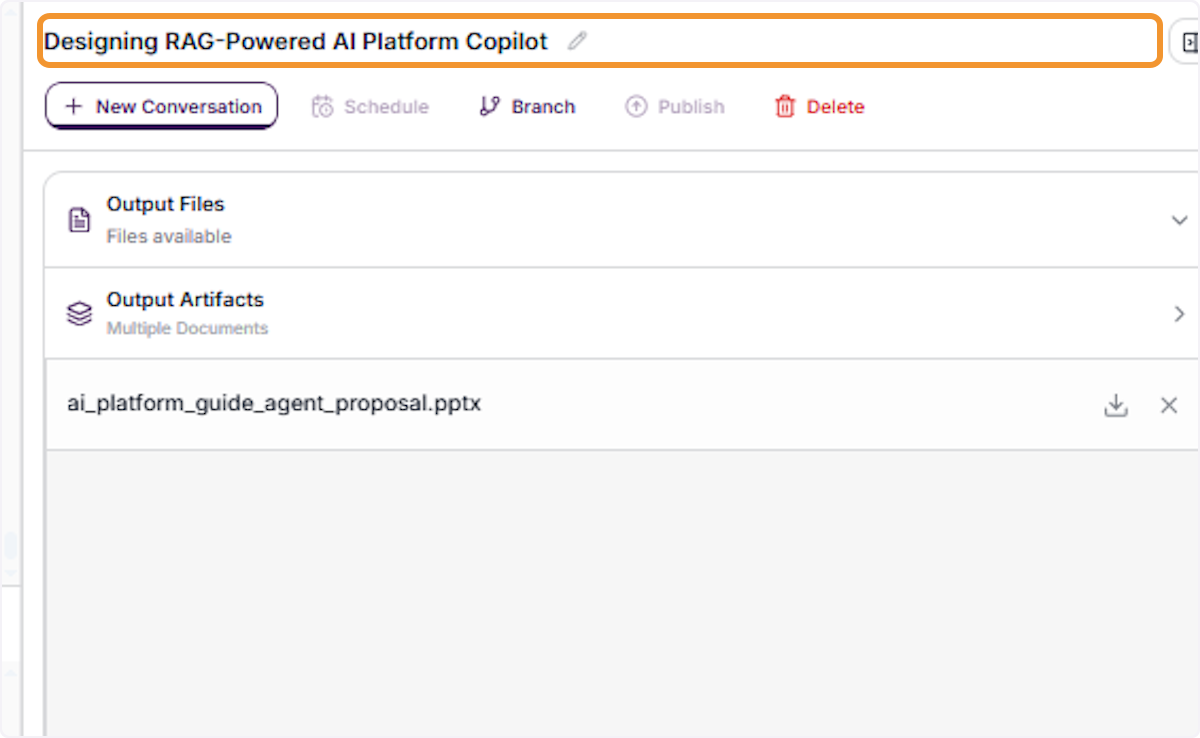
Review the Thread with Output
Review the complete thread view showing the thread title, Output Files with the available file, and Output Artifacts with multiple documents generated during the session.
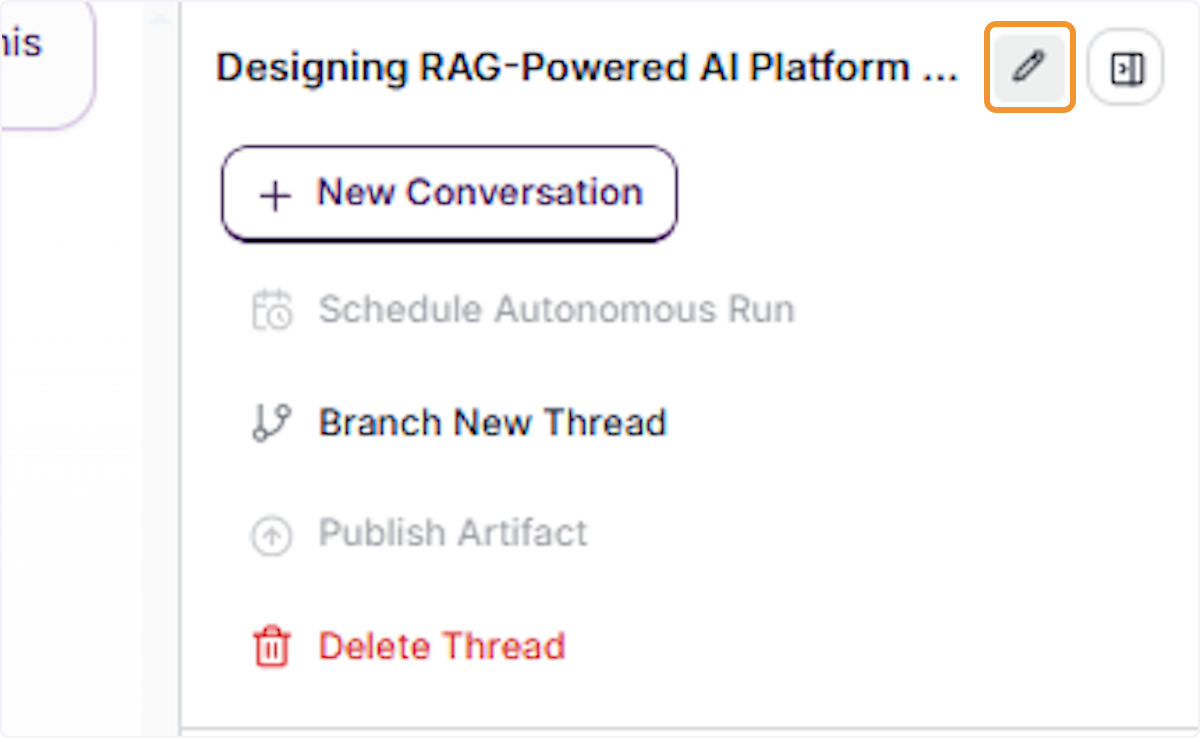
Edit the Thread Title
Click the Edit (pencil) icon next to the thread title to enter edit mode and rename the thread to something more descriptive or relevant.
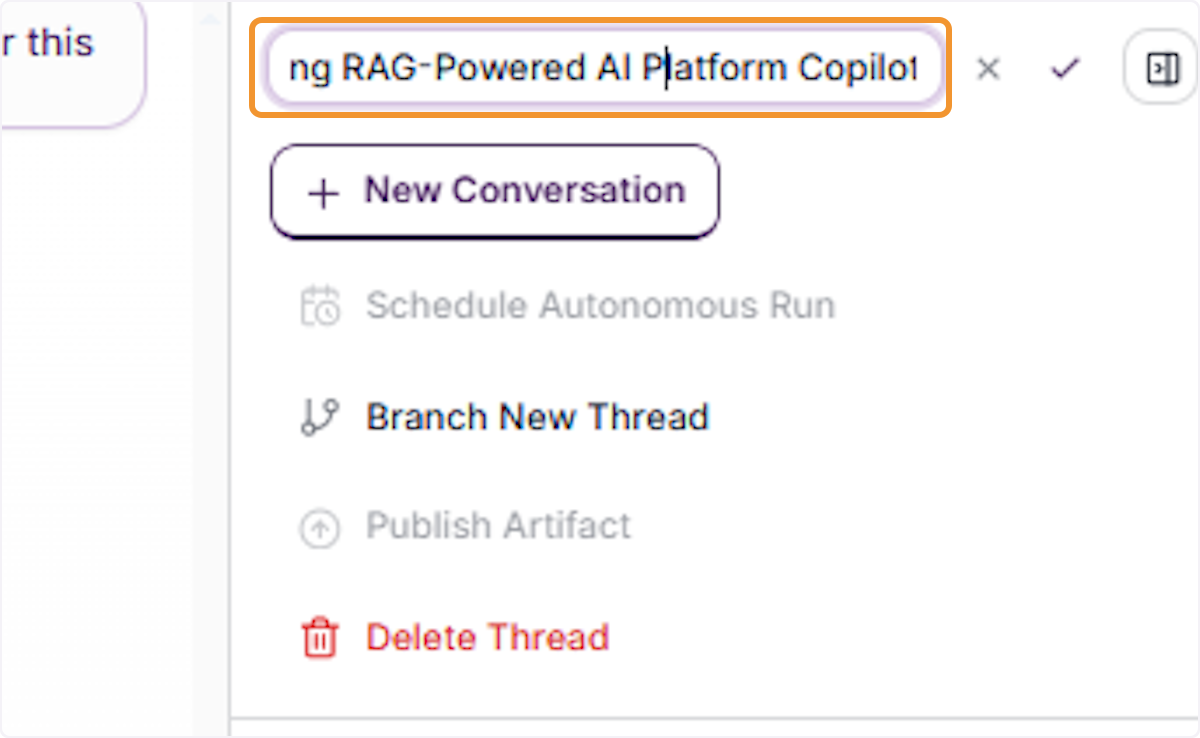
Modify the Thread Title
Click inside the active thread title field and update the text to rename the thread. Use the checkmark to save or the x to cancel the edit.
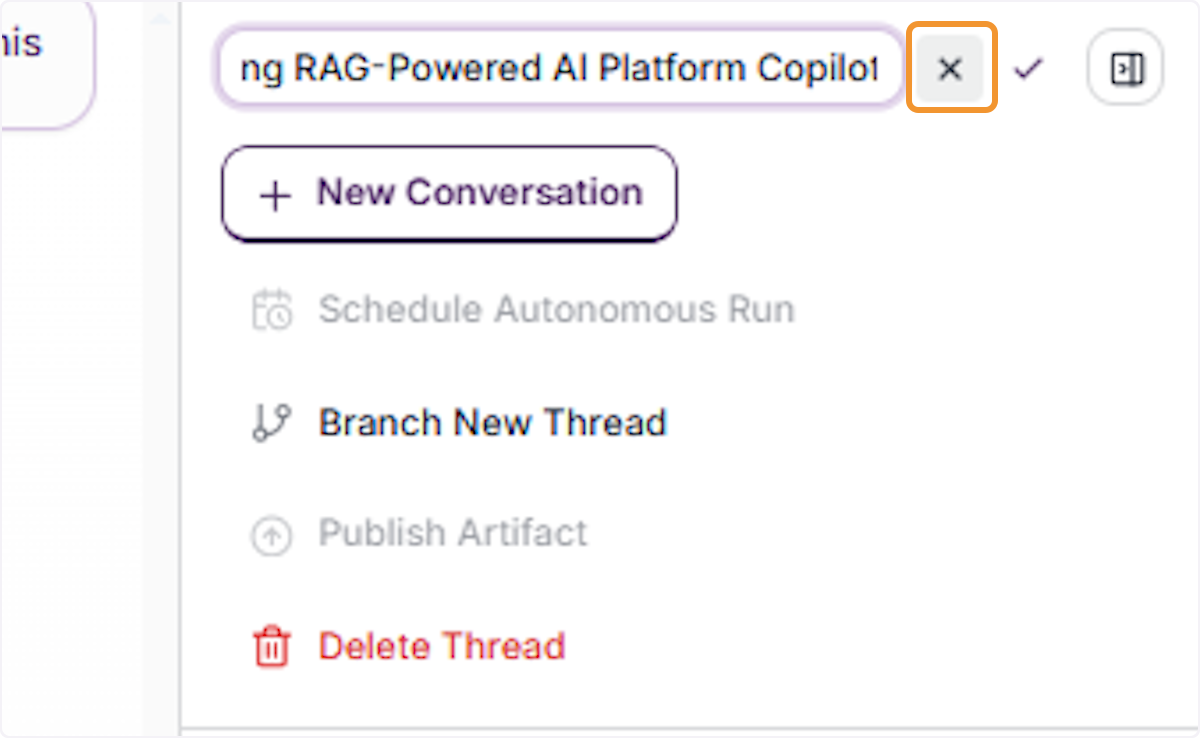
Cancel the Title Edit
Click the x button next to the title input to cancel the rename action and revert to the existing thread title without saving any changes.
Click the Orchestra AI logo icon in the left sidebar to navigate back to the main home screen of the platform.
Previous Conversations and History
The main navigation sidebar becomes visible, showing options for New Conversation, previous threads, Workspaces, Build tools, and Settings.
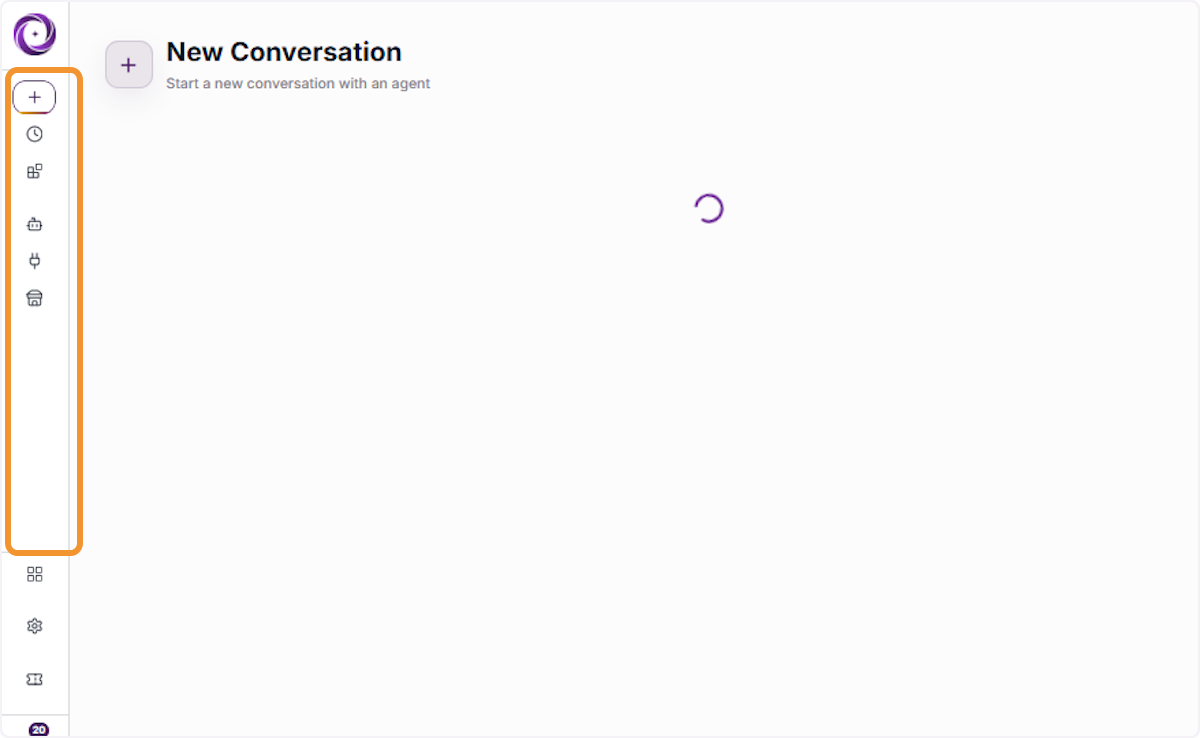
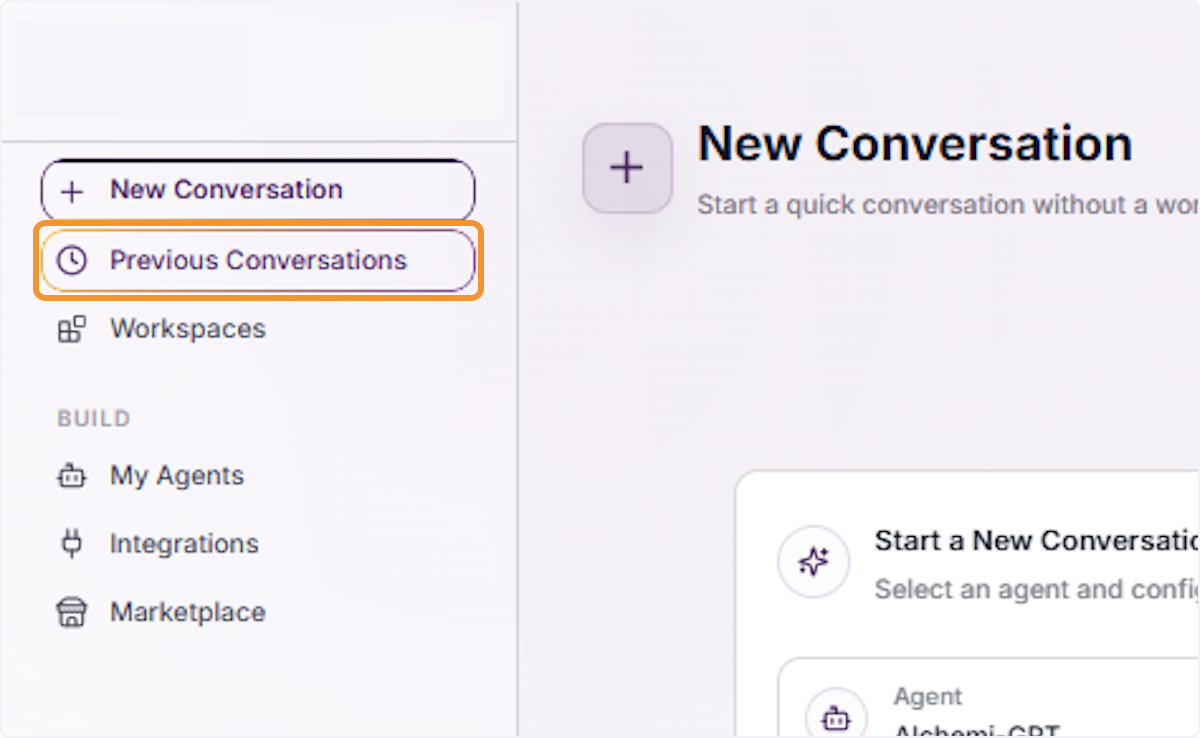
Click Previous Conversations in the left sidebar to open the conversation history view, which shows all past independent threads outside of any workspace.
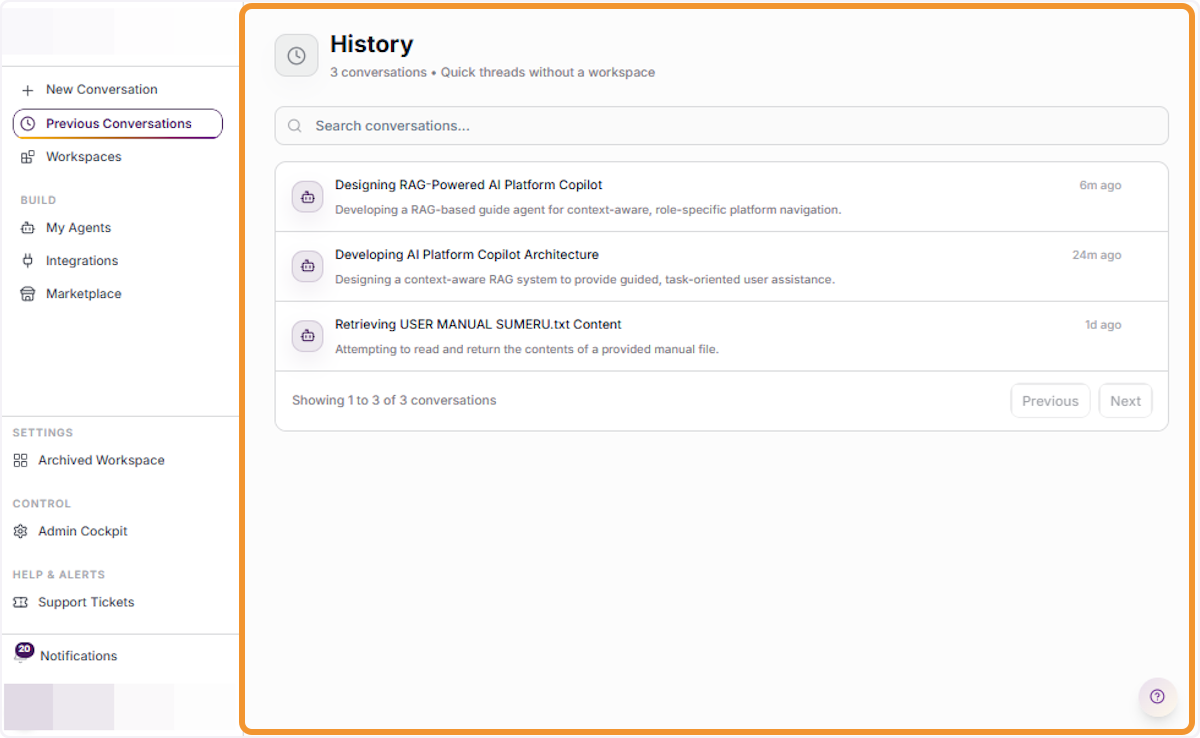
View the Conversation History List
The History panel opens showing all previous independent conversations with their title, brief description, and relative timestamp for when each was last active.
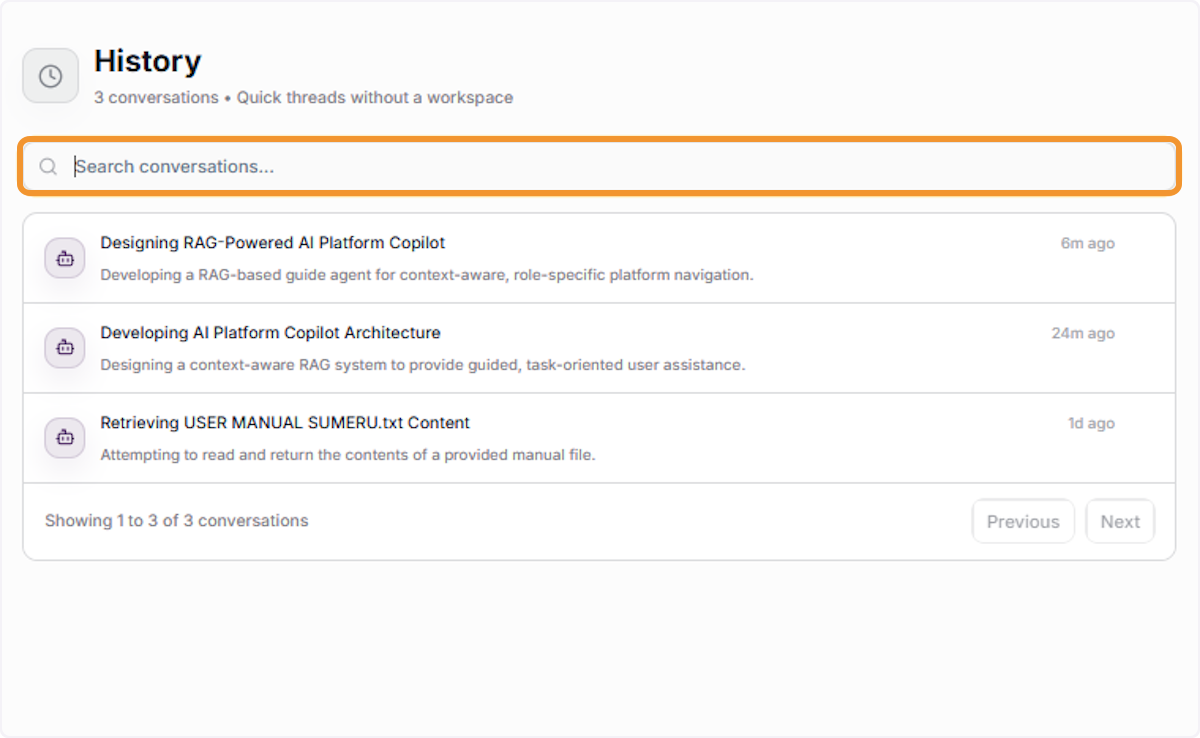
Search Through Conversation History
Click the Search conversations… field in the History panel and type keywords to filter and locate a specific past conversation thread by name or topic.
Hover over a conversation entry and click the ··· (three-dot) menu icon that appears to access available actions for that specific conversation.
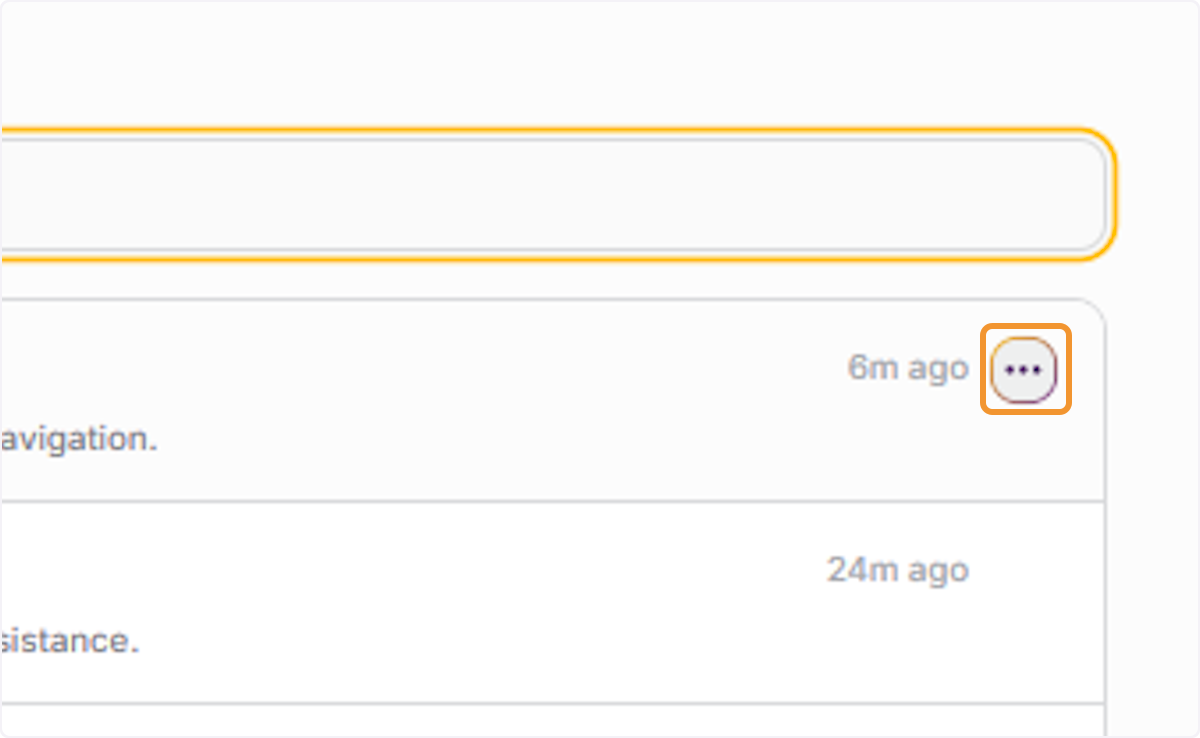
View Available Conversation Actions
The conversation actions dropdown appears, revealing available options for the selected thread — including Delete — allowing you to manage individual past conversations.
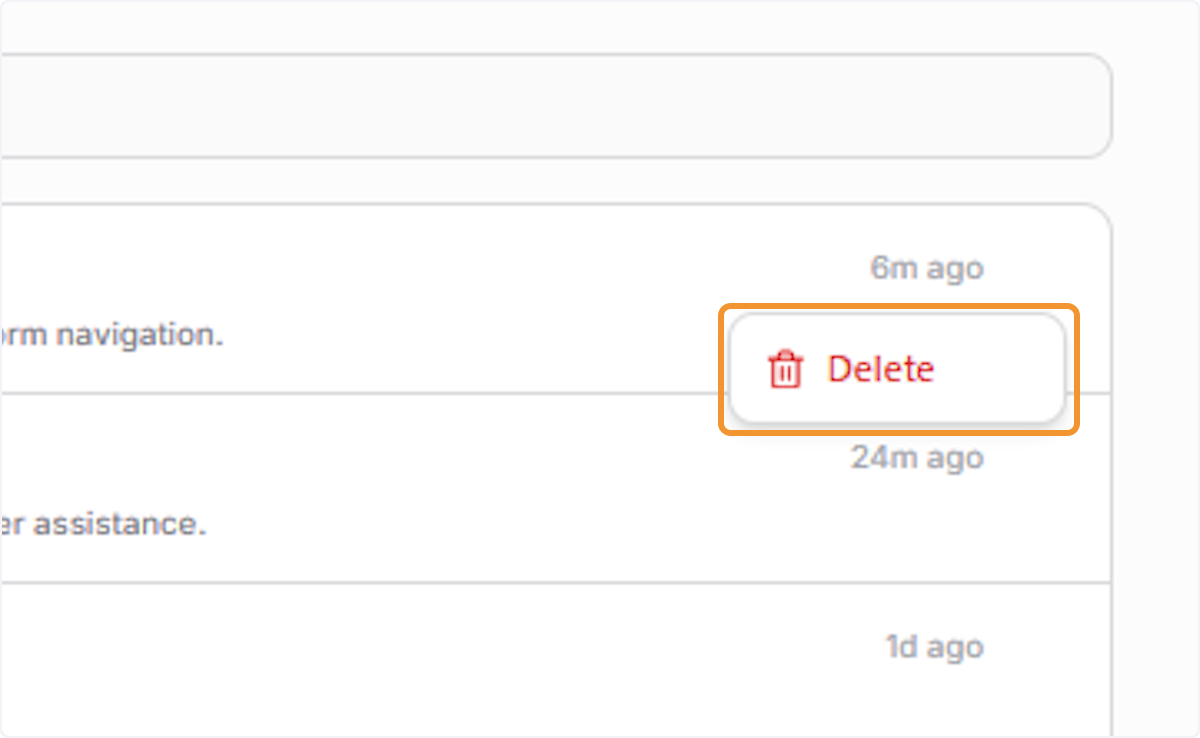
Click Delete Conversation
Click Delete from the conversation actions dropdown to initiate the deletion of the selected past conversation thread from your history.
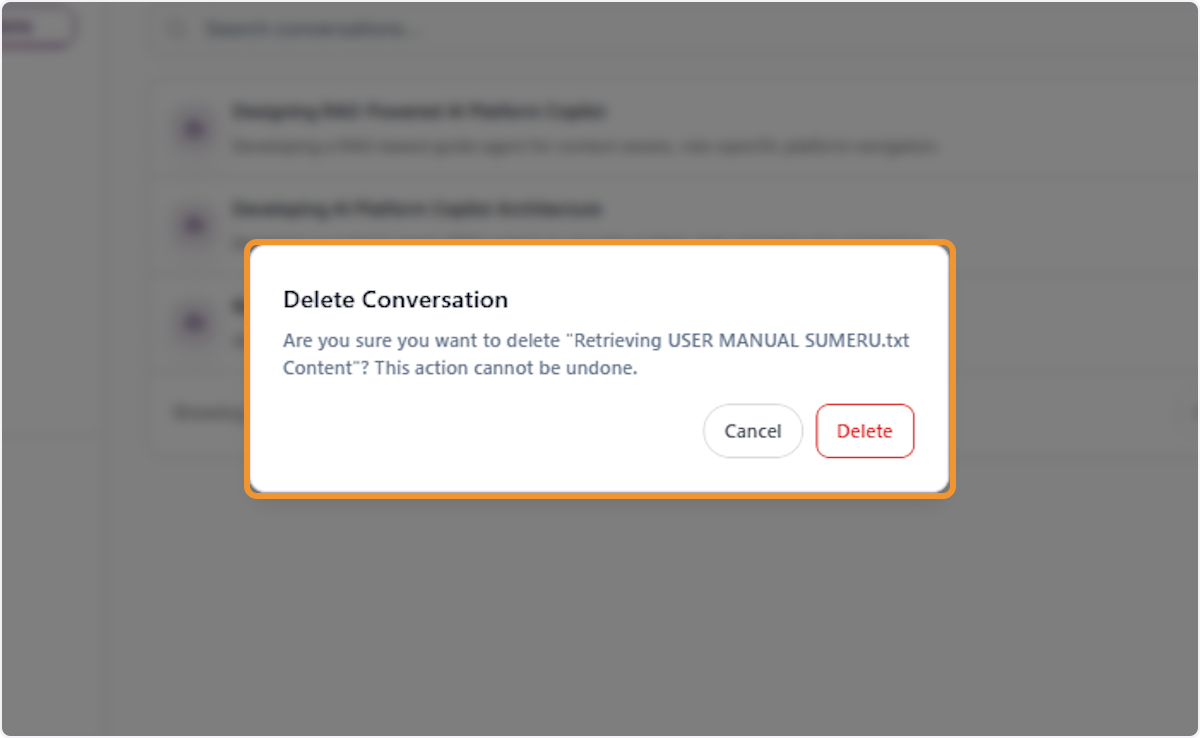
Confirm Conversation Deletion
A Delete Conversation confirmation dialog appears. Click the Delete button to permanently remove the selected conversation and all its associated content. This action cannot be undone.
Confirm Deletion Success
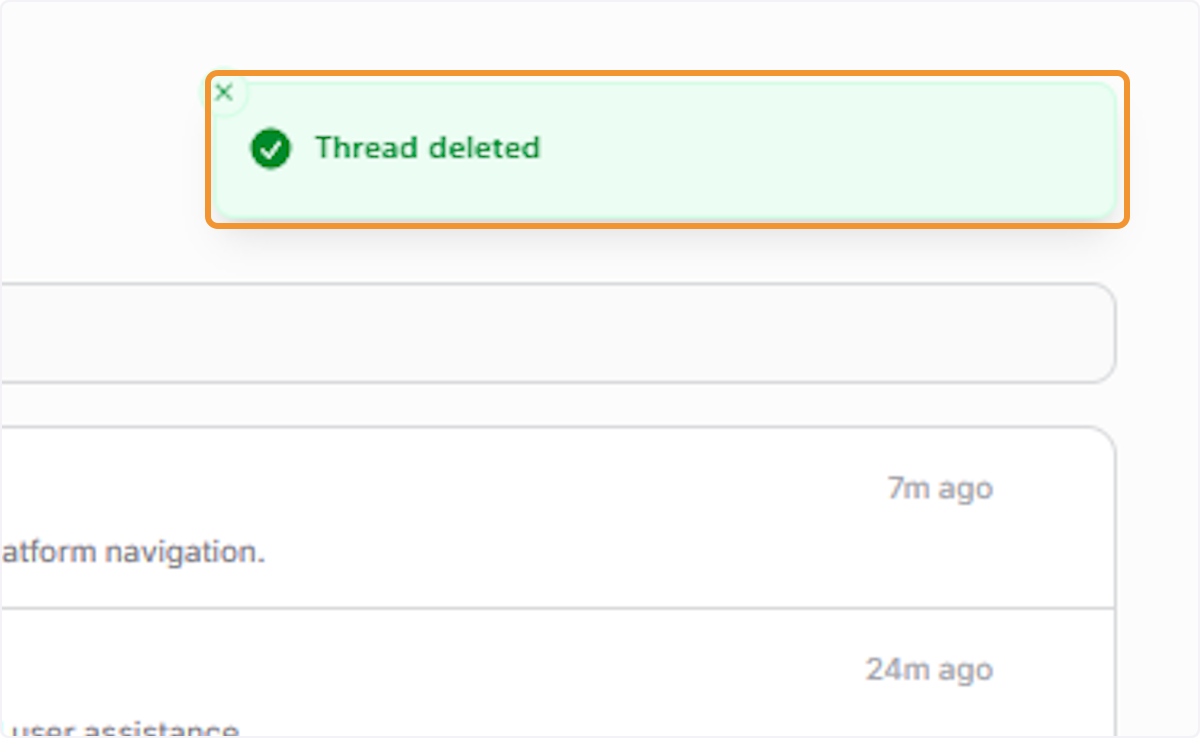
A green Thread deleted confirmation banner appears at the top of the History panel, confirming the conversation was successfully removed from your history.
Viewing Remaining Conversations
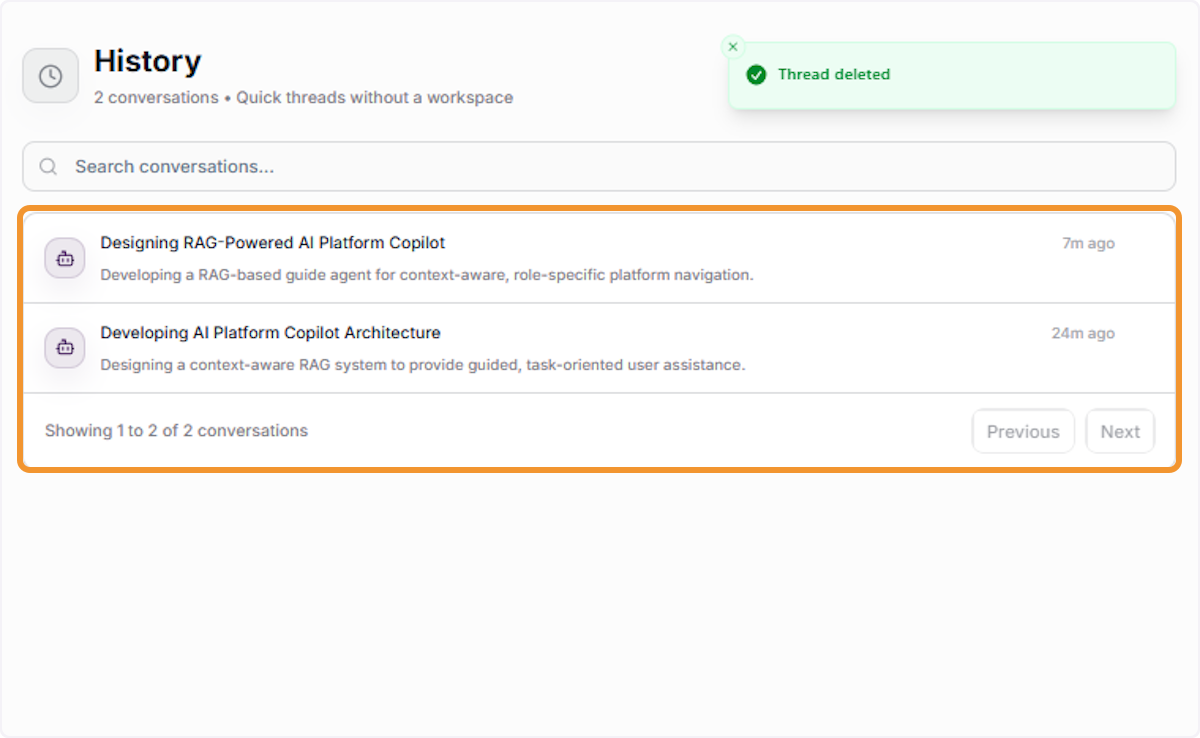
Review the Updated History List
After deletion, the History panel refreshes and displays the remaining conversations, with the deleted thread no longer present in the list.
Open a Previous Conversation
Click on any remaining conversation title in the History panel to reopen and continue that thread, loading its full message history and output content.