Invite a New User
Admins can invite new team members directly from the User Management dashboard. The invited user receives an email with instructions to join the account and activate their access.
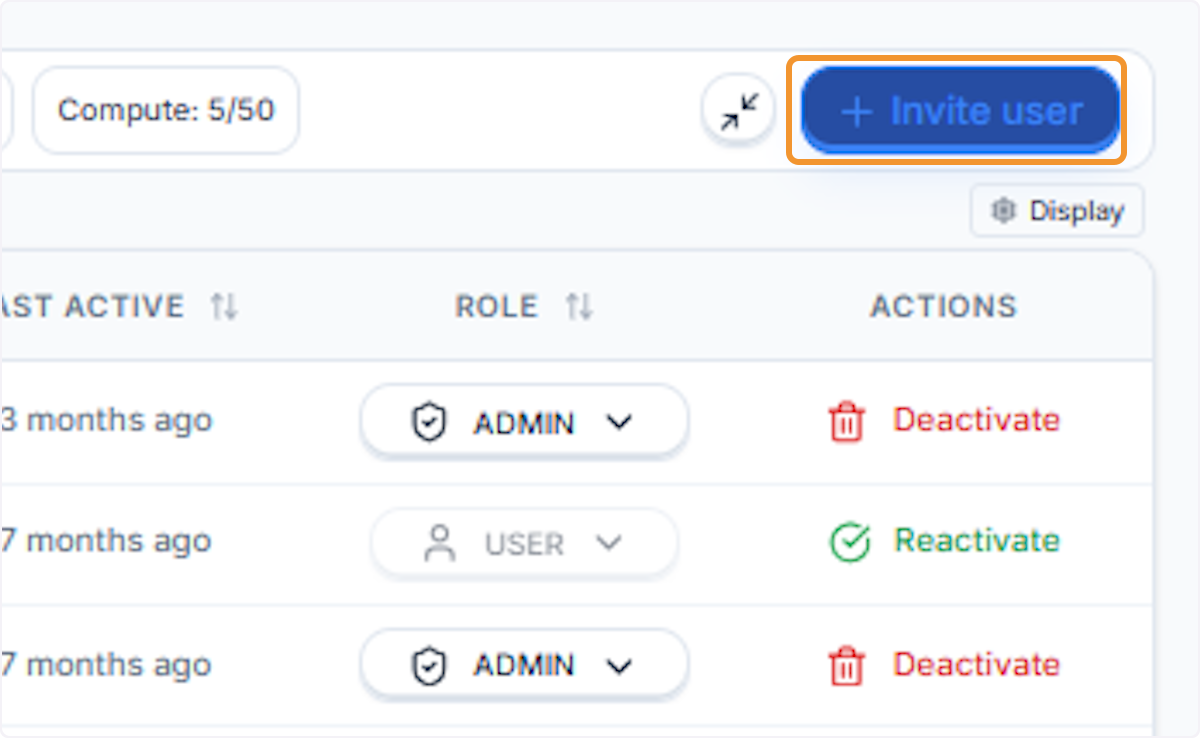
Click ”+ Invite user”
Click the + Invite user button in the top-right corner of the User Management dashboard to start the invitation flow.
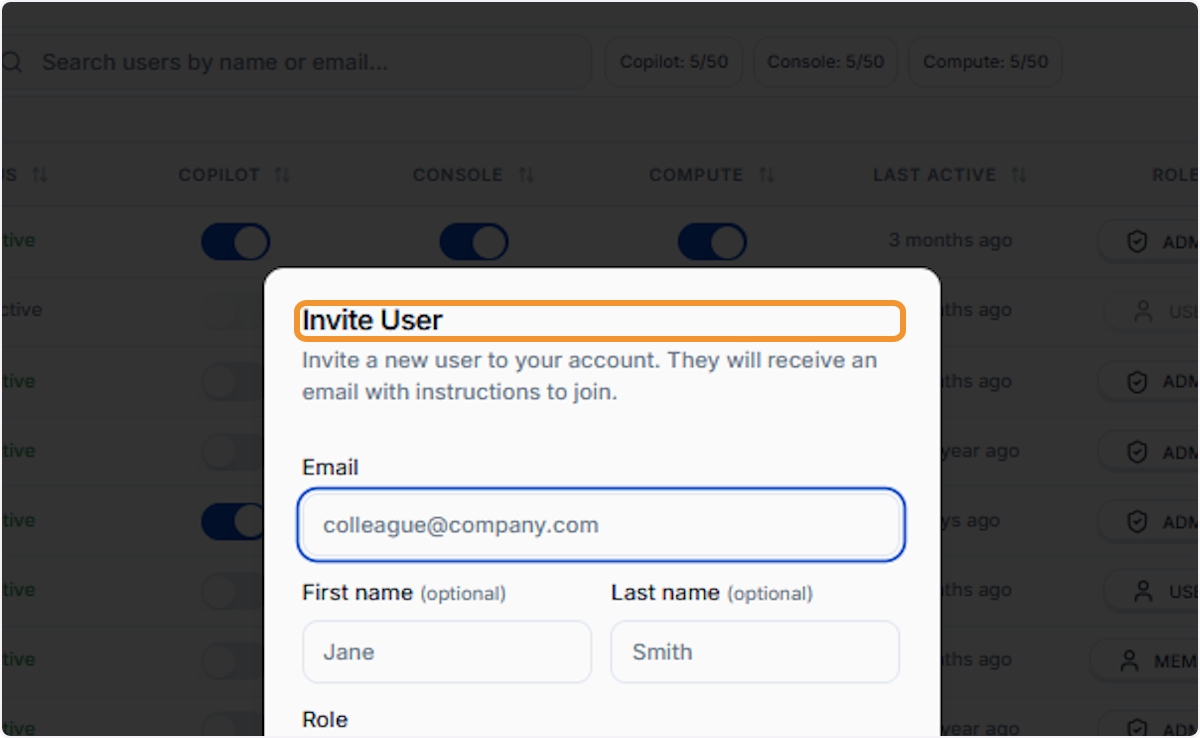
The Invite User dialog opens
The Invite User modal appears. This form lets you enter the new user’s email, an optional name, and assign a role before sending the invitation.
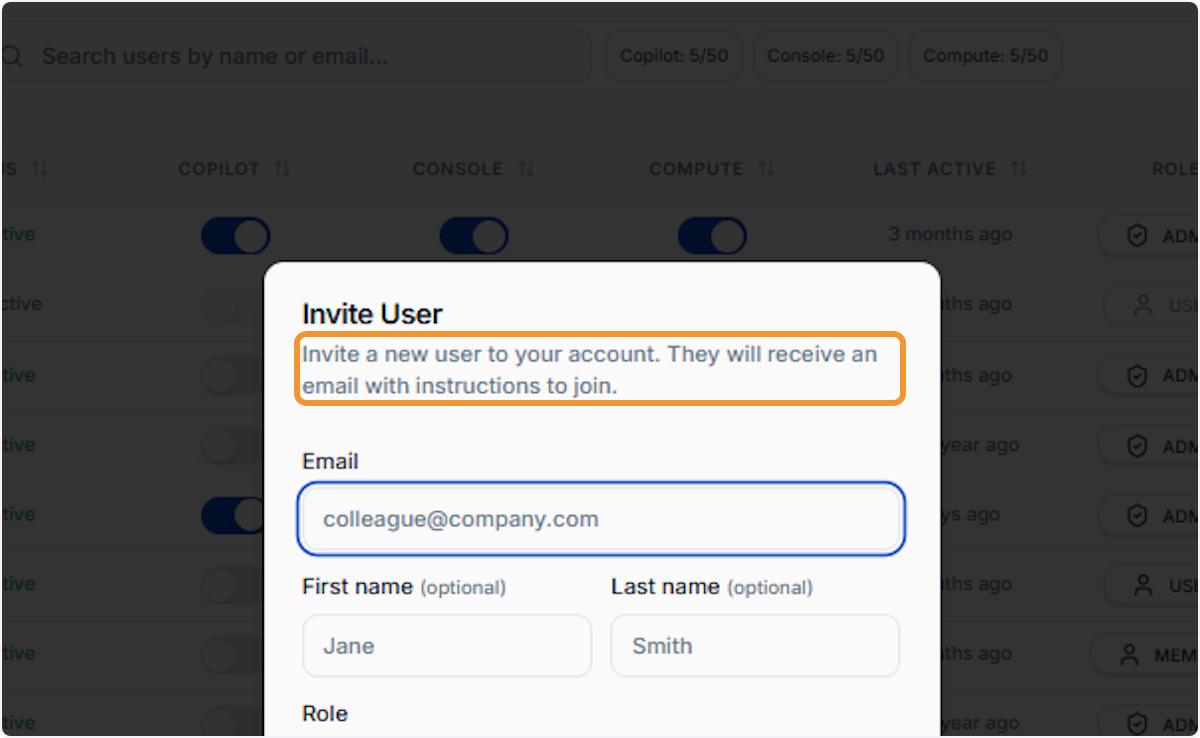
Read the invitation notice
Note the message: the new user will receive an email with instructions to join your account. Confirm you have the correct email address before proceeding.
Enter the user’s email address
Type the new user’s work email address in the Email field. This is the only required field in the invitation form.
Click into the First name field
Click the First name (optional) field to activate it. Adding a name personalises the invitation and helps identify the user in the dashboard before they log in.
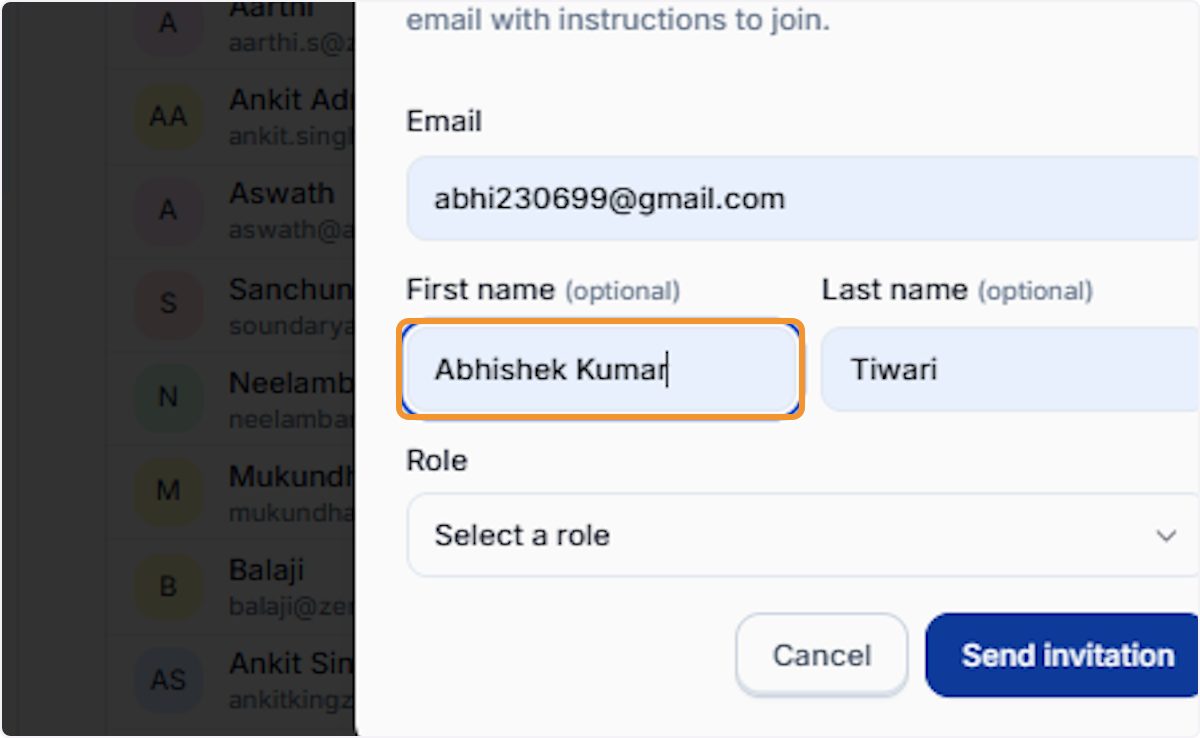
Enter the user’s first name
Type the invitee’s first name. Although optional, it ensures the user appears with a recognisable identity in the User Management list from day one.
Click into the Last name field
Click the Last name (optional) field to enter the user’s surname for a complete display name.
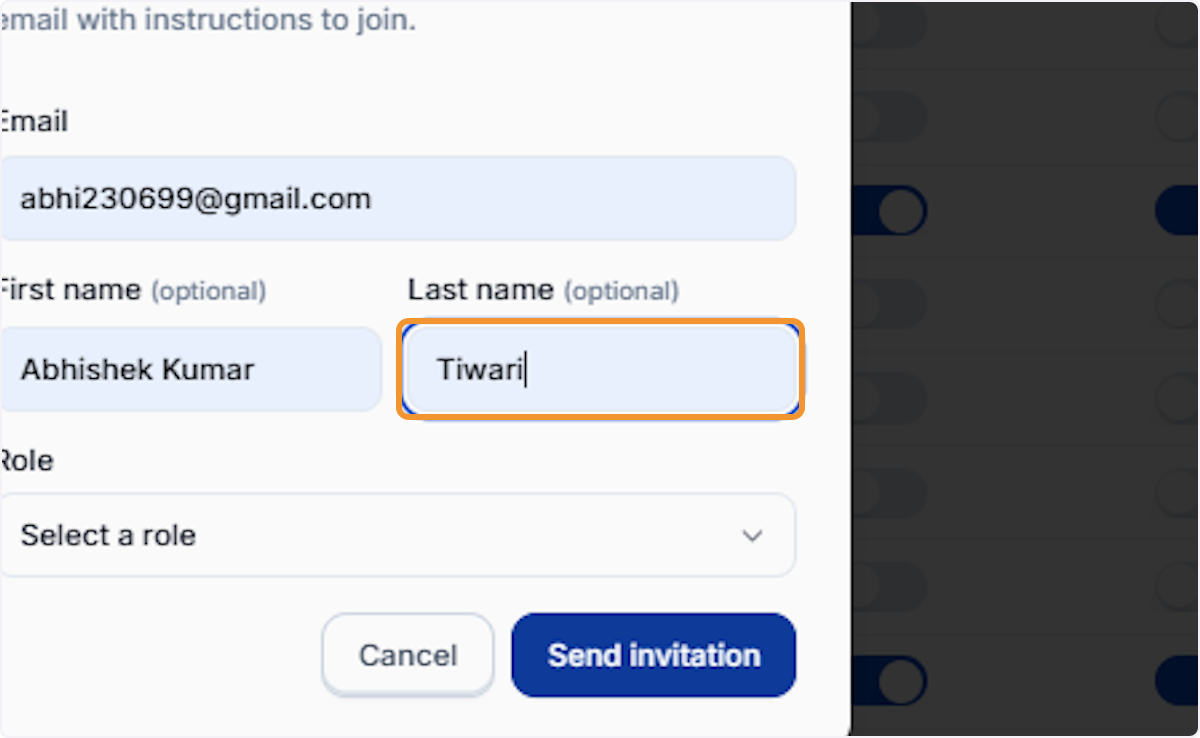
Enter the user’s last name
Type the invitee’s last name. A full name makes user identification easier for admins managing large teams.
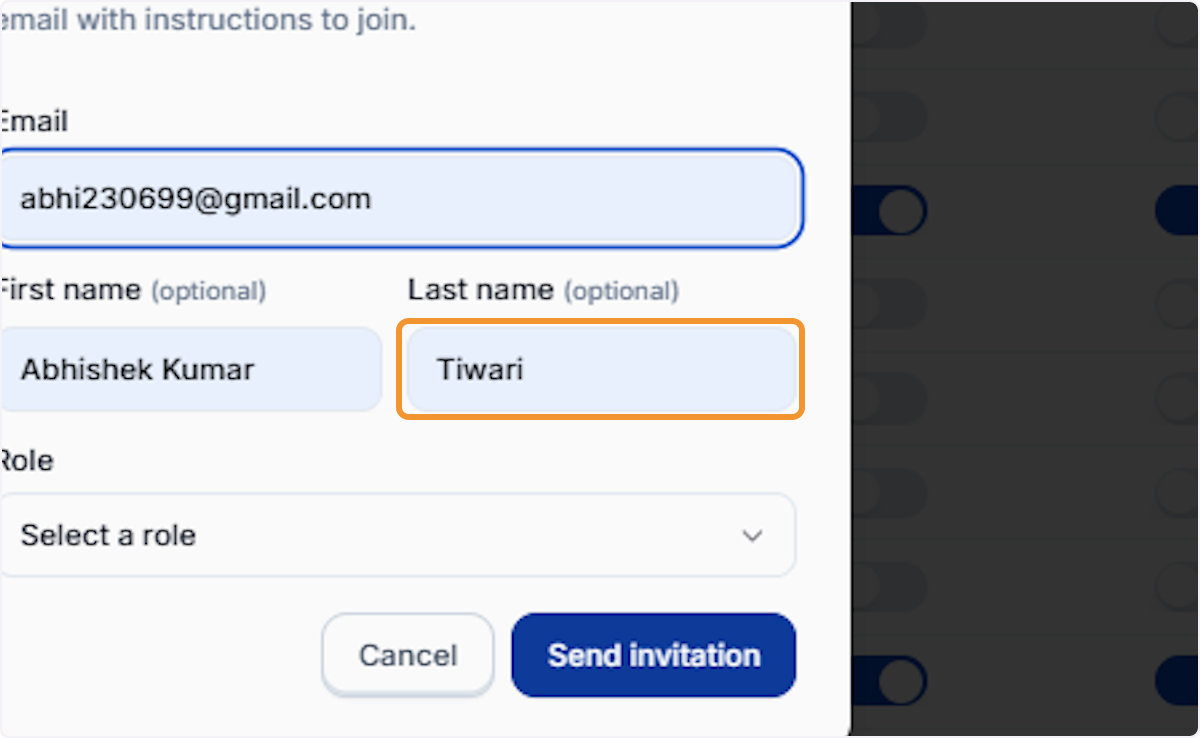
Open the Role selector
Click the Role dropdown to expand the available role options. You must assign a role before the invitation can be sent.
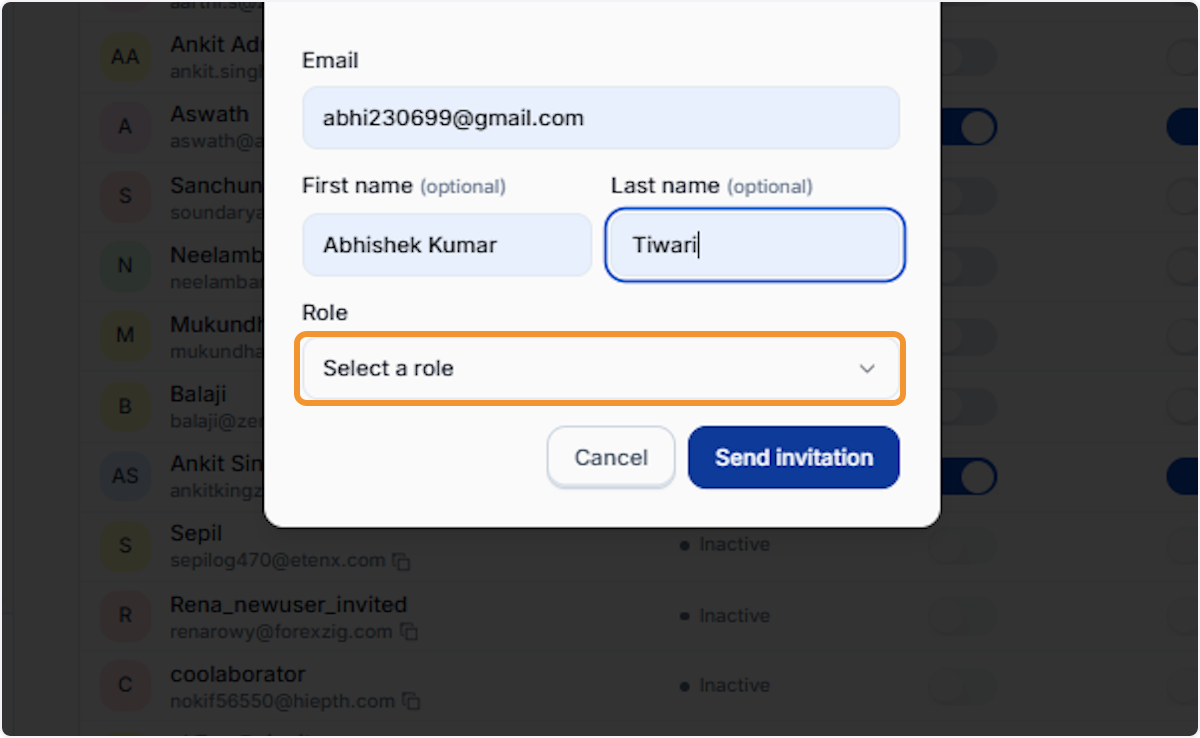
View available roles
The dropdown reveals two options:
| Role | Access level |
|---|---|
| Admin | Full management access — can invite users, change roles, and manage the organisation |
| User | Standard product access only |
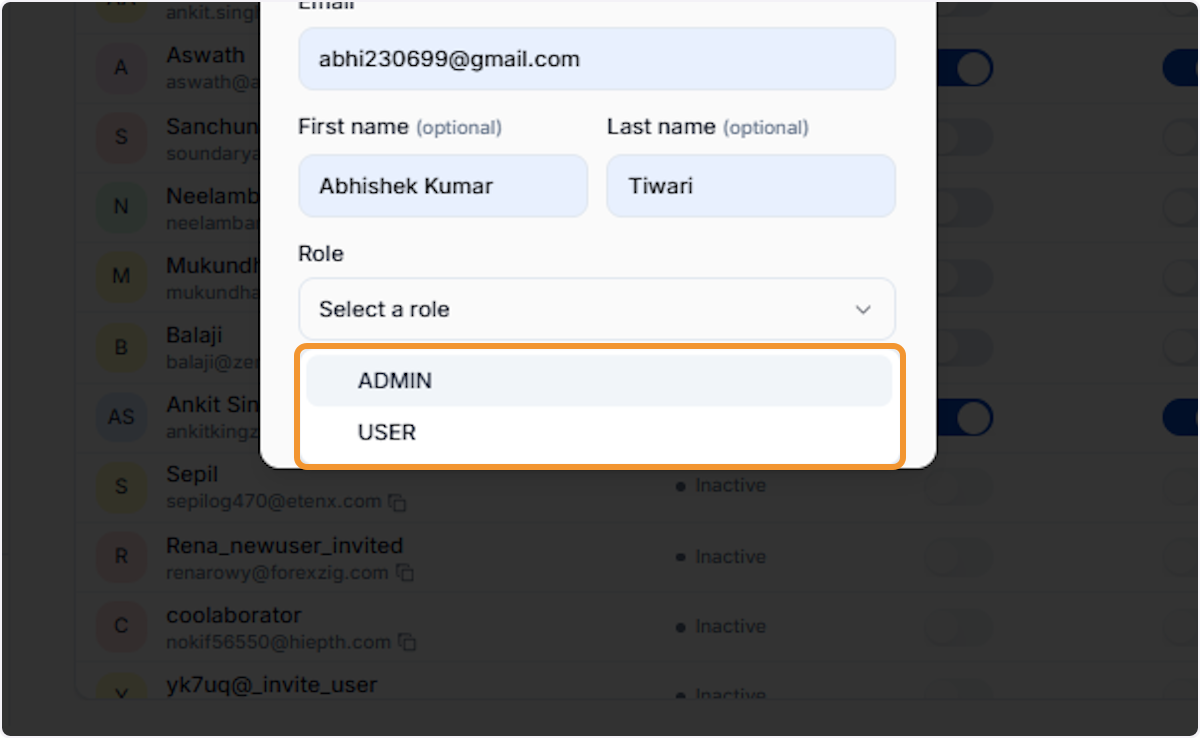
Select the appropriate role
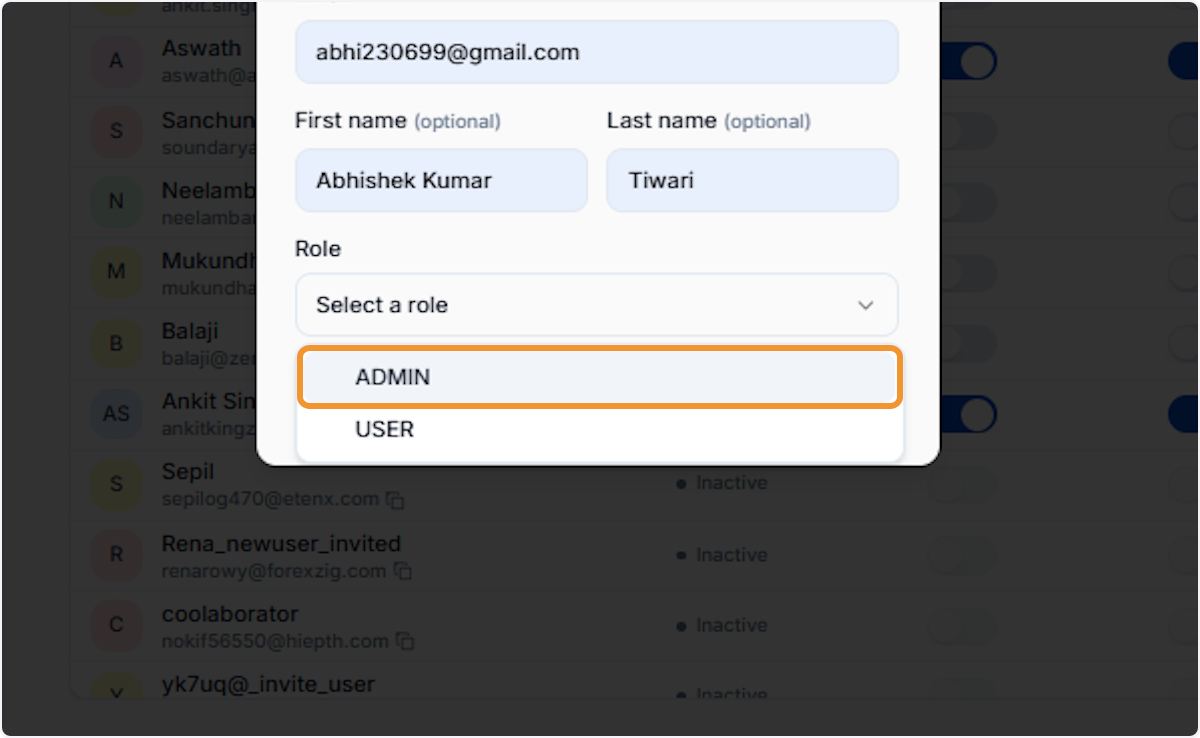
Click either Admin or User to assign the correct permission level. Choose Admin only for team members who need to manage users or billing.
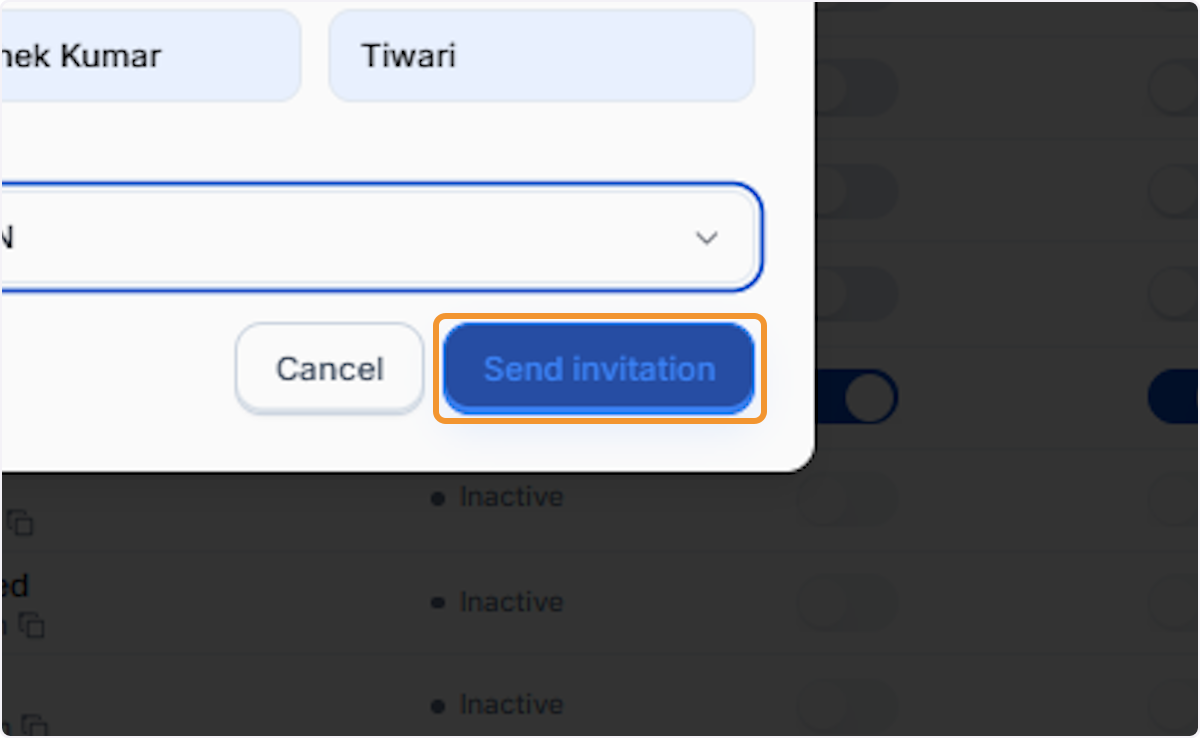
Send the invitation
Click Send invitation to dispatch the onboarding email. The new user will appear in the list with an Inactive status until they accept and activate their account.